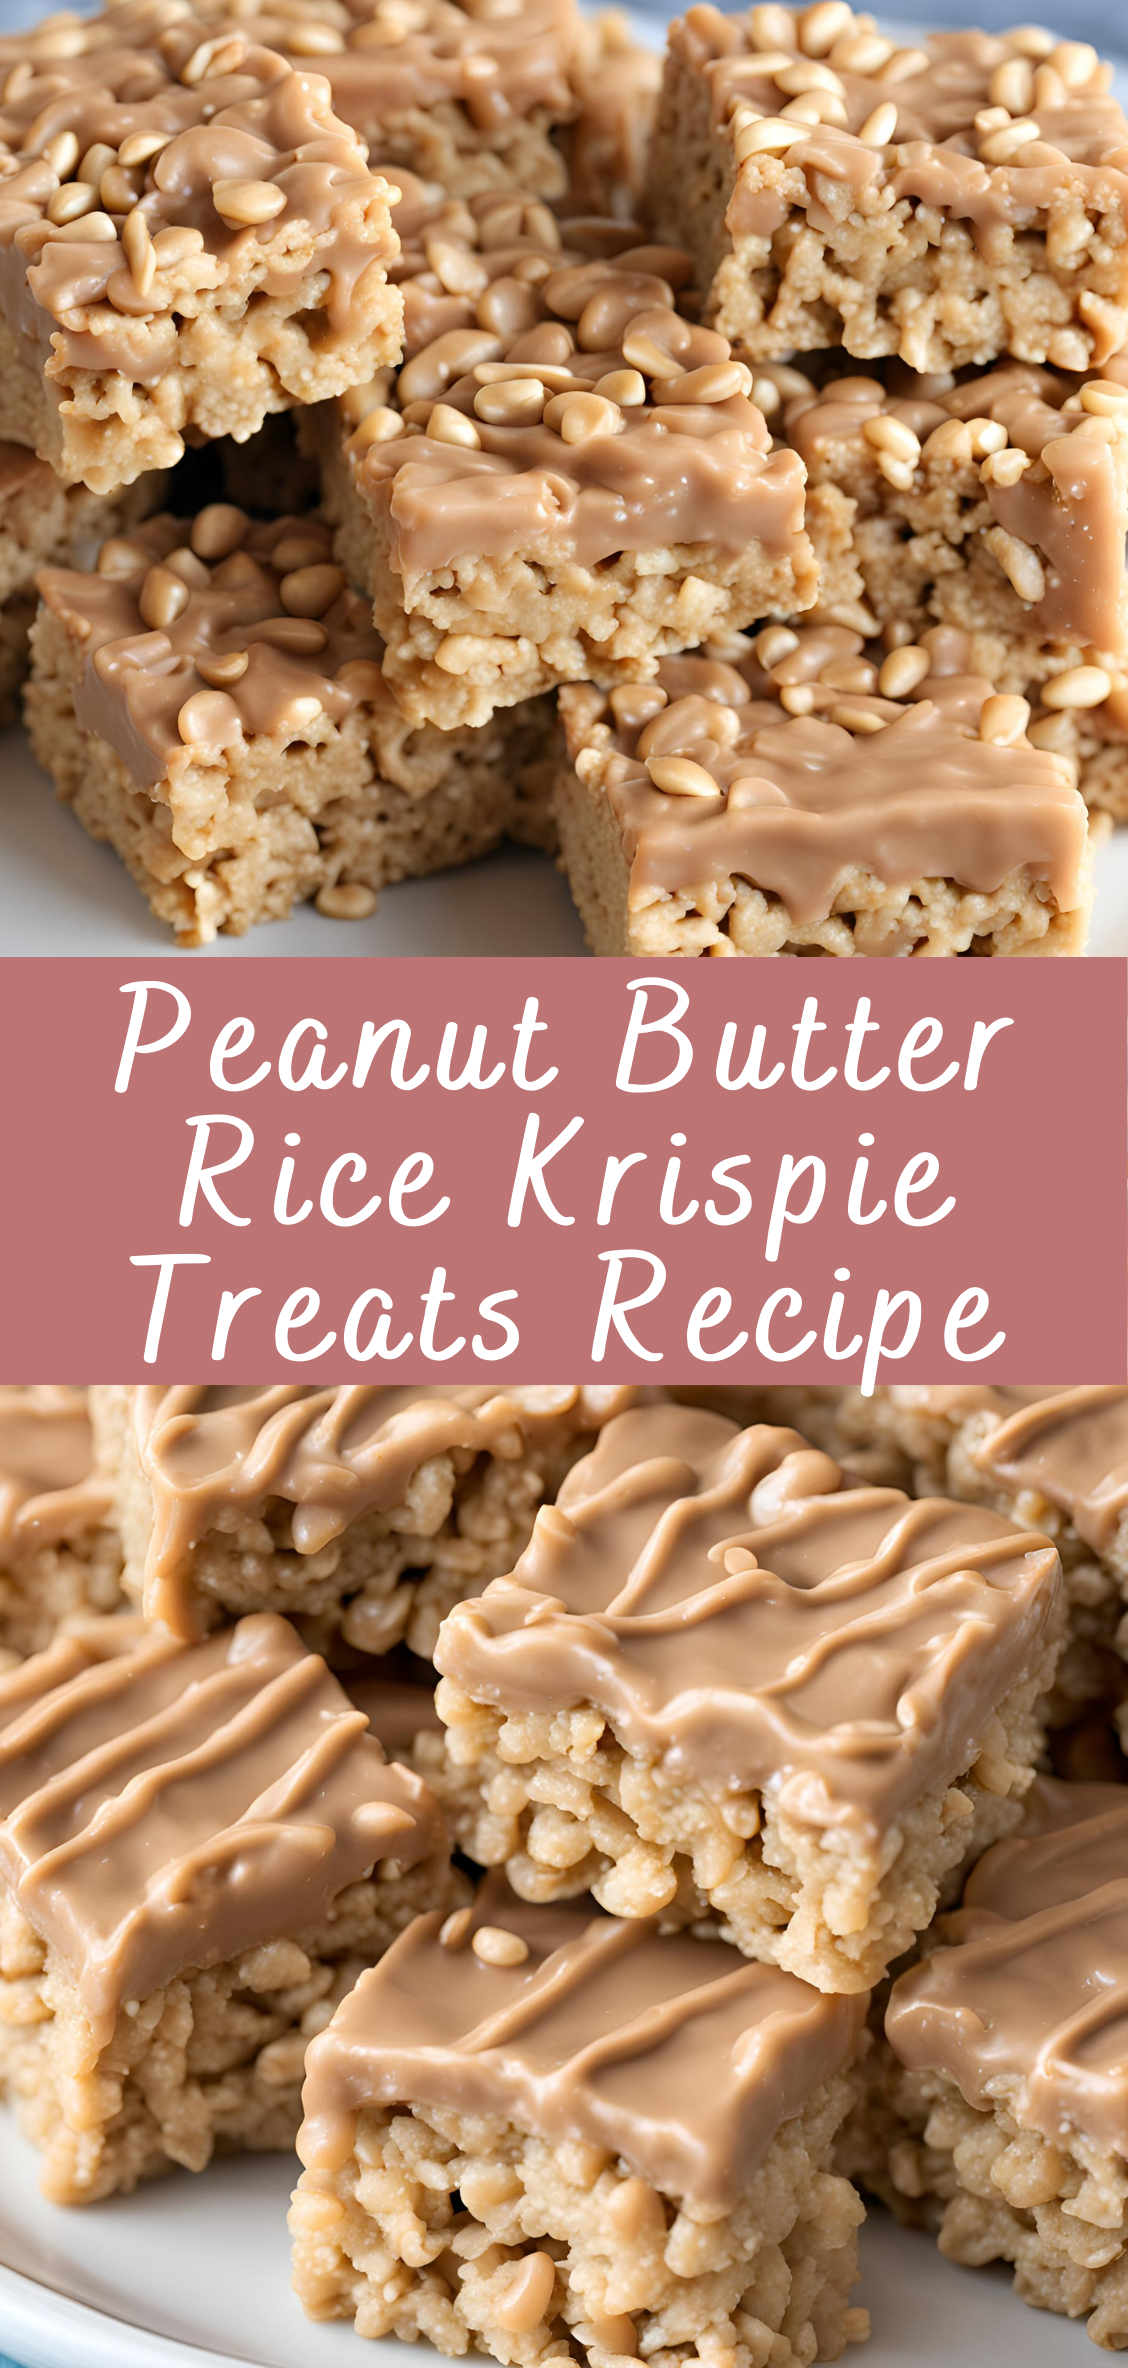
Peanut Butter Rice Krispie Treats Recipe
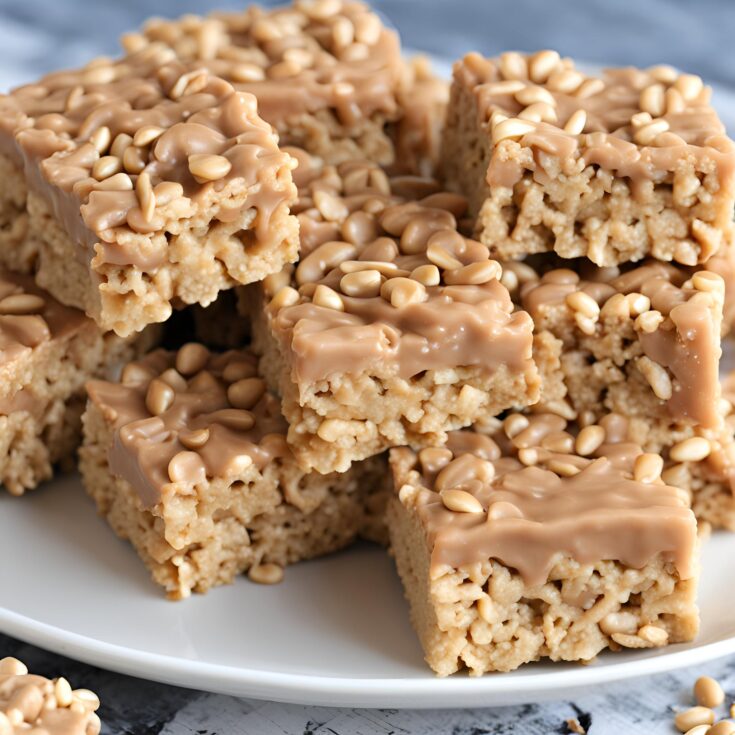
When it comes to no-bake desserts that are quick, easy, and satisfyingly sweet, Peanut Butter Rice Krispie Treats are at the top of the list. These chewy, crispy bars combine the nostalgic flavor of Rice Krispies with the rich, nutty taste of peanut butter, all held together by gooey marshmallows. Perfect for school lunches, potlucks, or just a simple treat to enjoy at home, these bars are sure to be a hit with kids and adults alike.
Equipment and Tools
Essential Kitchen Tools
- Large mixing bowl (for the Rice Krispies cereal)
- Large saucepan (for melting butter, peanut butter, and marshmallows)
- Wooden spoon (for mixing)
- 9×13-inch baking dish (for setting the treats)
- Parchment paper (for easy removal)
- Microwave-safe bowl (if adding a chocolate topping)
Preparing the Peanut Butter Rice Krispie Treats
Step 1: Prepare Your Baking Dish
- Line the Baking Dish: Line your 9×13-inch baking dish with parchment paper, leaving some overhang on the sides. This will make it easier to remove the treats once they are set.
Step 2: Melt the Butter and Marshmallows
- Melt the Butter: In a large saucepan over medium heat, melt the unsalted butter.
- Add the Marshmallows: Once the butter is melted, add the marshmallows to the saucepan. Stir constantly until the marshmallows are completely melted and smooth.
Step 3: Add the Peanut Butter
- Stir in Peanut Butter: Remove the saucepan from the heat and immediately stir in the peanut butter. Mix until the peanut butter is fully incorporated and the mixture is smooth.
- Add Vanilla Extract: Stir in the vanilla extract for added flavor.
Step 4: Combine with Rice Krispies
- Mix with Cereal: Pour the Rice Krispies cereal into a large mixing bowl. Pour the peanut butter mixture over the cereal and quickly stir to coat all the Rice Krispies evenly.
Step 5: Press into the Baking Dish
- Press the Mixture: Transfer the mixture to your prepared baking dish. Use a wooden spoon or your hands (greased with a little butter) to press the mixture down firmly and evenly.
Optional: Adding the Chocolate Topping
Step 6: Melt the Chocolate
- Melt Chocolate Chips: In a microwave-safe bowl, combine the chocolate chips and coconut oil (if using). Microwave in 30-second intervals, stirring in between, until the chocolate is fully melted and smooth.
Step 7: Spread the Chocolate
- Spread Over Treats: Pour the melted chocolate over the Rice Krispie treats in the baking dish. Use a spatula to spread it into an even layer.
Step 8: Chill to Set
- Chill the Treats: Place the baking dish in the refrigerator for about 30 minutes, or until the chocolate topping is set.
Serving and Storing Peanut Butter Rice Krispie Treats
Step 9: Slice and Serve
- Cut into Squares: Once the treats are set, use the parchment paper to lift them out of the baking dish. Place them on a cutting board and slice into squares of your desired size.
Step 10: Store the Treats
- Store in an Airtight Container: Store the peanut butter Rice Krispie treats in an airtight container at room temperature for up to a week. If you used the chocolate topping, you may want to store them in the refrigerator to keep the chocolate from melting.
Tips for Success
Use Fresh Marshmallows
- Fresh is Best: Make sure to use fresh marshmallows for the best texture. Stale marshmallows won’t melt as smoothly, which can affect the overall consistency of the treats.
Don’t Overpack the Mixture
- Light Hand: When pressing the mixture into the baking dish, don’t pack it down too tightly, as this can make the treats hard. A gentle, even press is all you need.
Choose Your Peanut Butter Wisely
- Creamy vs. Crunchy: You can use either creamy or crunchy peanut butter, depending on your texture preference. However, avoid natural peanut butter that separates, as it can make the mixture too oily.
Variations to Try
Peanut Butter and Jelly Rice Krispie Treats
- Add Jelly: For a fun twist, swirl some jelly or jam into the peanut butter mixture before adding the Rice Krispies. This creates a delightful peanut butter and jelly flavor in each bite.
Butterscotch Peanut Butter Rice Krispie Treats
- Add Butterscotch Chips: Mix in some butterscotch chips along with the Rice Krispies for an extra sweet and buttery flavor.
Peanut Butter Cup Rice Krispie Treats
- Add Peanut Butter Cups: Chop up mini peanut butter cups and stir them into the Rice Krispie mixture for a decadent twist.
Conclusion
Peanut Butter Rice Krispie Treats are the ultimate crowd-pleaser, blending the sweet and crispy joy of classic Rice Krispies with the rich, nutty flavor of peanut butter. Whether you enjoy them plain or with a chocolate topping, these treats are sure to become a favorite in your dessert rotation. They’re easy to make, endlessly customizable, and always delicious. So next time you’re in need of a quick and satisfying treat, give this recipe a try!
FAQs
Can I Use Almond Butter Instead of Peanut Butter?
Yes, almond butter can be used as a substitute for peanut butter in this recipe. It will give the treats a slightly different flavor but will still be delicious.
Can I Make These Treats Vegan?
Yes, you can make these treats vegan by using vegan butter, vegan marshmallows, and a dairy-free peanut butter. Also, ensure that any chocolate used is dairy-free.
How Can I Make These Treats Gluten-Free?
Rice Krispies cereal is typically made with malt, which contains gluten. To make this recipe gluten-free, use a gluten-free crispy rice cereal instead.
How Do I Keep the Treats from Sticking to the Pan?
Lining the baking dish with parchment paper is the best way to prevent sticking. You can also lightly grease the parchment paper with butter or cooking spray for extra assurance.
Can I Freeze Peanut Butter Rice Krispie Treats?
Yes, you can freeze these treats. Wrap them individually in plastic wrap and place them in an airtight container. They will keep for up to 2 months in the freezer.
Peanut Butter Rice Krispie Treats Recipe
Ingredients
- 4 cups Rice Krispies cereal
- 1 cup granulated sugar
- 1 cup light corn syrup
- 1 cup creamy peanut butter
- 1 teaspoon vanilla extract (optional)
- ¼ teaspoon salt (optional)
- 1 cup semi-sweet chocolate chips (optional, for topping)
Instructions
- Prepare the Pan:
Lightly grease a 9x9-inch or 9x13-inch baking dish with butter or non-stick spray, or line it with parchment paper for easy removal. - Make the Peanut Butter Mixture:
In a large saucepan over medium heat, combine the sugar and light corn syrup. Stir constantly until the sugar has dissolved and the mixture begins to bubble, about 3-4 minutes.
Remove the saucepan from heat and stir in the peanut butter, vanilla extract (if using), and salt (if using) until smooth and well combined. - Combine with Cereal:
Add the Rice Krispies cereal to the peanut butter mixture, stirring quickly and gently to coat all the cereal evenly. - Press into the Pan:
Transfer the coated cereal mixture into the prepared baking dish. Using a spatula or your hands (lightly greased), press the mixture firmly and evenly into the dish. - Add Chocolate Topping (Optional):
If you’re adding a chocolate topping, melt the chocolate chips in a microwave-safe bowl in 20-second intervals, stirring in between, until smooth.
Pour the melted chocolate over the pressed Rice Krispie mixture and spread it evenly with a spatula. - Cool and Set:
Allow the Peanut Butter Rice Krispie Treats to cool completely at room temperature, or place them in the refrigerator for about 30 minutes until they are set and firm. - Cut and Serve:
Once set, lift the treats out of the pan using the parchment paper (if lined) and cut them into squares. Serve and enjoy!

