No Bake Pumpkin Balls Recipe
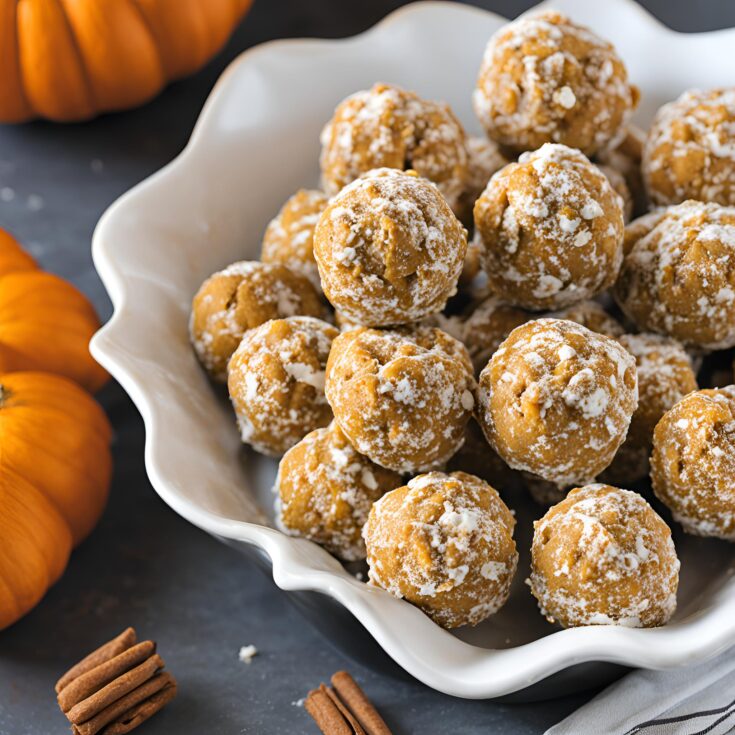
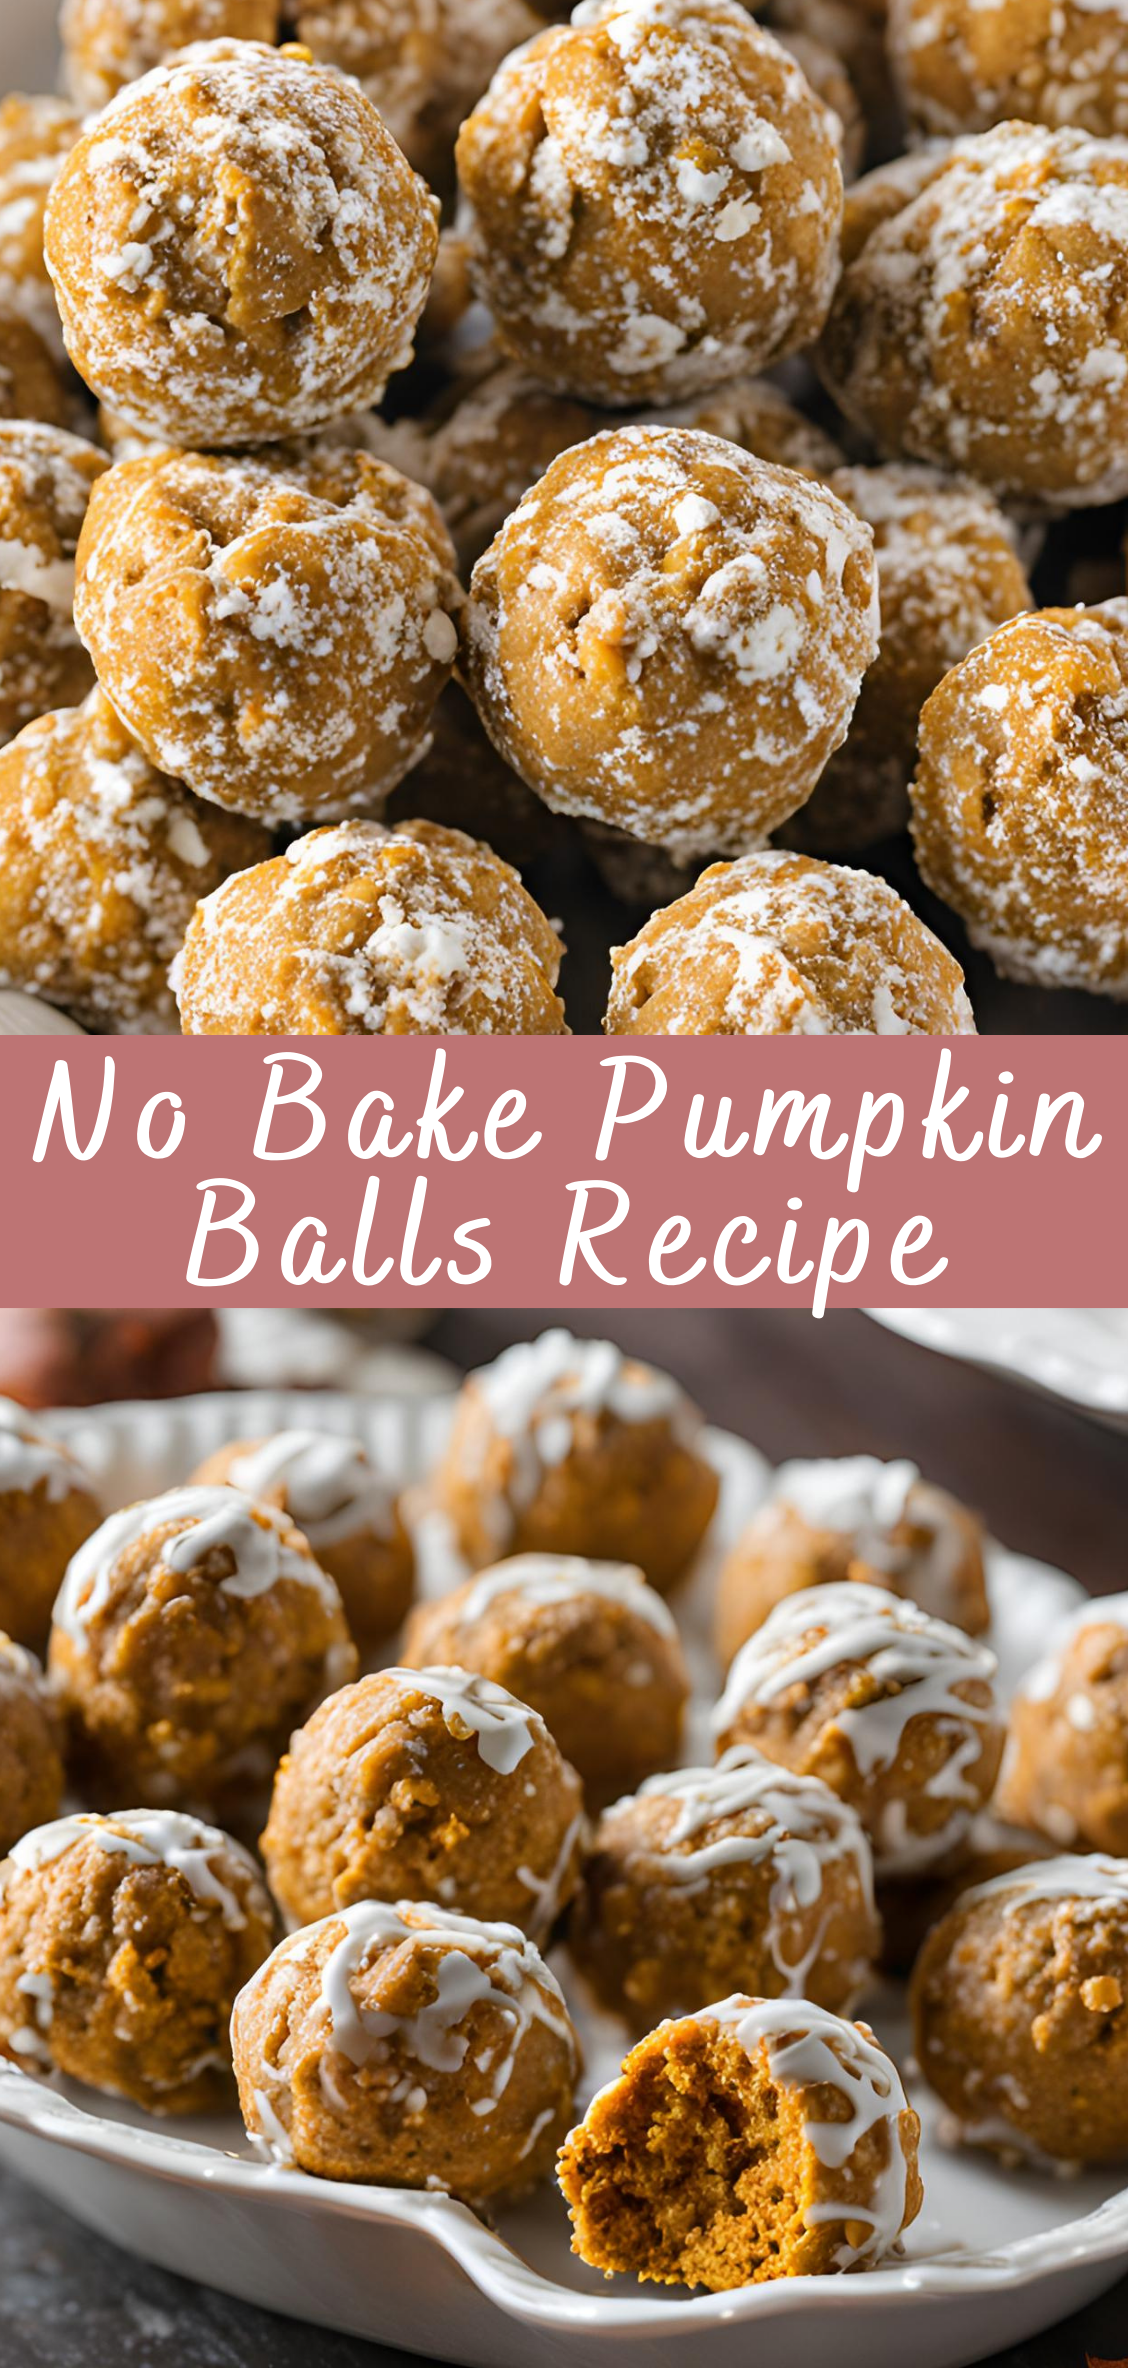
No-bake pumpkin balls are the perfect fall treat. These delicious bite-sized snacks are packed with the warm flavors of pumpkin, cinnamon, nutmeg, and oats, making them a cozy and nutritious treat you can whip up in no time. Whether you’re craving a healthy dessert, a snack, or an energy boost, these no-bake pumpkin balls are versatile and easy to make.

Made with simple ingredients like pumpkin puree, oats, and almond butter, these treats offer a good balance of healthy fats, fiber, and natural sweetness. You can also customize them with add-ins like chocolate chips, chopped nuts, or dried fruit. Plus, since they’re no-bake, you won’t even need to turn on the oven!
Equipment Needed:
- Large mixing bowl
- Spoon or spatula
- Measuring cups and spoons
- Cookie scoop or spoon for shaping the balls
- Baking sheet or plate for chilling the pumpkin balls
- Wax paper or parchment paper
Step-by-Step Instructions
Step 1: Gather Your Ingredients
Before you begin, make sure all your ingredients are ready and measured. This will help streamline the process, making it easier to mix and shape the pumpkin balls without any delays. It’s especially important to ensure you’re using unsweetened pumpkin puree, not pumpkin pie filling, as the latter contains added sugar and spices that can throw off the flavor and texture of the recipe.
Step 2: Combine the Wet Ingredients
In a large mixing bowl, combine the pumpkin puree, almond butter, maple syrup, and vanilla extract. Use a spoon or spatula to thoroughly mix these ingredients until they form a smooth, cohesive mixture. The pumpkin puree adds moisture and flavor, while the almond butter acts as a binder, helping the ingredients stick together.
If your almond butter is too thick or dry, you can microwave it for about 15-20 seconds to soften it. This will make it easier to mix with the pumpkin puree.
Step 3: Add the Dry Ingredients
Next, add the old-fashioned oats, ground cinnamon, nutmeg, ginger, and cloves to the wet mixture. Stir well to ensure all the ingredients are evenly distributed. The oats will absorb some of the moisture from the pumpkin, creating a chewy and satisfying texture.
For a more uniform texture, you can pulse the oats in a food processor for a few seconds to break them down slightly, but this step is optional.
Step 4: Customize with Add-Ins
At this stage, feel free to get creative with your pumpkin balls by adding in your favorite mix-ins. Chocolate chips, chopped nuts, shredded coconut, or chia seeds are all great options that add flavor, texture, and extra nutrients to your no-bake pumpkin balls.
If you’re adding chocolate chips, make sure the mixture isn’t too warm, as they could melt and become messy. You can also chill the mixture in the fridge for 10-15 minutes before adding chocolate chips if needed.
Step 5: Shape the Pumpkin Balls
Once your mixture is fully combined, it’s time to shape the pumpkin balls. Line a baking sheet or plate with wax paper or parchment paper to prevent sticking.
Using a cookie scoop or spoon, scoop out about 1-2 tablespoons of the mixture and roll it between your hands to form a ball. If the mixture feels too sticky to roll, you can lightly grease your hands with a bit of oil or refrigerate the mixture for a few minutes to firm it up.
Place each pumpkin ball onto the prepared baking sheet as you go. Continue shaping the balls until all the mixture is used up. You should have about 20-24 pumpkin balls, depending on the size.
Step 6: Coat the Pumpkin Balls (Optional)
For an extra layer of flavor and texture, you can roll the pumpkin balls in a coating of your choice. Popular options include:
- Crushed graham crackers: Adds a bit of sweetness and a pleasant crunch.
- Shredded coconut: For a tropical twist and added texture.
- Chopped nuts: Pecans, walnuts, or almonds add a nutty, crunchy exterior.
- Cinnamon sugar: A classic combination for a sweet and slightly spiced finish.
Simply roll each ball in the coating of your choice until evenly covered.
Step 7: Chill the Pumpkin Balls
Once all the pumpkin balls are shaped and coated, place the baking sheet in the refrigerator to chill for at least 30 minutes. Chilling helps the balls firm up, making them easier to handle and enhancing their flavor. If you’re short on time, you can also place them in the freezer for about 10-15 minutes for a quicker chill.
Step 8: Serve and Enjoy!
After the pumpkin balls have chilled, they’re ready to enjoy! These no-bake treats are perfect for serving as a snack, dessert, or even as a quick grab-and-go breakfast. They’re best served cold but can be stored at room temperature for short periods if needed.
Tips for Success
- Choose the Right Pumpkin: Be sure to use pure pumpkin puree, not pumpkin pie filling. Pumpkin pie filling contains added sugar and spices, which can alter the texture and flavor of the pumpkin balls.
- Use Nut Butter as a Binder: Almond butter, peanut butter, or even cashew butter works well to hold the mixture together. If you’re allergic to nuts, sunflower seed butter is a great substitute.
- Adjust Sweetness to Taste: Maple syrup provides a natural sweetness, but you can adjust the amount based on your preference. For a lower-sugar option, reduce the syrup or use a sugar-free alternative like stevia.
- Add Texture with Mix-Ins: To add variety to your pumpkin balls, mix in ingredients like chocolate chips, dried cranberries, chopped nuts, or coconut flakes. These add a delightful texture and flavor to the soft, chewy pumpkin base.
- Refrigerate Before Rolling: If the mixture is too sticky to shape, chill it in the fridge for 10-15 minutes before rolling. This will make it easier to form neat balls without sticking to your hands.
- Customize the Coating: Rolling the pumpkin balls in shredded coconut, chopped nuts, or crushed graham crackers adds an extra layer of flavor and texture. You can also experiment with coatings like cocoa powder, powdered sugar, or even a drizzle of melted chocolate.
Variations
1. Protein-Packed Pumpkin Balls
To make these pumpkin balls more protein-rich, add a scoop of vanilla or cinnamon-flavored protein powder to the mixture. This makes them a great post-workout snack or a satisfying breakfast option. You may need to add a bit more liquid (such as almond milk or water) to balance the dry ingredients.
2. Pumpkin Spice Energy Balls
For an extra energy boost, add ingredients like chia seeds, flaxseeds, or hemp seeds to the mix. These seeds provide healthy fats and fiber, making the pumpkin balls more filling and nutritious. You can also use a mix of rolled oats and quinoa flakes for added protein and fiber.
3. Chocolate Pumpkin Balls
If you’re a chocolate lover, mix cocoa powder into the pumpkin mixture for a chocolatey twist. You can also stir in mini chocolate chips or coat the finished balls in melted dark chocolate for a decadent treat.
4. Coconut Pumpkin Balls
For a tropical twist, replace the almond butter with coconut butter and roll the finished pumpkin balls in shredded coconut. This version pairs well with a touch of lime zest for a fresh and zesty flavor.
Storage
Refrigerator:
Store your no-bake pumpkin balls in an airtight container in the refrigerator for up to 1 week. Chilling them ensures they stay firm and fresh, making them a great make-ahead snack.
Freezer:
If you’d like to store the pumpkin balls for longer, they freeze beautifully! Place the pumpkin balls in a single layer on a baking sheet and freeze until solid. Once frozen, transfer them to a freezer-safe bag or container. They’ll last for up to 3 months in the freezer. To enjoy, simply thaw them in the fridge for a few hours or at room temperature for about 20 minutes.
Conclusion
No-bake pumpkin balls are a delightful, easy-to-make treat that captures the essence of fall. With their rich pumpkin flavor, warming spices, and chewy texture, these bite-sized snacks are perfect for satisfying your sweet tooth or providing a quick energy boost. Plus, they’re made with wholesome ingredients, making them a healthier alternative to many store-bought snacks.
Whether you enjoy them as a snack, dessert, or even breakfast, these no-bake pumpkin balls are sure to become a seasonal favorite.
No Bake Pumpkin Balls Recipe

No-bake pumpkin balls are the perfect fall treat. These delicious bite-sized snacks are packed with the warm flavors of pumpkin, cinnamon, nutmeg, and oats, making them a cozy and nutritious treat you can whip up in no time. Whether you're craving a healthy dessert, a snack, or an energy boost, these no-bake pumpkin balls are versatile and easy to make.
Ingredients
- 1 ½ cups old-fashioned oats
- ½ cup canned pumpkin puree (not pumpkin pie filling)
- ⅓ cup almond butter (or peanut butter)
- 2 tablespoons maple syrup (or honey)
- 1 teaspoon vanilla extract
- 1 teaspoon ground cinnamon
- ½ teaspoon ground nutmeg
- ½ teaspoon ground ginger
- ¼ teaspoon ground cloves
- Pinch of salt
- ¼ cup mini chocolate chips or chopped nuts (optional)
- ½ cup unsweetened shredded coconut (optional, for rolling)
Instructions
- Prepare the Mixture:
In a large mixing bowl, combine the pumpkin puree, almond butter, maple syrup, and vanilla extract. Stir until smooth and well mixed. - Add Dry Ingredients:
Add the oats, ground cinnamon, nutmeg, ginger, cloves, and salt to the wet ingredients. Stir until everything is evenly combined. If you’re using chocolate chips or nuts, fold them into the mixture as well. - Shape the Pumpkin Balls:
Scoop out about 1 tablespoon of the mixture and roll it into a ball between your hands. If the mixture is too sticky, you can lightly coat your hands with a bit of coconut oil or chill the mixture for 10 minutes before rolling. - Optional Coconut Coating:
For extra texture and flavor, roll each pumpkin ball in shredded coconut until coated. - Chill:
Place the pumpkin balls on a parchment-lined baking sheet or plate and refrigerate for at least 30 minutes to firm up. - Serve and Enjoy:
Once chilled, enjoy the pumpkin balls straight from the fridge! Store any leftovers in an airtight container in the fridge for up to a week.


