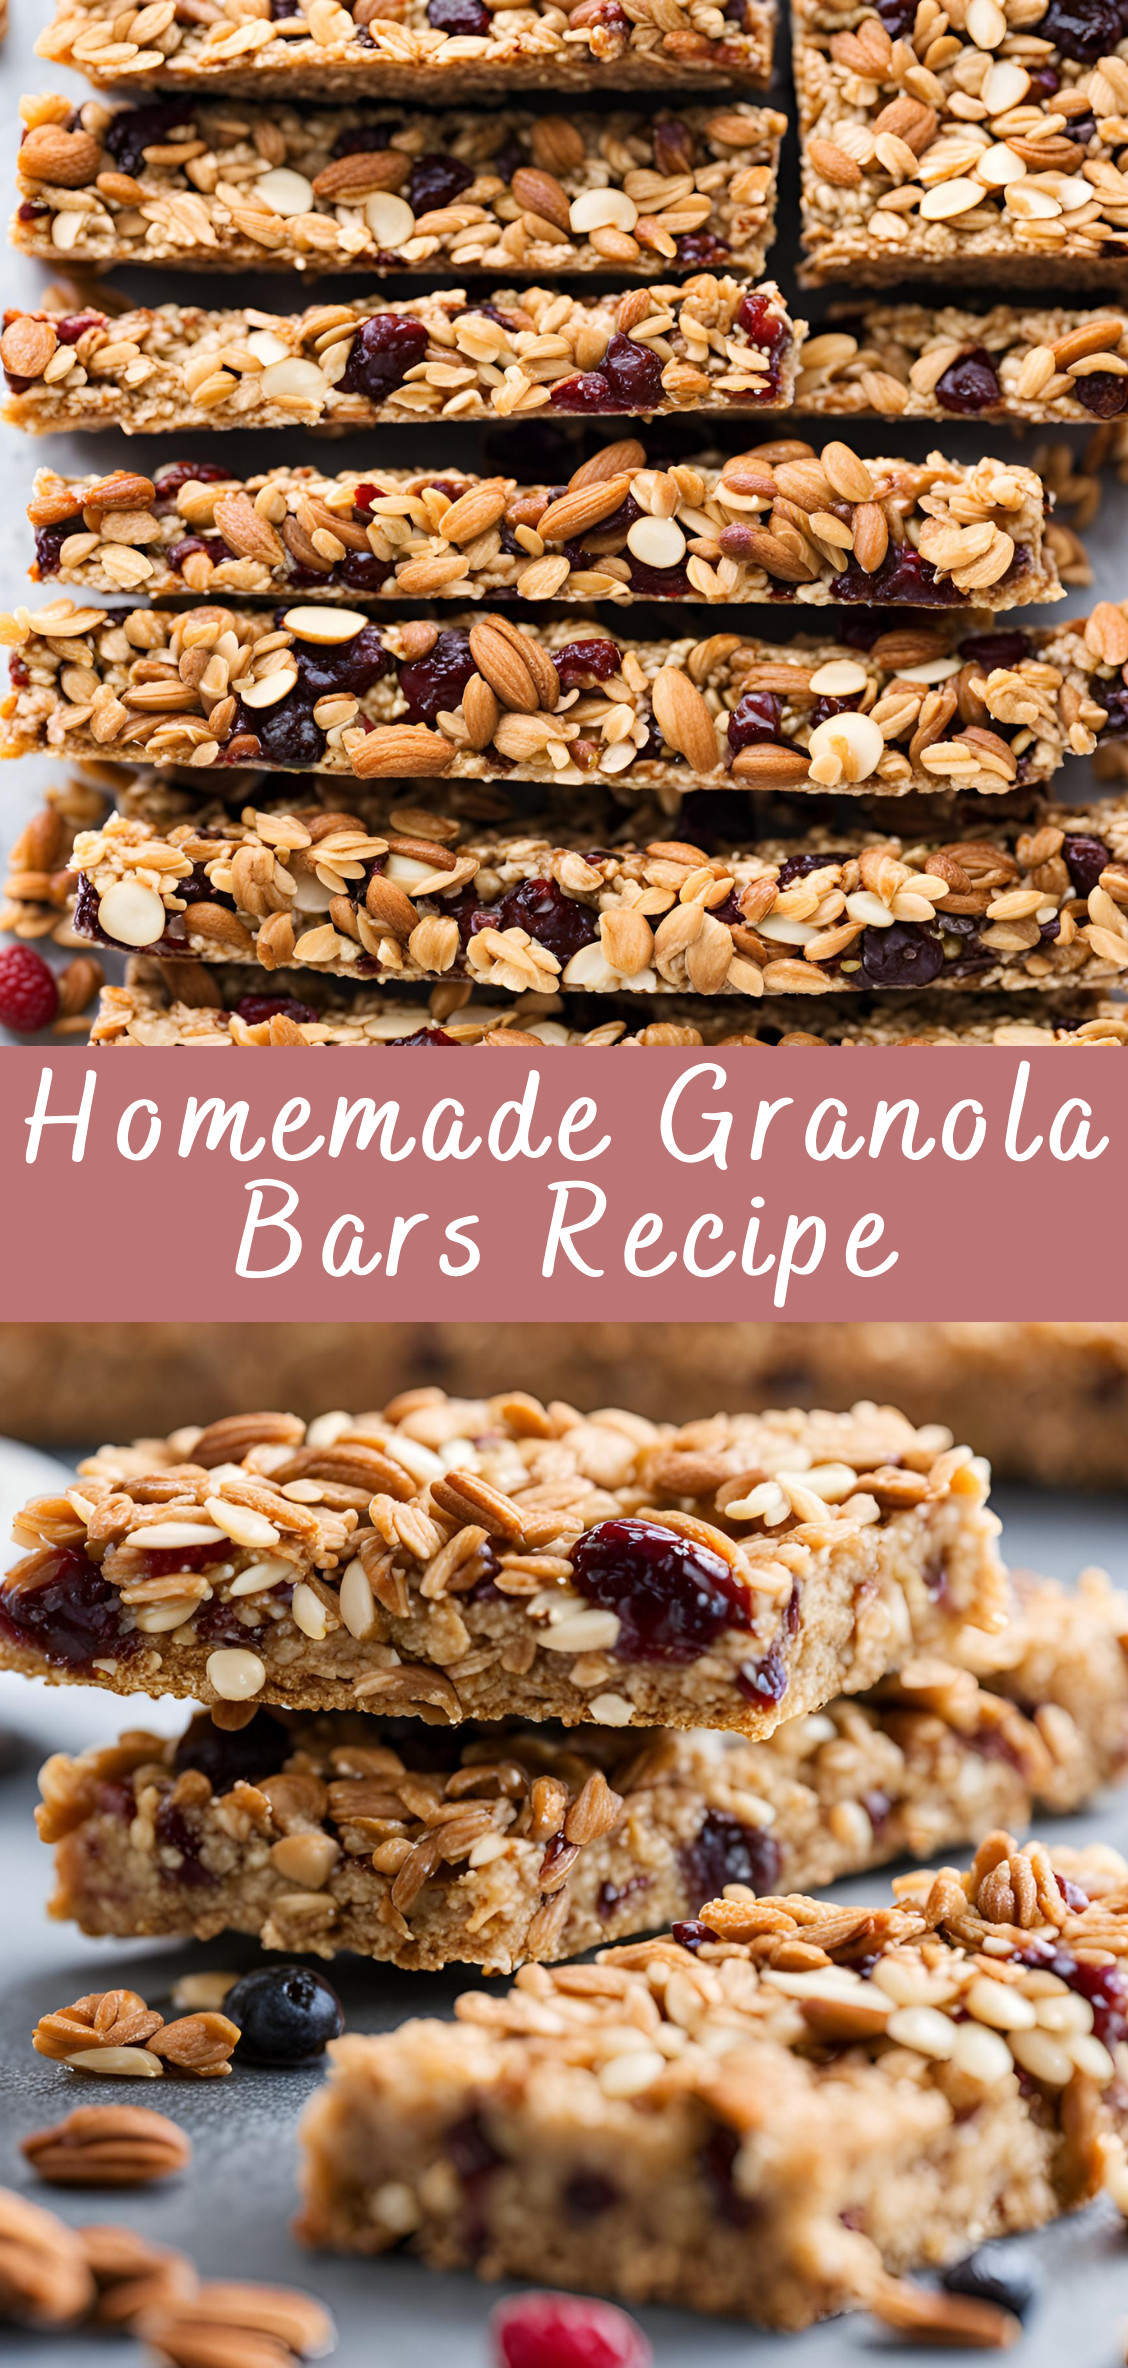
Homemade Granola Bars Recipe
Granola bars are a beloved snack for a reason: they’re convenient, tasty, and can be packed with wholesome ingredients. Making Homemade Granola Bars is a great way to control the ingredients and avoid the preservatives often found in store-bought versions. Plus, they are incredibly versatile—you can mix and match ingredients to suit your taste and dietary needs.
Equipment Needed
Before you begin, gather the following equipment:
- Mixing bowl: For combining ingredients.
- Spatula: To mix everything thoroughly.
- 9×9 inch baking dish: To shape your granola bars.
- Parchment paper: To line the baking dish for easy removal.
- Oven: If you plan to bake your bars for a chewier texture.
Preparing Your Granola Bars
Step-by-Step Instructions
Step 1: Preheat the Oven (If Baking)
If you choose to bake your granola bars, preheat your oven to 350°F (175°C). This step is essential for achieving a chewy and slightly crispy texture.
Step 2: Prepare the Baking Dish
Line your 9×9 inch baking dish with parchment paper, leaving some overhang on the sides. This makes it easier to lift out the bars once they’re set.
Step 3: Mix Dry Ingredients
In a large mixing bowl, combine:
- 2 cups of old-fashioned oats
- 1 cup of chopped nuts (your choice)
- ½ teaspoon of cinnamon (if using)
Stir these dry ingredients together until they are well mixed. This step ensures that the oats and nuts are evenly distributed throughout the bars.
Step 4: Combine Wet Ingredients
In a separate bowl, mix:
- ½ cup of nut butter
- ¼ cup of honey or maple syrup
- ½ teaspoon of vanilla extract
Microwave the mixture for about 30 seconds to make it easier to combine. Stir well until smooth and thoroughly combined.
Step 5: Combine Wet and Dry Ingredients
Pour the wet mixture over the dry ingredients. Use a spatula to mix everything together, making sure all the oats and nuts are well coated with the nut butter and sweetener.
Step 6: Add Mix-ins
If you’re adding any optional ingredients (dried fruits, chocolate chips, etc.), fold them in at this stage. This is where you can get creative and customize your bars to your liking.
Step 7: Press Mixture into the Baking Dish
Transfer the mixture into the prepared baking dish. Use the spatula to press it down firmly and evenly. The more you pack it down, the better your bars will hold together.
Step 8: Bake (Optional)
If you’re baking your bars, place the dish in the preheated oven for about 20-25 minutes, or until the edges are golden brown. Baking enhances the flavors and creates a firmer texture.
Step 9: Cool and Cut
Once baked, remove the dish from the oven and allow it to cool completely in the pan. If you skipped the baking step, let the bars cool for about 30 minutes at room temperature. Once cool, lift the bars out using the parchment paper overhang and cut them into squares or rectangles.
Customizing Your Granola Bars
One of the best things about making homemade granola bars is the ability to customize them to your taste. Here are some ideas:
Add Different Nuts and Seeds
- Swap out almonds for cashews, or add pumpkin seeds for extra crunch.
- For a protein boost, incorporate hemp seeds or sunflower seeds.
Use Different Sweeteners
- Try agave nectar or brown rice syrup instead of honey or maple syrup.
- For a lower-sugar option, use mashed bananas or unsweetened applesauce.
Experiment with Flavors
- Add a pinch of sea salt for a sweet and salty combination.
- Incorporate spices like nutmeg or ginger for added warmth.
Incorporate Superfoods
- Add a tablespoon of chia seeds or flaxseeds for omega-3 fatty acids.
- Consider adding protein powder for an extra boost.
Storing and Freezing
Storage
- Room Temperature: Store the granola bars in an airtight container at room temperature for up to one week.
- Refrigerator: For extended freshness, keep them in the fridge for up to two weeks.
Freezing
- To freeze, individually wrap the bars in plastic wrap and then place them in a freezer-safe container. They can be frozen for up to three months.
- To eat, simply thaw them in the fridge overnight or let them sit at room temperature for a bit.
Health Benefits of Homemade Granola Bars
Making your own granola bars comes with numerous health benefits:
1. Control Over Ingredients
- You can select high-quality ingredients, avoiding processed sugars and unhealthy additives commonly found in store-bought versions.
2. Nutrient-Dense
- Homemade bars can be loaded with nutrients, including protein, healthy fats, and fiber, making them a great choice for sustained energy.
3. Tailored to Dietary Needs
- Easily adjust the recipe to accommodate dietary restrictions, such as gluten-free, vegan, or nut-free options.
4. Wholesome Snacking
- Granola bars can serve as a nutritious snack, providing a great source of energy, especially for active individuals.
5. Cost-Effective
- Making your own granola bars can be more economical than buying pre-packaged snacks, especially when feeding a family.
Conclusion
Making Homemade Granola Bars is not only simple but also a fun and rewarding process. With the ability to customize the ingredients to your liking, you can create a delicious and nutritious snack that fits your dietary needs perfectly. These bars are perfect for breakfast, as a post-workout snack, or simply as a quick and healthy treat throughout the day.
So, gather your ingredients, get creative, and enjoy the satisfaction of making your own granola bars. Your taste buds and your body will thank you!
FAQs
1. Can I make these granola bars nut-free?
Absolutely! You can use sunflower seed butter instead of nut butter and choose seeds like pumpkin or sunflower in place of nuts.
2. What can I substitute for honey?
Maple syrup, agave nectar, or brown rice syrup work well as substitutes for honey in this recipe.
3. Can I bake the granola bars without nuts?
Yes, you can omit the nuts, but consider adding more oats or seeds to maintain the texture.
4. How do I know when the granola bars are done baking?
They should be golden brown around the edges and firm to the touch. If you’re not baking them, just ensure they hold together well after cooling.
5. How can I make these granola bars more chewy?
Add more nut butter or sweetener, and consider reducing the baking time if you’re baking them.
Homemade Granola Bars Recipe
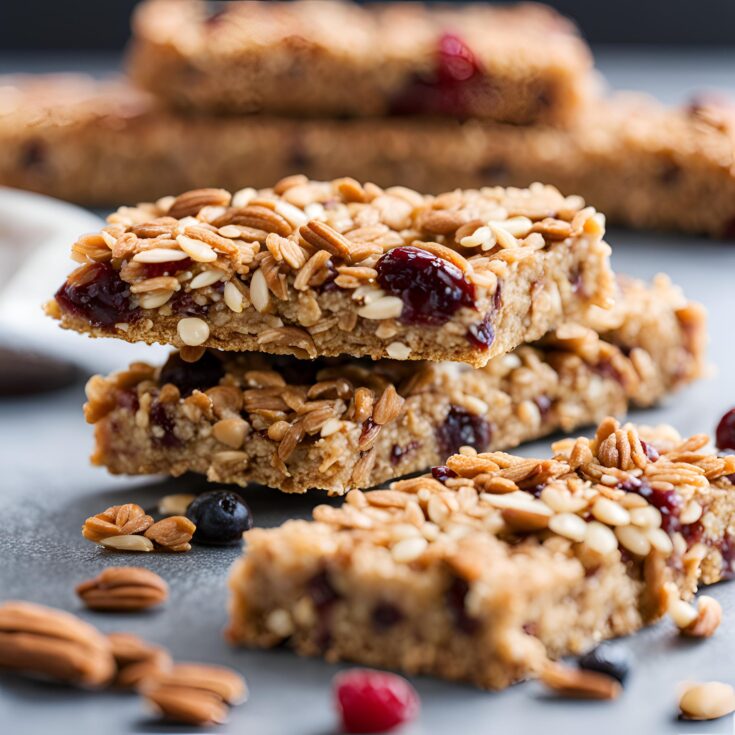
Ingredients
- 2 cups rolled oats
- 1 cup nuts (e.g., almonds, walnuts, or pecans), chopped
- 1/2 cup honey or maple syrup
- 1/2 cup nut butter (e.g., almond butter or peanut butter)
- 1/2 cup dried fruit (e.g., raisins, cranberries, or apricots), chopped
- 1/4 cup seeds (e.g., sunflower seeds or pumpkin seeds)
- 1 tsp vanilla extract
- 1/2 tsp cinnamon
- Pinch of salt
- Optional: 1/4 cup mini chocolate chips
Instructions
1. Preheat the Oven:
- Preheat your oven to 350°F (175°C). Line an 8x8 inch baking dish with parchment paper, leaving some overhang for easy removal.
2. Mix the Dry Ingredients:
- In a large mixing bowl, combine the rolled oats, chopped nuts, dried fruit, seeds, cinnamon, and salt. Mix well to combine.
3. Heat the Wet Ingredients:
- In a small saucepan over low heat, combine the honey (or maple syrup) and nut butter. Stir until melted and well combined. Remove from heat and stir in the vanilla extract.
4. Combine Wet and Dry Ingredients:
- Pour the melted mixture over the dry ingredients and mix until everything is evenly coated. If using, fold in the mini chocolate chips.
5. Press into the Baking Dish:
- Transfer the mixture to the prepared baking dish. Use a spatula or your hands to firmly press the mixture down into an even layer.
6. Bake:
- Bake in the preheated oven for 20-25 minutes, or until the edges are golden brown.
7. Cool and Cut:
- Remove from the oven and let it cool in the pan for about 10 minutes. Use the parchment overhang to lift the bars out of the pan and let them cool completely on a wire rack.
- Once cool, cut into bars or squares.
8. Store:
- Store the granola bars in an airtight container at room temperature for up to one week or in the refrigerator for longer freshness.

