Peanut Butter Chocolate Chip Cookie Bites Recipe
Few culinary pairings are as universally beloved as peanut butter and chocolate. The creamy, nutty richness of peanut butter meets the deep, indulgent sweetness of chocolate in a union that feels almost inevitable—an instant classic that spans decades of dessert traditions. From nostalgic childhood snacks to gourmet confections, this dynamic duo has earned a permanent place in the hearts (and kitchens) of food lovers around the world.
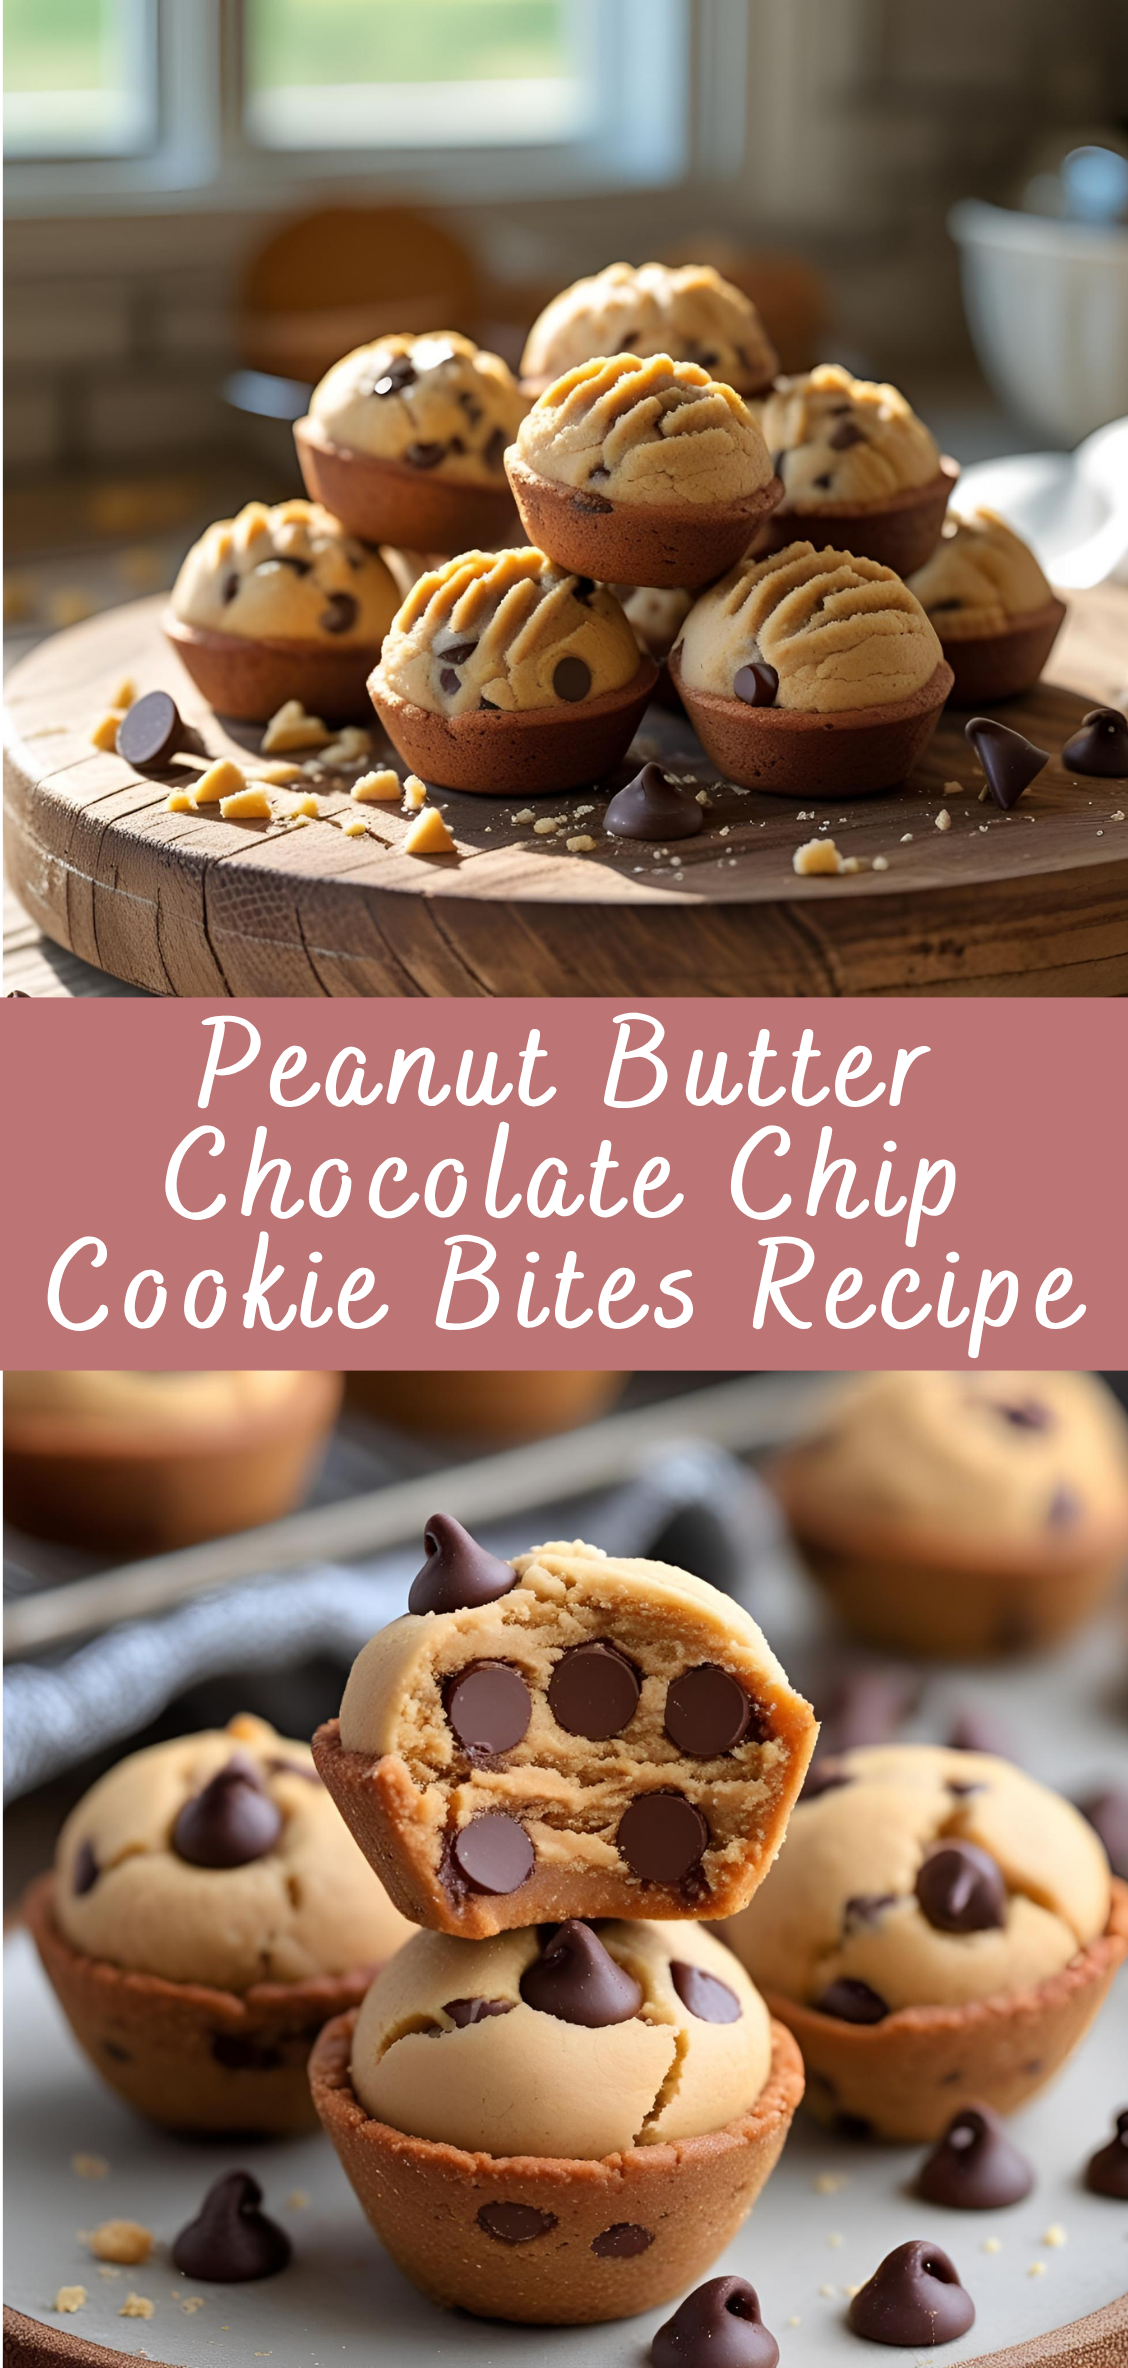
But what happens when you take this iconic flavor pairing and distill it into compact, crave-worthy bites of cookie goodness? You get Peanut Butter Chocolate Chip Cookie Bites—small, soft, chewy morsels that deliver all the satisfaction of a full-size cookie in a two-bite format. These treats are perfect for just about every occasion: a quick after-school snack, a thoughtful addition to lunchboxes, a bite-sized dessert for gatherings, or a sweet pick-me-up during a busy day.
The appeal of cookie bites lies not just in their size, but in their texture and balance of flavor. Unlike traditional cookies that can be crispy or overly dense, cookie bites maintain a tender interior with a slightly crisp edge. When done right, each bite contains the perfect ratio of creamy peanut butter and semi-melted chocolate chips, making them a sensory delight.
Beyond their flavor and texture, these cookie bites are incredibly versatile. Whether you’re a home baker looking for an easy weekend project, a parent preparing snacks for the family, or a health-conscious eater seeking smarter indulgences, this recipe can be adapted to suit your needs. You can make them gluten-free, add in your favorite nuts, swap out sugars, or even turn them into energy bites by skipping the baking process altogether.
In this comprehensive guide, we’ll walk you through everything you need to know to make the best Peanut Butter Chocolate Chip Cookie Bites from scratch. From selecting the right ingredients to mastering the mixing technique, baking time, and storage methods, no detail will be left out. We’ll also explore creative variations, troubleshooting tips, and the science behind what makes these cookies irresistibly soft and flavorful.
Whether you’re a seasoned baker or a beginner experimenting with your first homemade treat, this recipe will provide not only step-by-step instructions but also the confidence and understanding to make it your own. So, preheat your oven and prepare your mixing bowl—your next go-to dessert is just a few bites away.
Instructions: Step-by-Step Guide to Making Peanut Butter Chocolate Chip Cookie Bites
Crafting the perfect batch of Peanut Butter Chocolate Chip Cookie Bites doesn’t require professional skills—but it does benefit from care, attention to detail, and a few time-tested baking techniques. Below is a comprehensive breakdown of the process, from preparation to cooling.
Step 1: Gather and Measure All Ingredients
Before you turn on the oven, preparation is key. Set yourself up for success by measuring out each ingredient ahead of time. This technique, known in culinary circles as mise en place (French for “everything in its place”), helps ensure that you’re not scrambling for items midway through the process.
Essential Ingredients:
-
1 cup creamy peanut butter (unsweetened natural or commercial-style)
-
½ cup unsalted butter, softened
-
¾ cup light brown sugar, packed
-
¼ cup granulated sugar
-
1 large egg
-
1 tsp pure vanilla extract
-
1¼ cups all-purpose flour (sifted)
-
½ tsp baking soda
-
¼ tsp salt
-
1 cup semi-sweet chocolate chips (mini or regular)
-
Optional: flaky sea salt for garnish
Tools You’ll Need:
-
Stand mixer or handheld electric mixer
-
Mixing bowls (one large, one medium)
-
Rubber spatula or wooden spoon
-
Cookie scoop (1 to 1.5-inch size)
-
Baking sheet(s)
-
Parchment paper or silicone baking mat
-
Cooling rack
-
Measuring cups and spoons
Step 2: Preheat Your Oven
Set your oven to 350°F (175°C). Preheating is essential, as it ensures that your cookie bites bake evenly and start rising at the correct temperature. Line your baking sheets with parchment paper or silicone mats to prevent sticking and promote even browning.
Step 3: Cream the Fats and Sugars
In a large mixing bowl or the bowl of a stand mixer fitted with the paddle attachment, combine the softened butter and peanut butter. Beat on medium-high speed for about 2 to 3 minutes, or until the mixture appears light, fluffy, and well-integrated.
Next, add both the brown sugar and granulated sugar. Beat for another 2 minutes, scraping down the sides of the bowl with a spatula to ensure even mixing. This creaming process incorporates air into the dough and helps create a soft, tender crumb in the final cookie.
Step 4: Add the Egg and Vanilla
Crack the egg into a small bowl to check for shells, then add it to the butter-sugar mixture. Mix on medium speed until the egg is fully incorporated. Follow with the vanilla extract, blending for another 30 seconds until the dough is smooth and cohesive.
This stage is important for building structure and adding subtle flavor. The proteins in the egg contribute to binding the dough and achieving the right texture.
Step 5: Mix Dry Ingredients Separately
In a separate medium bowl, whisk together the flour, baking soda, and salt. This ensures that the leavening agents are evenly distributed throughout the dough.
Gradually add the dry ingredients to the wet mixture. Reduce the mixer speed to low to prevent overmixing and flour spillage. Add the flour in two batches, allowing each addition to incorporate fully before adding the next.
Mix until just combined—avoid overmixing, as this can lead to tough cookies due to gluten development.
Step 6: Fold in the Chocolate Chips
Using a spatula or wooden spoon, gently fold in the chocolate chips. You want the chips evenly distributed throughout the dough without breaking them apart or overworking the dough. If desired, reserve a small handful of chips to press into the tops of the cookies just before baking for a visually appealing finish.
Step 7: Chill the Dough (Optional but Recommended)
For best results, cover the mixing bowl and refrigerate the dough for 30 to 60 minutes. Chilling solidifies the fats, reduces spread during baking, and concentrates the flavors. If you’re in a hurry, you can proceed without chilling, but the cookies may be thinner and slightly more crumbly.
Step 8: Scoop and Shape the Cookie Bites
Using a cookie scoop or tablespoon, portion out dough balls approximately 1 to 1.5 inches in diameter. Roll each scoop lightly between your palms to create a uniform round shape. Place the dough balls 2 inches apart on the prepared baking sheets, as they will spread slightly during baking.
For extra aesthetic appeal, gently press a few chocolate chips or a pinch of flaky sea salt on top of each dough ball before placing them in the oven.
Step 9: Bake
Bake the cookie bites at 350°F (175°C) for 9 to 11 minutes, depending on your oven and dough temperature. You’re looking for light golden edges with centers that still look slightly soft or underbaked—they will continue to set on the hot tray after removal.
Do not overbake. The key to a chewy, moist cookie bite is taking them out just before they look completely done.
Step 10: Cool and Set
Allow the cookie bites to cool on the baking sheet for 5 to 7 minutes before transferring them to a wire rack. This helps them firm up without falling apart.
Once cooled, the bites should have a slightly crisp exterior, a chewy center, and just enough chocolatey gooeyness to satisfy any craving.
Step 11: Storage and Make-Ahead Tips
-
Room Temperature: Store cookie bites in an airtight container for up to 5 days. Place a slice of bread in the container to keep them soft.
-
Freezing Baked Cookies: Cool completely and freeze in a single layer, then transfer to a freezer-safe bag for up to 3 months.
-
Freezing Dough: Scoop dough balls onto a tray and freeze until solid. Store frozen dough balls in a zip-top bag and bake directly from frozen, adding 1–2 minutes to the bake time.
Peanut Butter Chocolate Chip Cookie Bites Recipe
Few culinary pairings are as universally beloved as peanut butter and chocolate. The creamy, nutty richness of peanut butter meets the deep, indulgent sweetness of chocolate in a union that feels almost inevitable—an instant classic that spans decades of dessert traditions. From nostalgic childhood snacks to gourmet confections, this dynamic duo has earned a permanent place in the hearts (and kitchens) of food lovers around the world.
Ingredients
- 1 cup creamy peanut butter
- ½ cup brown sugar (packed)
- ¼ cup granulated sugar
- 1 large egg
- 1 tsp vanilla extract
- ½ tsp baking soda
- ½ cup mini chocolate chips (or regular chips if preferred)
- Optional: pinch of salt (if using unsalted peanut butter)
Instructions
- Preheat oven to 350°F (175°C). Line a baking sheet with parchment paper or a silicone baking mat.
- Mix wet ingredients:
In a medium bowl, stir together the peanut butter, brown sugar, granulated sugar, egg, and vanilla extract until smooth and fully combined. - Add dry ingredients:
Stir in the baking soda and a pinch of salt (if needed). Mix until evenly distributed. - Add chocolate chips:
Fold in the mini chocolate chips. - Scoop and shape:
Using a small cookie scoop or spoon, form 1-inch dough balls and place them about 1 inch apart on the baking sheet. - Bake:
Bake for 8–10 minutes or until the edges are set. The centers may look slightly underbaked—this is okay. - Cool:
Allow to cool on the baking sheet for 5 minutes before transferring to a wire rack to cool completely.
Notes
- These bites are gluten-free if you ensure all ingredients (especially baking soda and chocolate chips) are certified gluten-free.
- Dough can be chilled for 30 minutes before baking for puffier bites.
- You can freeze the dough balls and bake from frozen—just add an extra minute or two to the bake time.
- For a crunchier texture, use chunky peanut butter or add chopped nuts.

