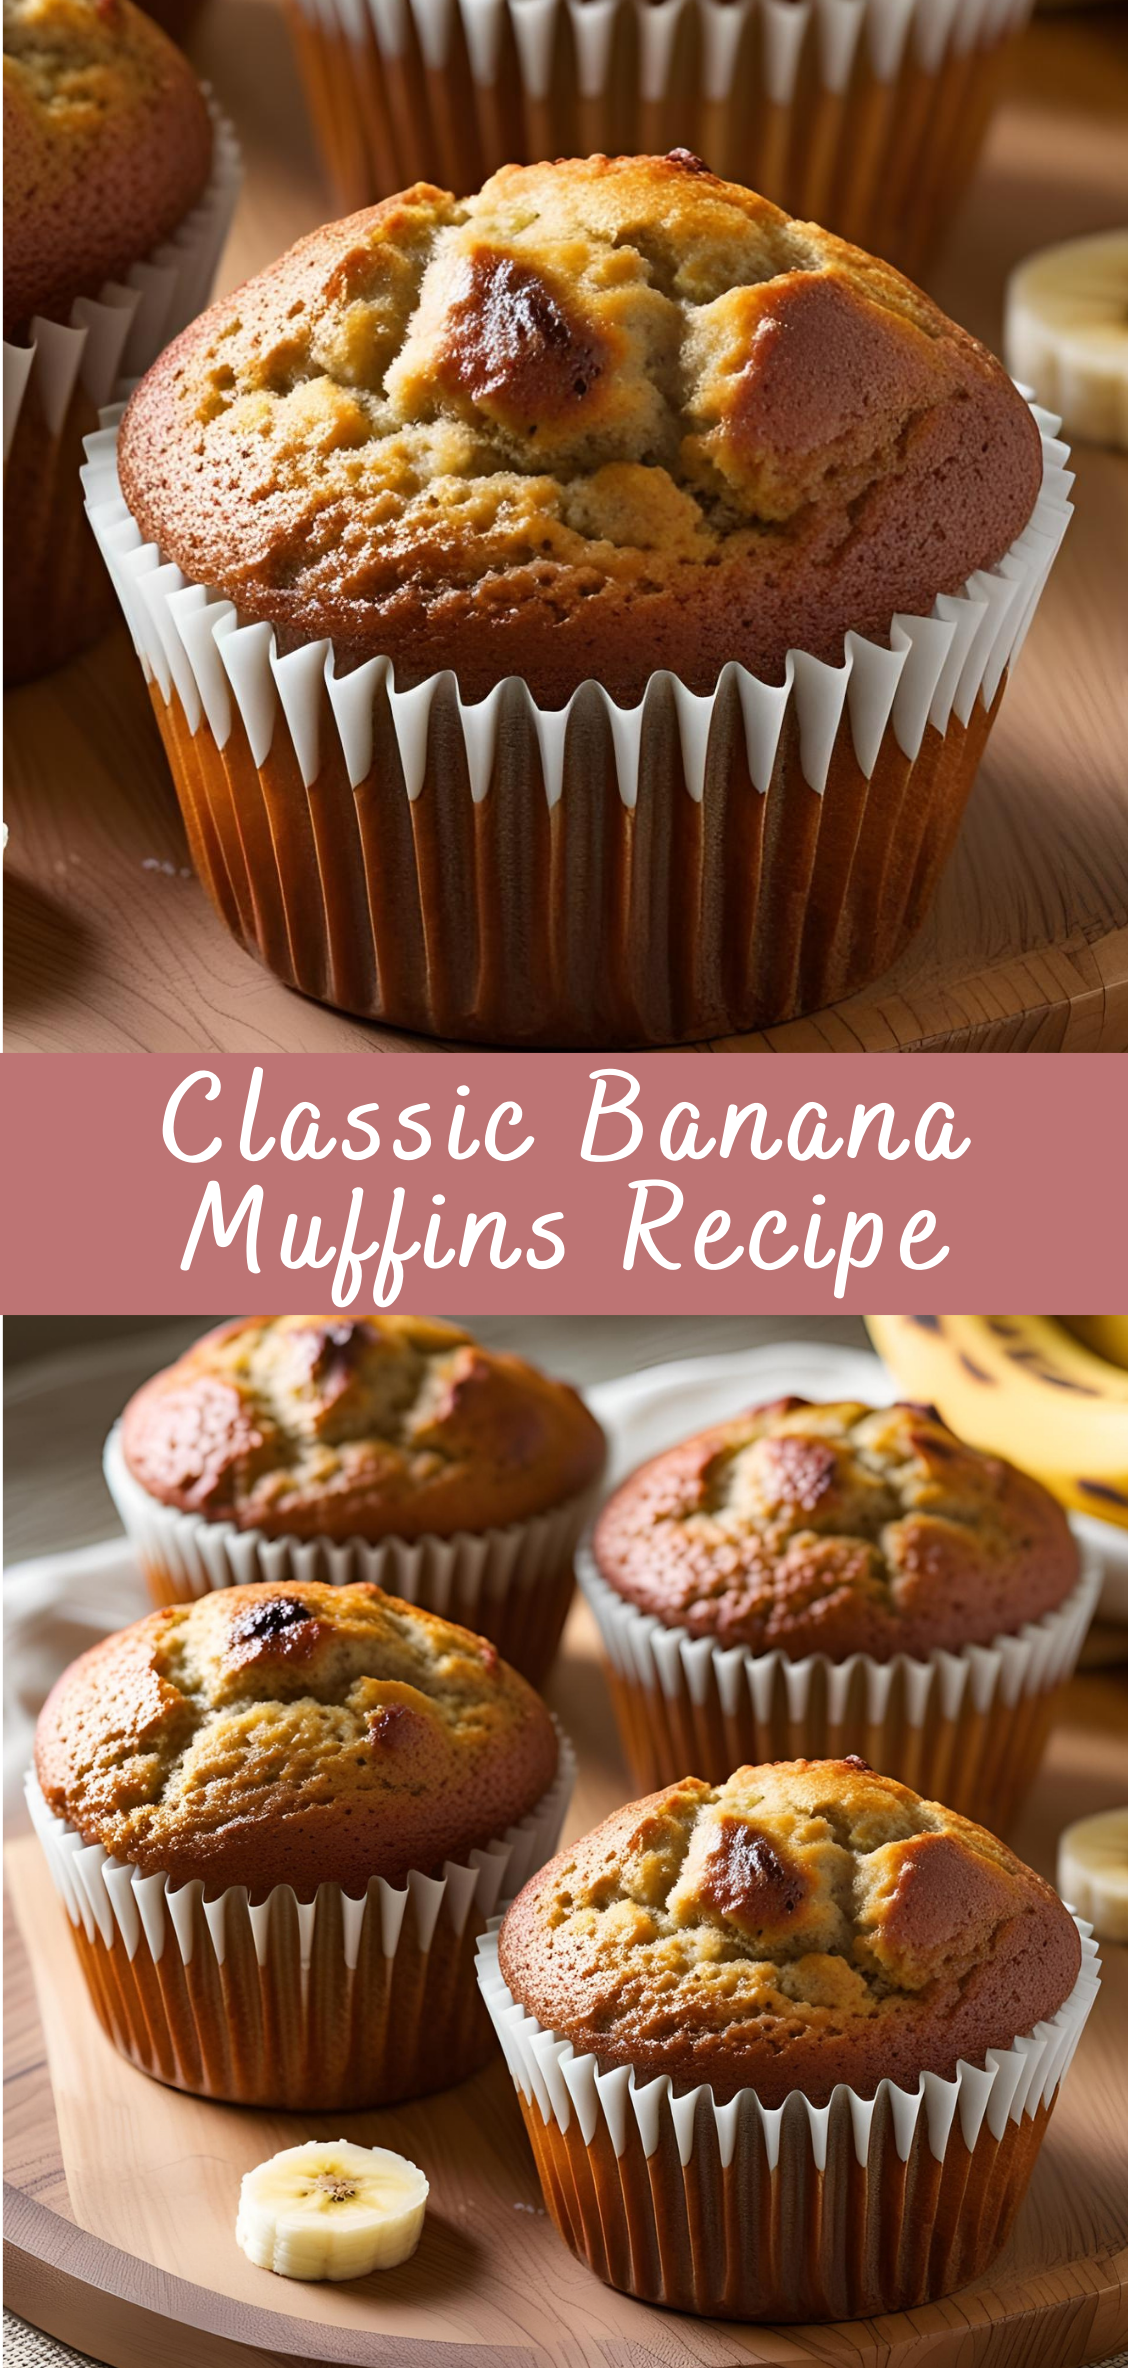
Classic Banana Muffins Recipe
There’s something universally comforting about the warm aroma of banana muffins baking in the oven. It’s a scent that stirs nostalgia, promises home-baked goodness, and quietly calls people to the kitchen. Classic Banana Muffins are one of those timeless recipes that almost every home baker has turned to at some point—whether as a solution to overripe bananas, a treat for the kids, or a quick breakfast to enjoy on the go.
But this is more than just a simple way to use up bananas. A well-made banana muffin walks the line between indulgent and wholesome. It’s soft yet sturdy, moist without being oily, sweet but not cloying. The banana flavor should shine through naturally, complemented by subtle warm spices like cinnamon or nutmeg and enhanced by a delicate crumb structure. In other words, when done right, banana muffins can be as comforting as cake—without the fuss.
The beauty of this recipe lies in its versatility and reliability. With just a few pantry staples and ripe bananas, you can whip up a batch of muffins that are satisfying any time of day. They’re perfect for busy weekday mornings, packed lunches, afternoon snacks, or even a casual dessert warmed and served with a touch of butter. The batter can easily be adapted with additions like chocolate chips, walnuts, blueberries, or oats, making the recipe a true canvas for creativity.
In today’s fast-paced world where convenience often takes the place of craft, banana muffins offer an invitation to slow down—just long enough to mix a bowl of batter, fill a muffin tin, and wait as the oven transforms basic ingredients into golden, domed treasures. You don’t need professional tools, expensive ingredients, or years of baking experience. All you need is a few ripe bananas and a desire to make something nourishing from scratch.
Whether you’re an experienced baker or just getting started, this recipe will become a trusted go-to in your kitchen. It’s simple enough to throw together on a weeknight, yet satisfying enough to serve with pride. By the end of this guide, you’ll not only have a flawless banana muffin recipe in your repertoire, but also the confidence to tweak and personalize it to suit your taste, dietary goals, or seasonal cravings.
Let’s begin by taking a closer look at the foundational ingredient: the banana—and how to choose and prepare it for optimal flavor and texture.
Step-by-Step Instructions for Classic Banana Muffins
Phase 1: Prepare Your Ingredients
Step 1: Choose and Prepare Bananas
-
Use ripe to overripe bananas. The peel should be heavily spotted or mostly brown for the sweetest, most flavorful muffins.
-
Peel the bananas and place them in a large mixing bowl.
-
Mash them thoroughly with a fork or potato masher until smooth with just a few small lumps remaining.
Tip: Overripe bananas have more natural sugars and moisture, which will keep your muffins tender and flavorful. If your bananas are underripe, consider ripening them in a paper bag with an apple or placing them in the oven at low heat (around 300°F / 150°C) for 15–20 minutes to speed up ripening.
Phase 2: Mix the Wet Ingredients
Step 2: Combine Butter, Sugar, and Eggs
-
In a separate large bowl, cream together softened unsalted butter and granulated sugar until light and fluffy. This usually takes about 2–3 minutes using an electric mixer on medium speed or vigorous whisking by hand.
-
Add in eggs one at a time, beating well after each addition.
-
Stir in vanilla extract for added aroma and depth.
Tip: Make sure your butter is at room temperature to achieve proper creaming. Cold butter won’t incorporate air properly, which affects muffin texture.
Step 3: Add Mashed Bananas and Milk
-
Stir the mashed bananas into the butter-sugar-egg mixture.
-
Add milk (whole milk preferred for richness, but any kind works) and mix gently until combined.
Phase 3: Prepare the Dry Ingredients
Step 4: Sift and Measure Flour, Baking Powder, Baking Soda, Salt, and Spices
-
In a medium bowl, sift together:
-
All-purpose flour
-
Baking powder
-
Baking soda
-
Salt
-
Ground cinnamon (optional)
-
Ground nutmeg (optional)
-
Tip: Sifting aerates the flour and helps ensure even distribution of the leavening agents and spices, preventing dense or unevenly risen muffins.
Phase 4: Combine Wet and Dry Ingredients
Step 5: Mix Batter Gently
-
Add the dry ingredients to the wet mixture in two additions.
-
Fold them in carefully with a spatula or wooden spoon, mixing just until no flour streaks remain.
-
Avoid overmixing, which can develop gluten and result in tough, dense muffins.
Important: Some lumps in the batter are normal and desirable.
Phase 5: Optional Mix-ins
Step 6: Add Optional Ingredients
-
Fold in any optional ingredients such as:
-
Chocolate chips
-
Chopped walnuts or pecans
-
Blueberries
-
Shredded coconut
-
Note: Add mix-ins at the very end to avoid overmixing.
Phase 6: Prepare the Muffin Tin
Step 7: Line or Grease Muffin Pan
-
Preheat the oven to 350°F (175°C).
-
Line a 12-cup muffin tin with paper liners or grease the cups lightly with butter or nonstick spray.
-
Using an ice cream scoop or large spoon, fill each cup about two-thirds full with batter.
Phase 7: Bake the Muffins
Step 8: Bake and Monitor
-
Bake in the preheated oven for 18–22 minutes.
-
Start checking for doneness at 18 minutes by inserting a toothpick or cake tester into the center of a muffin.
-
If it comes out clean or with a few moist crumbs, the muffins are done.
-
If batter clings to the tester, bake for 2–3 minutes longer and check again.
Phase 8: Cooling and Serving
Step 9: Cool Muffins
-
Remove the muffin tin from the oven.
-
Let the muffins cool in the pan for about 5 minutes.
-
Transfer muffins to a wire rack to cool completely.
Tip: Cooling on a rack prevents sogginess from trapped steam.
Classic Banana Muffins Recipe
There’s something universally comforting about the warm aroma of banana muffins baking in the oven. It’s a scent that stirs nostalgia, promises home-baked goodness, and quietly calls people to the kitchen. Classic Banana Muffins are one of those timeless recipes that almost every home baker has turned to at some point—whether as a solution to overripe bananas, a treat for the kids, or a quick breakfast to enjoy on the go.
Ingredients
- 1 1/2 cups (190g) all-purpose flour
- 1 tsp baking soda
- 1/4 tsp salt
- 3 large ripe bananas (mashed, about 1 cup)
- 3/4 cup (150g) granulated sugar
- 1 large egg (beaten)
- 1/3 cup (75g) unsalted butter (melted)
- 1 tsp vanilla extract
- Optional: 1/2 cup chopped walnuts or chocolate chips
Instructions
Step 1: Preheat Oven
- Preheat your oven to 350°F (175°C).
- Line a 12-cup muffin tin with paper liners or grease the cups.
Step 2: Mix Dry Ingredients
- In a medium bowl, whisk together flour, baking soda, and salt.
Step 3: Mix Wet Ingredients
- In a large bowl, combine mashed bananas, sugar, beaten egg, melted butter, and vanilla extract until smooth.
Step 4: Combine
- Gently fold the dry ingredients into the wet mixture. Don’t overmix; just combine until no large flour pockets remain.
- Fold in walnuts or chocolate chips if using.
Step 5: Fill Muffin Cups
- Spoon batter evenly into the muffin cups, filling about 3/4 full.
Step 6: Bake
- Bake for 18–22 minutes, or until a toothpick inserted into the center comes out clean.
- Remove muffins from the oven and let cool for 5 minutes before transferring to a wire rack.
Notes
- Ripeness Matters: The riper the bananas, the sweeter and more flavorful your muffins.
- Add-Ins: Try cinnamon, nutmeg, or shredded coconut for extra flavor.
- Make It Healthier: Substitute half the flour with whole wheat flour or use coconut sugar.

