Frozen Greek Yogurt Peanut Butter Bites with Chocolate Chips Recipe
In the world of snacking, few combinations are as universally adored as peanut butter and chocolate. The salty, nutty depth of peanut butter paired with the sweet richness of chocolate creates a flavor marriage that feels indulgent, nostalgic, and satisfying—every single time. But what happens when you add creamy Greek yogurt to the mix and freeze it into poppable, bite-sized treats? You don’t just get a snack—you get a smart, crave-worthy, and refreshingly cool indulgence that satisfies without compromise.
Frozen Greek Yogurt Peanut Butter Bites with Chocolate Chips are the answer to nearly every modern snacking dilemma. Need something sweet but don’t want the sugar crash? Craving something creamy and decadent but trying to eat clean? Looking for a quick post-workout bite, an after-dinner treat, or a kid-friendly snack that adults secretly hoard in the freezer? These little bites do it all.
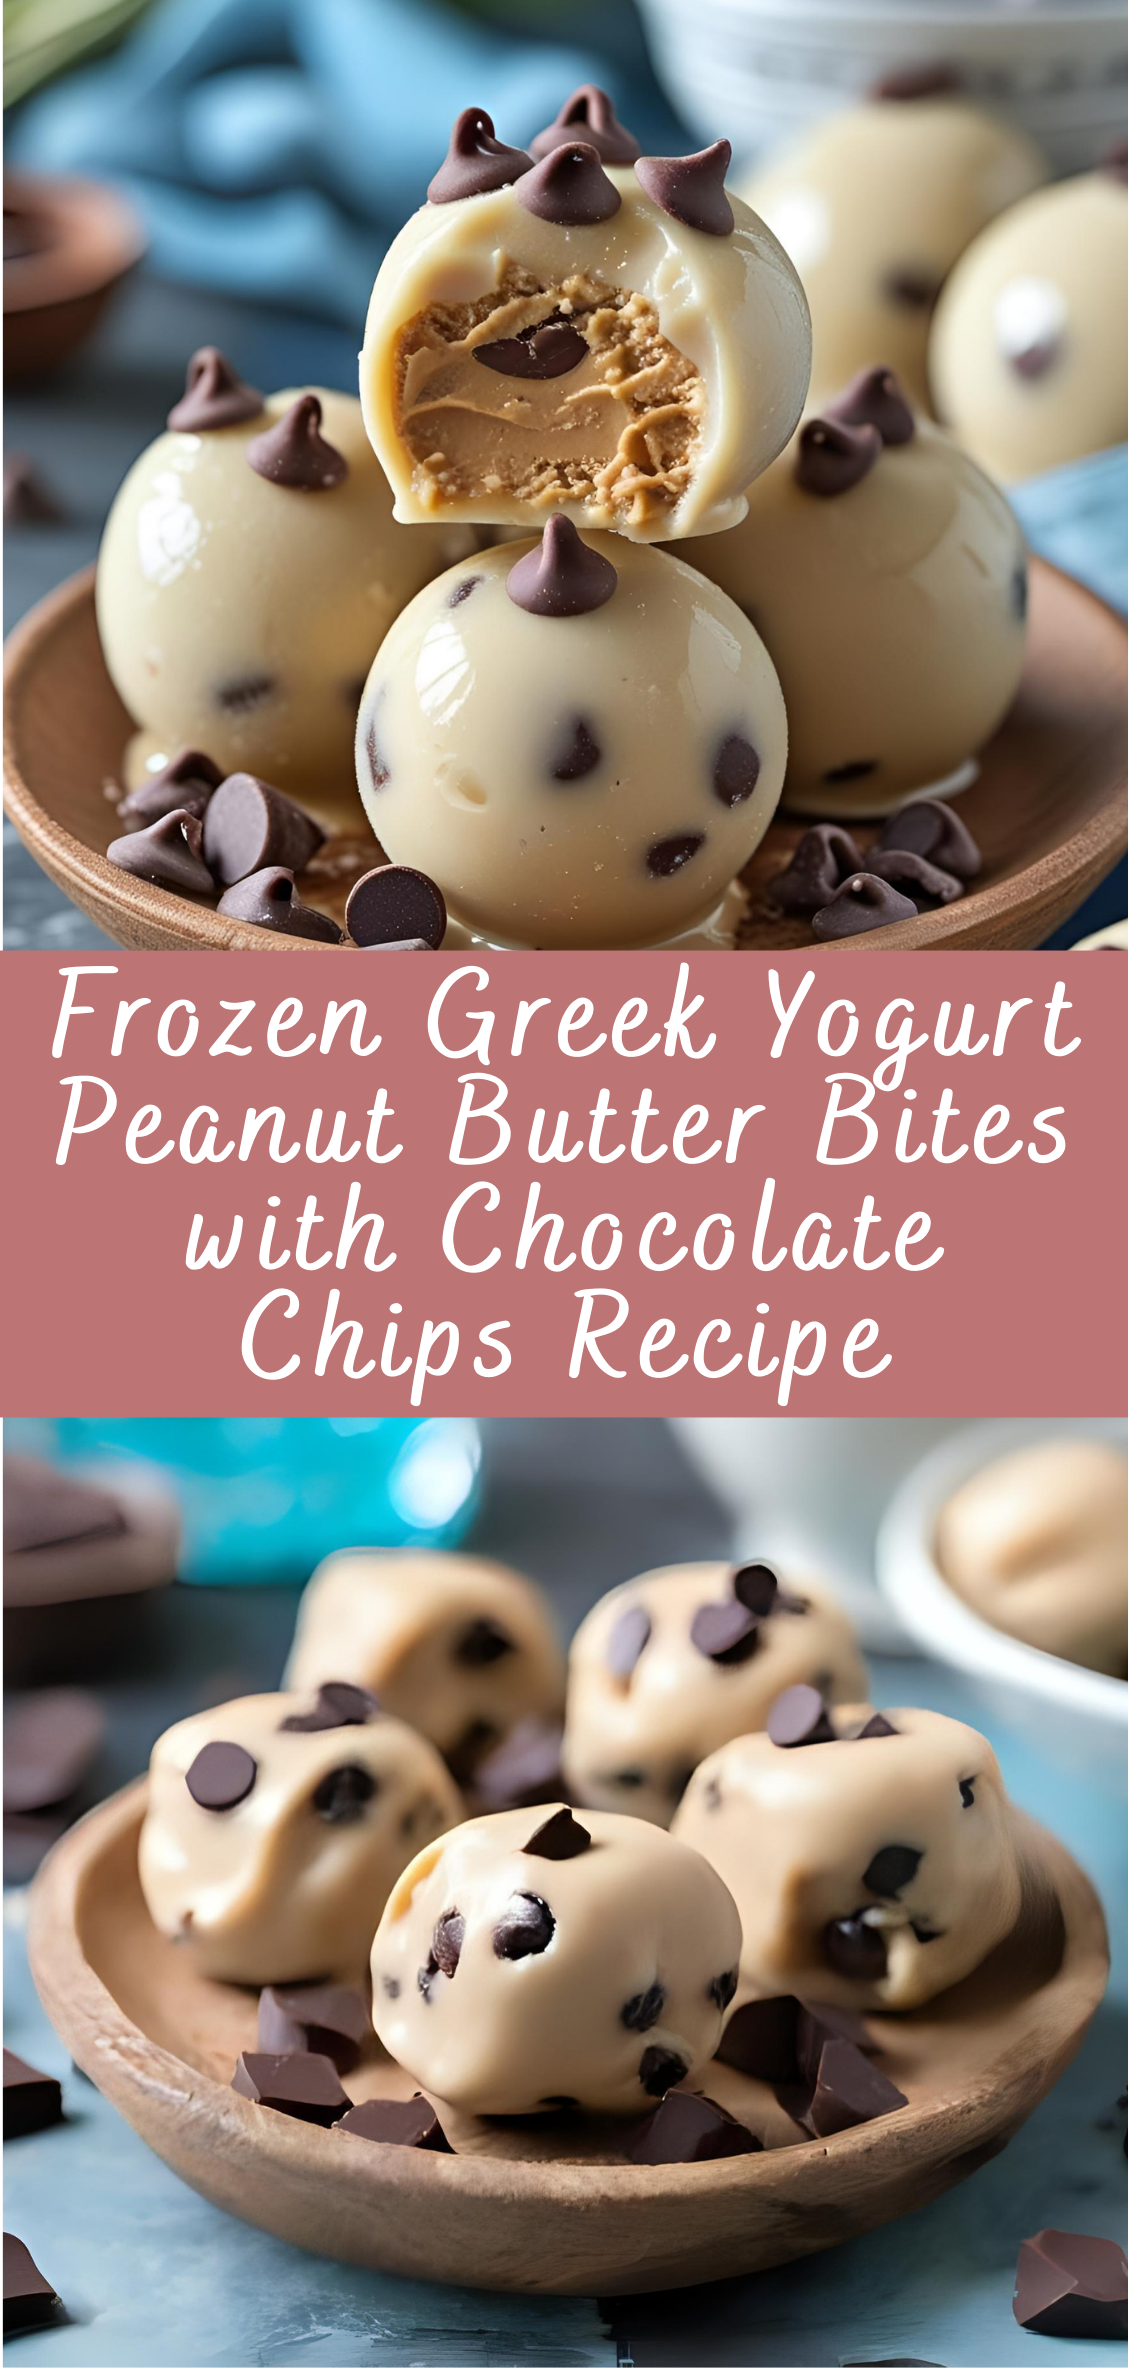
Each one is a soft, frozen cluster of high-protein Greek yogurt, natural peanut butter, and a touch of sweetener, speckled with mini chocolate chips for just the right hit of indulgence. Stored in the freezer, they’re cold and creamy like mini frozen desserts—but made with wholesome ingredients that nourish your body as well as your cravings.
What sets these bites apart from so many store-bought frozen treats is their simple, real-food ingredient list. No preservatives. No mysterious stabilizers. No added sugars beyond what you choose. You control everything—from the type of peanut butter to the amount of honey or maple syrup, the style of yogurt, and even the chocolate chips. The result? A customizable, nutrient-dense treat that’s delicious straight from the freezer and versatile enough to fit into nearly any dietary approach, from high-protein meal prep to lighter plant-based snacking.
The beauty of this recipe also lies in its flexibility. Prefer almond butter or cashew butter instead of peanut? Go for it. Want to add some crunch with chopped nuts or granola? Toss them in. Need dairy-free? Use your favorite plant-based yogurt. Looking for low-carb? Swap out sweeteners and chocolate for keto-friendly versions. The framework is forgiving, but the result is always delicious.
But beyond the ingredients, there’s a reason these frozen bites are so beloved: they make healthy eating feel like a treat. You don’t need to be on a diet or follow a fitness plan to enjoy them. They’re the kind of snack that just makes sense—whether you’re feeding kids, managing your energy throughout the day, or simply trying to make better choices without sacrificing flavor.
The texture is also part of the magic. Straight from the freezer, each bite has a firm, ice cream-like consistency that slowly melts on your tongue. As you chew, you get the creamy tang of Greek yogurt, the comforting richness of peanut butter, and the playful crunch of cold chocolate chips. It’s not overly sweet, not overly heavy, and somehow both refreshing and satisfying. Perfect for summer days, post-gym cooldowns, or those moments where you just want “a little something” without diving headfirst into a pint of ice cream.
In this comprehensive guide, we’ll take you through everything you need to know to make these frozen yogurt bites your new go-to snack. From selecting the best yogurt and nut butters, to mixing and portioning the bites, to freezing and storing them for maximum texture and flavor, you’ll get a complete step-by-step breakdown. We’ll also explore variations, nutritional insights, common questions, storage hacks, and creative ways to use the bites beyond basic snacking—think dessert boards, school lunches, and even smoothie bowl toppers.
Whether you’re a meal-prep pro or someone just trying to stock the freezer with better options, this recipe meets you where you are. It’s simple enough for a beginner, quick enough for a busy schedule, and delicious enough to keep you coming back for more.
So grab your mixing bowl, clear a little space in your freezer, and get ready to transform a few everyday ingredients into something surprisingly delightful. These Frozen Greek Yogurt Peanut Butter Bites with Chocolate Chips might just become the snack you didn’t know you needed—but won’t want to live without.
Step-by-Step Instructions: How to Make Frozen Greek Yogurt Peanut Butter Bites with Chocolate Chips
Ingredients You’ll Need
Base Recipe:
-
1 cup Greek yogurt (plain or vanilla, full-fat or low-fat)
-
½ cup natural peanut butter (creamy or crunchy; no added sugar or oil)
-
2–3 tablespoons honey or maple syrup (adjust to taste)
-
½ teaspoon vanilla extract (optional for enhanced flavor)
-
¼ teaspoon fine sea salt (optional but recommended to balance sweetness)
-
⅓ cup mini chocolate chips (regular or dairy-free)
Optional Add-Ins:
-
2 tablespoons ground flaxseed or chia seeds (for fiber and texture)
-
A handful of crushed nuts or granola (for crunch)
-
2 tablespoons shredded coconut (for tropical flavor)
-
Dash of cinnamon (for warmth)
-
Mini M&M’s or sprinkles (for a kid-friendly version)
Step 1: Gather and Prepare Your Ingredients
Start by measuring all of your ingredients ahead of time. Use a spatula to scoop peanut butter and Greek yogurt—these ingredients are sticky and thick, so prepping in advance streamlines the mixing process.
Tip: For smoother blending, allow the peanut butter and Greek yogurt to come to room temperature for 5–10 minutes. This makes them easier to stir together and results in a creamier texture.
Step 2: Mix the Base
In a medium mixing bowl, combine the following:
-
1 cup Greek yogurt
-
½ cup natural peanut butter
-
2–3 tablespoons honey or maple syrup
-
½ teaspoon vanilla extract (if using)
-
¼ teaspoon salt (optional but recommended)
Use a spoon or silicone spatula to thoroughly mix the ingredients together until the texture is smooth and uniform.
Texture note: The mixture should be thick, creamy, and spoonable—similar to soft frosting. If it feels too runny (which can happen if using low-fat yogurt), you can add a tablespoon of ground oats, protein powder, or flaxseed to help thicken it up.
Step 3: Fold in the Chocolate Chips (and Optional Mix-Ins)
Once the base is smooth and fully blended, gently fold in:
-
⅓ cup mini chocolate chips
If you’re adding any optional mix-ins (seeds, coconut, crushed nuts, etc.), stir them in now. Keep in mind that extra dry ingredients may slightly firm up the mixture—which is a good thing if you want firmer bites.
Why mini chips? Regular chocolate chips can be overpowering in small bites and make it harder to scoop neat portions. Mini chips give the perfect chocolatey crunch without overwhelming the balance of flavors.
Step 4: Portion the Bites
Line a baking sheet or plate with parchment paper or wax paper. This will prevent sticking when freezing.
Use a small cookie scoop or a tablespoon to portion the mixture into small mounds, spacing them slightly apart on the tray. You should get about 20–24 bites, depending on how large you make them.
For smoother bites: Wet your fingers slightly and gently shape each scoop into a rounder, neater mound if desired. This is totally optional and mostly for presentation.
Alternative method: If you prefer a bar shape, press the entire mixture into a parchment-lined square baking pan, freeze, then cut into small squares once solid.
Step 5: Freeze Until Firm
Transfer the tray to the freezer and freeze for at least 2–3 hours, or preferably overnight, until the bites are fully solid.
Texture note: When fully frozen, the bites should be firm to the touch and hold their shape easily. They’ll be creamy when bitten into—not icy or rock-hard like ice cubes.
Step 6: Store Properly
Once frozen, transfer the bites into an airtight container or freezer-safe bag. Use parchment paper between layers if you’ve stacked them to prevent sticking.
Label your container with the date—they’ll keep well in the freezer for up to 2 months, though they’re usually eaten much faster.
Step 7: Serve and Enjoy
These bites can be eaten straight from the freezer—no thawing needed. They’ll be creamy and soft enough to bite through but firm enough to be mess-free.
Serving ideas:
-
As a mid-afternoon energy boost
-
Dessert after dinner (kids love them)
-
Post-workout recovery snack
-
Crumbled on top of smoothie bowls or oatmeal
-
Alongside fresh fruit for a balanced snack plate
Extra Tips for Best Results
1. Choosing the Right Yogurt:
Full-fat Greek yogurt offers the creamiest texture and richest flavor, especially when frozen. Low-fat or non-fat works too but may be icier.
2. Sweetener Swaps:
Feel free to use monk fruit syrup, agave, or a sugar-free maple syrup alternative if you’re reducing added sugar.
3. Nut Butter Variety:
Almond butter, cashew butter, sunflower seed butter, or tahini can be used in place of peanut butter. Natural nut butters (with only nuts and salt) work best.
4. Chocolate Options:
Use dark, semi-sweet, milk, or dairy-free chips depending on your preference. Chopped chocolate bars or cocoa nibs also work for different textures.
5. Allergy-Friendly Variations:
To make nut-free bites, use sunflower seed butter or Wowbutter. To make dairy-free bites, use coconut or almond milk yogurt with dairy-free chips.
Frozen Greek Yogurt Peanut Butter Bites with Chocolate Chips Recipe
In the world of snacking, few combinations are as universally adored as peanut butter and chocolate. The salty, nutty depth of peanut butter paired with the sweet richness of chocolate creates a flavor marriage that feels indulgent, nostalgic, and satisfying—every single time. But what happens when you add creamy Greek yogurt to the mix and freeze it into poppable, bite-sized treats? You don’t just get a snack—you get a smart, crave-worthy, and refreshingly cool indulgence that satisfies without compromise.
Ingredients
- 1 cup (250g) plain or vanilla Greek yogurt
- ½ cup (125g) creamy peanut butter (natural or regular)
- 2–3 tbsp honey or maple syrup (to taste)
- 1 tsp vanilla extract (optional)
- ¼ cup mini chocolate chips (or chopped dark chocolate)
- Pinch of salt (optional, especially if using unsalted peanut butter)
Instructions
- Mix the base:
In a medium bowl, stir together Greek yogurt, peanut butter, honey (or maple syrup), vanilla extract, and salt (if using) until smooth and well combined. - Fold in chocolate chips:
Gently mix in the mini chocolate chips. - Portion the bites:
Use a spoon or small cookie scoop to drop spoonfuls of the mixture onto a parchment-lined baking sheet or into silicone mini muffin molds. - Freeze:
Place in the freezer for 1–2 hours, or until the bites are firm. - Serve or store:
Once frozen, transfer to an airtight container or freezer bag. Store in the freezer and eat straight from frozen (they soften quickly!).
Notes
- Consistency tip: If your peanut butter is very oily or runny, you may want to use slightly less or add a touch more yogurt.
- Flavor variations:
Use almond butter or cashew butter instead of peanut butter
Add a sprinkle of crushed pretzels or granola on top before freezing
Mix in cinnamon or cocoa powder for a flavor boost - Sweetness: Taste the mixture before freezing and adjust the honey/maple syrup to your preference.

