No-Bake Chocolate Peanut Butter Truffles Recipe: A Decadent Treat Made Simple
There are certain flavor pairings that stand the test of time—combinations so perfect that they transcend trends, cultures, and culinary eras. Chocolate and peanut butter belong firmly in that category. The richness of velvety chocolate meeting the creamy, nutty saltiness of peanut butter creates a harmony that feels indulgent, nostalgic, and comforting all at once. It’s the flavor of childhood memories and grown-up cravings rolled into one irresistible bite. In this recipe, we’re taking that timeless duo and transforming it into something extraordinary: No-Bake Chocolate Peanut Butter Truffles.
Truffles have long been considered the epitome of luxury in the dessert world. Traditionally, they’re made with heavy cream, butter, and fine chocolate, carefully tempered and rolled by hand into rich, melt-in-your-mouth morsels. They’re elegant, they’re decadent—and, admittedly, they can be intimidating for home bakers. But what if you could capture that same luxurious texture and flavor without ever turning on your oven or fussing with tempering chocolate? That’s where no-bake chocolate peanut butter truffles come in.
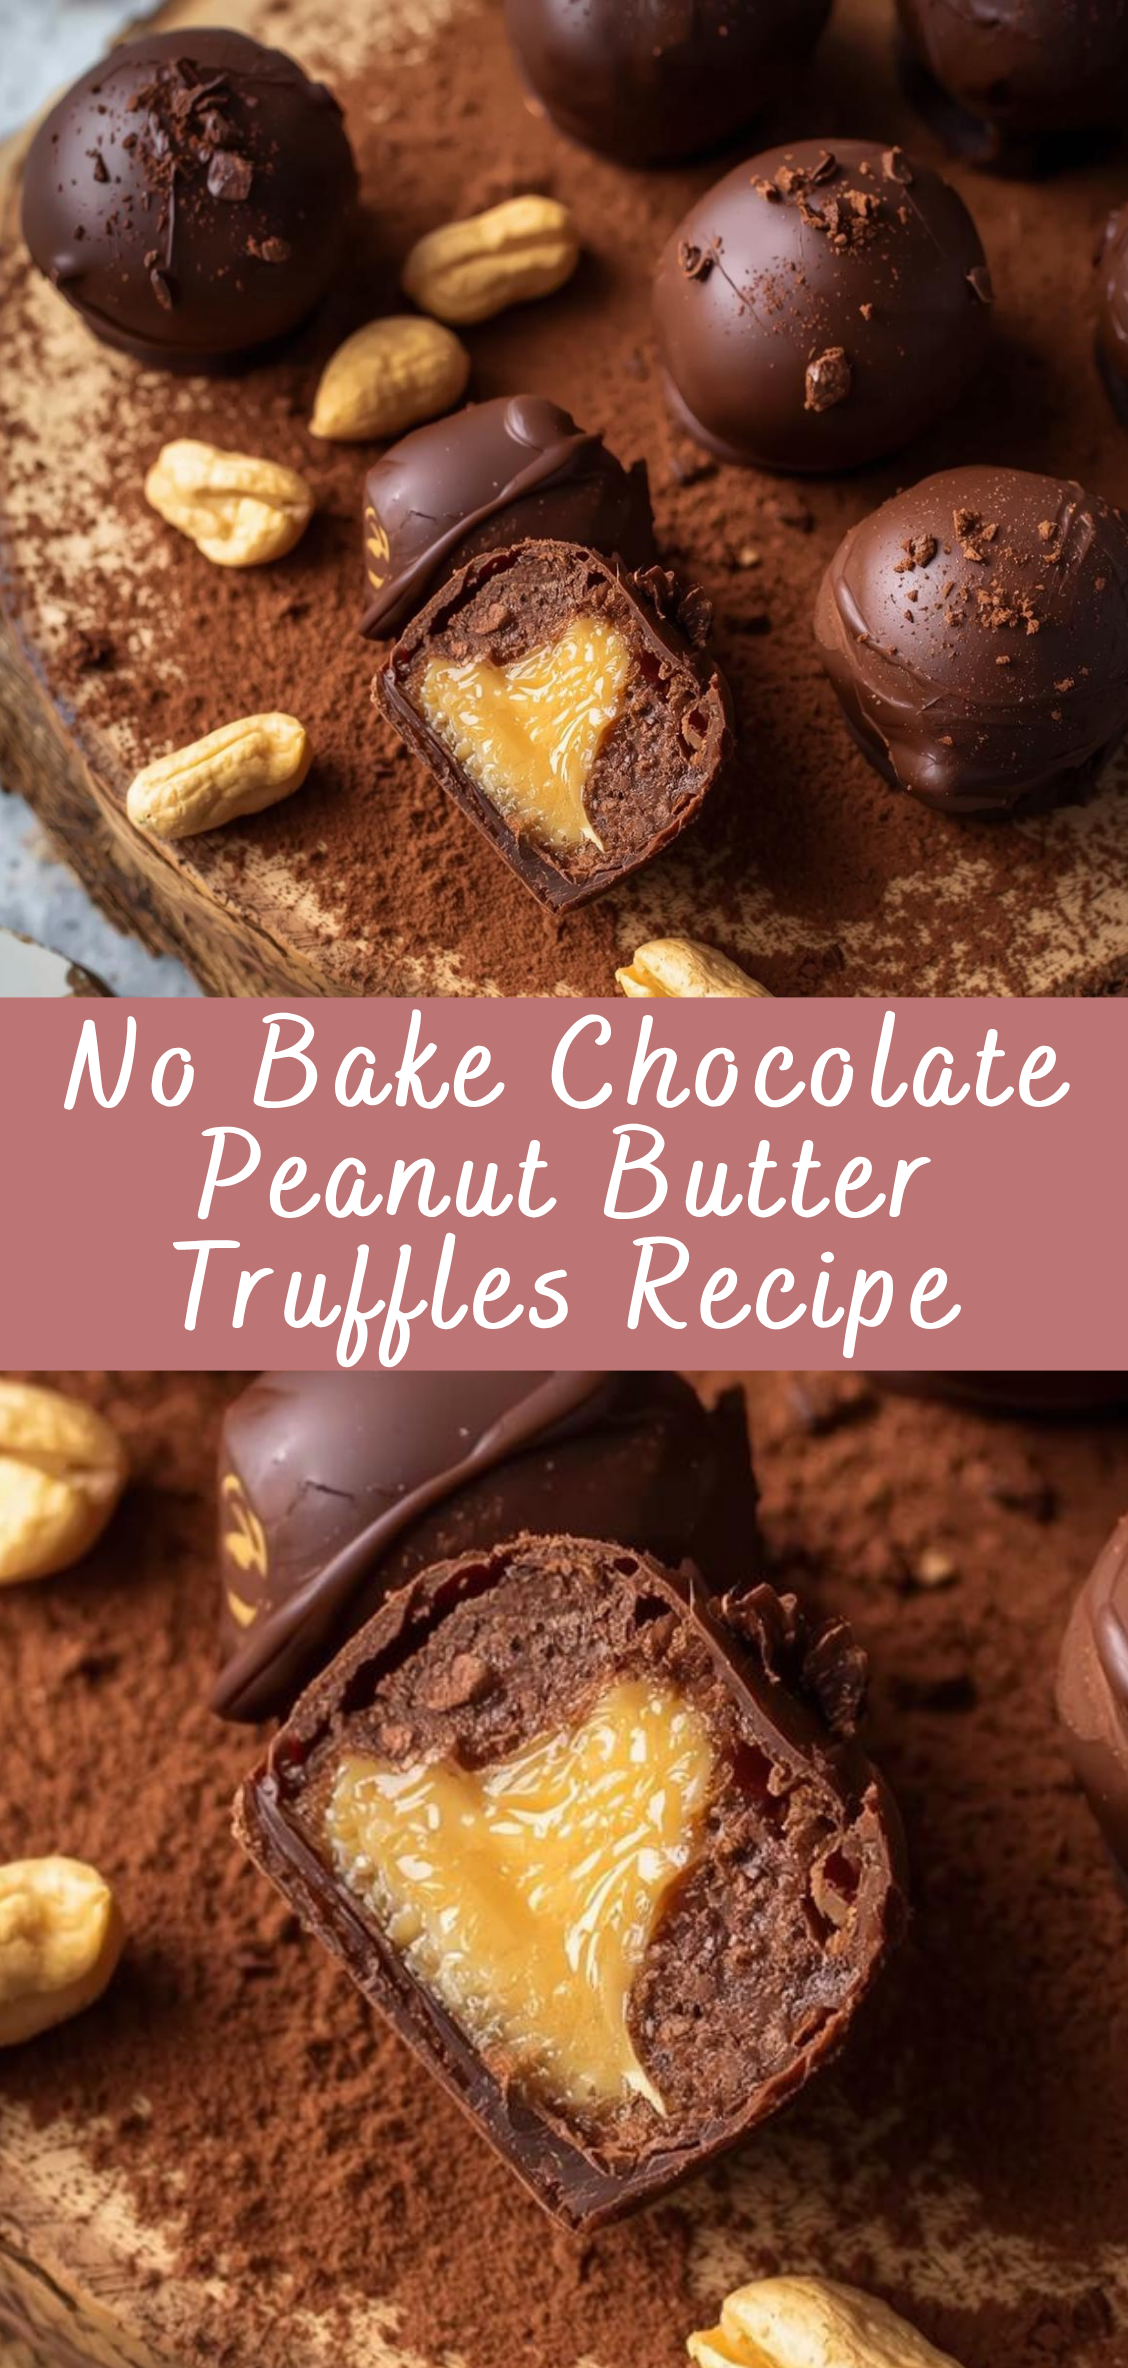
These truffles combine the sophistication of a classic confection with the ease of a no-bake recipe. They’re simple enough for a beginner yet impressive enough for a gift, a party tray, or a romantic dessert. The base is a silky blend of creamy peanut butter and just the right amount of sweetness, rolled into balls and coated in a rich chocolate shell. The result is a bite-sized treat that’s smooth, creamy, and slightly salty inside with a satisfying snap of chocolate on the outside.
Beyond their decadent flavor, these truffles exemplify the beauty of simplicity in modern homemade desserts. In today’s fast-paced world, many of us crave sweets that don’t demand hours in the kitchen but still feel handmade and special. No-bake desserts have become a beloved solution—they’re quick, reliable, and often require nothing more than a mixing bowl and a few pantry staples. Yet, despite their simplicity, they can deliver stunning results that rival bakery-quality treats. These peanut butter truffles embody that ideal perfectly: minimal ingredients, zero baking, and maximum satisfaction.
There’s also something deeply nostalgic about the act of making chocolate and peanut butter treats at home. For many, peanut butter stirs childhood memories—sandwiches packed in school lunches, cookies baked on rainy afternoons, or spoonfuls straight from the jar. Chocolate, meanwhile, has always been a symbol of comfort and celebration. When you bring these two elements together in a homemade dessert, you’re not just making candy—you’re crafting a little moment of joy, one that can be shared or savored in solitude with equal delight.
From a culinary standpoint, this recipe is also a testament to balance. Peanut butter’s natural richness can easily overpower, so the key lies in tempering its intensity with just the right amount of chocolate and sweetness. Every bite should feel harmonious—creamy but not cloying, sweet but grounded by a hint of salt, indulgent but not heavy. When executed properly, these no-bake truffles deliver a textural and sensory experience that rivals even the finest patisserie confections.
What’s more, this recipe is highly adaptable. You can use dark chocolate for an intense, sophisticated twist; milk chocolate for a sweeter, more nostalgic flavor; or white chocolate for a creamy contrast. You can roll them in crushed nuts, cocoa powder, coconut flakes, or even a dusting of sea salt to create endless variations. They can be made ahead for holidays, gifted in elegant boxes, or enjoyed as a quick fix for late-night cravings. The flexibility of this recipe makes it a staple in any dessert repertoire.
Over the course of this guide, we’ll walk through every aspect of making no-bake chocolate peanut butter truffles from start to finish. You’ll learn how to choose the right type of peanut butter and chocolate, how to achieve the perfect consistency for rolling, and how to coat and store your truffles so they stay fresh and beautiful. We’ll explore the science behind the ingredients—why ratios matter, how temperature affects texture, and how to troubleshoot common issues like sticky dough or cracked chocolate shells.
This isn’t just a recipe—it’s an invitation to play with flavor and texture, to rediscover the joy of creating something indulgent from simple ingredients. You’ll see how easy it is to transform a few pantry staples into a dessert that feels luxurious, thoughtful, and utterly delicious. Whether you’re making them for a celebration, a gift, or simply to treat yourself, these truffles are proof that you don’t need an oven or professional tools to make something extraordinary.
So, gather your mixing bowl, your favorite peanut butter, and a bar (or two) of good chocolate. Get ready to roll, dip, and indulge in the magic that happens when two of the world’s most beloved flavors come together in perfect harmony. This is your guide to creating the ultimate No-Bake Chocolate Peanut Butter Truffles—a dessert that’s as satisfying to make as it is to eat.
Ingredients and Equipment
Before beginning, it’s essential to assemble all ingredients and tools. This ensures a smooth process, as no-bake recipes depend on timing, consistency, and proper handling.
Ingredients
Truffle Base
-
1 cup creamy peanut butter (unsalted or lightly salted; avoid natural peanut butter unless stabilized)
-
1/4 cup unsalted butter, softened
-
1 teaspoon pure vanilla extract
-
2 cups powdered sugar, sifted to avoid lumps
Chocolate Coating
-
2 cups semi-sweet or dark chocolate chips (or chopped chocolate)
-
1 tablespoon coconut oil or vegetable oil (optional, for smooth coating)
Optional Toppings
-
Chopped peanuts or almonds
-
Cocoa powder
-
Shredded coconut
-
Sea salt flakes
Equipment Needed
-
Mixing bowl (medium or large)
-
Hand mixer or wooden spoon
-
Baking sheet or tray
-
Parchment paper or silicone mat
-
Microwave-safe bowl or double boiler for melting chocolate
-
Small cookie scoop or spoon (for uniform truffles)
-
Fork or dipping tool (for coating in chocolate)
-
Refrigerator
Detailed Step-by-Step Instructions
The key to perfect no-bake chocolate peanut butter truffles lies in creating a smooth, firm peanut butter center, rolling it into uniform balls, and coating it in glossy chocolate. Each step will be explained thoroughly.
Step 1: Prepare the Peanut Butter Mixture
-
In a medium mixing bowl, combine 1 cup peanut butter and 1/4 cup softened butter.
-
Use a hand mixer or wooden spoon to cream them together until smooth and fully combined.
-
Tip: The mixture should be soft but not runny. If the peanut butter is too oily, refrigerate it briefly before mixing.
-
-
Add 1 teaspoon vanilla extract and continue mixing until incorporated.
-
Gradually add 2 cups powdered sugar, about 1/2 cup at a time, stirring or mixing after each addition.
-
The mixture should thicken into a pliable dough that can be rolled by hand without sticking excessively.
-
If it’s too soft, add a little more powdered sugar. If it’s crumbly, add a teaspoon of milk or softened butter.
-
Step 2: Chill the Mixture
-
Cover the bowl with plastic wrap or transfer the peanut butter dough to an airtight container.
-
Refrigerate for 30–60 minutes.
-
Chilling firms up the mixture, making it easier to roll into uniform balls.
-
Step 3: Shape the Truffles
-
Line a baking sheet with parchment paper or a silicone baking mat.
-
Use a small cookie scoop or a spoon to portion out the peanut butter mixture into equal amounts.
-
Aim for approximately 1-inch balls for bite-sized truffles.
-
-
Roll each portion gently between your palms until smooth and round.
-
Tip: If the mixture sticks to your hands, lightly coat your palms with powdered sugar or refrigerate the dough for a few minutes longer.
-
-
Place the rolled balls onto the prepared baking sheet.
-
Once all truffles are shaped, refrigerate for another 20–30 minutes to firm up further before coating in chocolate.
Step 4: Melt the Chocolate Coating
-
In a microwave-safe bowl, combine 2 cups chocolate chips with 1 tablespoon coconut oil (optional).
-
Microwave in 20–30 second intervals, stirring after each, until smooth.
-
Alternatively, use a double boiler by placing a heatproof bowl over simmering water, stirring the chocolate until fully melted.
-
-
Ensure the chocolate is completely smooth and slightly warm, but not hot.
-
Overheating chocolate can cause it to seize, becoming grainy and unworkable.
-
Step 5: Dip the Truffles in Chocolate
-
Using a fork, toothpick, or dipping tool, pick up a chilled peanut butter ball.
-
Submerge it fully in the melted chocolate, ensuring even coverage.
-
Lift it out and gently tap off excess chocolate, letting it drip back into the bowl.
-
Place the coated truffle back onto the parchment-lined baking sheet.
-
Repeat this process for all truffles.
-
Optional: Sprinkle with chopped nuts, cocoa powder, coconut, or sea salt immediately after dipping before the chocolate sets.
Step 6: Set the Truffles
-
Allow the chocolate to set at room temperature for about 15–20 minutes, or place the tray in the refrigerator for 10–15 minutes for faster setting.
-
Check to ensure the chocolate is fully firm before handling or storing.
Step 7: Store and Serve
-
Store the truffles in an airtight container.
-
At room temperature, they last up to 1 week.
-
In the refrigerator, they remain fresh for 2–3 weeks.
-
-
For longer storage, truffles can be frozen for up to 2 months.
-
Thaw at room temperature before serving.
-
-
Serve the truffles as a snack, dessert, or gift.
-
They pair beautifully with coffee, tea, or a glass of cold milk.
-
Step 8: Tips for Perfect No-Bake Truffles
-
Choose the right peanut butter: Creamy and stable peanut butter works best; natural peanut butter may cause the truffles to crumble.
-
Uniform sizing: Use a cookie scoop for consistent truffles, which ensures even coating and a professional appearance.
-
Temperature control: Chocolate should be melted gently; overheating will ruin the smooth texture.
-
Custom coatings: Roll truffles in crushed cookies, chopped nuts, or sprinkles for variation.
-
Prevent sticking: Chill the truffles before dipping and between steps for easier handling.
No Bake Chocolate Peanut Butter Truffles Recipe
There are certain flavor pairings that stand the test of time—combinations so perfect that they transcend trends, cultures, and culinary eras. Chocolate and peanut butter belong firmly in that category. The richness of velvety chocolate meeting the creamy, nutty saltiness of peanut butter creates a harmony that feels indulgent, nostalgic, and comforting all at once. It’s the flavor of childhood memories and grown-up cravings rolled into one irresistible bite. In this recipe, we’re taking that timeless duo and transforming it into something extraordinary: No-Bake Chocolate Peanut Butter Truffles.
Ingredients
- 1 cup creamy peanut butter
- 1/4 cup unsalted butter, softened
- 1 teaspoon vanilla extract
- 2 cups powdered sugar
- 2 cups semi-sweet chocolate chips (or chopped chocolate)
- 2 tablespoons coconut oil or vegetable oil (optional, for smoother chocolate coating)
- Pinch of salt (optional, enhances flavor)
Instructions
- Prepare the Peanut Butter Mixture:
In a medium bowl, mix the peanut butter, softened butter, and vanilla extract until smooth.
Gradually add powdered sugar, mixing until the mixture is firm but pliable. - Form the Truffles:
Using a teaspoon or small cookie scoop, form the peanut butter mixture into small balls (about 1 inch in diameter).
Place them on a baking sheet lined with parchment paper. - Chill the Balls:
Refrigerate the peanut butter balls for about 30–60 minutes, or until firm enough to dip in chocolate. - Prepare the Chocolate Coating:
In a microwave-safe bowl, melt the chocolate chips with the coconut oil in 30-second intervals, stirring after each, until smooth.
Alternatively, melt chocolate in a heatproof bowl over a pot of simmering water (double boiler method). - Dip the Truffles:
Using a fork or toothpick, dip each peanut butter ball into the melted chocolate, allowing excess chocolate to drip off.
Place the coated truffles back on the parchment paper. - Chill to Set:
Refrigerate the truffles for at least 1 hour, or until the chocolate is fully set. - Serve
Serve chilled or at room temperature.
Notes
- For a crunchier texture, you can add 1/2 cup crushed graham crackers or rice cereal to the peanut butter mixture.
- Sprinkle a tiny bit of sea salt on top of each truffle for a salted chocolate-peanut butter version.
- Use natural peanut butter for a more pronounced peanut flavor, but it may need extra chilling time to firm up.

