Cheesy Chicken Garlic Wraps are the perfect blend of comfort, convenience, and bold flavors. They combine tender, juicy chicken, aromatic garlic, creamy melted cheese, and a variety of complementary ingredients, all wrapped in a soft, warm flatbread or tortilla. This versatile dish is ideal for quick weeknight dinners, packed lunches, or even casual gatherings, offering a satisfying combination of textures and flavors in every bite.
At the heart of this dish is chicken, a protein celebrated for its mild flavor and adaptability. When seasoned with garlic, herbs, and spices, chicken transforms into a savory, aromatic centerpiece that pairs perfectly with creamy, gooey cheese. Garlic adds depth and warmth, elevating the chicken without overwhelming it, while cheese contributes richness, a slight tang, and a stretchy, indulgent texture that makes each bite irresistibly comforting.
What sets these wraps apart from a simple chicken sandwich or salad is their layered complexity and convenience. By combining multiple ingredients—such as fresh vegetables, sauces, and optional extras like roasted peppers or sautéed onions—into a single, hand-held wrap, you get a complete meal that is balanced, portable, and customizable. This makes Cheesy Chicken Garlic Wraps not only satisfying but also practical for busy lifestyles.
Another hallmark of this dish is its versatility. Different types of cheese, from mozzarella to cheddar or provolone, can be used to adjust flavor intensity and texture. Wraps can be served with a variety of sauces, such as garlic aioli, ranch, or spicy sriracha mayo, to complement the chicken and cheese. Fresh vegetables like lettuce, tomatoes, cucumbers, or bell peppers add crunch and freshness, while optional ingredients like caramelized onions or olives introduce additional layers of flavor. This flexibility allows you to tailor the wraps to your taste or dietary preferences without compromising on taste.
The preparation process also highlights the science of flavor and texture balance. Cooking the chicken properly ensures it remains juicy, while searing or roasting enhances flavor through caramelization. Garlic, when sautéed gently, releases its natural sweetness, reducing bitterness and producing a fragrant aroma that infuses the chicken. Meanwhile, the cheese melts to coat the chicken and other ingredients, creating a cohesive filling that binds the wrap together.
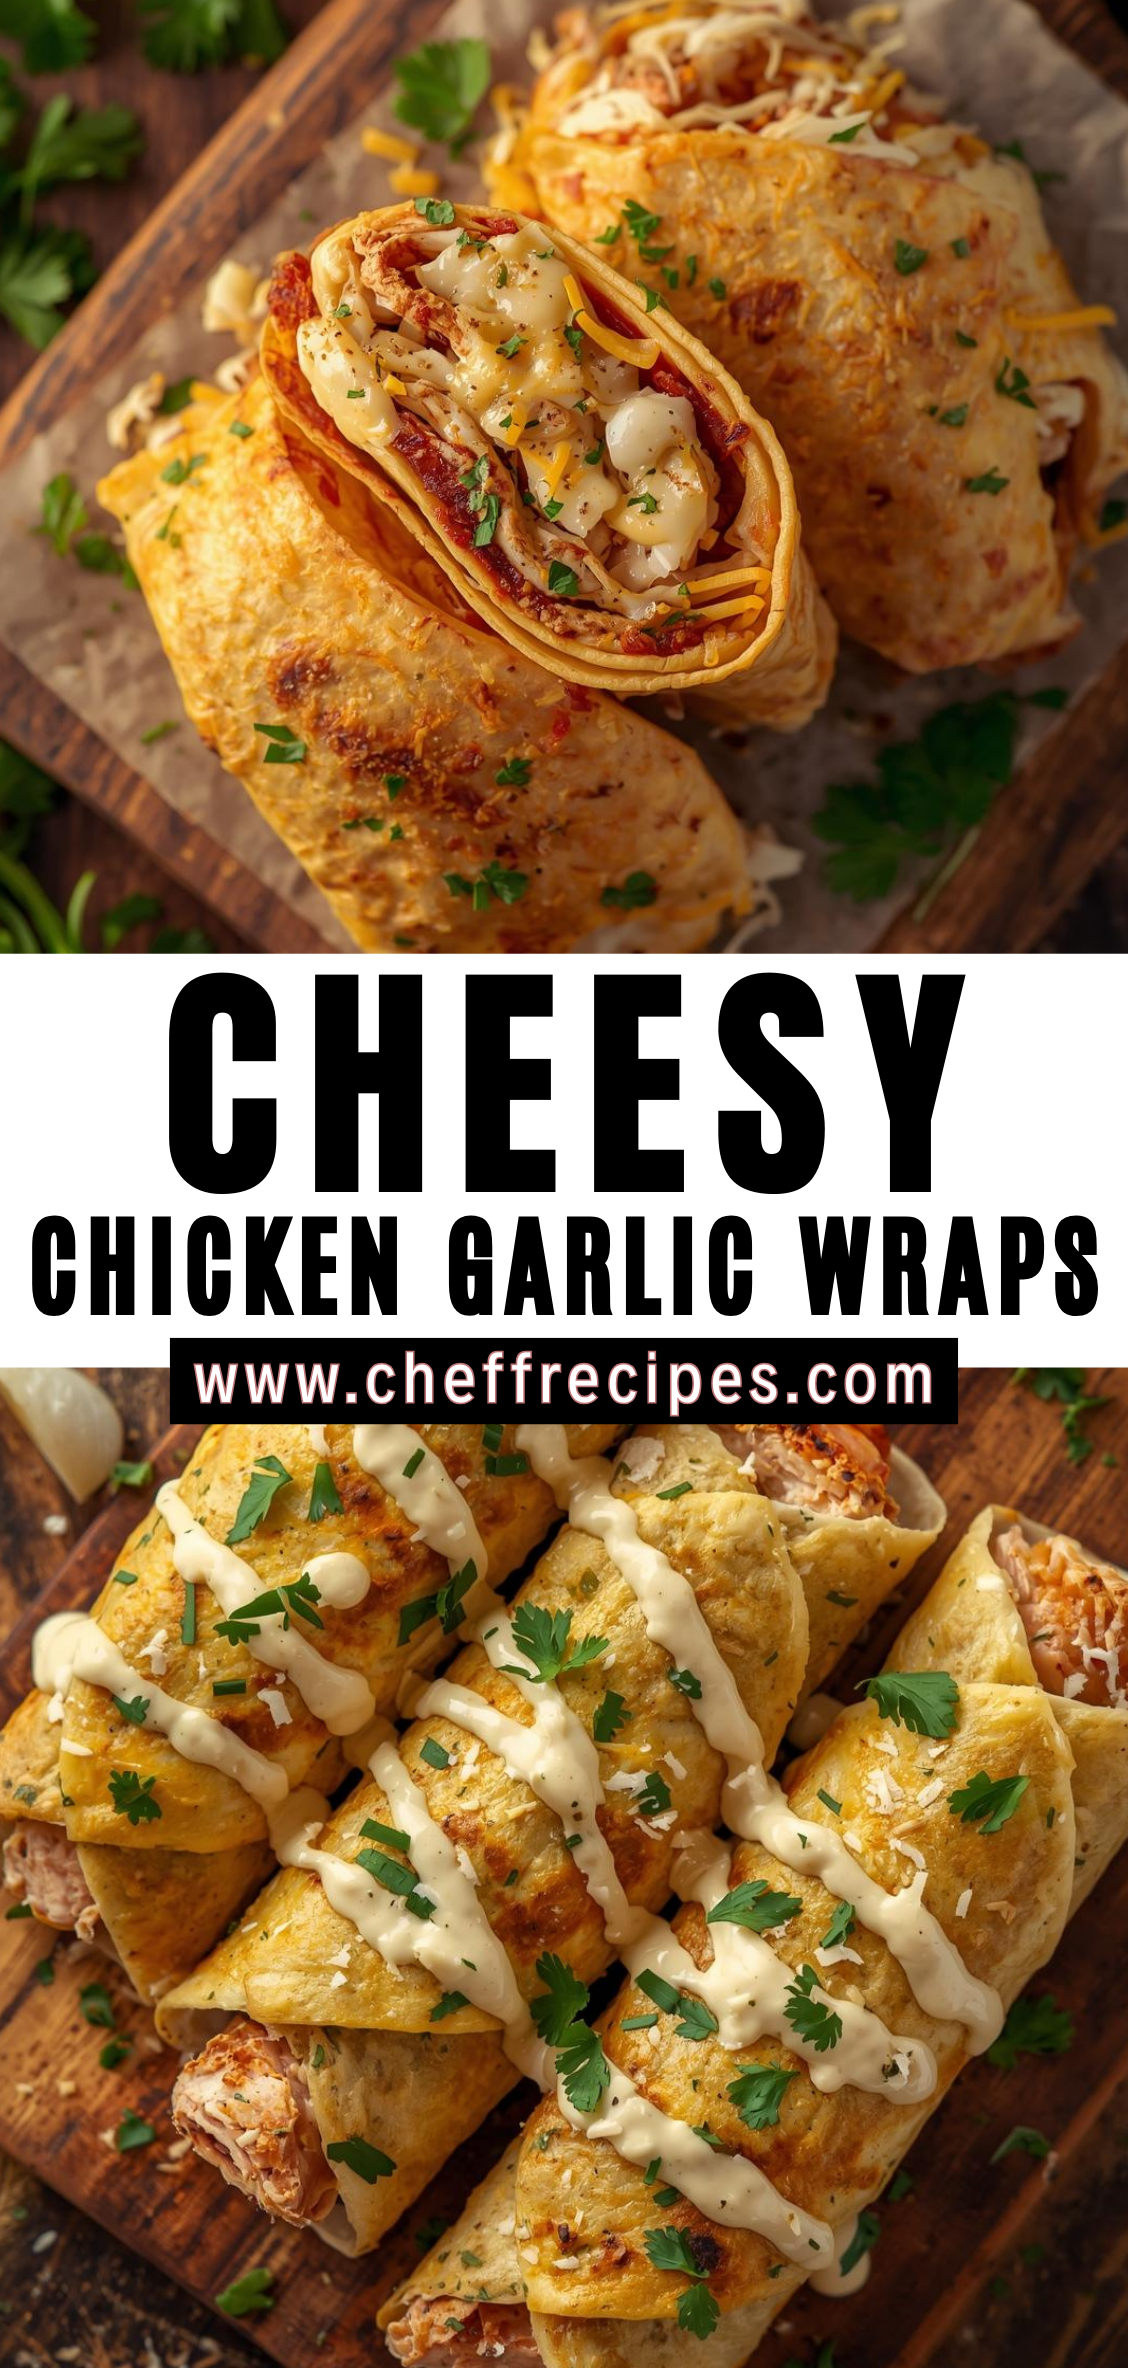
These wraps are also visually appealing, with colorful layers of chicken, cheese, and vegetables neatly enclosed in a soft, golden-brown tortilla or flatbread. They can be grilled or lightly toasted for extra texture, producing a crispy exterior that contrasts with the soft, melted interior. This combination of textures—crispy, chewy, tender, and creamy—makes Cheesy Chicken Garlic Wraps deeply satisfying.
Beyond their flavor and texture, these wraps offer a nutritionally balanced meal. Chicken provides lean protein, cheese adds calcium and fat for satiety, and fresh vegetables contribute vitamins, minerals, and fiber. For a lighter option, low-fat cheese or whole-grain wraps can be used without sacrificing flavor. This balance makes Cheesy Chicken Garlic Wraps suitable for family meals, lunchboxes, or even as a hearty snack.
From a practical perspective, these wraps are easy to assemble and customizable. While the recipe provides a structured approach, you can adjust ingredients, cooking methods, and seasoning according to taste or availability. They are also scalable, allowing you to make a few wraps for a quick meal or multiple servings for parties or meal prep. The hands-on assembly process is straightforward, making it accessible for cooks of all skill levels.
In this recipe, we will guide you through every step needed to create perfect Cheesy Chicken Garlic Wraps. From selecting the best chicken and cheese to preparing garlic-infused seasoning, assembling the wraps, and achieving the ideal melt and crisp, this guide will ensure your wraps are flavorful, satisfying, and visually appealing. Additionally, we will explore variations, sauces, and serving suggestions, allowing you to adapt the recipe to different tastes and occasions.
By the end of this guide, you will have mastered a versatile, indulgent, yet practical dish that combines the comforting flavors of garlic, chicken, and cheese with the convenience of a hand-held wrap. Cheesy Chicken Garlic Wraps are not only a delicious meal but also an opportunity to explore layering of flavors, balancing textures, and customizing ingredients for a perfect handheld culinary experience.
Detailed Instructions for Cheesy Chicken Garlic Wraps
Step 1: Selecting and Preparing the Chicken
The chicken is the centerpiece of the wrap, so proper selection and preparation are critical for flavor, texture, and juiciness.
Instructions:
-
Choose your chicken: Boneless, skinless chicken breasts or thighs work best. Thighs are juicier and more forgiving during cooking, while breasts are leaner and cook faster.
-
Trim and flatten (optional): Trim excess fat. For even cooking, you can gently pound chicken breasts to an even thickness using a meat mallet. This ensures uniform cooking and prevents dry edges.
-
Seasoning: Pat chicken dry with paper towels. Rub with salt, pepper, and any desired herbs or spices (paprika, oregano, or chili powder). This allows flavors to penetrate the meat and enhances browning.
Step 2: Cooking the Chicken
Proper cooking technique ensures juicy, flavorful chicken that melts beautifully with cheese.
Instructions:
-
Preheat a skillet: Use medium-high heat with 1–2 tablespoons of olive oil. The oil promotes even browning.
-
Cook the chicken: Place chicken in the skillet and cook 4–5 minutes per side (depending on thickness) until golden brown. Internal temperature should reach 165°F (74°C). Avoid overcrowding the pan; cook in batches if necessary.
-
Rest the chicken: Transfer cooked chicken to a cutting board and let it rest for 5 minutes. Resting allows juices to redistribute, keeping the meat moist.
-
Slice or shred: Slice into thin strips or shred the chicken for easier wrapping and even distribution with other ingredients.
Step 3: Preparing Garlic and Flavor Base
Garlic is the flavor backbone of this dish. Proper preparation ensures it complements the chicken without overpowering it.
Instructions:
-
Mince or crush garlic: 2–4 cloves are sufficient for a pronounced but not overpowering garlic flavor.
-
Sauté garlic: In the same skillet used for chicken, add 1 tablespoon of butter or oil and sauté garlic for 30–60 seconds until fragrant. Do not burn; burnt garlic becomes bitter.
-
Optional aromatics: Add finely chopped onions, bell peppers, or herbs to enhance the flavor base. Sauté until softened.
Step 4: Preparing the Cheese
Cheese is essential for creaminess and binding the wrap filling.
Instructions:
-
Choose your cheese: Mozzarella for meltiness, cheddar for tang, or a blend for depth.
-
Grate or slice cheese: Ensure cheese is ready to layer immediately after chicken and garlic preparation. Grated cheese melts more evenly than thick slices, creating a smooth, cohesive filling.
Step 5: Preparing Wraps or Flatbread
The wrap is the vessel that holds all flavors together. Proper handling prevents tearing and improves texture.
Instructions:
-
Select wraps: Large flour tortillas or soft flatbreads work best.
-
Warm the wraps: Heat each wrap in a dry skillet or microwave for 10–15 seconds. Warming makes them more pliable and easier to roll without tearing.
-
Optional flavoring: Brush lightly with garlic butter or oil for added flavor and to help crisp edges during grilling or toasting.
Step 6: Assembling the Wraps
Layering ingredients thoughtfully ensures even flavor and prevents sogginess.
Instructions:
-
Spread base sauce: If using a sauce (garlic aioli, ranch, or creamy dressing), spread a thin layer on the center of the wrap. This adds moisture and flavor.
-
Layer chicken: Place sliced or shredded chicken in the center of the wrap. Spread evenly for consistent bites.
-
Add garlic and aromatics: Spoon sautéed garlic and optional vegetables over the chicken.
-
Add cheese: Sprinkle a generous layer of grated or sliced cheese on top. Cheese binds the wrap and adds creamy texture.
-
Optional extras: Add fresh vegetables like lettuce, tomatoes, cucumbers, or roasted peppers for crunch and color.
Step 7: Rolling and Securing the Wrap
Proper rolling ensures the filling stays contained while eating.
Instructions:
-
Fold edges: Fold the shorter sides of the wrap inward to prevent filling from spilling.
-
Roll tightly: Starting from the edge with the filling, roll the wrap tightly but not so tight that the flatbread tears.
-
Secure: Optional toothpicks or foil can hold wraps in place for grilling, baking, or transport.
Step 8: Optional Grilling or Toasting
Grilling or toasting adds texture, warmth, and extra flavor.
Instructions:
-
Preheat skillet or panini press: Medium heat works best to crisp without burning.
-
Grill wraps: Place wrapped rolls seam side down and cook 2–3 minutes per side until golden brown and cheese is melted. Press gently to ensure even toasting.
-
Alternative oven method: Place wraps on a baking sheet and bake at 375°F (190°C) for 8–10 minutes until cheese melts and wraps are slightly crispy.
Step 9: Serving the Wraps
Presentation and accompaniments enhance the eating experience.
Instructions:
-
Slice or serve whole: Wraps can be cut diagonally for a visually appealing presentation or served whole for a casual handheld meal.
-
Garnish: Fresh herbs like parsley or cilantro, a drizzle of sauce, or a sprinkle of extra cheese enhances flavor and presentation.
-
Side dishes: Serve with salads, roasted vegetables, fries, or a dipping sauce for a complete meal.
Step 10: Troubleshooting Tips
Even experienced cooks can face challenges.
-
Wrap tearing: Warm the tortilla and avoid overfilling.
-
Cheese not melting: Shred cheese finely and assemble while chicken is warm.
-
Soggy wraps: Avoid excessive sauce inside; layer cheese and vegetables to act as a barrier.
-
Dry chicken: Slice chicken thinly or shred to help it integrate with cheese and sauce, keeping it moist.
Cheesy Chicken Garlic Wraps
Cheesy Chicken Garlic Wraps are the perfect blend of comfort, convenience, and bold flavors. They combine tender, juicy chicken, aromatic garlic, creamy melted cheese, and a variety of complementary ingredients, all wrapped in a soft, warm flatbread or tortilla. This versatile dish is ideal for quick weeknight dinners, packed lunches, or even casual gatherings, offering a satisfying combination of textures and flavors in every bite.
Ingredients
- 2 cups cooked chicken, shredded (rotisserie or grilled works well)
- 4 large flour tortillas
- 1 cup shredded mozzarella cheese
- ¼ cup grated Parmesan cheese
- 3 cloves garlic, minced
- 2 tablespoons butter
- ½ cup sour cream or cream cheese (optional for extra creaminess)
- 1 teaspoon dried Italian herbs (or a mix of oregano and basil)
- Salt and pepper to taste
- 1 cup fresh spinach or lettuce (optional)
- Cooking spray or a little oil for grilling
Instructions
1. Prepare the Garlic Butter
- In a small skillet, melt butter over medium heat.
- Add minced garlic and cook for 1–2 minutes until fragrant.
- Optional: Stir in sour cream or cream cheese for a creamy garlic mixture.
2. Assemble the Wraps
- Lay a tortilla flat on a clean surface.
- Spread a thin layer of the garlic butter mixture over the tortilla.
- Sprinkle half of the mozzarella cheese and some Parmesan cheese evenly.
- Add shredded chicken on top, followed by fresh spinach or lettuce if using.
- Sprinkle the remaining cheese and dried Italian herbs.
- Fold the sides of the tortilla inwards and roll tightly into a wrap.
3. Cook the Wraps
- Heat a skillet or grill pan over medium heat and lightly grease with cooking spray or oil.
- Place the wraps seam-side down and cook for 2–3 minutes until golden brown.
- Flip and cook the other side for an additional 2–3 minutes until the cheese melts and wraps are crispy.
4. Serve
- Remove from the pan and let cool slightly.
- Slice in half diagonally and serve warm with your favorite dipping sauce.
Notes
- You can substitute chicken with cooked turkey, beef, or even tofu for a vegetarian option.
- Adding caramelized onions or roasted peppers enhances flavor.
- For extra crispiness, grill the wraps in a panini press.
- Wraps are best eaten immediately but can be reheated in an oven to maintain crispiness.

