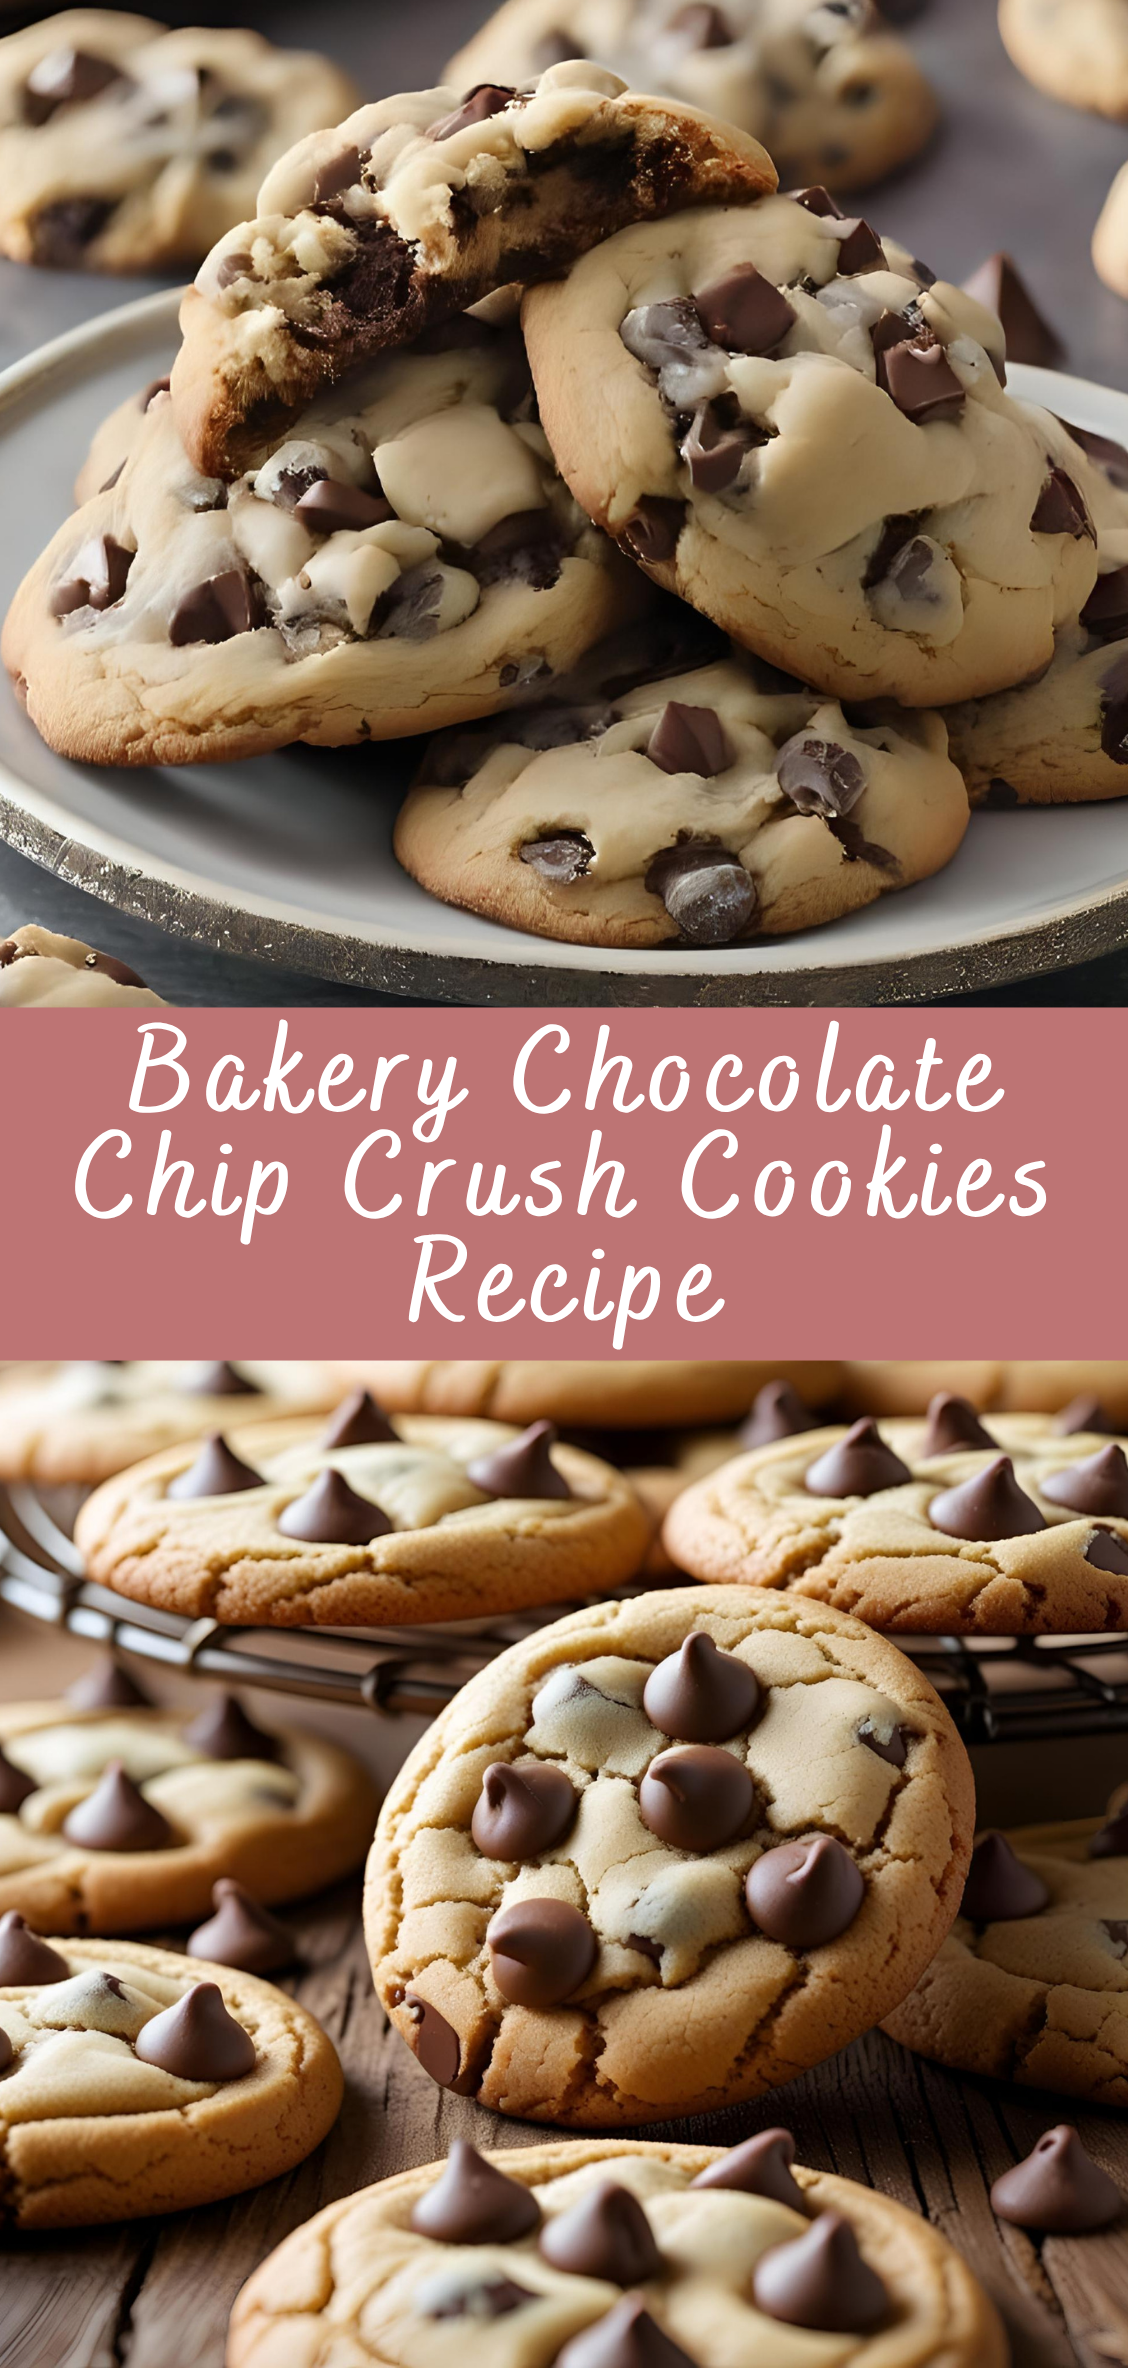
Bakery Chocolate Chip Crush Cookies Recipe
There’s something universally nostalgic and deeply satisfying about biting into a chocolate chip cookie. But not just any cookie—the kind that stops you in your tracks, overwhelms your senses, and makes you close your eyes to savor the moment. That’s the “crush” cookie. Big. Bold. Buttery. A dessert that lives up to its name and delivers a textural masterpiece with every bite.

This isn’t your average lunchbox cookie or flat supermarket variety. We’re talking bakery-style chocolate chip crush cookies: thick and weighty, with a golden exterior that gives way to a soft, slightly underbaked center. A decadent ratio of dough to chocolate chip. A contrast of textures—crisp edges, chewy centers, melty pockets of chocolate, and that signature bite that’s just the right amount of gooey. One cookie is enough to satisfy a craving, yet you’ll find yourself wanting two.
But what sets these cookies apart from others? It’s not just about using quality chocolate (though that helps), or creaming the butter properly (essential, yes). It’s about technique, temperature, timing, and texture—all perfectly aligned to achieve that bakery-level result. These cookies are the kind that feel like an indulgence; the ones you get from a boutique bakery for $4 apiece. And now, you’ll be able to recreate them in your own kitchen.
Step-by-Step Instructions: How to Make Bakery-Style Chocolate Chip Crush Cookies
Step 1: Gather and Measure Ingredients (Precision Matters)
Accurate measuring is essential for consistent cookies. Always use a kitchen scale for best results—especially when working with flour and brown sugar.
Ingredients:
-
1 cup (226g) unsalted butter, cold and cubed
-
1 cup (200g) light brown sugar, packed
-
½ cup (100g) granulated sugar
-
2 large eggs, cold
-
2 teaspoons pure vanilla extract
-
3 cups (375g) all-purpose flour, spooned and leveled or weighed
-
1 teaspoon baking soda
-
½ teaspoon baking powder
-
¾ teaspoon fine sea salt
-
1½ cups (270g) semisweet or bittersweet chocolate chips or chunks (plus extra for topping)
-
½ cup (90g) chopped dark chocolate or chocolate wafers (optional for melty pockets)
-
Optional: ½ cup toasted walnuts or pecans, chopped
Step 2: Use Cold Butter—Not Softened
This is one of the secrets behind the thick texture. Cold butter helps control spread, leading to that signature mound-like bakery shape.
Instructions:
-
Cut cold butter into small cubes (about ½-inch pieces).
-
Place it in the bowl of a stand mixer fitted with the paddle attachment.
-
Add the brown sugar and granulated sugar.
-
Mix on medium-low speed for 2–3 minutes, just until the mixture is cohesive and slightly creamy. It won’t be fluffy like traditional creaming—and that’s intentional.
Pro Tip: Cold butter prevents over-spreading. Creaming it just enough keeps air out of the dough, leading to a dense, chewy center.
Step 3: Add Eggs and Vanilla
Using cold eggs also slows spreading during baking.
Instructions:
-
Crack in 1 egg at a time, mixing on low until incorporated.
-
Add the vanilla extract.
-
Mix until smooth, scraping the bowl as needed.
Avoid over-mixing here. Once the eggs are in, mix just until you see no more streaks. Overbeating can incorporate too much air.
Step 4: Add Dry Ingredients
Sifting is optional, but whisking dry ingredients together separately ensures even distribution of leaveners and salt.
Instructions:
-
In a separate bowl, whisk together:
-
Flour
-
Baking soda
-
Baking powder
-
Salt
-
-
Add the dry mix to the wet ingredients in two additions, mixing on low speed after each just until the flour disappears.
Texture Tip: Once the flour is in, mix only until combined. Over-mixing at this stage activates gluten and toughens the cookie.
Step 5: Fold in Chocolate (And Nuts If Using)
Instructions:
-
Add chocolate chips, chopped chocolate, and optional nuts.
-
Use a spatula or wooden spoon to fold gently by hand. This prevents over-mixing and breaks up large clumps.
Chocolate Strategy: Use a mix of chips and chopped bars or wafers for varied texture and flavor. Chips hold their shape; chopped chocolate melts into gooey pools.
Step 6: Chill the Dough
This is non-negotiable for “crush” cookies. Chilling allows the flour to hydrate, butter to firm, and flavors to deepen.
Instructions:
-
Cover the bowl tightly with plastic wrap.
-
Chill for at least 6 hours, ideally overnight (12–24 hours).
-
For best results, scoop dough before chilling—more on that below.
Pro Tip: Scoop dough into large balls (about 3.5–4 oz / 95–115g each) before refrigerating. This saves time and helps shape the cookies uniformly.
Step 7: Preheat and Prepare to Bake
Instructions:
-
Preheat your oven to 375°F (190°C).
-
Line baking sheets with parchment paper (not silicone mats—those cause excess spreading).
-
Arrange 4–6 cookies per sheet with ample space to spread.
These cookies are big and thick—don’t crowd the pan.
Step 8: Shape the Cookies (If Not Already Scooped)
If you didn’t scoop the dough before chilling:
-
Use a large cookie scoop or digital scale to portion dough into 3.5–4 oz mounds (just under ½ cup).
-
Roll lightly into balls—do not over-compress.
-
For a bakery-style finish, press a few chocolate chips on top before baking.
Step 9: Bake — Timing is Everything
Instructions:
-
Bake in the center rack of your preheated oven for 11–13 minutes.
-
The edges should be light golden brown, while the centers look slightly underbaked and puffy.
-
Remove the cookies as soon as the edges are firm but the center is soft.
Do not overbake. These cookies continue to cook on the tray as they cool. Pulling them early is key to that molten, chewy interior.
Step 10: Cool Strategically
Instructions:
-
Let the cookies rest on the baking sheet for 10 minutes before transferring.
-
Then transfer to a wire rack to cool completely (or eat warm for melty chocolate bliss).
Optional: Use a round cookie cutter or glass to “scoot” around the edges for a perfectly round shape right after baking.
Step 11: Serve, Store, or Freeze
Serving:
-
Best served warm with a glass of cold milk or espresso.
-
Rewarm briefly in the microwave (10–15 seconds) for a bakery-fresh experience.
Storing:
-
Keep cookies in an airtight container at room temp for 3–4 days.
-
Add a slice of bread to the container to keep them soft.
Freezing:
-
Freeze unbaked dough balls on a tray, then transfer to a zip-top bag.
-
Bake from frozen: add 1–2 minutes to the baking time.
Bakery Chocolate Chip Crush Cookies Recipe
Ingredients
- 1 cup (2 sticks) unsalted butter, cold and cubed
- ¾ cup brown sugar, packed
- ½ cup granulated sugar
- 2 large eggs
- 1 tablespoon vanilla extract
- 2 ¾ cups all-purpose flour
- 1 teaspoon baking soda
- ½ teaspoon baking powder
- ¾ teaspoon salt
- 1 ½ cups semi-sweet chocolate chips
- ¾ cup chopped dark chocolate chunks (or more chips)
- Optional: ½ cup chopped walnuts or pecans
- Optional: Flaky sea salt for topping
Instructions
- Cream the Butter & Sugars:
In a stand mixer or large bowl, beat cold, cubed butter with brown and white sugar on medium-high speed until light and fluffy (about 3–4 minutes). Scrape down sides as needed. - Add Eggs & Vanilla:
Add eggs one at a time, mixing until just combined. Stir in vanilla extract. - Mix Dry Ingredients:
In a separate bowl, whisk together flour, baking soda, baking powder, and salt.
Gradually mix dry ingredients into the butter mixture until just combined. - Add the Chocolate:
Fold in chocolate chips and chocolate chunks (and nuts, if using). - Scoop and Chill (Optional but Recommended):
Scoop large cookie balls (about ¼ cup each or 3.5 oz if using a scale).
Place on a lined baking sheet. Chill in the fridge for 30 minutes or freeze for 15 minutes (for thicker cookies). - Bake:
Preheat oven to 375°F (190°C).
Bake 6–8 cookies per sheet for 12–14 minutes, until edges are golden and centers look just set.
Immediately sprinkle with flaky sea salt, if desired. - Cool:
Let cool on the baking sheet for 5–10 minutes before transferring to a wire rack.
Notes
- Cold Butter = Thick Cookies: Using cold butter and not overmixing helps create a dense, bakery-style texture.
- Texture Tip: Slightly underbaking keeps the centers soft and gooey.
- Storage: Store in an airtight container for up to 4 days, or freeze cookie dough balls for up to 3 months.
- Make It a "Crush": For a signature “crush” bakery look, press extra chunks of chocolate into the tops before baking.

