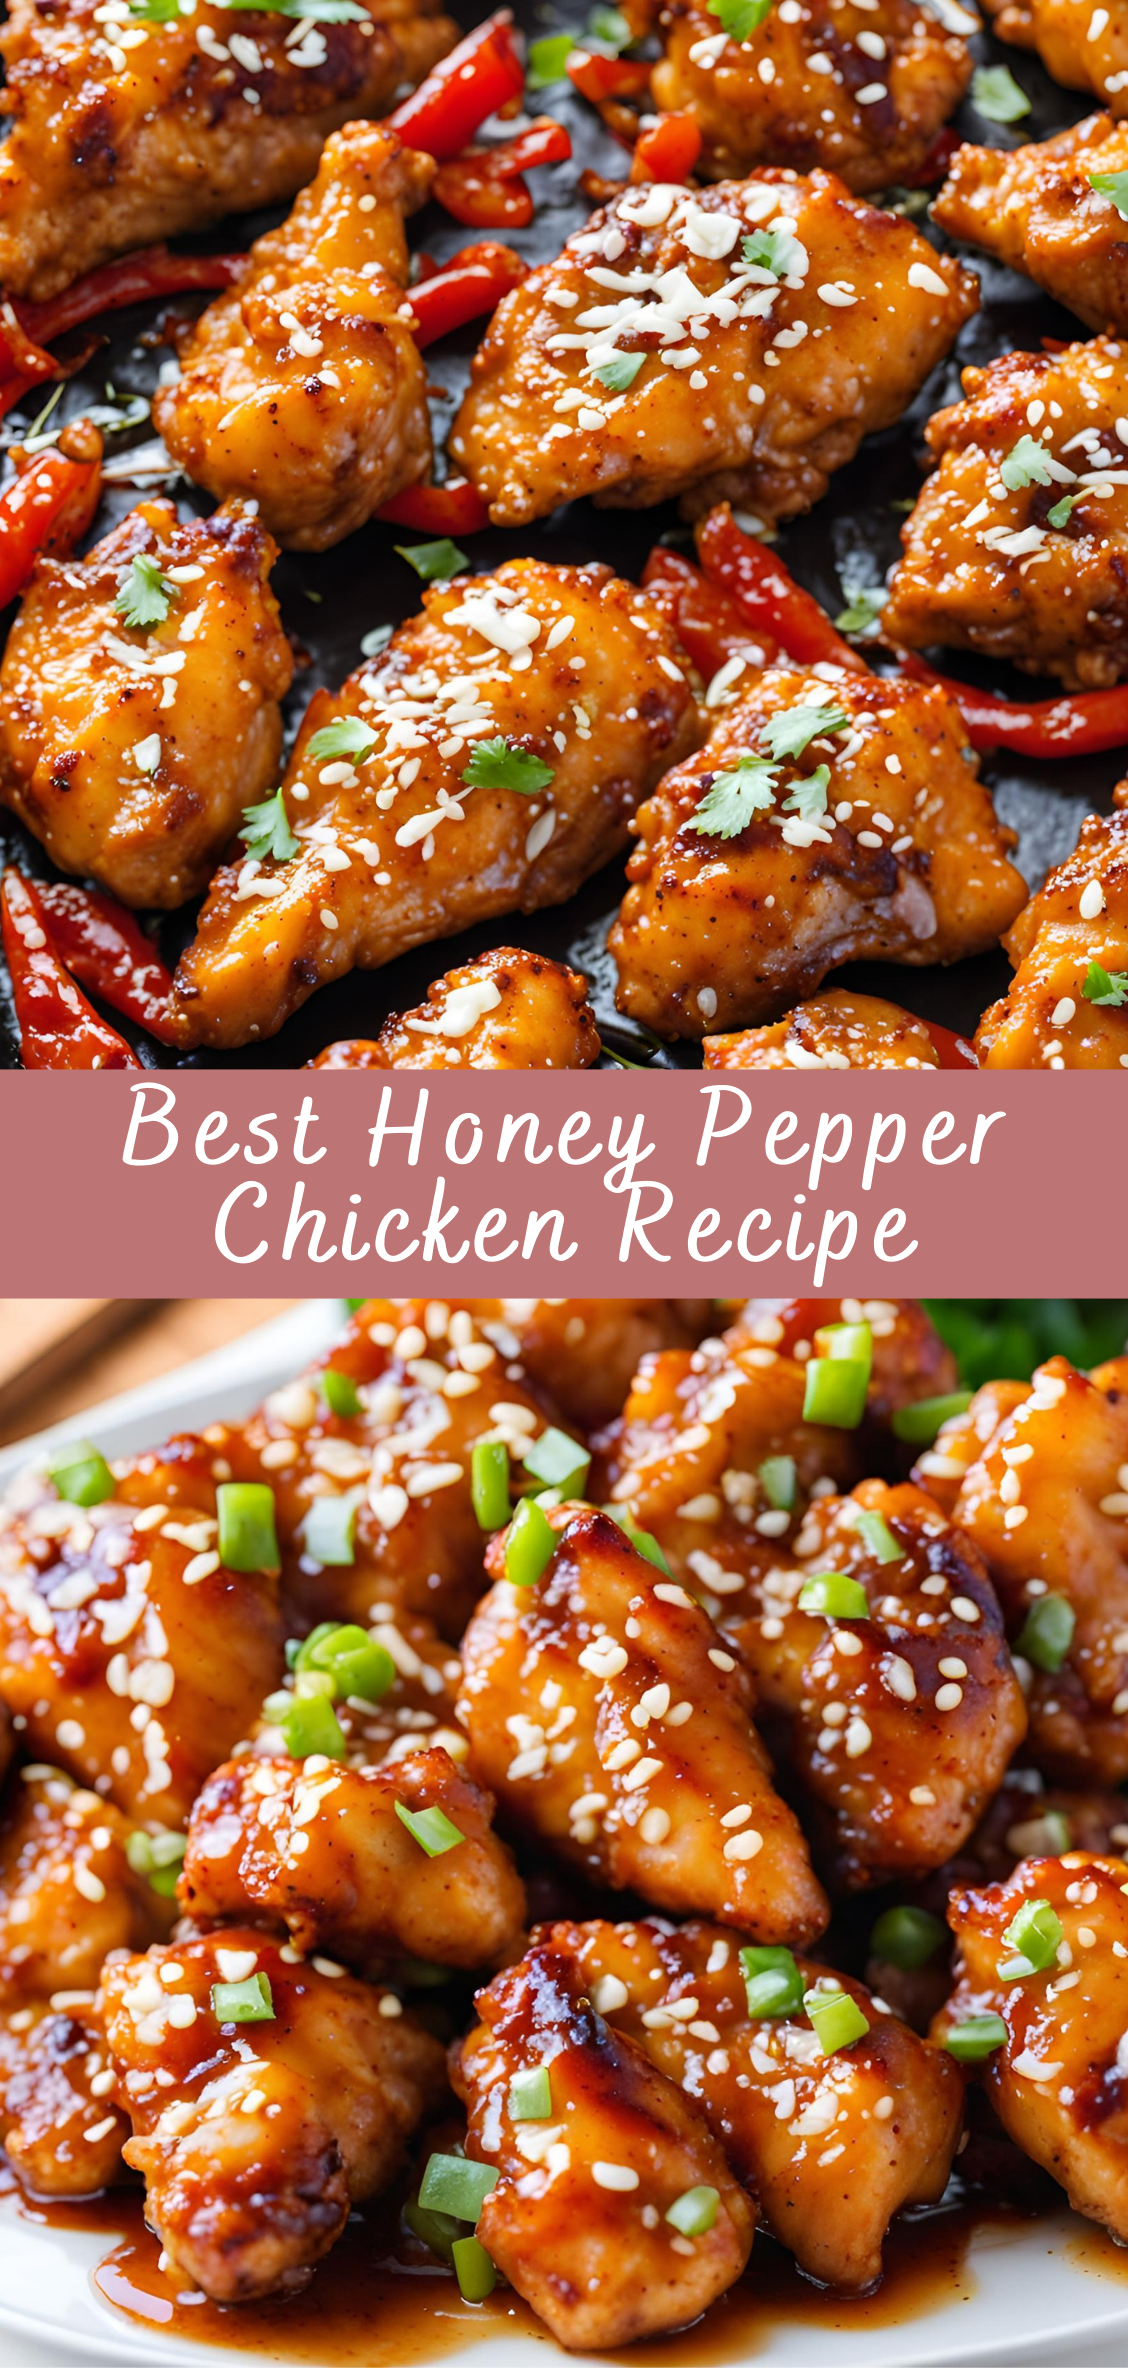
Best Honey Pepper Chicken Recipe
Honey Pepper Chicken is a fantastic combination of two simple ingredients—honey and pepper—that come together to form a balanced, flavorful sauce that enhances the natural taste of the chicken. This recipe is versatile enough for a quick weeknight dinner or a more elaborate family meal. The glaze itself is easy to make, and the addition of black pepper gives it a delightful spicy kick that contrasts beautifully with the honey’s natural sweetness. The chicken is pan-seared to perfection, keeping it juicy on the inside while creating a crispy outer layer that soaks up the honey pepper sauce.
Instructions
Step 1: Preparing the Chicken
The first step in making honey pepper chicken is ensuring the chicken breasts are tender, well-seasoned, and ready for cooking. While you can cook the chicken right away, marinating it for a short period enhances the flavor and keeps it juicy.
-
Pound the Chicken (optional): If you prefer evenly cooked chicken, you can gently pound the chicken breasts to an even thickness using a meat mallet. This ensures that the chicken cooks uniformly, preventing the thinner parts from drying out while waiting for the thicker portions to cook.
-
Season the Chicken: Pat the chicken breasts dry with paper towels. This will help them get a crispy golden sear. Season both sides of the chicken with salt, black pepper, garlic powder, onion powder, and paprika (if using). These simple spices enhance the chicken’s natural flavor and create a flavorful base.
- Advertisement - -
Optional Marinade (10-15 minutes): If you have a little more time, drizzle the chicken with a tablespoon of lemon juice to add brightness, then allow it to sit for about 10-15 minutes. While not essential, marinating helps create an additional layer of flavor.
Step 2: Searing the Chicken
Searing the chicken ensures it gets a golden crust while locking in its juices. Here’s how to do it:
-
Heat the Pan: Heat 1 tablespoon of olive oil in a large skillet over medium-high heat. You want the oil to shimmer but not smoke.
-
Cook the Chicken: Add the seasoned chicken breasts to the pan. Do not overcrowd the pan, as this can prevent the chicken from browning properly. Cook the chicken for 5-7 minutes on the first side without moving it around. This helps the chicken develop a crispy, golden crust.
-
Flip and Finish Cooking: Flip the chicken breasts over and reduce the heat to medium. Cook the second side for another 5-7 minutes, or until the internal temperature reaches 165°F (75°C). You can check this with a meat thermometer. If you don’t have one, make a small cut into the thickest part of the chicken—if the juices run clear, it’s done.
-
Rest the Chicken: Once the chicken is fully cooked, remove it from the skillet and let it rest on a plate, covered loosely with foil. This allows the juices to redistribute, ensuring that the chicken remains tender and juicy.
Step 3: Making the Honey Pepper Sauce
While the chicken rests, it’s time to prepare the sauce. The honey pepper sauce is the star of the dish, bringing together the sweetness of honey, the tanginess of mustard and vinegar, and the heat from freshly cracked black pepper. Here’s how to make it:
-
Mix the Sauce Ingredients: In a small bowl, whisk together honey, soy sauce, Dijon mustard, apple cider vinegar, and freshly cracked black pepper. Adjust the pepper to your taste, depending on how much heat you want in the dish.
-
Prepare the Thickening Slurry: In a separate small bowl, mix the cornstarch with 1/4 cup of water until it forms a smooth slurry. This will help thicken the sauce.
-
Cook the Sauce: Pour the honey sauce mixture into the same skillet you used to cook the chicken (don’t wipe it out—use the flavorful bits left behind to infuse the sauce). Bring the sauce to a simmer over medium heat, stirring constantly.
-
Thicken the Sauce: Once the sauce is simmering, stir in the cornstarch slurry. Continue to cook, stirring constantly, for 1-2 minutes until the sauce thickens to a nice, glossy consistency. If the sauce gets too thick, you can add a little water to reach your desired consistency.
Step 4: Glazing the Chicken
Now that the sauce is ready, it’s time to bring everything together and glaze the chicken with the honey pepper sauce.
-
Add the Chicken Back to the Pan: Return the rested chicken breasts to the skillet with the sauce. Spoon the sauce over the chicken, making sure it’s well-coated on both sides.
-
Simmer Together: Let the chicken simmer in the sauce for about 2-3 minutes, turning it occasionally to ensure that it absorbs all the wonderful flavors of the glaze. The sauce will thicken further as it heats, creating a sticky, delicious coating on the chicken.
-
Optional – Reduce the Sauce: If you want the sauce to be extra thick and concentrated, you can continue to cook the sauce for an additional 1-2 minutes. Just be sure to keep an eye on it so it doesn’t burn.
Step 5: Serving the Honey Pepper Chicken
Once the chicken is glazed and coated in the delicious honey pepper sauce, it’s time to serve.
-
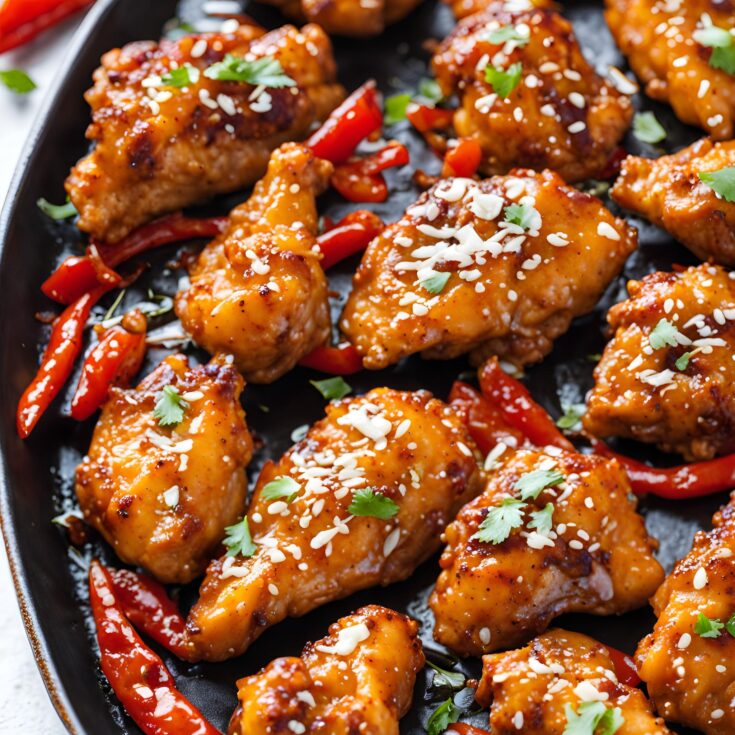
Garnish the Chicken: Transfer the chicken breasts to a serving platter and garnish with freshly chopped parsley or cilantro. A few lemon wedges on the side can add a refreshing burst of flavor that contrasts beautifully with the sweetness of the honey.
-
Serve the Chicken: Honey Pepper Chicken is perfect when served with a side of steamed rice, mashed potatoes, roasted vegetables, or a simple green salad. The sauce works wonderfully with just about any side dish, making it a versatile meal for any occasion.
Tips for Perfect Honey Pepper Chicken
-
Adjust the Pepper: If you like your dishes with more heat, increase the amount of freshly cracked black pepper in the sauce. If you prefer a milder flavor, reduce it to your liking.
-
Use High-Quality Honey: Since honey is the main ingredient in the sauce, using a high-quality, raw honey will give you a richer, more complex flavor. Avoid honey with added sugars or artificial flavors for the best results.
-
Chicken Thighs Option: If you prefer a juicier cut of chicken, you can use boneless, skinless chicken thighs instead of chicken breasts. Chicken thighs have more fat, which keeps them moist and flavorful.
-
Make It Spicy: If you want to add a spicy kick to the dish, consider incorporating a small amount of cayenne pepper or red pepper flakes into the sauce. This will give the glaze an extra layer of heat that balances the sweetness of the honey.
-
Cook in Batches: If your skillet isn’t large enough to cook all the chicken at once without overcrowding, it’s better to cook the chicken in batches. This will help you get a better sear and prevent the chicken from steaming instead of searing.
-
Meal Prep: This dish is excellent for meal prep. You can cook the chicken, glaze it in the sauce, and store it in the refrigerator for up to 3 days. Just reheat it gently in the microwave or on the stovetop before serving.
Conclusion
The Best Honey Pepper Chicken is a simple yet flavorful dish that will satisfy your taste buds with its perfect balance of sweetness, spice, and savory goodness. Whether you’re cooking for a family dinner or preparing a meal for guests, this dish is sure to impress. The honey pepper glaze gives the chicken a sticky, caramelized coating that is rich in flavor, and the juicy chicken ensures each bite is tender and satisfying. Served with your favorite sides, this meal will become a staple in your cooking repertoire.
Best Honey Pepper Chicken Recipe
Honey Pepper Chicken is a fantastic combination of two simple ingredients—honey and pepper—that come together to form a balanced, flavorful sauce that enhances the natural taste of the chicken. This recipe is versatile enough for a quick weeknight dinner or a more elaborate family meal. The glaze itself is easy to make, and the addition of black pepper gives it a delightful spicy kick that contrasts beautifully with the honey’s natural sweetness. The chicken is pan-seared to perfection, keeping it juicy on the inside while creating a crispy outer layer that soaks up the honey pepper sauce.
Ingredients
- 4 boneless, skinless chicken breasts (or thighs)
- 2 tbsp olive oil
- Salt and pepper to taste
- 1/4 cup honey
- 2 tbsp soy sauce
- 1 tbsp apple cider vinegar (or lemon juice)
- 1 tsp garlic powder
- 1 tsp onion powder
- 1 tsp crushed black pepper (freshly ground)
- 1/2 tsp red pepper flakes (optional, for a kick)
- Fresh parsley for garnish (optional)
Instructions
- Prepare the Chicken: Season the chicken breasts with salt and pepper on both sides. You can also tenderize the chicken with a meat mallet if you prefer a more even thickness.
- Cook the Chicken: Heat the olive oil in a large skillet over medium-high heat. Once hot, add the chicken and cook for about 6–7 minutes per side, until golden brown and cooked through (internal temperature should reach 165°F / 75°C). Remove the chicken from the skillet and set aside.
- Make the Honey Pepper Sauce: In the same skillet, reduce the heat to medium. Add the honey, soy sauce, apple cider vinegar (or lemon juice), garlic powder, onion powder, black pepper, and red pepper flakes (if using). Stir the sauce until it begins to bubble and thicken, about 2–3 minutes.
- Combine Chicken and Sauce: Return the cooked chicken to the skillet, spooning the sauce over the top. Let it simmer for an additional 2–3 minutes, allowing the chicken to absorb the sauce and the sauce to thicken further.
- Serve: Garnish with fresh parsley if desired, and serve the honey pepper chicken with rice, vegetables, or a side of your choice.

