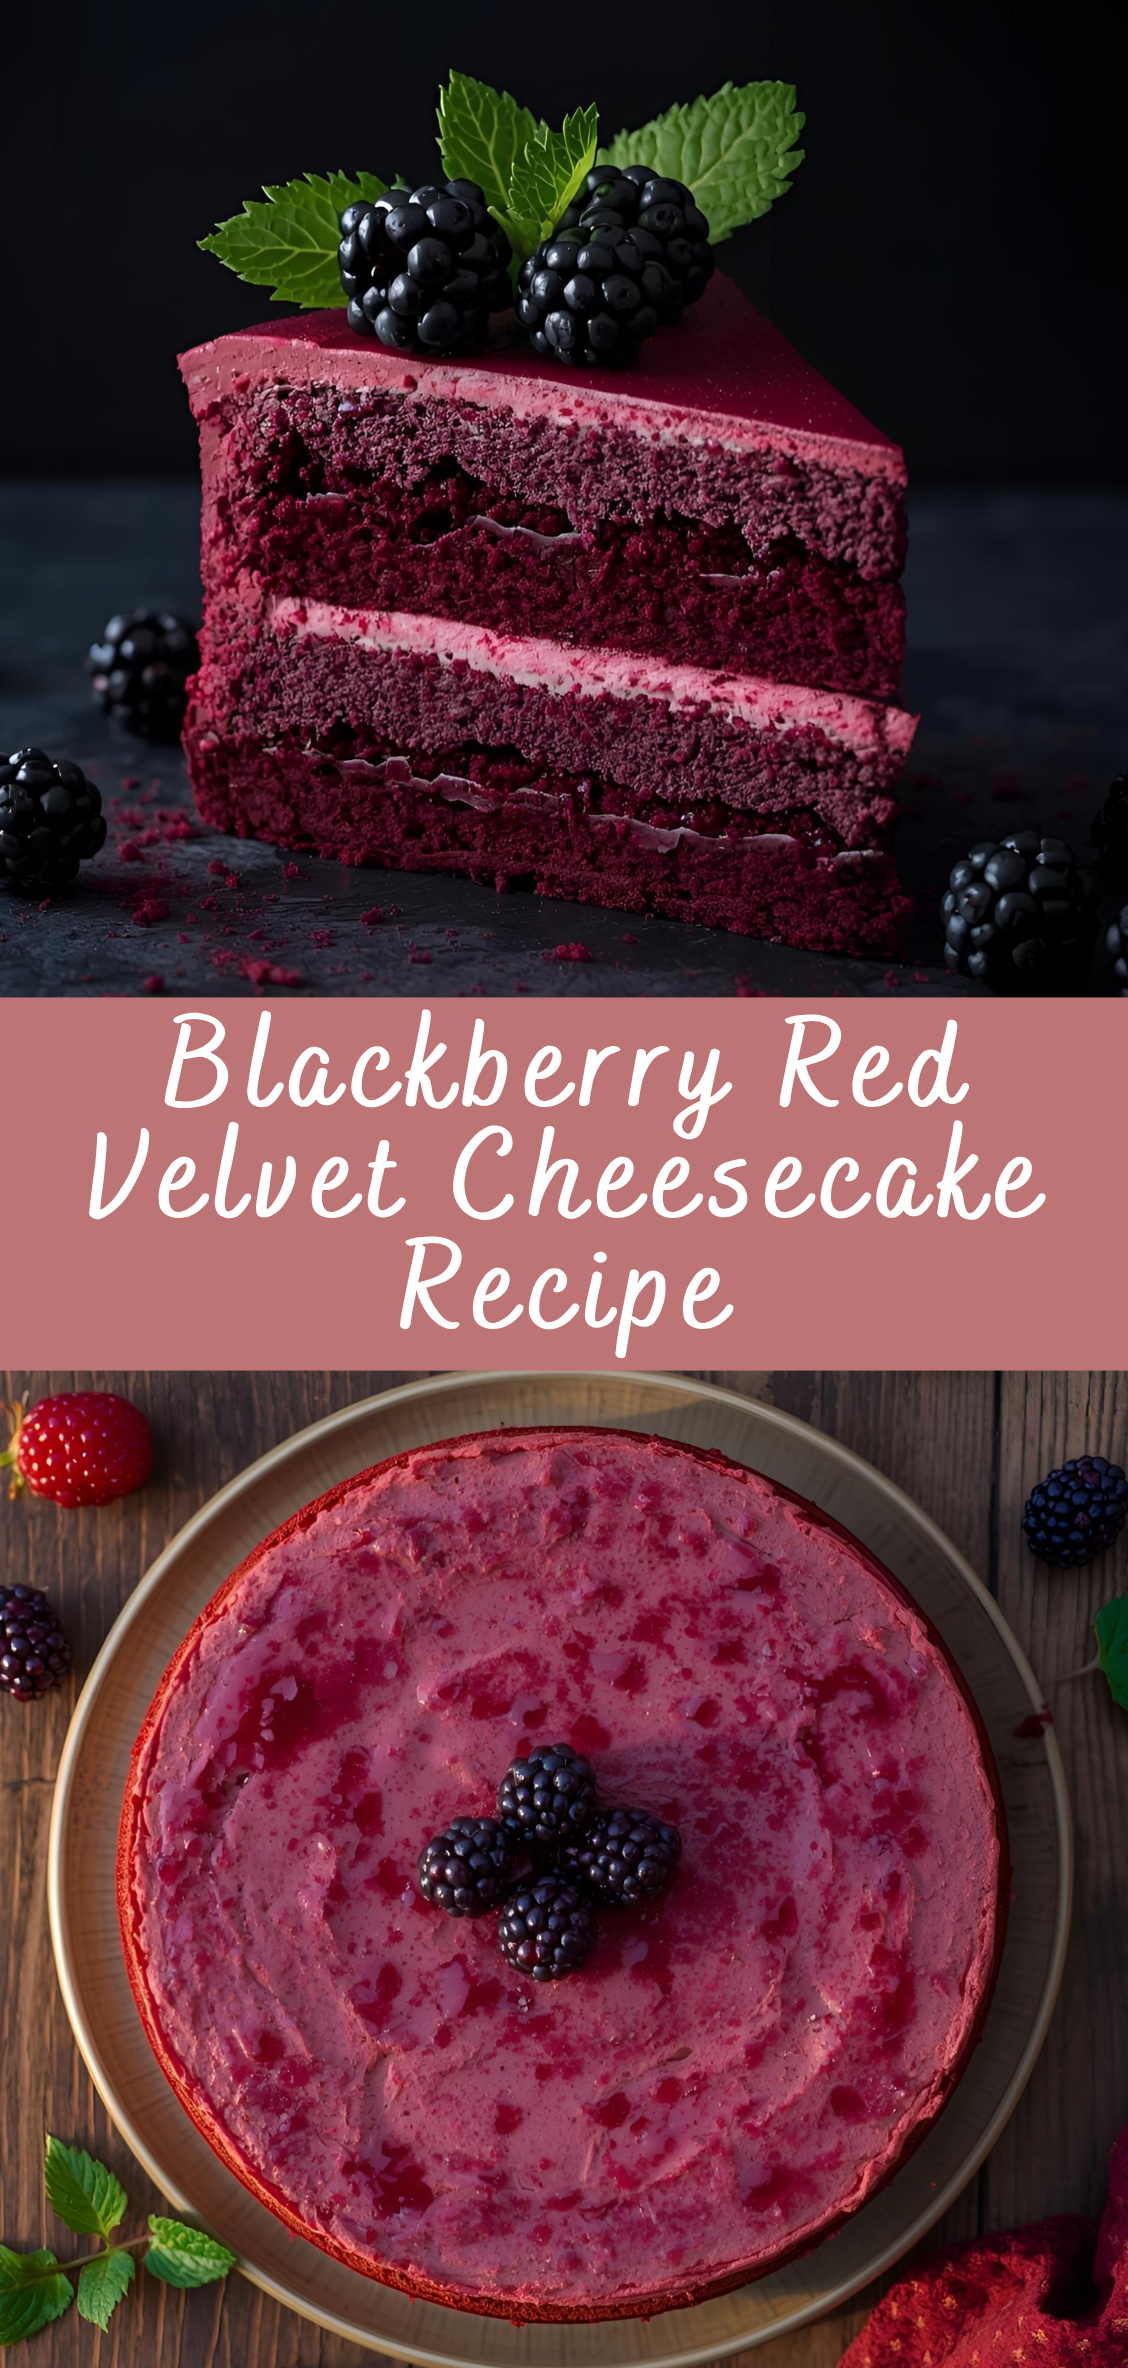
Blackberry Red Velvet Cheesecake: A Decadent Dessert Fusion
Few desserts command attention and admiration like a well-made cheesecake. Rich, creamy, and endlessly customizable, it is a dessert that balances indulgence with sophistication. When combined with the iconic flavor and hue of red velvet cake and the bold, tart sweetness of blackberries, the result is a show-stopping creation that delights the senses and elevates any occasion. This is the Blackberry Red Velvet Cheesecake — a luxurious fusion of textures, flavors, and colors that brings together the best of classic American desserts in one unforgettable dish.
Red velvet cake has long held a place in the hearts of dessert lovers. Its subtle cocoa flavor, vibrant red color, and moist, velvety crumb have made it a Southern staple and a modern classic. Cheesecake, on the other hand, with its creamy texture and tangy cream cheese base, provides a perfect canvas for innovation. Marrying these two beloved desserts creates a layered experience — not only visually stunning but also flavor-rich and satisfying.
The addition of blackberries introduces a dynamic element to the traditional red velvet cheesecake. With their natural tartness and deep color, blackberries cut through the richness of the cream cheese and chocolate, adding balance and depth. Whether swirled into the cheesecake filling, layered on top, or baked into a compote for serving, blackberries enhance the flavor complexity and add a seasonal freshness that keeps the dessert from feeling too heavy.
This recipe is designed for home bakers who want to push their boundaries and impress their guests. Whether you’re preparing it for a holiday gathering, a special birthday, or simply because you love to bake, this Blackberry Red Velvet Cheesecake will not disappoint. With detailed, step-by-step instructions and expert tips included throughout, you’ll learn how to create a dessert that is not only delicious but also visually stunning and structurally sound.
In the following sections, we’ll walk through every aspect of making this cheesecake from scratch — from selecting ingredients and preparing each layer to baking, chilling, and presenting it beautifully. You’ll also find helpful advice on how to avoid common cheesecake pitfalls, creative ideas for presentation and garnish, and suggestions for complementary pairings such as wine, coffee, or tea.
So tie on your apron, gather your ingredients, and get ready to explore the art and science behind this elegant dessert. Welcome to the world of Blackberry Red Velvet Cheesecake — where flavor meets finesse.
Ingredients
For the Blackberry Compote (used in swirl and topping)
-
2 cups fresh or frozen blackberries
-
1/3 cup granulated sugar
-
1 tbsp lemon juice
-
1 tsp lemon zest (optional)
-
1 tbsp cornstarch
-
2 tbsp water (for slurry)
For the Red Velvet Cake Base
-
1 cup all-purpose flour
-
1 tbsp unsweetened cocoa powder
-
1/2 tsp baking soda
-
1/2 tsp salt
-
1/2 cup buttermilk, room temperature
-
1/2 cup vegetable oil
-
3/4 cup granulated sugar
-
1 large egg, room temperature
-
1 tsp vanilla extract
-
1 tsp white vinegar
-
1 tbsp red food coloring (gel preferred)
For the Cheesecake Layer
-
3 (8 oz) packages of cream cheese, softened (full-fat preferred)
-
3/4 cup granulated sugar
-
1/2 cup sour cream, room temperature
-
1/4 cup heavy cream
-
2 large eggs, room temperature
-
1 tbsp all-purpose flour
-
1 tsp vanilla extract
-
Pinch of salt
For the Crust (optional if using cake base only, but can be added beneath)
-
1 1/2 cups chocolate cookie crumbs or Oreo crumbs
-
1/4 cup melted unsalted butter
-
2 tbsp granulated sugar
Necessary Equipment
-
9-inch springform pan
-
Stand mixer or handheld electric mixer
-
Mixing bowls (various sizes)
-
Spatula and wooden spoon
-
Whisk
-
Fine mesh strainer (optional, for compote)
-
Saucepan
-
Parchment paper
-
Cooling rack
-
Large roasting pan (for water bath)
-
Aluminum foil
-
Measuring cups and spoons
-
Offset spatula (for layering evenly)
Preparation Overview
Before we dive into the steps, here’s a quick overview of the process:
-
Make the blackberry compote first, so it has time to cool.
-
Bake the red velvet cake base in the springform pan and let it cool completely.
-
Prepare the cheesecake filling and pour it over the cooled cake.
-
Swirl in the blackberry compote and bake the entire cheesecake in a water bath.
-
Chill the cheesecake thoroughly before unmolding and topping with additional compote or fresh berries.
Step 1: Preparing the Blackberry Compote
The compote adds bursts of fruit flavor, a vivid purple hue, and beautiful contrast to the richness of the cheesecake. It also forms the basis for both the swirl and optional topping.
Instructions:
-
Combine ingredients
In a medium saucepan, add:-
2 cups blackberries
-
1/3 cup sugar
-
1 tbsp lemon juice
-
Optional: 1 tsp lemon zest
-
-
Cook the berries
Set the saucepan over medium heat. Stir occasionally and bring the mixture to a gentle boil. The blackberries will start to break down and release their juices after about 5–7 minutes. -
Create a slurry
In a small bowl, whisk together 1 tbsp cornstarch with 2 tbsp water until smooth. This slurry will thicken the compote. -
Thicken the compote
Once the berry mixture is bubbling, slowly pour in the cornstarch slurry while stirring constantly. Continue cooking for another 2–3 minutes until the compote has thickened and coats the back of a spoon. -
Optional: Strain for a smooth compote
If you prefer a seedless compote, pour the hot mixture through a fine mesh strainer into a bowl. Use a spoon to press it through. -
Cool completely
Let the compote cool at room temperature for 10–15 minutes, then refrigerate for at least 30 minutes while you prepare the other components.
Pro Tip: The compote can be made up to 2 days in advance and stored in the refrigerator.
Step 2: Making the Red Velvet Cake Base
Instead of a traditional graham cracker crust, this cheesecake features a soft, moist red velvet cake base that adds structure and vibrant color.
Instructions:
-
Preheat and prepare pan
Preheat your oven to 350°F (175°C).
Grease a 9-inch springform pan, line the bottom with parchment paper, and lightly grease the sides. Set aside. -
Sift the dry ingredients
In a medium bowl, sift together:-
1 cup all-purpose flour
-
1 tbsp cocoa powder
-
1/2 tsp baking soda
-
1/2 tsp salt
-
-
Mix wet ingredients
In a large bowl, whisk together:-
3/4 cup sugar
-
1/2 cup oil
-
1 egg
-
1 tsp vanilla extract
-
1 tbsp red food coloring
-
1 tsp vinegar
-
-
Add buttermilk
Stir in 1/2 cup buttermilk until smooth and fully combined. -
Combine wet and dry
Gradually fold the dry ingredients into the wet mixture using a spatula. Mix until just combined — do not overmix. -
Bake
Pour the batter into your prepared springform pan. Bake for 20–24 minutes, or until a toothpick inserted into the center comes out clean. -
Cool completely
Remove from the oven and allow to cool fully in the pan. Do not remove from the springform pan — this will be the base for your cheesecake.
Pro Tip: Use a serrated knife or cake leveler to trim the top of the red velvet cake if it domes during baking. A flat surface is important for even cheesecake layering.
Step 3: Creating the Creamy Cheesecake Filling
This layer is where the real magic happens. Rich and smooth, this cheesecake base complements the red velvet and blackberry flavors perfectly.
Instructions:
-
Beat cream cheese
In the bowl of a stand mixer fitted with a paddle attachment (or using a hand mixer), beat:-
3 packages (8 oz each) cream cheese
on medium speed for 2–3 minutes until smooth and fluffy. Scrape down the sides of the bowl.
-
-
Add sugar
Slowly add:-
3/4 cup granulated sugar
Continue beating until well incorporated.
-
-
Add sour cream and heavy cream
Mix in:-
1/2 cup sour cream
-
1/4 cup heavy cream
Beat on low until smooth and creamy.
-
-
Add eggs one at a time
Beat in:-
2 large eggs
Add them one at a time, mixing just until incorporated. Do not overmix once eggs are added to avoid cracks.
-
-
Add flour and vanilla
Mix in:-
1 tbsp flour
-
1 tsp vanilla extract
-
Pinch of salt
Beat until smooth. Scrape down the sides and bottom of the bowl to ensure an even mixture.
-
Texture Check: The batter should be silky, thick, and lump-free.
At this stage, you now have:
-
A cooled red velvet cake base in your springform pan
-
A chilled blackberry compote ready to swirl
-
A smooth and rich cheesecake filling
Step 4: Assembling and Swirling the Cheesecake
This step involves layering the cheesecake over the red velvet cake, adding the blackberry swirl, and preparing it for the water bath bake. Precision and care here will give you a smooth top, perfect texture, and eye-catching berry swirls.
Instructions:
-
Ensure your red velvet cake base is completely cool
Warm cake will melt the cheesecake batter and affect the swirl pattern. If needed, place the pan in the fridge for 20–30 minutes. -
Press cake down slightly (optional)
If the cake layer is taller than 1 inch or has an uneven top, gently press it down or trim it further to create an even surface. Use an offset spatula to flatten any rough spots. -
Pour the cheesecake batter
Gently spoon or pour the prepared cheesecake filling over the red velvet cake base inside the springform pan. Use a spatula to smooth the top into an even layer. -
Add blackberry compote swirl
Drop spoonfuls (about 1/2 teaspoon at a time) of the cooled blackberry compote on top of the cheesecake filling. Scatter them randomly across the surface — you don’t need to use all of it; reserve some for serving. -
Swirl with a skewer or knife
Using a skewer, toothpick, or thin knife, gently drag through the compote dots in a swirling motion. Avoid over-mixing — 3–5 light swirls are enough to create a beautiful marbled effect. -
Tap the pan gently
Lightly tap the springform pan on the counter to release any trapped air bubbles. This also helps the batter settle smoothly.
Tip: For dramatic contrast, swirl in a few deeper spoonfuls of compote to create rich purple-red trails inside the filling, not just on top.
Step 5: Baking with a Water Bath (Bain-Marie)
A water bath ensures the cheesecake bakes slowly and evenly, preventing cracks and preserving its creamy texture.
Instructions:
-
Wrap the springform pan
Place the springform pan on a large sheet of heavy-duty aluminum foil. Bring the foil up around the sides to prevent water from seeping in. Repeat with a second layer for added protection. -
Preheat oven to 325°F (163°C)
Lower than usual to ensure a gentle, even bake. -
Set up the water bath
Place the wrapped springform pan into a large roasting pan or deep baking dish. Fill the outer pan with hot water (not boiling) until it comes halfway up the sides of the springform pan. -
Bake
Carefully transfer to the oven and bake at 325°F (163°C) for 55 to 70 minutes. The edges should look set, and the center should jiggle slightly when gently shaken. -
Turn off the oven
Once baked, turn off the oven but leave the cheesecake inside, with the oven door slightly cracked open (use a wooden spoon to hold it ajar). Let it rest for 1 hour to cool gradually. -
Remove from water bath
After cooling in the oven, remove the springform pan from the water bath and carefully take off the foil. Place the pan on a cooling rack and allow it to reach room temperature.
Step 6: Chilling and Setting the Cheesecake
Chilling is essential — it allows the cheesecake to firm up and the flavors to deepen.
Instructions:
-
Refrigerate for at least 6 hours, preferably overnight
Cover the cooled cheesecake lightly with plastic wrap or foil and place it in the refrigerator for a minimum of 6 hours. For best results, chill overnight to fully set. -
Unmold carefully
Once chilled, run a thin knife around the edge of the pan to loosen it from the sides. Release the springform latch and lift the ring away gently. -
Transfer to serving plate
Use a large offset spatula to carefully transfer the cheesecake to a serving platter, or serve directly from the springform base.
Tip: Dip your knife in hot water and wipe it clean between slices for the most professional-looking cuts.
Step 7: Preparing Topping and Serving Presentation
This cheesecake is stunning on its own, but a thoughtful topping and garnish can elevate it from impressive to unforgettable.
Optional Blackberry Glaze or Topping:
You can serve the remaining blackberry compote as-is or turn it into a glaze:
To make a glossy blackberry glaze:
-
Reheat leftover compote gently with 1–2 tablespoons of water and 1 tablespoon of corn syrup or honey.
-
Stir until slightly thickened but pourable.
-
Cool slightly and spoon over the top of the chilled cheesecake before serving.
Garnish ideas:
-
Fresh blackberries arranged in a circular pattern
-
Light dusting of powdered sugar
-
White chocolate curls or shavings
-
A dollop of whipped cream
-
Mint sprigs for color contrast
Serving Note: Serve chilled or allow the cheesecake to sit at room temperature for 20–30 minutes for a silkier texture.
Blackberry Red Velvet Cheesecake Recipe
Few desserts command attention and admiration like a well-made cheesecake. Rich, creamy, and endlessly customizable, it is a dessert that balances indulgence with sophistication. When combined with the iconic flavor and hue of red velvet cake and the bold, tart sweetness of blackberries, the result is a show-stopping creation that delights the senses and elevates any occasion. This is the Blackberry Red Velvet Cheesecake — a luxurious fusion of textures, flavors, and colors that brings together the best of classic American desserts in one unforgettable dish.
Ingredients
- For the Crust:
- 1 ½ cups chocolate cookie crumbs (like Oreos, finely crushed)
- ¼ cup unsalted butter, melted
- For the Red Velvet Cheesecake Layer:
- 24 oz (3 blocks) cream cheese, softened
- 1 cup granulated sugar
- 3 large eggs
- 1 tsp vanilla extract
- ½ cup sour cream
- ½ cup buttermilk
- ¼ cup unsweetened cocoa powder
- 1 ½ tsp white vinegar
- 1 tbsp red food coloring (liquid or gel)
- For the Blackberry Swirl:
- 1 ½ cups fresh or frozen blackberries
- 2 tbsp sugar
- 1 tsp lemon juice
- 2 tsp cornstarch mixed with 2 tsp water (slurry)
- Optional Toppings:
- Whipped cream
- Fresh blackberries
- White chocolate shavings or drizzle
Instructions
Step 1: Prepare Blackberry Swirl
- In a small saucepan, combine blackberries, sugar, and lemon juice over medium heat.
- Cook until berries start to break down (5–7 mins). Mash them with a fork or potato masher.
- Add the cornstarch slurry and stir until thickened (1–2 mins).
- Strain through a fine mesh sieve to remove seeds. Cool and set aside.
Step 2: Make the Crust
- Preheat oven to 325°F (163°C).
- Mix cookie crumbs with melted butter.
- Press mixture into the bottom of the springform pan.
- Bake for 10 minutes, then let cool.
Step 3: Make the Cheesecake Filling
- Beat cream cheese and sugar together until smooth.
- Add eggs one at a time, beating well after each.
- Mix in vanilla, sour cream, buttermilk, cocoa powder, vinegar, and red food coloring. Beat until smooth and fully combined.
Step 4: Assemble & Swirl
- Pour cheesecake batter over the cooled crust.
- Spoon blackberry sauce in dollops over the top. Use a knife or skewer to gently swirl into the batter.
- Tap the pan gently to release air bubbles.
Step 5: Bake & Cool
- Place the springform pan in a larger roasting pan. Pour hot water into the roasting pan to come halfway up the sides (water bath).
- Bake at 325°F for 1 hour 10–15 minutes, or until the center is just set and slightly jiggly.
- Turn off oven, crack door slightly, and let cheesecake sit inside for 1 hour.
- Remove, cool to room temperature, then chill in the fridge for at least 6 hours or overnight.
Notes
- Water bath tip: Wrap the bottom of the pan in foil to prevent water from leaking in.
- Food coloring: Gel works better for vibrant color without thinning the batter.
- No blackberries? Try blueberries or raspberries instead.

