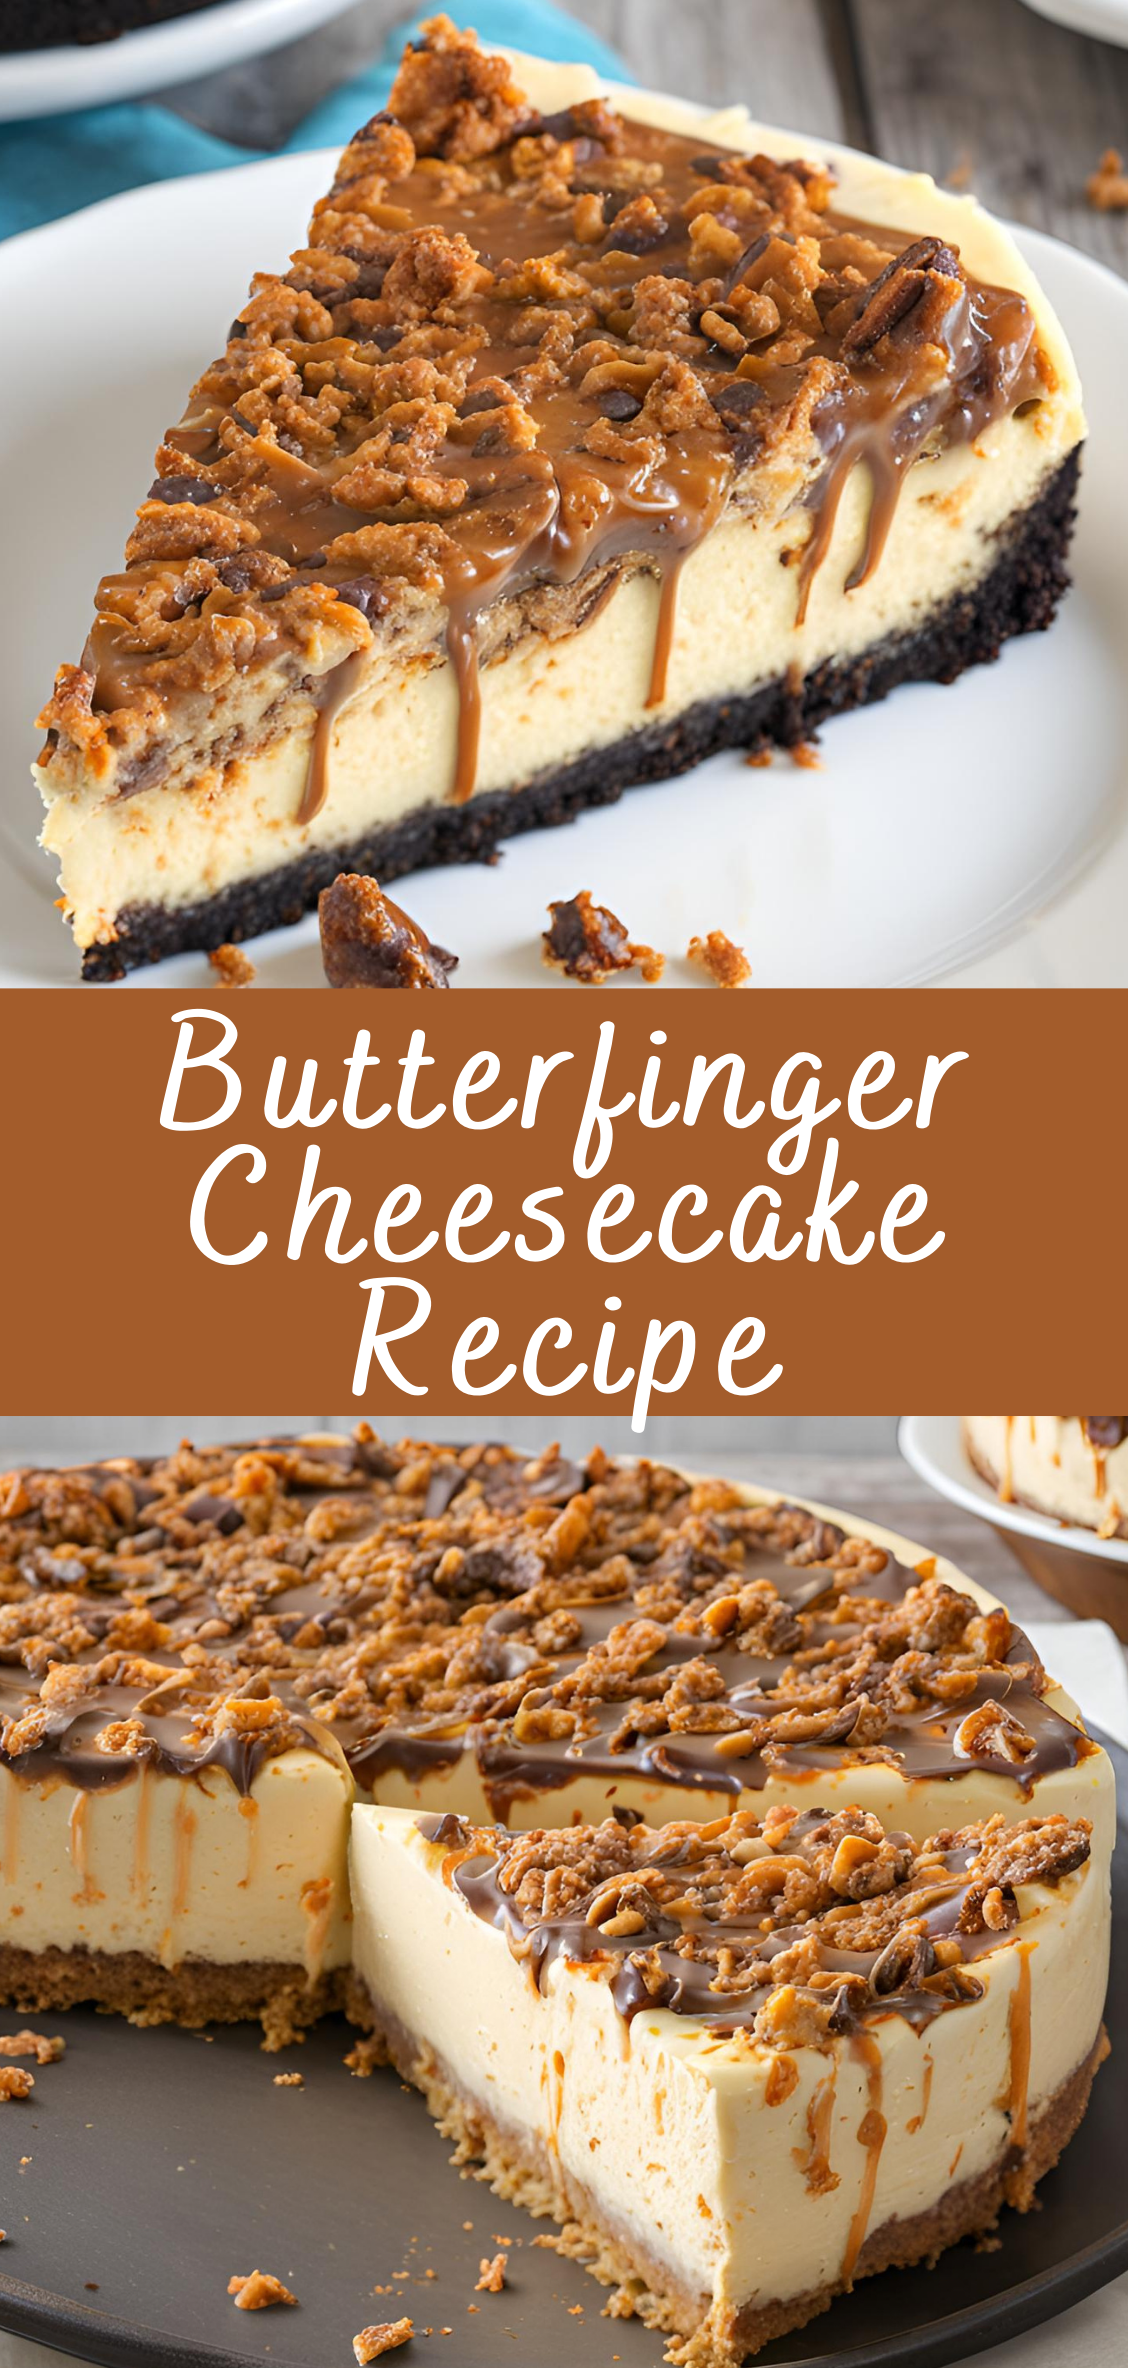
Butterfinger Cheesecake Recipe
What Makes Butterfinger Cheesecake Special?
Butterfinger Cheesecake is a delightful fusion of rich, creamy cheesecake and the crunchy, peanut buttery goodness of Butterfinger candy bars. The combination of these two beloved desserts creates a treat that’s both indulgent and satisfying, making it a perfect choice for special occasions or whenever you’re craving something sweet and decadent.
A Brief History of Cheesecake
Cheesecake has a long and storied history, dating back to ancient Greece. Over the centuries, it has evolved into many different forms, with each culture adding its unique twist. The New York-style cheesecake is perhaps the most famous in the United States, known for its dense, creamy texture. Adding Butterfinger to this classic dessert brings a modern twist to an old favorite, creating a flavor profile that is both nostalgic and innovative.
Preparing the Crust
Choosing the Right Base: Graham Crackers or Oreo Crust?
The crust is the foundation of your cheesecake, and the choice of base can significantly impact the overall flavor. Graham crackers provide a classic, slightly sweet foundation, while Oreo cookies add a rich, chocolatey undertone that complements the Butterfinger filling perfectly.
Mixing and Pressing the Crust
To prepare the crust, combine the graham cracker crumbs (or crushed Oreos) with granulated sugar and melted butter. Mix until the crumbs are evenly coated and have a texture resembling wet sand. Press the mixture firmly into the bottom of a springform pan, ensuring an even layer across the base and slightly up the sides.
Baking the Crust for a Firm Foundation
Bake the crust in a preheated oven at 325°F (163°C) for about 10 minutes. This step helps set the crust, providing a sturdy base for your cheesecake filling. Allow the crust to cool slightly while you prepare the filling.
Creating the Cheesecake Filling
The Importance of Room Temperature Ingredients
One of the keys to a smooth and creamy cheesecake is using room temperature ingredients. Ensure that your cream cheese, eggs, and sour cream are at room temperature before you begin. This helps them blend more easily, resulting in a lump-free filling.
Blending Cream Cheese, Sugar, and Eggs
In a large mixing bowl, beat the softened cream cheese until smooth. Gradually add the sugar and vanilla extract, mixing until well combined. Add the eggs one at a time, beating just until each egg is incorporated. Overmixing can introduce too much air into the batter, leading to cracks in the finished cheesecake.
Adding Butterfinger Pieces for a Crunchy Twist
Fold in the chopped Butterfinger candy bars into the cream cheese mixture. The pieces should be evenly distributed throughout the filling, adding a delightful crunch and bursts of peanut buttery flavor in every bite.
Assembling the Cheesecake
Pouring the Filling onto the Crust
Carefully pour the cheesecake filling over the cooled crust, using a spatula to spread it evenly. Be sure to tap the pan gently on the counter to remove any air bubbles trapped in the filling.
Swirling in Additional Butterfinger Pieces
For an extra burst of Butterfinger goodness, sprinkle a few more chopped Butterfinger pieces on top of the filling. Use a knife or toothpick to gently swirl them into the batter, creating a marbled effect.
Ensuring an Even Distribution
To ensure the Butterfinger pieces are evenly distributed, use a spatula to lightly press them into the filling. This will help prevent them from sinking to the bottom during baking.
Baking the Cheesecake
Setting the Right Oven Temperature
Preheat your oven to 325°F (163°C). This lower baking temperature helps the cheesecake cook evenly without overbrowning the top.
Using a Water Bath for Even Cooking
To prevent cracks and ensure even cooking, place the springform pan in a larger baking dish filled with about an inch of hot water. This water bath helps regulate the temperature around the cheesecake, allowing it to cook more gently and evenly.
Baking Time and Checking for Doneness
Bake the cheesecake for 60-70 minutes, or until the center is set but still slightly jiggly. The edges should be firm, but the center will continue to set as the cheesecake cools. Avoid overbaking, as this can cause the cheesecake to become dry and crack.
Cooling and Setting the Cheesecake
Gradual Cooling to Prevent Cracks
Once the cheesecake is done baking, turn off the oven and crack the door open. Allow the cheesecake to cool in the oven for about an hour. This gradual cooling process helps prevent cracks from forming on the surface.
Refrigerating the Cheesecake Overnight
After the cheesecake has cooled to room temperature, cover it loosely with plastic wrap and refrigerate it overnight. This allows the flavors to meld and the texture to set, resulting in a perfectly creamy cheesecake.
Preparing the Butterfinger Topping
Melting Chocolate for a Smooth Topping
In a small saucepan, heat the heavy cream over medium heat until it begins to simmer. Remove from heat and stir in the chocolate chips until fully melted and smooth.
Crumbling Butterfinger Bars for Extra Crunch
Once the chocolate topping is ready, crumble the remaining Butterfinger bars and sprinkle them generously over the top of the cheesecake.
Drizzling and Spreading the Topping
Pour the melted chocolate over the cheesecake, spreading it evenly with a spatula. The crumbled Butterfinger pieces should stick to the chocolate, creating a deliciously crunchy topping.
Decorating the Cheesecake
Adding Whipped Cream Rosettes
For an elegant touch, pipe whipped cream rosettes around the edge of the cheesecake. This adds a light, fluffy contrast to the rich, dense cheesecake.
Placing Additional Butterfinger Pieces on Top
Finish decorating by placing a few larger Butterfinger pieces on top of the whipped cream rosettes. This not only adds visual appeal but also enhances the Butterfinger flavor.
Butterfinger Cheesecake Recipe
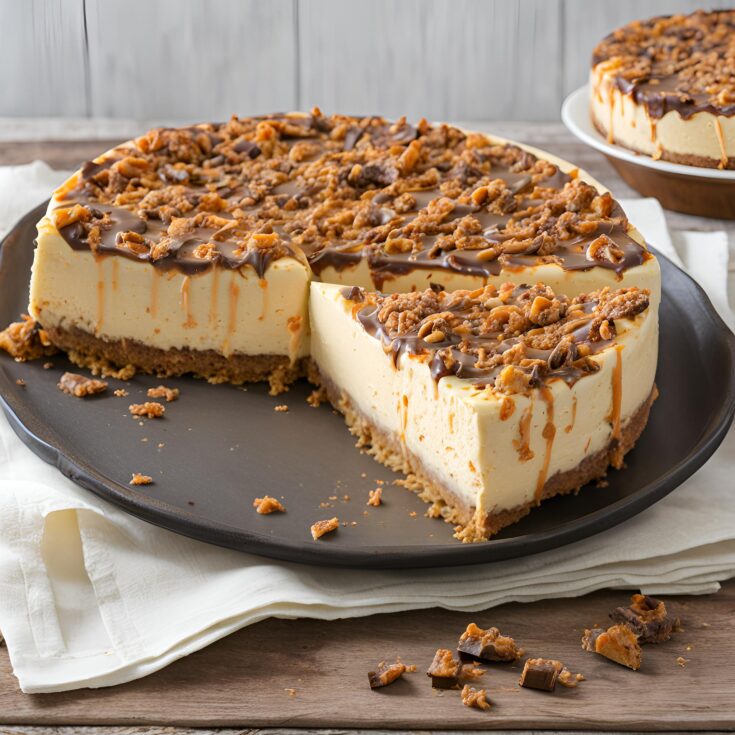
Butterfinger Cheesecake is a delightful fusion of rich, creamy cheesecake and the crunchy, peanut buttery goodness of Butterfinger candy bars. The combination of these two beloved desserts creates a treat that's both indulgent and satisfying, making it a perfect choice for special occasions or whenever you're craving something sweet and decadent.
Ingredients
- Crust
- 2 1/4 cups (302g) Oreo crumbs
- 4 tbsp (56g) salted butter, melted
- Filling
- 24 ounces (678g) cream cheese, room temperature
- 1 cup (207g) sugar
- 3 tbsp (24g) all purpose flour
- 3/4 cup (173g) sour cream, room temperature
- 1/2 cup (140g) peanut butter
- 1 tsp vanilla extract
- 4 large eggs, room temperature
- 1 1/2 cups (12 fun sized bars) chopped Butterfingers
- Chocolate Ganache
- 6 oz semi-sweet chocolate chips
- 1/2 cup heavy whipping cream
- Peanut Butter Whipped Cream
- 3/4 cup heavy whipping cream
- 1/2 cup (58g) powdered sugar
- 2 tbsp (35g) peanut butter
- 1/4 tsp vanilla extract
- Chopped Butterfingers
Instructions
Crust
- Preheat oven to 325°F (163°C). Line a 9-inch (23cm) springform pan with parchment paper in the bottom and grease the sides.
- Combine the crust ingredients in a small bowl. Press the mixture into the bottom of the springform pan.
- Bake the crust for 10 minutes, then set aside to cool.
- Cover the outsides of the pan with aluminum foil so that water from the water bath cannot get in (see how I prepare a pan for a water bath). Set prepared pan aside.
Cheesecake
- Reduce oven temperature to 300°F (148°C).
- Chop Butterfingers and set aside.
- In a large bowl, beat the cream cheese, sugar and flour on low speed until well combined and completely smooth. Be sure to use low speed to reduce the amount of air added to the batter, which can cause cracks. Scrape down the sides of the bowl.
- Add the sour cream, peanut butter and vanilla extract and mix on low speed until well combined.
- Add the eggs one at a time, mixing slowly to combine after each addition. Scrape down the sides of the bowl as needed to make sure everything is well combined.
- Stir in chopped Butterfingers.
- Pour the cheesecake batter evenly into the crust.
- Place the springform pan inside another larger pan. Fill the outside pan with enough warm water to go about halfway up the sides of the springform pan. The water should not go above the top edge of the aluminum foil on the springform pan.
- Bake for 1 hour 25 minutes. The center should be set, but still jiggly.
- Turn off the oven and leave the door closed for 30 minutes. The cheesecake will continue to cook, but slowly begin to cool as well.
- Crack the door of the oven for 30 minutes to allow the cheesecake to continue to cool slowly. This process helps prevent cracking.
- Remove the cheesecake from the oven and water bath wrapping. Refrigerate until firm, 5-6 hours or overnight.
- When the cheesecake is cool and firm, remove from the springform pan and set on a serving plate.
To Decorate the Cheesecake
- Make the chocolate ganache by putting the chocolate chips in a heat proof bowl and set them aside.
- Pour the heavy whipping cream into another heat proof bowl and microwave it until it just begins to boil, then pour it over the chocolate chips.
- Allow chocolate and cream to sit for 2-3 minutes, then whisk until smooth.
- Pour the ganache onto the cheesecake and spread into an even layer.
- Next make the whipped cream. Add the heavy whipping cream, powdered sugar, peanut butter and vanilla extract to a large mixer bowl and whip on high speed until stiff peaks form.
- Fill a piping bag fitted with a piping tip with whipped cream. I used Ateco tip #847. Pipe shells of whipped cream around the edge of the cheesecake.
- Chop Butterfingers for the topping and sprinkle over the cheesecake.
- Refrigerate cheesecake until ready to serve. Best when stored well-covered and eaten within 3-4 days.

