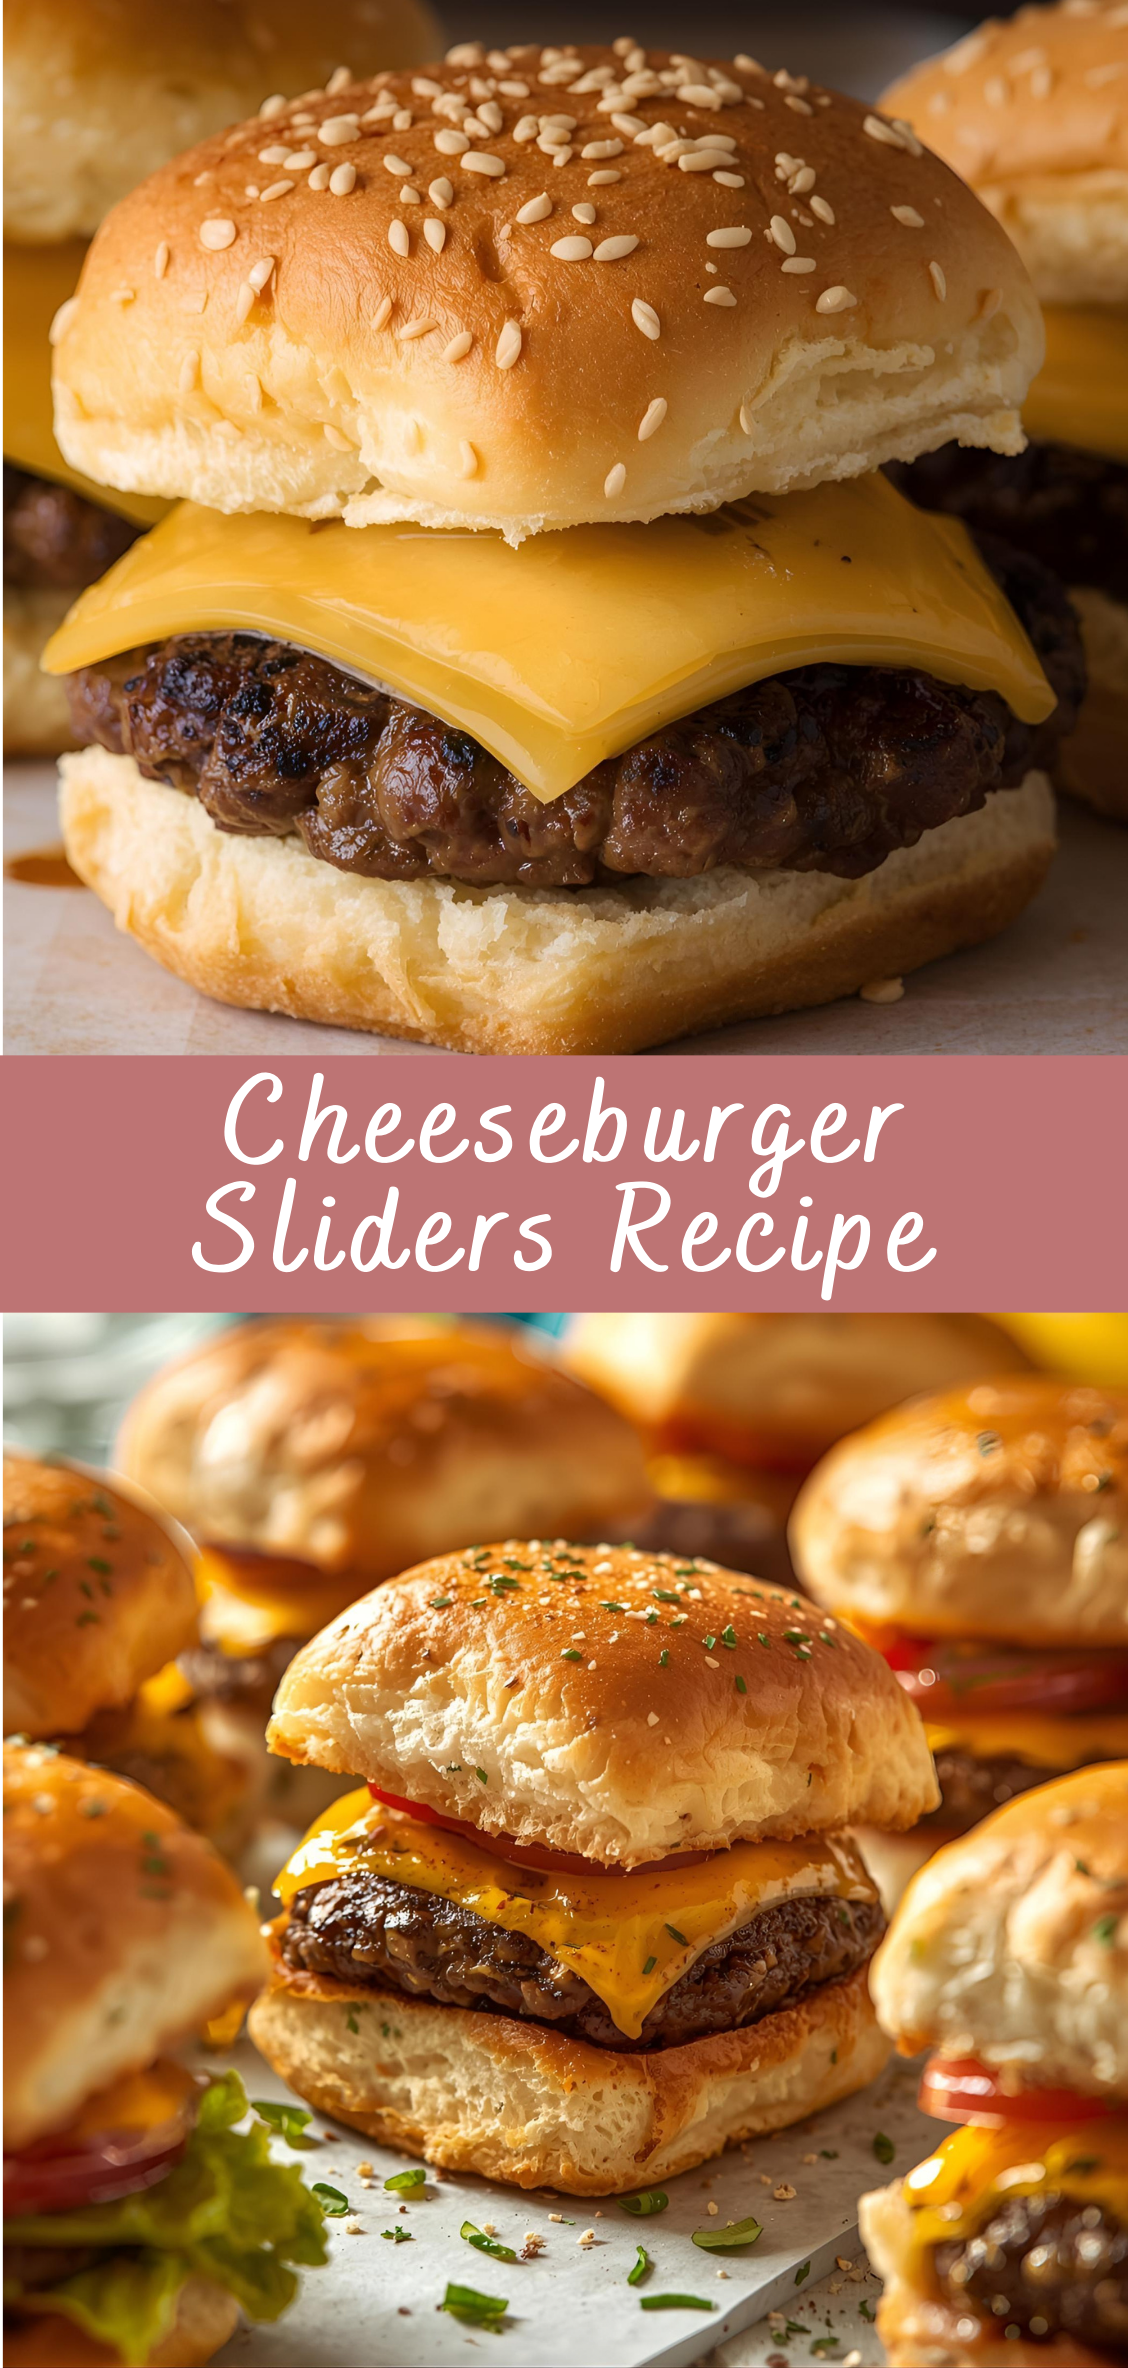
The Irresistible Allure of Cheeseburger Sliders
Few foods capture the collective culinary imagination quite like the cheeseburger. It’s an American icon—a dish so universally beloved that it transcends age, culture, and occasion. But when you take everything you love about a full-sized cheeseburger and shrink it down into a perfectly portioned, bite-sized sandwich, something magical happens. Cheeseburger sliders are not just mini burgers; they are a brilliant combination of flavor, form, and function—tailor-made for sharing, celebrating, and satisfying even the pickiest of appetites.
These small-but-mighty creations are more than just a novelty. Cheeseburger sliders have evolved into a staple of party food culture, an essential part of Super Bowl spreads, birthday buffets, cookouts, casual weeknight dinners, and even wedding receptions. Their size makes them easy to serve and easy to eat. Their flavor makes them unforgettable.
What makes a great slider is the balance of texture and taste, as well as the smart assembly of quality ingredients in compact form. A soft, slightly sweet bun that holds its shape. A juicy, well-seasoned patty, ideally with a slight crust from the sear. Melted cheese—creamy, salty, indulgent—pulling all the savory elements together. And, of course, the toppings: whether it’s classic pickles and ketchup or caramelized onions and spicy mayo, the toppings are what define the personality of your slider.
Cheeseburger sliders offer a kind of creative freedom not always possible with traditional burgers. Their smaller size encourages experimentation and variety. You can make multiple flavor combinations in a single batch, offering your guests (or yourself) a full burger experience in miniature. Go classic with American cheese and mustard, upscale with aged cheddar and garlic aioli, or inventive with pepper jack and chipotle jam. The slider format is your canvas.
From a culinary standpoint, cheeseburger sliders are a study in efficiency and precision. Unlike standard burgers, which require careful timing to avoid drying out, sliders cook quickly and uniformly, making them perfect for feeding a group. They can be made on a stovetop, griddle, grill, or even baked all at once in the oven—an approach that’s ideal for entertaining. With the right strategy, you can prepare two dozen sliders in less time than it takes to make six full-sized burgers.
But beyond technique, these sliders speak to something deeper—something nostalgic. They remind us of after-school snacks, summer barbecues, late-night diners, and drive-thru cravings. They transport us to simpler times, where good food was eaten with our hands and shared with friends. There’s an inherent joy in their small size: less mess, less commitment, more room for fun.
They also happen to be incredibly family-friendly. Kids love them because they’re fun and approachable. Adults love them because they’re comforting and endlessly customizable. They’re a perfect solution for busy weeknights, picky eaters, or anyone craving that classic cheeseburger taste without the heft of a full meal. Pair them with fries, onion rings, or a crisp salad, and you’ve got a complete plate that satisfies on every level.
Detailed Step-by-Step Instructions for Cheeseburger Sliders
Step 1: Gather and Prep Your Ingredients
Ingredients You’ll Need:
-
Ground beef (80/20 blend recommended for juiciness)
-
Slider buns (soft, small, ideally about 2-3 inches in diameter)
-
Cheese slices (American, cheddar, or your favorite melting cheese)
-
Salt and freshly ground black pepper
-
Optional seasonings (garlic powder, onion powder, smoked paprika)
-
Toppings (pickles, sliced onions, lettuce, tomato, ketchup, mustard, mayo, etc.)
-
Butter or oil (for toasting buns and cooking patties)
Prep Work:
-
Remove buns from packaging, slice them if needed.
-
Slice tomatoes and onions thinly.
-
Wash and dry lettuce leaves.
-
Pre-slice cheese if not pre-sliced.
-
Have condiments and toppings ready on a platter for easy assembly.
Pro Tip: Pat ground beef dry with paper towels if it’s too wet. Moisture inhibits browning.
Step 2: Forming the Slider Patties
How to Shape:
-
Portion ground beef into 2 to 3-ounce balls (about golf ball size).
-
Gently form each ball into a patty roughly the diameter of your buns—about 2-3 inches.
-
Make a slight indentation in the center with your thumb to prevent puffing during cooking.
-
Avoid overworking the meat; keep the texture loose for juiciness.
Why it matters: Smaller patties cook quickly and evenly, with a nice crust. The thumbprint prevents a domed shape.
Step 3: Seasoning the Patties
-
Season each side liberally with salt and freshly ground black pepper.
-
For more complex flavor, sprinkle a light dusting of garlic powder, onion powder, or smoked paprika if desired.
-
Season just before cooking to avoid drawing out moisture prematurely.
Step 4: Cooking the Sliders
Method 1: Stove-Top Skillet or Griddle
-
Heat a large cast-iron skillet or griddle over medium-high heat until hot.
-
Add a small amount of butter or oil to the pan.
-
Place patties in the pan, leaving space between them.
-
Cook undisturbed for 2-3 minutes to form a crust.
-
Flip once and cook for another 2 minutes or until the internal temperature reaches 160°F for beef.
-
In the last minute, place a slice of cheese on each patty, cover the pan with a lid to melt the cheese.
Method 2: Oven-Baked Sliders
-
Preheat oven to 400°F (200°C).
-
Arrange patties on a parchment-lined baking sheet.
-
Bake for about 10 minutes, flipping halfway.
-
Add cheese slices during the last 2 minutes and broil briefly if desired.
Step 5: Toasting the Buns
-
While patties cook, heat a separate pan over medium heat.
-
Spread butter lightly on cut sides of buns.
-
Toast cut sides down until golden brown and slightly crispy (about 1-2 minutes).
-
Alternatively, toast buns under the broiler for a quick, even toast.
Why toast buns? It adds flavor, crunch, and prevents sogginess from burger juices and condiments.
Step 6: Assembling the Sliders
-
Place the toasted bottom bun on a plate or serving platter.
-
Add the cooked cheeseburger patty with melted cheese.
-
Layer with preferred toppings (lettuce, tomato, onion, pickles).
-
Add condiments such as ketchup, mustard, or mayo.
-
Top with the bun crown.
Step 7: Serving Your Sliders
-
Serve sliders hot and fresh off the griddle or oven.
-
Pair with classic sides: French fries, onion rings, coleslaw, or pickled veggies.
-
For parties, arrange sliders on a platter with toothpicks to keep them intact.
-
Offer a variety of toppings and sauces for a DIY slider bar experience.
Cheeseburger Sliders Recipe
Few foods capture the collective culinary imagination quite like the cheeseburger. It's an American icon—a dish so universally beloved that it transcends age, culture, and occasion. But when you take everything you love about a full-sized cheeseburger and shrink it down into a perfectly portioned, bite-sized sandwich, something magical happens. Cheeseburger sliders are not just mini burgers; they are a brilliant combination of flavor, form, and function—tailor-made for sharing, celebrating, and satisfying even the pickiest of appetites.
Ingredients
- 1½ lbs (680g) ground beef (80/20 for juicy burgers)
- 1 tsp garlic powder
- 1 tsp onion powder
- 1 tsp Worcestershire sauce
- Salt and pepper, to taste
- 12 slider buns or small dinner rolls
- 12 slices cheddar cheese (or your favorite cheese)
- Optional toppings: sliced pickles, ketchup, mustard, mayonnaise, lettuce, tomato, onions
Instructions
- Preheat oven:
Preheat oven to 350°F (175°C). Line a baking sheet with foil or parchment paper. - Mix beef and seasonings:
In a large bowl, combine ground beef, garlic powder, onion powder, Worcestershire sauce, salt, and pepper. Mix gently but thoroughly. - Form patties:
Divide beef mixture into 12 equal portions and shape into small, flat patties slightly larger than your buns (they’ll shrink a bit when cooking). - Cook patties:
Heat a large skillet or grill pan over medium-high heat. Cook patties for about 3-4 minutes per side until nicely browned and cooked through. - Add cheese:
Place a slice of cheese on each patty during the last minute of cooking, allowing it to melt. - Toast buns:
Split slider buns and lightly toast them in the oven or on a skillet for extra flavor and crunch. - Assemble sliders:
Place each cheesy patty on a bun bottom, add your favorite toppings, then cover with the bun top.
Notes
- For extra juicy sliders, avoid overworking the beef.
- Feel free to swap cheddar for American, Swiss, pepper jack, or any cheese you love.
- Add sautéed onions or mushrooms for extra flavor.
- Serve with chips, fries, or a fresh salad!

