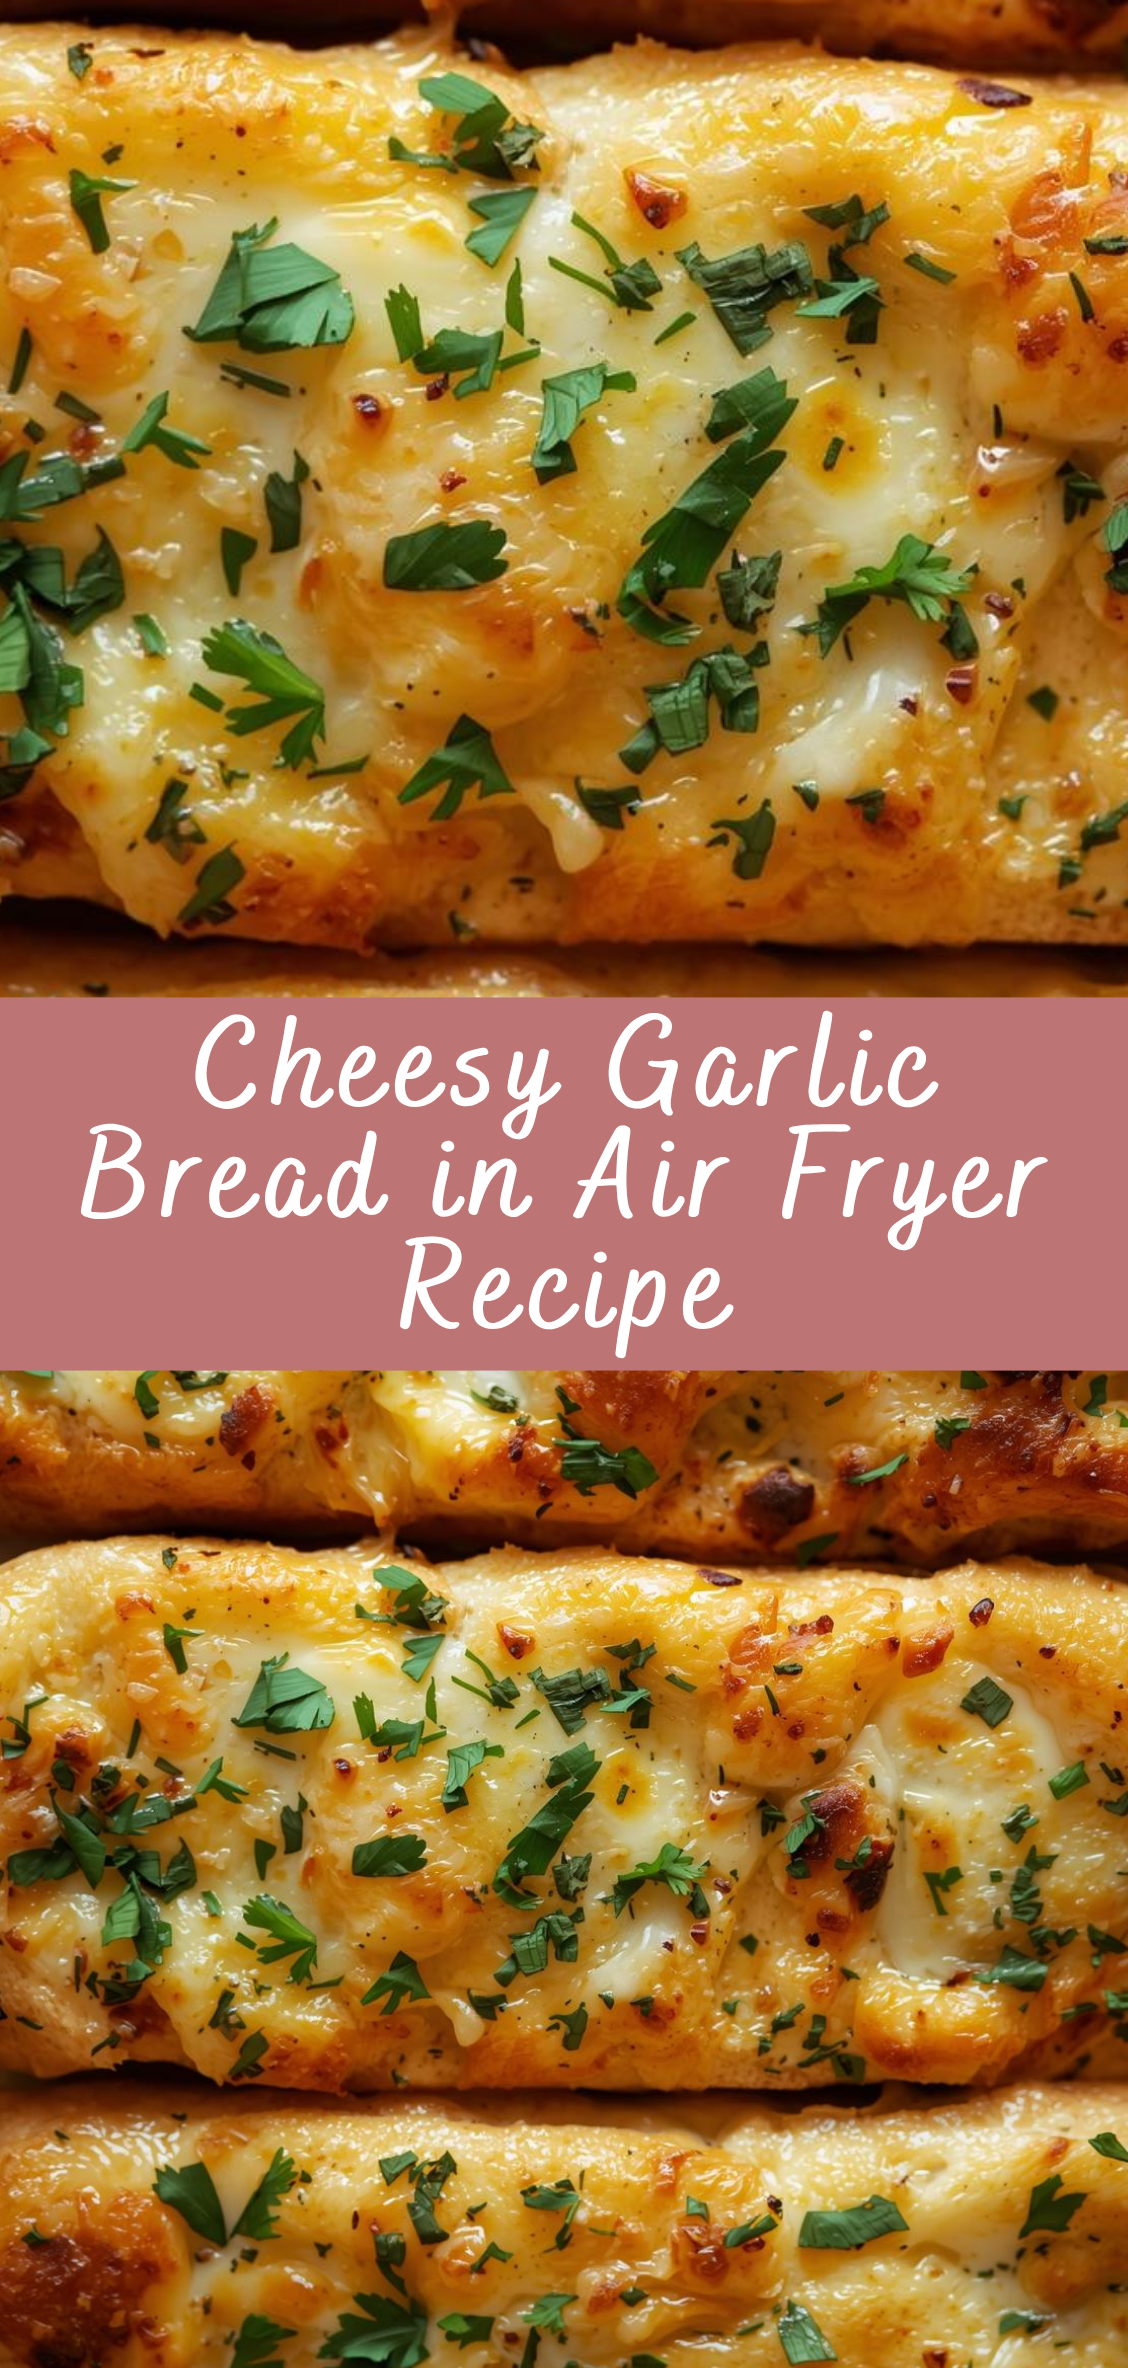
Cheesy Garlic Bread in the Air Fryer: A Modern Twist on a Classic Comfort
Few foods can rival the universal appeal of garlic bread — that golden, buttery, aromatic delight that accompanies everything from hearty pastas to cozy soups or stands proudly on its own as a satisfying snack. Its irresistible blend of crisp crust, soft interior, and fragrant garlic butter has made it a timeless favorite across cultures and cuisines. Yet in today’s world of fast-paced living and modern cooking technology, traditional oven-baked garlic bread has found a worthy and efficient counterpart: Cheesy Garlic Bread made in an air fryer.
The air fryer has revolutionized home cooking by offering a way to achieve crispy, evenly cooked results with minimal oil and time. It combines the convenience of modern engineering with the sensory satisfaction of traditional baking — a true culinary innovation that transforms how we think about comfort food. When this technology meets the indulgent charm of cheesy garlic bread, the result is extraordinary: bread that’s perfectly toasted on the outside, soft and gooey on the inside, and loaded with melted cheese that bubbles and browns in all the right places.
But what makes air fryer cheesy garlic bread special isn’t just its convenience. It’s the precision and consistency it offers — the way it locks in flavor, crisps the crust without over-drying, and melts the cheese to a flawless, golden finish. Unlike conventional ovens, which can take time to preheat and may unevenly brown the bread, the air fryer circulates hot air rapidly around every inch of the slice, ensuring that every bite is infused with balanced texture and flavor.
In this comprehensive guide, we’ll explore every facet of making Cheesy Garlic Bread in the Air Fryer — from choosing the best bread base and cheese blend to crafting the ideal garlic butter mixture. We’ll discuss the science of air frying, delve into the subtle flavor chemistry between butter, garlic, and cheese, and offer step-by-step instructions to ensure perfect results every time. Additionally, we’ll examine variations across cultures, nutritional adjustments for different diets, and creative serving ideas that elevate this classic dish into something truly memorable.
Whether you’re a home cook exploring your air fryer for the first time or a seasoned food enthusiast looking to master one of the most beloved comfort foods in a new way, this in-depth exploration will give you both the knowledge and the inspiration to create a version of cheesy garlic bread that’s crisp, rich, and utterly irresistible.
Cheesy Garlic Bread in the Air Fryer isn’t just a recipe — it’s a bridge between tradition and technology, between nostalgia and innovation. It honors the essence of what makes garlic bread so universally loved while embracing the speed and precision of modern cooking. At its heart, this dish reminds us that comfort food evolves not by abandoning its roots but by adapting them to new tools and tastes — one perfectly toasted slice at a time.
Detailed Instructions: How to Make Cheesy Garlic Bread in the Air Fryer
Making the perfect Cheesy Garlic Bread in the Air Fryer requires more than simply layering butter and cheese on bread. It’s a delicate balance of timing, temperature, and technique — ensuring that every bite delivers crisp edges, a soft buttery center, and a golden crown of melted cheese. The process unfolds in three essential stages: preparation, cooking, and finishing.
1. Preparation: The Foundation of Flavor
Before you start cooking, preparation is the key to consistent and delicious results. This step ensures that every ingredient complements the next, and the air fryer can do its job efficiently.
Ingredients
-
1 large French baguette or Italian loaf (or 4–6 thick bread slices)
-
100 grams (½ cup) unsalted butter, softened
-
4–5 cloves of fresh garlic, finely minced or grated
-
2 tablespoons fresh parsley, finely chopped (or 1 teaspoon dried parsley)
-
½ teaspoon salt
-
¼ teaspoon black pepper (optional, for a subtle bite)
-
1 ½ cups shredded mozzarella cheese
-
½ cup shredded cheddar or parmesan cheese (optional blend for flavor depth)
-
1 tablespoon olive oil (optional, for extra crispness)
-
A pinch of chili flakes (optional, for heat)
Equipment:
-
Air fryer (any standard 3–6 quart model)
-
Small mixing bowl
-
Spoon or spatula
-
Pastry brush or butter knife
-
Cutting board and sharp knife
-
Parchment paper or aluminum foil (if required for your air fryer model)
2. Choosing the Right Bread
The type of bread you use will dramatically influence the final texture of your cheesy garlic bread.
-
French Baguette: Ideal for a crisp exterior and soft interior. Its structure holds up well under air frying.
-
Italian Loaf: Offers a slightly denser crumb, resulting in a chewier center.
-
Sandwich Bread or Ciabatta: Convenient and fast, though thinner slices require shorter cooking times to avoid burning.
Cut the bread into slices about 1 inch (2.5 cm) thick. Thinner slices may brown too quickly before the cheese melts, while thicker slices may take longer to crisp. Each slice should be wide enough to hold a generous layer of garlic butter and cheese.
3. Making the Garlic Butter Mixture
The garlic butter mixture is the soul of this dish — it infuses the bread with richness, aroma, and depth.
-
Soften the Butter:
-
Remove the butter from the refrigerator about 20–30 minutes before use.
-
It should be soft enough to spread easily but not melted. If time is short, microwave it for 10–12 seconds — just until pliable.
-
-
Prepare the Garlic:
-
Finely mince or grate the garlic cloves.
-
For a smoother texture and milder flavor, you may sauté the minced garlic in a teaspoon of butter over low heat for 1–2 minutes. This mellows the sharpness and adds a nutty aroma.
-
-
Combine Ingredients:
-
In a small bowl, combine softened butter, minced garlic, parsley, salt, and black pepper.
-
Mix thoroughly with a spoon or spatula until the ingredients are evenly blended and the butter takes on a speckled, fragrant appearance.
-
-
Optional Enhancements:
-
Add a few drops of olive oil for a smoother consistency.
-
Mix in a small handful of grated parmesan for an umami-rich butter base.
-
If you enjoy spice, stir in a pinch of chili flakes or paprika for a subtle kick.
-
This compound butter can be made in advance and stored in the refrigerator for up to one week. It can also be used for other dishes like garlic shrimp, roasted vegetables, or steak toppings.
4. Preparing the Bread for the Air Fryer
-
Spread the Garlic Butter:
-
Lay the bread slices flat on a cutting board.
-
Using a butter knife or pastry brush, apply a thick, even layer of the garlic butter mixture to the cut side of each slice.
-
Ensure full coverage — especially along the edges — to prevent dryness during cooking.
-
-
Add the Cheese:
-
Sprinkle shredded mozzarella evenly across the buttered surface.
-
Follow with a smaller amount of cheddar or parmesan for flavor contrast.
-
Press the cheese down gently with your fingers to help it adhere to the butter.
-
-
Optional Toppings:
-
Add a dusting of parsley or basil for freshness.
-
Sprinkle chili flakes for a spicy variation.
-
Drizzle a small amount of olive oil if you prefer an extra-crisp top layer.
-
5. Preheating the Air Fryer
While not all air fryers require preheating, doing so ensures consistent cooking and an evenly crisp texture.
-
Set the air fryer to 350°F (175°C).
-
Allow it to preheat for 3–5 minutes.
-
Preheating mimics the effect of a hot oven and prevents sogginess.
6. Air Frying: The Critical Stage
This is where technology meets tradition. The circulating hot air in the fryer rapidly crisps the bread while melting the cheese to perfection.
-
Arrange the Bread:
-
Place slices in the air fryer basket in a single layer.
-
Avoid overlapping; proper air circulation is key to even browning.
-
If your air fryer is small, cook in batches.
-
-
Cooking Temperature and Time:
-
Set the air fryer to 350°F (175°C).
-
Cook for 5–7 minutes, depending on your air fryer’s power and the thickness of the bread.
-
For extra crisp edges, extend cooking by 1–2 minutes, but watch closely to prevent burning.
-
-
Monitoring the Process:
-
Around the 4-minute mark, open the basket and check progress.
-
The cheese should be bubbling and starting to brown.
-
If using thicker bread, turn the slices halfway through for uniform crispness on both sides.
-
-
Final Check:
-
The garlic bread is done when the cheese has melted fully and taken on a golden hue, and the edges of the bread are crispy yet not over-dry.
-
If needed, reduce temperature slightly and cook for an additional minute to melt thicker cheese layers without burning the crust.
-
7. Serving and Presentation
-
Cooling Period:
-
Let the bread rest for 1–2 minutes before serving. This allows the cheese to set slightly, preventing it from sliding off when cut.
-
-
Cutting and Plating:
-
Slice baguette-style bread diagonally into serving pieces.
-
Arrange on a platter lined with parchment or a rustic wooden board.
-
-
Garnishing:
-
Sprinkle with fresh parsley or finely grated parmesan.
-
For a gourmet touch, drizzle lightly with garlic-infused olive oil or balsamic glaze.
-
-
Serving Suggestions:
-
Serve as an appetizer with marinara or tomato dipping sauce.
-
Pair with soups (especially tomato or creamy mushroom).
-
Accompany Italian pasta dishes, grilled meats, or roasted vegetables.
-
8. Expert Tips for Perfect Air Fryer Garlic Bread
-
Temperature Control: Every air fryer model is slightly different. Always check earlier than the suggested time during your first attempt.
-
Bread Moisture: Avoid overly fresh or moist bread, which can become soggy. Day-old bread often produces the best results.
-
Cheese Variety: Mozzarella offers great meltability, while cheddar adds tang. Parmesan and provolone can enhance complexity.
-
Prevent Burnt Garlic: If your butter mixture contains raw garlic, ensure it’s fully coated by cheese to prevent it from burning during air frying.
-
Batch Cooking: Reheat leftover slices in the air fryer for 2–3 minutes at 320°F (160°C) to restore crispness.
9. Variations and Creative Twists
Once you master the basic version, the air fryer opens up endless variations of cheesy garlic bread.
-
Three-Cheese Garlic Bread: Mix mozzarella, provolone, and parmesan for a layered flavor.
-
Garlic Herb Bread: Add rosemary, oregano, or thyme to your butter for a more aromatic profile.
-
Spicy Jalapeño Cheese Bread: Sprinkle finely chopped jalapeños under the cheese before air frying.
-
Stuffed Garlic Bread: Slice the loaf lengthwise, fill with cheese mixture, and air fry until gooey inside.
-
Vegan Version: Replace butter with vegan margarine and use plant-based cheese alternatives.
10. The Science Behind Perfect Cheesy Garlic Bread
Understanding the why behind each step helps perfect the how:
-
Air Circulation: The air fryer’s convection heat ensures the butter doesn’t soak into the bread too deeply, maintaining crispness.
-
Maillard Reaction: This browning process between proteins and sugars gives garlic bread its golden color and rich flavor.
-
Cheese Melting Point: Different cheeses melt at slightly different temperatures; combining them achieves both stretchiness and flavor.
-
Fat Distribution: Butter creates steam pockets that help maintain a soft interior, while its milk solids caramelize for extra depth.
Cheesy Garlic Bread in the Air Fryer is a celebration of balance — between crispness and softness, speed and savor, simplicity and indulgence. It proves that with the right technique and understanding, a few humble ingredients can become a show-stopping dish worthy of any meal.
Cheesy Garlic Bread in Air Fryer Recipe
Few foods can rival the universal appeal of garlic bread — that golden, buttery, aromatic delight that accompanies everything from hearty pastas to cozy soups or stands proudly on its own as a satisfying snack. Its irresistible blend of crisp crust, soft interior, and fragrant garlic butter has made it a timeless favorite across cultures and cuisines. Yet in today’s world of fast-paced living and modern cooking technology, traditional oven-baked garlic bread has found a worthy and efficient counterpart: Cheesy Garlic Bread made in an air fryer.
Ingredients
- 1 French baguette or Italian loaf (or 4 slices of thick bread)
- 4 tbsp unsalted butter, softened
- 2 cloves garlic, minced (or 1 tsp garlic paste)
- 1 tbsp fresh parsley, chopped (or 1 tsp dried parsley)
- ½ cup mozzarella cheese, shredded
- ¼ cup cheddar cheese (optional, for extra flavor)
- 2 tbsp Parmesan cheese, grated
- Salt, to taste
- (Optional) pinch of red chili flakes for heat
Instructions
1. Preheat the Air Fryer
Preheat your air fryer to 350°F (175°C) for 2–3 minutes.
2. Prepare the Garlic Butter
In a small bowl, mix softened butter, minced garlic, parsley, and a pinch of salt.
Stir until well combined and creamy.
3. Prepare the Bread
Slice your baguette or loaf in half lengthwise, then cut into pieces that fit your air fryer basket.
Spread the garlic butter evenly over each piece.
Sprinkle mozzarella, cheddar, and Parmesan cheeses on top.
Add red chili flakes if you like a little spice.
4. Air Fry
Place the bread pieces in a single layer in the air fryer basket (do not overcrowd).
Air fry at 350°F (175°C) for 5–7 minutes, or until the cheese is melted and golden brown.
Check halfway through to avoid over-browning.
5. Serve
Remove carefully and let cool slightly.
Slice and serve warm with marinara sauce, soup, or pasta!
Notes
- No fresh bread? You can use sandwich bread or rolls — just adjust cooking time to 3–4 minutes.
- Make it extra cheesy: Add provolone or Monterey Jack.
- Garlic butter shortcut: Mix butter, garlic powder, and dried parsley if you’re in a hurry.
- Variation: Add cooked bacon bits or chopped green onions before air frying for extra flavor.

