Chicken Enchiladas with Homemade Red Enchilada Sauce Recipe
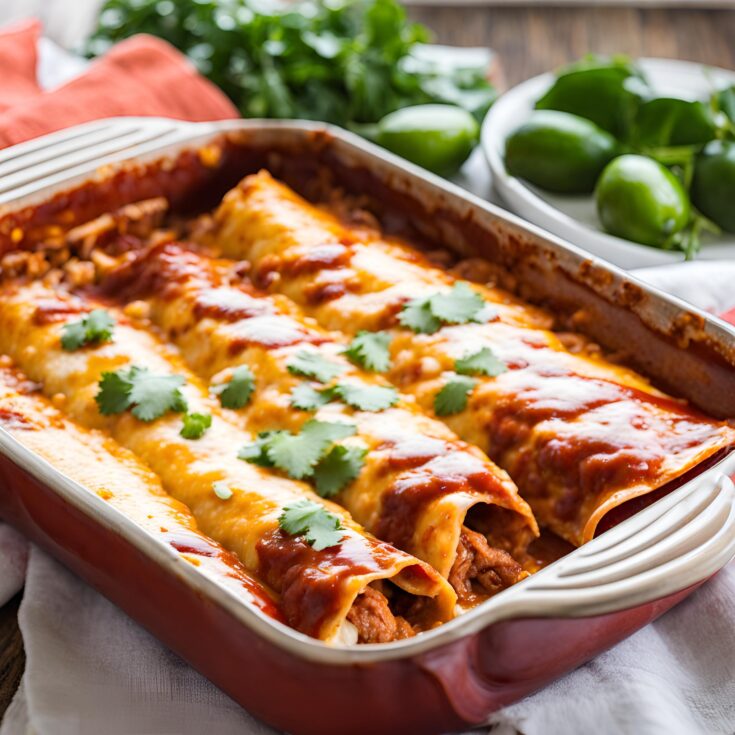
Chicken enchiladas are a beloved dish in Mexican cuisine, known for their bold flavors, tender chicken, and the rich, tangy sauce that ties everything together. While store-bought sauces can be convenient, nothing beats the taste of homemade red enchilada sauce. This recipe will guide you through making delicious chicken enchiladas from scratch, including a simple yet flavorful homemade sauce that will take your dish to the next level.

Step-by-Step Cooking Instructions
Step 1: Prepare the Chicken Filling
- Sauté the Vegetables: Heat olive oil in a large skillet over medium heat. Add the diced onion and bell pepper, cooking until they become soft and translucent, about 5 minutes.
- Add the Garlic and Spices: Stir in the minced garlic, ground cumin, chili powder, salt, and pepper. Cook for another minute until fragrant.
- Incorporate the Chicken: Add the shredded chicken to the skillet, stirring to combine with the vegetables and spices. If the mixture looks dry, add the chicken broth to keep it moist. Cook for an additional 2-3 minutes, then remove from heat and set aside.
Step 2: Make the Homemade Red Enchilada Sauce
- Create the Roux: In a medium saucepan, heat olive oil over medium heat. Add the flour and whisk continuously for 1-2 minutes until it becomes slightly golden.
- Add the Spices: Whisk in the chili powder, garlic powder, ground cumin, dried oregano, and smoked paprika. Continue to whisk for another minute to bloom the spices.
- Incorporate the Broth and Tomato Paste: Gradually add the chicken broth, whisking constantly to prevent lumps. Stir in the tomato paste until fully combined.
- Simmer and Season: Bring the sauce to a simmer and cook for 8-10 minutes, stirring occasionally, until it thickens slightly. Season with salt and pepper to taste. Remove from heat and set aside.
Step 3: Assemble the Enchiladas
- Preheat the Oven: Preheat your oven to 375°F (190°C).
- Prepare the Tortillas: Lightly warm the corn tortillas in a dry skillet or microwave to make them pliable. This will prevent them from cracking when you roll them.
- Fill the Tortillas: Spread a small amount of the enchilada sauce on the bottom of a 9×13-inch baking dish. Lay out each tortilla and place a portion of the chicken filling in the center. Add a sprinkle of cheese over the chicken.
- Roll and Arrange: Roll each tortilla tightly and place it seam-side down in the baking dish. Repeat until all tortillas are filled and arranged in the dish.
Step 4: Smother and Bake
- Pour the Sauce: Pour the remaining enchilada sauce evenly over the rolled tortillas, making sure they are fully covered.
- Top with Cheese: Sprinkle the remaining shredded cheese over the top of the sauce-covered enchiladas.
- Bake: Cover the dish with foil and bake in the preheated oven for 20 minutes. After 20 minutes, remove the foil and bake for an additional 10 minutes, or until the cheese is melted and bubbly.
Step 5: Serve and Enjoy
- Garnish: Once baked, let the enchiladas cool slightly before garnishing with chopped fresh cilantro.
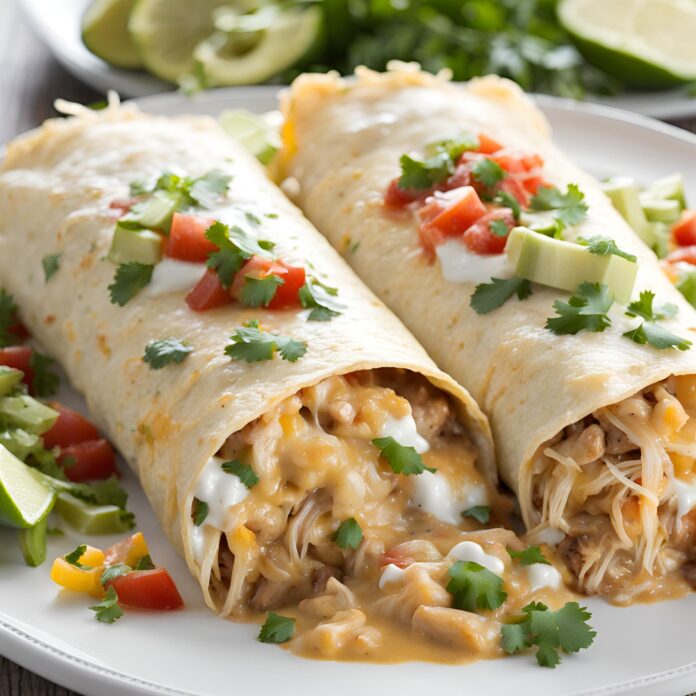
- Serve: Serve the enchiladas hot with a dollop of sour cream on the side.
Serving Suggestions
Pairing Ideas
- Mexican Rice: Serve these enchiladas alongside traditional Mexican rice for a complete meal.
- Refried Beans: A side of refried beans complements the enchiladas perfectly.
- Fresh Guacamole: Add a side of fresh guacamole for a creamy, cooling contrast to the spicy enchiladas.
Variations to Try
- Vegetarian Enchiladas: Replace the chicken with sautéed vegetables such as zucchini, mushrooms, and spinach, or use black beans for a vegetarian version.
- Beef Enchiladas: Substitute the chicken with ground beef, seasoned with the same spices used for the chicken filling.
- Spicy Enchiladas: Increase the heat by adding diced jalapeños to the chicken filling or using a spicier chili powder in the enchilada sauce.
Tips for Success
Perfecting the Sauce
- Avoid Lumps: When making the sauce, whisk continuously when adding the broth to avoid lumps in your sauce.
- Adjust Consistency: If the sauce is too thick, add a little more chicken broth to thin it out. If it’s too thin, simmer it for a few extra minutes to reduce.
Keeping Tortillas Intact
- Warm Before Rolling: Always warm the tortillas before filling to prevent them from cracking or breaking.
- Use Corn Tortillas: Traditional enchiladas are made with corn tortillas, but you can use flour tortillas if you prefer a softer texture.
Conclusion
Chicken enchiladas with homemade red enchilada sauce are a classic dish that brings the vibrant flavors of Mexican cuisine to your dinner table. By making your own sauce and filling from scratch, you can customize the dish to suit your taste preferences, ensuring a meal that’s both satisfying and delicious. Whether you’re making these enchiladas for a family dinner or a gathering with friends, they’re sure to be a hit.
FAQs
Can I make the enchilada sauce ahead of time?
Yes, you can make the enchilada sauce up to 3 days in advance. Store it in an airtight container in the refrigerator until you’re ready to use it.
Can I freeze these enchiladas?
Absolutely! Assemble the enchiladas, cover them tightly with foil, and freeze for up to 3 months. When ready to bake, thaw in the refrigerator overnight and bake as directed.
What other cheeses can I use?
You can use any melting cheese you prefer, such as Colby Jack, queso fresco, or even mozzarella for a different flavor profile.
Can I add other fillings to the enchiladas?
Yes, feel free to add ingredients like sautéed mushrooms, spinach, or even corn to the chicken filling for added texture and flavor.
Is there a gluten-free version of this recipe?
To make this recipe gluten-free, use gluten-free tortillas and ensure your chicken broth and spices are certified gluten-free.
Chicken Enchiladas with Homemade Red Enchilada Sauce Recipe

Chicken enchiladas are a beloved dish in Mexican cuisine, known for their bold flavors, tender chicken, and the rich, tangy sauce that ties everything together. While store-bought sauces can be convenient, nothing beats the taste of homemade red enchilada sauce. This recipe will guide you through making delicious chicken enchiladas from scratch, including a simple yet flavorful homemade sauce that will take your dish to the next level.
Ingredients
- For the Chicken Enchiladas:
- 3 cups cooked and shredded chicken (rotisserie chicken works well)
- 2 cups shredded cheddar or Monterey Jack cheese, divided
- 1/2 cup sour cream
- 1/2 cup diced onions
- 1 can (4 oz) diced green chilies (optional)
- 1 teaspoon ground cumin
- 1 teaspoon garlic powder
- 1/2 teaspoon chili powder
- Salt and pepper, to taste
- 12 small corn or flour tortillas
- Chopped fresh cilantro, for garnish (optional)
- For the Homemade Red Enchilada Sauce:
- 2 tablespoons vegetable oil
- 2 tablespoons all-purpose flour
- 3 tablespoons chili powder
- 1/2 teaspoon garlic powder
- 1/2 teaspoon onion powder
- 1/2 teaspoon ground cumin
- 1/2 teaspoon dried oregano
- 2 cups chicken broth
- 1 teaspoon tomato paste (optional, for richer flavor)
- Salt and pepper, to taste
Instructions
- Make the Red Enchilada Sauce:
In a medium saucepan, heat the vegetable oil over medium heat.
Add the flour and whisk constantly for 1-2 minutes to create a roux. It should be smooth and slightly browned.
Stir in the chili powder, garlic powder, onion powder, cumin, and oregano. Cook for an additional 30 seconds to toast the spices.
Gradually whisk in the chicken broth, ensuring there are no lumps.
Add the tomato paste (if using) and continue to whisk until the sauce thickens, about 5-7 minutes.
Season with salt and pepper to taste. Remove from heat and set aside. - Preheat Oven:
Preheat your oven to 375°F (190°C). Lightly grease a 9x13-inch baking dish. - Prepare the Filling:
In a large bowl, combine the shredded chicken, 1 1/2 cups of shredded cheese, sour cream, diced onions, green chilies (if using), ground cumin, garlic powder, chili powder, salt, and pepper. Mix until well combined. - Assemble the Enchiladas:
Warm the tortillas slightly in the microwave or on a skillet to make them pliable.
Spoon about 1/4 cup of the chicken mixture down the center of each tortilla. Roll up the tortilla tightly and place it seam-side down in the prepared baking dish.
Repeat with the remaining tortillas and chicken mixture. - Smother with Sauce and Cheese:
Pour the homemade red enchilada sauce evenly over the rolled tortillas, ensuring they are completely covered.
Sprinkle the remaining 1/2 cup of shredded cheese over the top. - Bake:
Cover the baking dish with aluminum foil and bake in the preheated oven for 20 minutes.
Remove the foil and bake for an additional 10-15 minutes, or until the cheese is melted and bubbly. - Serve:
Garnish with chopped fresh cilantro if desired, and serve hot with additional sour cream, guacamole, or salsa.

