Chocolate Peanut Butter Smoothie Recipe
In the ever-evolving world of health-conscious eating and fitness-friendly diets, smoothies have carved out a unique and prominent space. Among the countless variations that exist, the chocolate peanut butter smoothie stands as a beloved classic—a flavor pairing that feels indulgent while still offering a wealth of nutritional benefits. Rich, creamy, and satisfying, this smoothie manages to bridge the gap between comfort food and health food. Whether you are an athlete seeking post-workout recovery, a busy professional in need of a quick meal replacement, or simply someone craving a healthier take on dessert, the chocolate peanut butter smoothie provides a delicious and efficient option.
At first glance, chocolate and peanut butter may seem like the kind of combination best reserved for candy bars and sweet treats. However, when blended with the right ingredients, this duo transforms into a powerhouse of energy, protein, and essential nutrients. The key lies in choosing high-quality, wholesome ingredients and balancing the rich flavors in a way that supports your dietary goals without compromising taste.
Peanut butter, made from ground peanuts, is naturally high in protein, healthy fats, and fiber. It contains important vitamins and minerals such as vitamin E, magnesium, and potassium. When consumed in moderation and in its natural form—without added sugars or hydrogenated oils—peanut butter can be a great addition to a balanced diet. Chocolate, specifically in its purest forms like unsweetened cocoa powder or dark chocolate, provides antioxidants, mood-enhancing compounds, and a touch of natural bitterness that complements the earthy, nutty flavor of peanut butter.
This smoothie is not just about taste; it’s about function. Many athletes and fitness enthusiasts include chocolate peanut butter smoothies in their regimen because they offer a fast, easy, and palatable way to refuel muscles and promote recovery. Others may enjoy it as a breakfast alternative or a satisfying midday snack. Its versatility is one of its greatest strengths. It can be tailored to various dietary needs, including plant-based, dairy-free, low-carb, or high-protein plans.
The appeal of the chocolate peanut butter smoothie also lies in its simplicity. Most versions require just a handful of ingredients, a blender, and a few minutes to prepare. From a culinary perspective, it offers a wonderful canvas for customization. Ingredients like bananas, oats, Greek yogurt, almond milk, flaxseeds, or even a scoop of protein powder can all be added or substituted to create a smoothie that aligns with specific nutritional goals or personal taste preferences.
In this article, we will dive deep into the world of chocolate peanut butter smoothies. We’ll explore the history and popularity of the ingredients, break down the nutritional components, analyze various recipes from the most basic to the gourmet, and offer tips on how to craft the perfect smoothie every time. We’ll also address dietary variations, answer frequently asked questions, and provide guidance on storage, portioning, and presentation. Whether you are new to smoothie-making or a seasoned blender enthusiast looking for your next favorite recipe, this comprehensive guide will equip you with everything you need to master the chocolate peanut butter smoothie.
Let’s begin this flavorful journey by exploring what makes this iconic blend not just a treat for the tastebuds, but a smart choice for those seeking balance in flavor and nutrition.
How to Make a Chocolate Peanut Butter Smoothie: Step-by-Step Instructions
Creating a chocolate peanut butter smoothie is a straightforward process, but doing it well—achieving that perfect balance of flavor, texture, and nutrition—requires attention to detail. Below, we outline a comprehensive, step-by-step guide to making a basic chocolate peanut butter smoothie, with tips at each stage to help elevate your results.
Equipment You’ll Need:
Before diving into ingredients, make sure you have the right tools for the job. Smoothie-making is generally low-effort in terms of equipment, but using quality tools can make a big difference in consistency and ease.
-
Blender: A high-speed blender (e.g., Vitamix, Blendtec, Ninja) will yield the smoothest results, especially when using frozen fruits or ice. Standard household blenders can also work, but may require longer blending times.
-
Measuring cups and spoons: Precision matters, especially when tracking macros or calories.
-
Spatula: Useful for scraping peanut butter from the jar or transferring thick smoothies from the blender.
-
Serving glass or to-go bottle: Choose based on whether you’re serving immediately or taking it with you.
Ingredients
This base recipe delivers a rich, creamy smoothie with a balanced chocolate-peanut butter profile:
-
1 ripe banana (preferably frozen for a creamier texture)
-
2 tablespoons natural peanut butter (unsweetened, unsalted)
-
1 tablespoon unsweetened cocoa powder (or cacao powder)
-
1 cup milk of choice (e.g., dairy, almond, oat, soy, or coconut milk)
-
1/2 cup plain Greek yogurt (optional, for added protein and creaminess)
-
1–2 teaspoons honey or maple syrup (optional, depending on your sweetness preference)
-
1/2 teaspoon vanilla extract (optional, enhances flavor depth)
-
4–6 ice cubes (optional, depending on whether you’re using frozen fruit)
Step-by-Step Instructions
Step 1: Prepare Your Ingredients
Start by gathering all your ingredients and placing them on a clean surface. Peel the banana (if not already frozen) and measure out your peanut butter, cocoa powder, milk, and any optional ingredients like sweeteners or yogurt.
Pro Tip: If your banana is not frozen but you prefer a thick, milkshake-like texture, you can add a handful of ice cubes to the blender later. Alternatively, freeze your banana slices in advance for a creamier consistency without the need for ice.
Step 2: Add Liquids First
Begin by adding your milk to the bottom of the blender container. This helps ensure that the blender blades can move freely and blend ingredients evenly without getting stuck.
-
Why it matters: Starting with liquids prevents dry ingredients from sticking to the bottom and makes blending more efficient.
Step 3: Add Soft Ingredients
Next, add the banana, peanut butter, Greek yogurt (if using), sweetener, and vanilla extract.
-
Texture tip: Use a spoon to smooth out the peanut butter as you add it to the blender to avoid sticky clumps.
Step 4: Add Dry Ingredients
Add the cocoa powder last, and if you’re including extras like protein powder, chia seeds, or oats, this is the time to include them as well.
-
Optional add-ins:
-
1 tablespoon ground flaxseed or chia seeds (for fiber and omega-3s)
-
1/4 cup rolled oats (for satiety)
-
1 scoop protein powder (whey, plant-based, or collagen)
-
A pinch of sea salt (to intensify the peanut butter flavor)
-
Step 5: Add Ice or Frozen Ingredients
If you’re using fresh banana and want a colder or thicker smoothie, now is the time to add ice cubes. Otherwise, if your banana was frozen, ice is optional.
-
Note: Too much ice can dilute flavor and give the smoothie a watery texture. If needed, start with 4 cubes and adjust in future batches based on your preference.
Step 6: Blend Until Smooth
Secure the blender lid and begin blending on low speed, gradually increasing to high. Blend for about 30–60 seconds, or until the mixture is completely smooth and creamy.
-
Check consistency: If it looks too thick, add a small splash of milk and blend again. If it’s too thin, add more frozen banana or a few more ice cubes.
-
Pause and scrape down: If any peanut butter or cocoa sticks to the sides, pause the blender and use a spatula to scrape it down before blending again.
Step 7: Taste and Adjust
Before serving, do a quick taste test. Depending on your flavor preferences, you might want to:
-
Add more sweetener if it’s not sweet enough
-
Add more cocoa powder for a richer chocolate flavor
-
Add more peanut butter if you want it nuttier
Blend again briefly to incorporate any additions.
Step 8: Serve Immediately
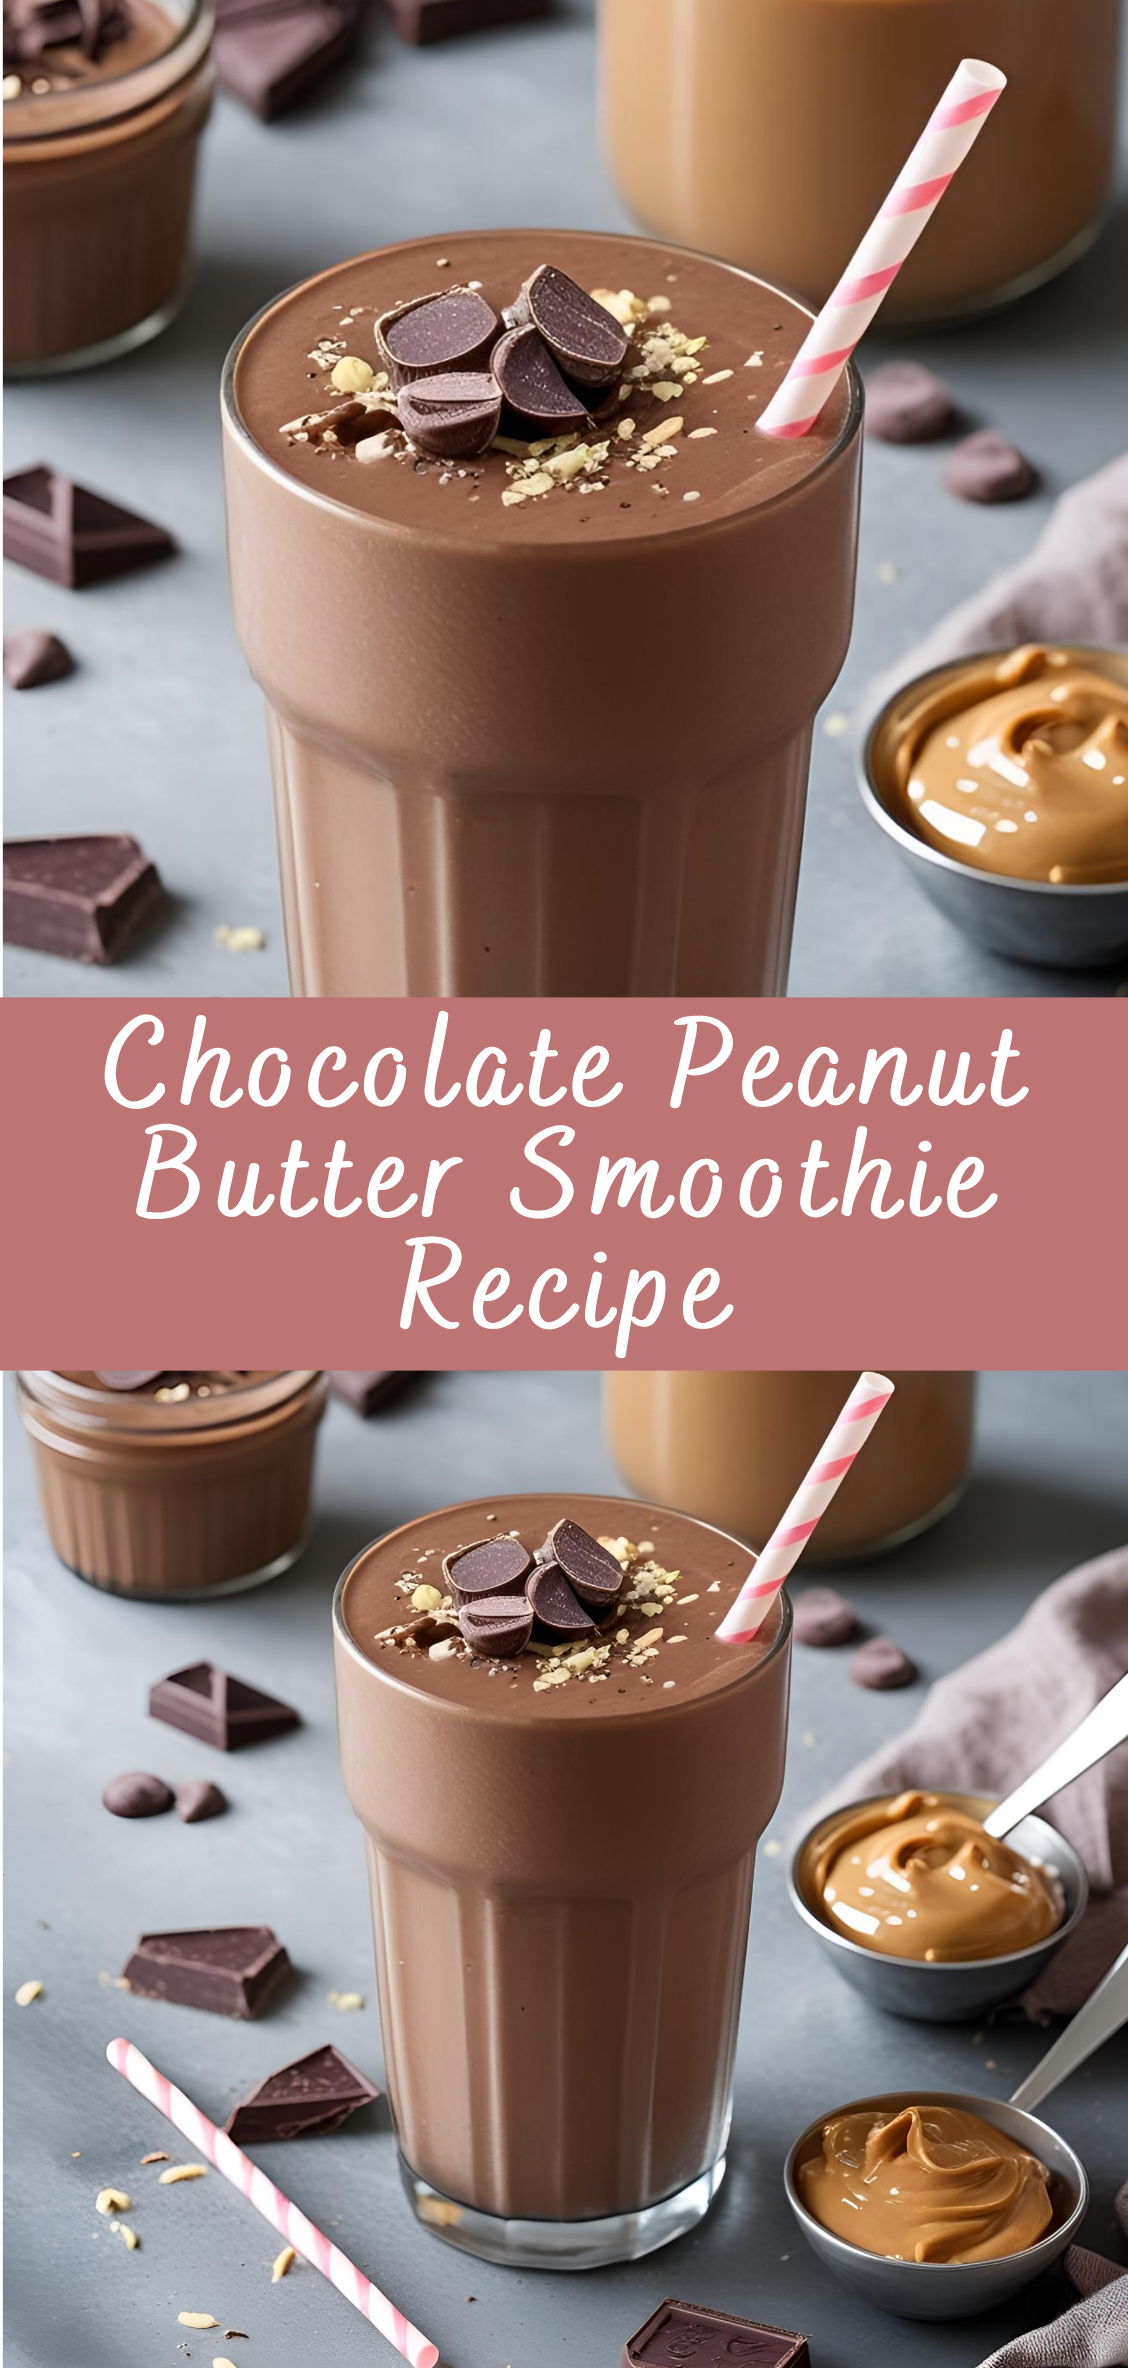
Pour the smoothie into a glass or bottle and enjoy immediately for the best flavor and texture. You can also garnish with optional toppings such as:
-
A small drizzle of peanut butter
-
A sprinkle of cocoa powder or shaved dark chocolate
-
Crushed peanuts or cacao nibs
-
A banana slice on the rim
If you’re on the go, pour it into an insulated bottle or jar to keep it cold and fresh.
Storage Instructions (Brief Overview)
While smoothies are best consumed fresh, you can store leftovers in an airtight container in the refrigerator for up to 24 hours. Stir or shake well before drinking, as natural separation may occur. For longer storage, consider freezing in silicone molds or ice cube trays, then re-blending later.
Chocolate Peanut Butter Smoothie Recipe
In the ever-evolving world of health-conscious eating and fitness-friendly diets, smoothies have carved out a unique and prominent space. Among the countless variations that exist, the chocolate peanut butter smoothie stands as a beloved classic—a flavor pairing that feels indulgent while still offering a wealth of nutritional benefits. Rich, creamy, and satisfying, this smoothie manages to bridge the gap between comfort food and health food. Whether you are an athlete seeking post-workout recovery, a busy professional in need of a quick meal replacement, or simply someone craving a healthier take on dessert, the chocolate peanut butter smoothie provides a delicious and efficient option.
Ingredients
- 1 banana (preferably frozen)
- 2 tablespoons peanut butter (creamy or crunchy)
- 2 tablespoons unsweetened cocoa powder (or chocolate protein powder)
- 1 cup milk (dairy or plant-based like almond, oat, or soy)
- ½ cup plain Greek yogurt (optional for extra creaminess and protein)
- 1 tablespoon honey or maple syrup (optional, to taste)
- ½ teaspoon vanilla extract (optional)
- A pinch of salt (enhances chocolate flavor)
- ½ to 1 cup ice (depending on preferred texture)
Instructions
- Add all ingredients to a blender in the order listed — banana, peanut butter, cocoa powder, milk, yogurt (if using), sweetener, vanilla, salt, and ice.
- Blend on high speed until smooth and creamy (about 30–60 seconds).
- Taste and adjust sweetness or consistency if needed (add more milk to thin or more ice to thicken).
- Serve immediately in glasses. Enjoy!
Notes
- Make it vegan: Use plant-based milk and yogurt; swap honey for maple syrup.
- Boost protein: Add a scoop of chocolate or vanilla protein powder.
- Use frozen banana for extra thickness and chill — no ice needed.
- Want it richer? Add a tablespoon of cacao nibs, a square of dark chocolate, or a splash of espresso for a mocha twist.

