Chocolate Pudding Recipe
Few desserts capture the essence of comfort and indulgence quite like chocolate pudding. Silky, deeply chocolatey, and undeniably nostalgic, this humble treat has earned a place in both childhood memories and sophisticated dessert menus alike. Whether served warm straight from the stovetop or chilled with a delicate whipped cream topping, chocolate pudding bridges generations, cultures, and cuisines. Its simplicity belies a complex and luxurious texture that, when done correctly, rivals the most elegant chocolate desserts.
At its core, chocolate pudding is a stovetop custard—thicker than a mousse, smoother than a ganache, and less fussy than a pot de crème. Made with a few staple ingredients like milk, sugar, cocoa or chocolate, and a thickening agent such as cornstarch or egg yolks, it delivers big flavor with minimal effort. Yet despite its simplicity, the art of making perfect chocolate pudding lies in technique, timing, and understanding the ingredients’ chemistry.
This article is more than just a recipe—it’s a masterclass. In the pages ahead, we’ll break down every element of the process, from choosing the right cocoa powder and chocolate to mastering the delicate cooking process that ensures a pudding neither too runny nor too stiff. We’ll explore different styles—eggless versus egg-based puddings, dairy and non-dairy adaptations, and even old-fashioned baked variations that predate modern stovetop techniques.
Beyond preparation, we’ll also dive into the history of chocolate pudding—how it evolved from European custards and drinking chocolates into the convenient boxed versions popularized in the 20th century. We’ll examine how modern chefs have reimagined it with infused flavors like espresso, chili, sea salt, or orange zest, proving that even the most classic desserts can continue to evolve.
Whether you’re a home cook seeking a comforting family dessert, a culinary student exploring custard fundamentals, or a dessert connoisseur looking for the perfect balance of bitterness and sweetness, this guide is designed to deepen your understanding and appreciation of chocolate pudding. From the science of starch gelatinization to the best serving methods for maximum textural impact, we leave no spoonful unexamined.
So, sharpen your whisk, warm your saucepan, and prepare to rediscover one of the most enduring and satisfying desserts in the Western culinary canon. Chocolate pudding isn’t just a dish—it’s a foundation, a comfort, and a canvas for creativity. And by the end of this recipe, you’ll be equipped to make it not just well—but exceptionally.
Step-by-Step Instructions: Classic Stovetop Chocolate Pudding
Overview of the Process
Chocolate pudding is made by combining milk, sugar, and cocoa with a thickening agent—either cornstarch, egg yolks, or both—then heating the mixture slowly to activate the thickener. Once thickened, chocolate and butter are stirred in to finish the pudding with richness and shine.
This version focuses on a hybrid approach, using both egg yolks and cornstarch to ensure a luxurious texture that is both stable and silky.
1. Ingredients List
Dry Ingredients:
-
½ cup granulated sugar
-
¼ cup unsweetened cocoa powder (preferably Dutch-process for deeper flavor)
-
3 tablespoons cornstarch
-
¼ teaspoon salt
Wet Ingredients:
-
2½ cups whole milk (divided)
-
3 large egg yolks
-
1 teaspoon vanilla extract
-
4 oz semi-sweet or bittersweet chocolate (finely chopped)
-
2 tablespoons unsalted butter (cut into small cubes)
Note: Use high-quality chocolate (60–70% cacao) for best results. Avoid chocolate chips—they often contain stabilizers that affect texture.
2. Tools and Equipment
-
Heavy-bottomed saucepan (preferably 2–3 quarts)
-
Medium mixing bowl
-
Whisk (balloon whisk recommended)
-
Heatproof spatula
-
Fine mesh strainer (optional but recommended)
-
Plastic wrap or wax paper (for covering pudding to prevent skin)
-
Ramekins, small bowls, or serving cups
3. Step-by-Step Method
Step 1: Combine Dry Ingredients
In a medium-sized saucepan (off heat), whisk together:
-
½ cup sugar
-
¼ cup cocoa powder
-
3 tablespoons cornstarch
-
¼ teaspoon salt
This dry mix ensures the cocoa powder and cornstarch are evenly dispersed, preventing clumping when the milk is added.
Tip: Sifting the cocoa and cornstarch before whisking can further reduce the chance of lumps.
Step 2: Add the Milk Gradually
Slowly whisk in 2 cups of the milk, a little at a time. This gradual incorporation helps create a smooth, lump-free base. Whisk until fully combined and no pockets of dry powder remain.
Set aside the remaining ½ cup milk for tempering the egg yolks in the next step.
Step 3: Temper the Egg Yolks
In a separate medium bowl, whisk the 3 egg yolks until smooth. Slowly pour in the reserved ½ cup cold milk, whisking constantly to dilute and temper the eggs.
Why tempering matters:
Adding cold milk to the yolks brings them closer to the temperature of the pudding base, which helps prevent curdling when they’re added to the hot mixture.
Step 4: Begin Cooking the Base
Place the saucepan with the cocoa-milk mixture over medium heat. Cook while whisking constantly. Within 5–7 minutes, the mixture will begin to steam and thicken noticeably.
Important:
-
Do not walk away at this stage.
-
Whisk gently but constantly to prevent scorching or uneven thickening.
As soon as the mixture begins to bubble (low simmer), remove it from the heat.
Step 5: Temper the Egg Yolks with Hot Base
Now you’ll combine the hot base with the egg yolk mixture to prevent the eggs from scrambling.
-
Slowly pour about ½ cup of the hot pudding base into the egg yolks, whisking vigorously.
-
Repeat with another ½ cup to fully warm the eggs.
Then pour the warmed yolk mixture back into the saucepan, whisking the entire time.
Step 6: Return to Heat and Finish Cooking
Return the saucepan to medium-low heat. Cook the mixture for another 3–5 minutes, whisking constantly, until it thickens to a pudding-like consistency.
You’ll know it’s ready when:
-
The pudding coats the back of a spoon (nappe consistency)
-
A line drawn through the pudding on a spoon holds its shape
-
Small bubbles form at the surface (a soft boil)
Do not boil aggressively, as this may cause the pudding to become grainy.
Step 7: Add Chocolate, Butter, and Vanilla
Remove from heat. Immediately stir in:
-
4 oz chopped chocolate
-
2 tablespoons unsalted butter
-
1 teaspoon vanilla extract
Whisk until the chocolate and butter are fully melted and the pudding is glossy and smooth.
Optional: Strain the pudding through a fine-mesh sieve into a clean bowl to remove any bits of cooked egg or unmelted chocolate.
Step 8: Portion and Cool
Pour the hot pudding into ramekins or serving cups while it’s still fluid. Gently tap each dish to remove air bubbles and flatten the surface.
To prevent a skin from forming:
-
Place plastic wrap or wax paper directly on the surface of the pudding.
-
Let cool at room temperature for 20–30 minutes, then refrigerate.
Chill time:
Refrigerate for at least 2–3 hours, or until fully set. The pudding will thicken as it cools.
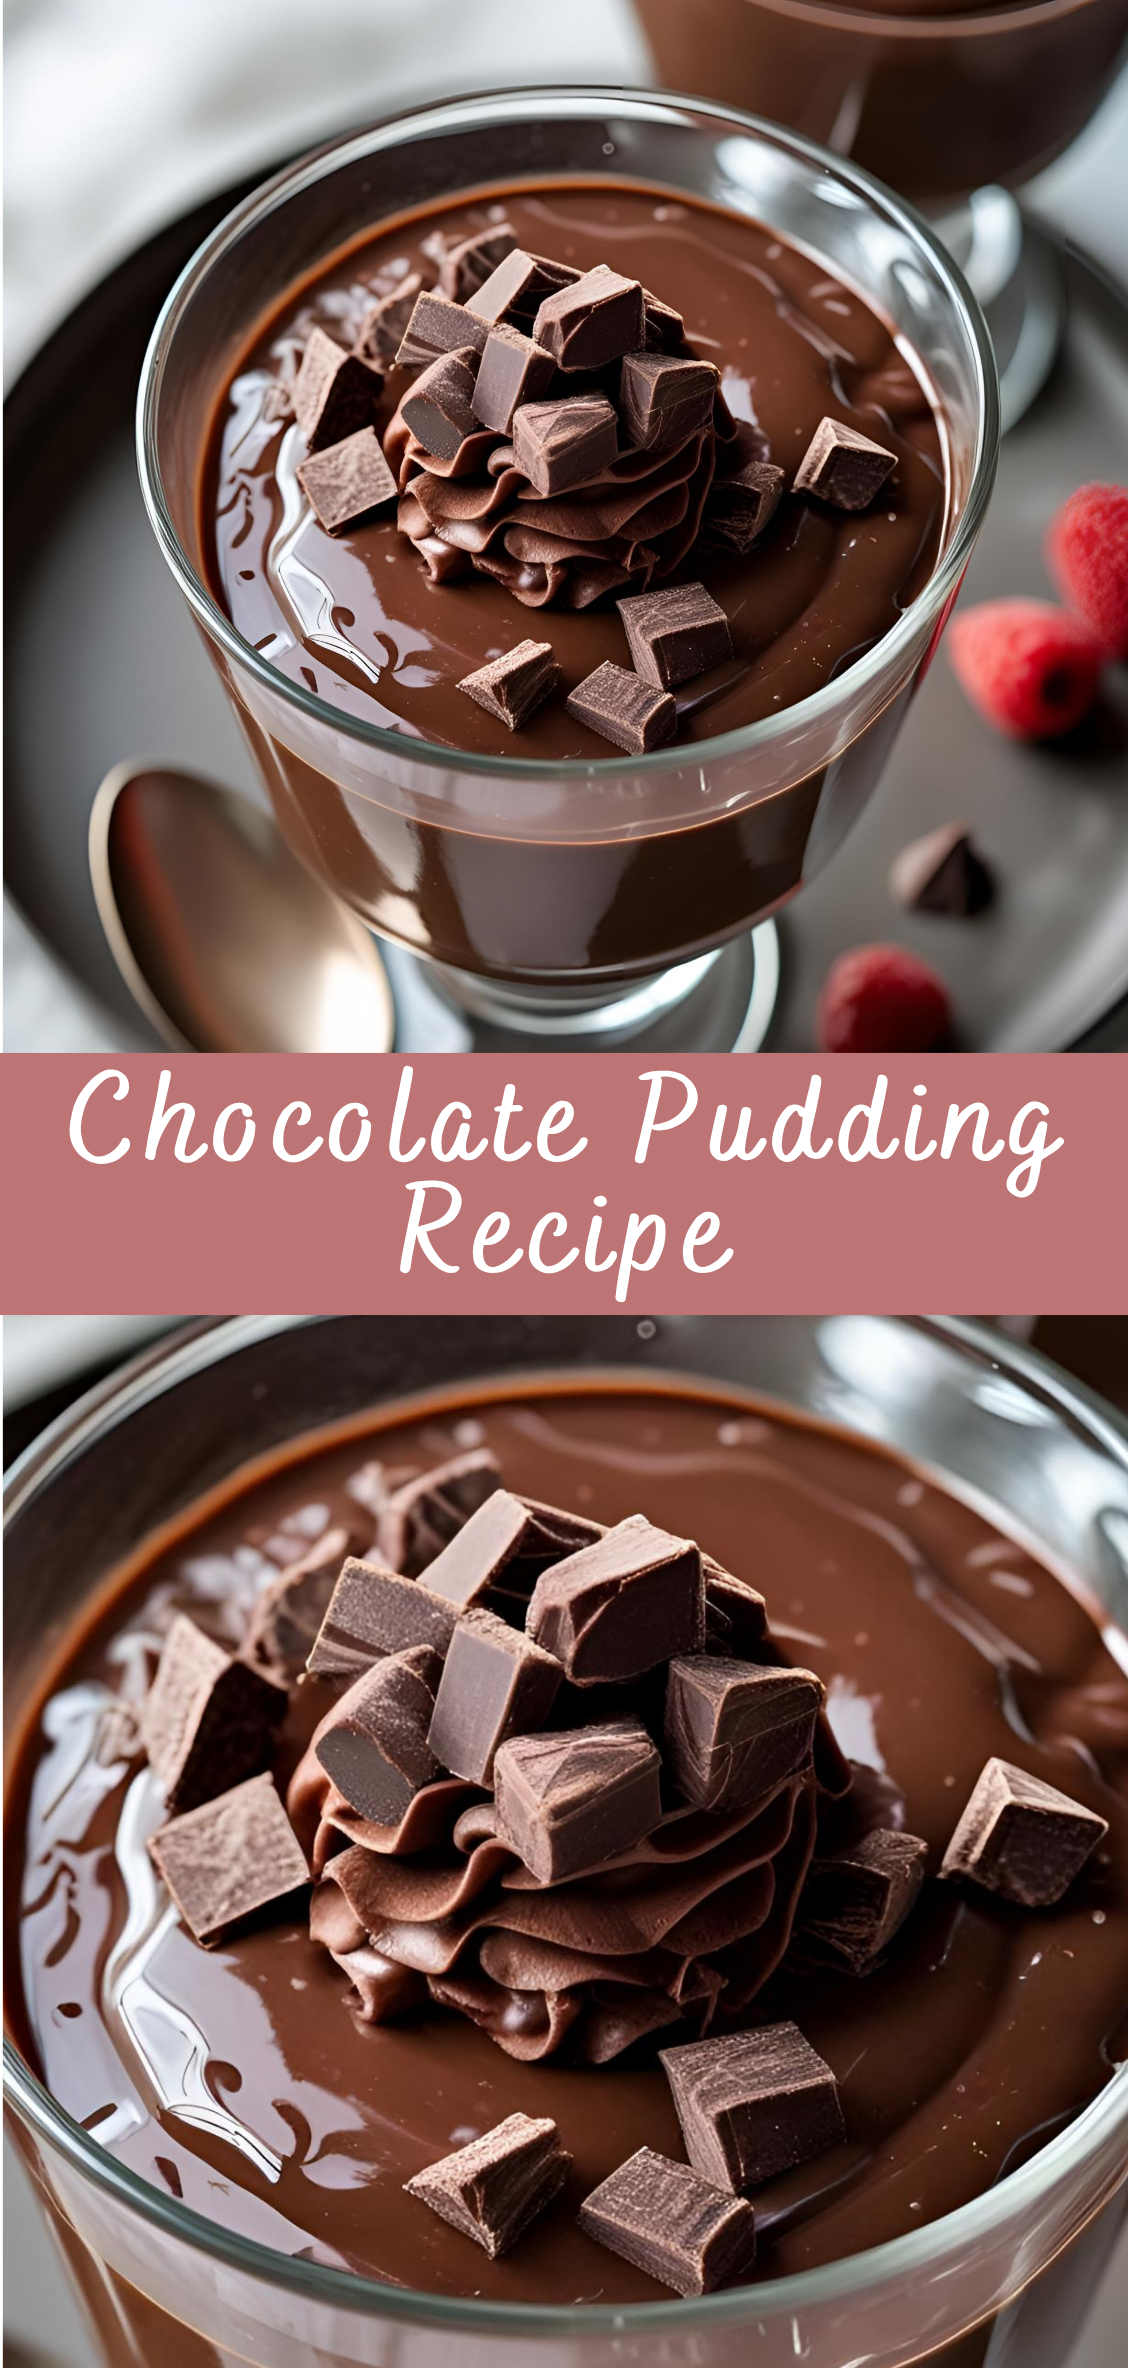
Step 9: Serve
Serve chilled, optionally topped with:
-
Lightly sweetened whipped cream
-
Chocolate shavings or curls
-
Crushed nuts (e.g., hazelnuts, almonds)
-
Berries or a raspberry coulis
-
A pinch of sea salt or espresso powder
4. Texture Troubleshooting
-
Too runny: Undercooked. The cornstarch may not have activated fully. Reheat gently and simmer longer.
-
Too thick/gummy: Overcooked or too much cornstarch. Reduce cooking time slightly or decrease cornstarch by ½ tablespoon.
-
Grainy texture: The mixture boiled too hard or the eggs curdled. Next time, temper eggs more slowly and reduce heat.
-
Skin formed on top: Always cover pudding directly with plastic wrap or wax paper during cooling.
Chocolate Pudding Recipe
Few desserts capture the essence of comfort and indulgence quite like chocolate pudding. Silky, deeply chocolatey, and undeniably nostalgic, this humble treat has earned a place in both childhood memories and sophisticated dessert menus alike. Whether served warm straight from the stovetop or chilled with a delicate whipped cream topping, chocolate pudding bridges generations, cultures, and cuisines. Its simplicity belies a complex and luxurious texture that, when done correctly, rivals the most elegant chocolate desserts.
Ingredients
- ½ cup granulated sugar
- ¼ cup unsweetened cocoa powder
- 3 tablespoons cornstarch
- ⅛ teaspoon salt
- 2 ¾ cups whole milk
- 1 teaspoon vanilla extract
- 2 tablespoons unsalted butter
- Optional topping: whipped cream, chocolate shavings, berries
Instructions
1. Combine Dry Ingredients:
- In a medium saucepan (off heat), whisk together sugar, cocoa powder, cornstarch, and salt.
2. Add Milk:
- Gradually whisk in the milk until the mixture is smooth and lump-free.
3. Cook Until Thickened:
- Place saucepan over medium heat. Stir constantly with a whisk or silicone spatula.
- Bring to a gentle boil and continue cooking for about 2–3 minutes, until the pudding thickens.
4. Finish with Butter & Vanilla:
- Remove from heat.
- Stir in butter and vanilla until fully incorporated and smooth.
5. Chill:
- Pour pudding into individual cups or a bowl.
- Press plastic wrap directly onto the surface to prevent a skin from forming.
- Chill for 1–2 hours, or until set.
Notes
- Dairy-Free Option: Use unsweetened almond or oat milk and dairy-free butter.
- Make it Richer: Replace ½ cup of milk with heavy cream.
- Texture Tip: For ultra-smooth pudding, strain through a fine mesh sieve before chilling.

