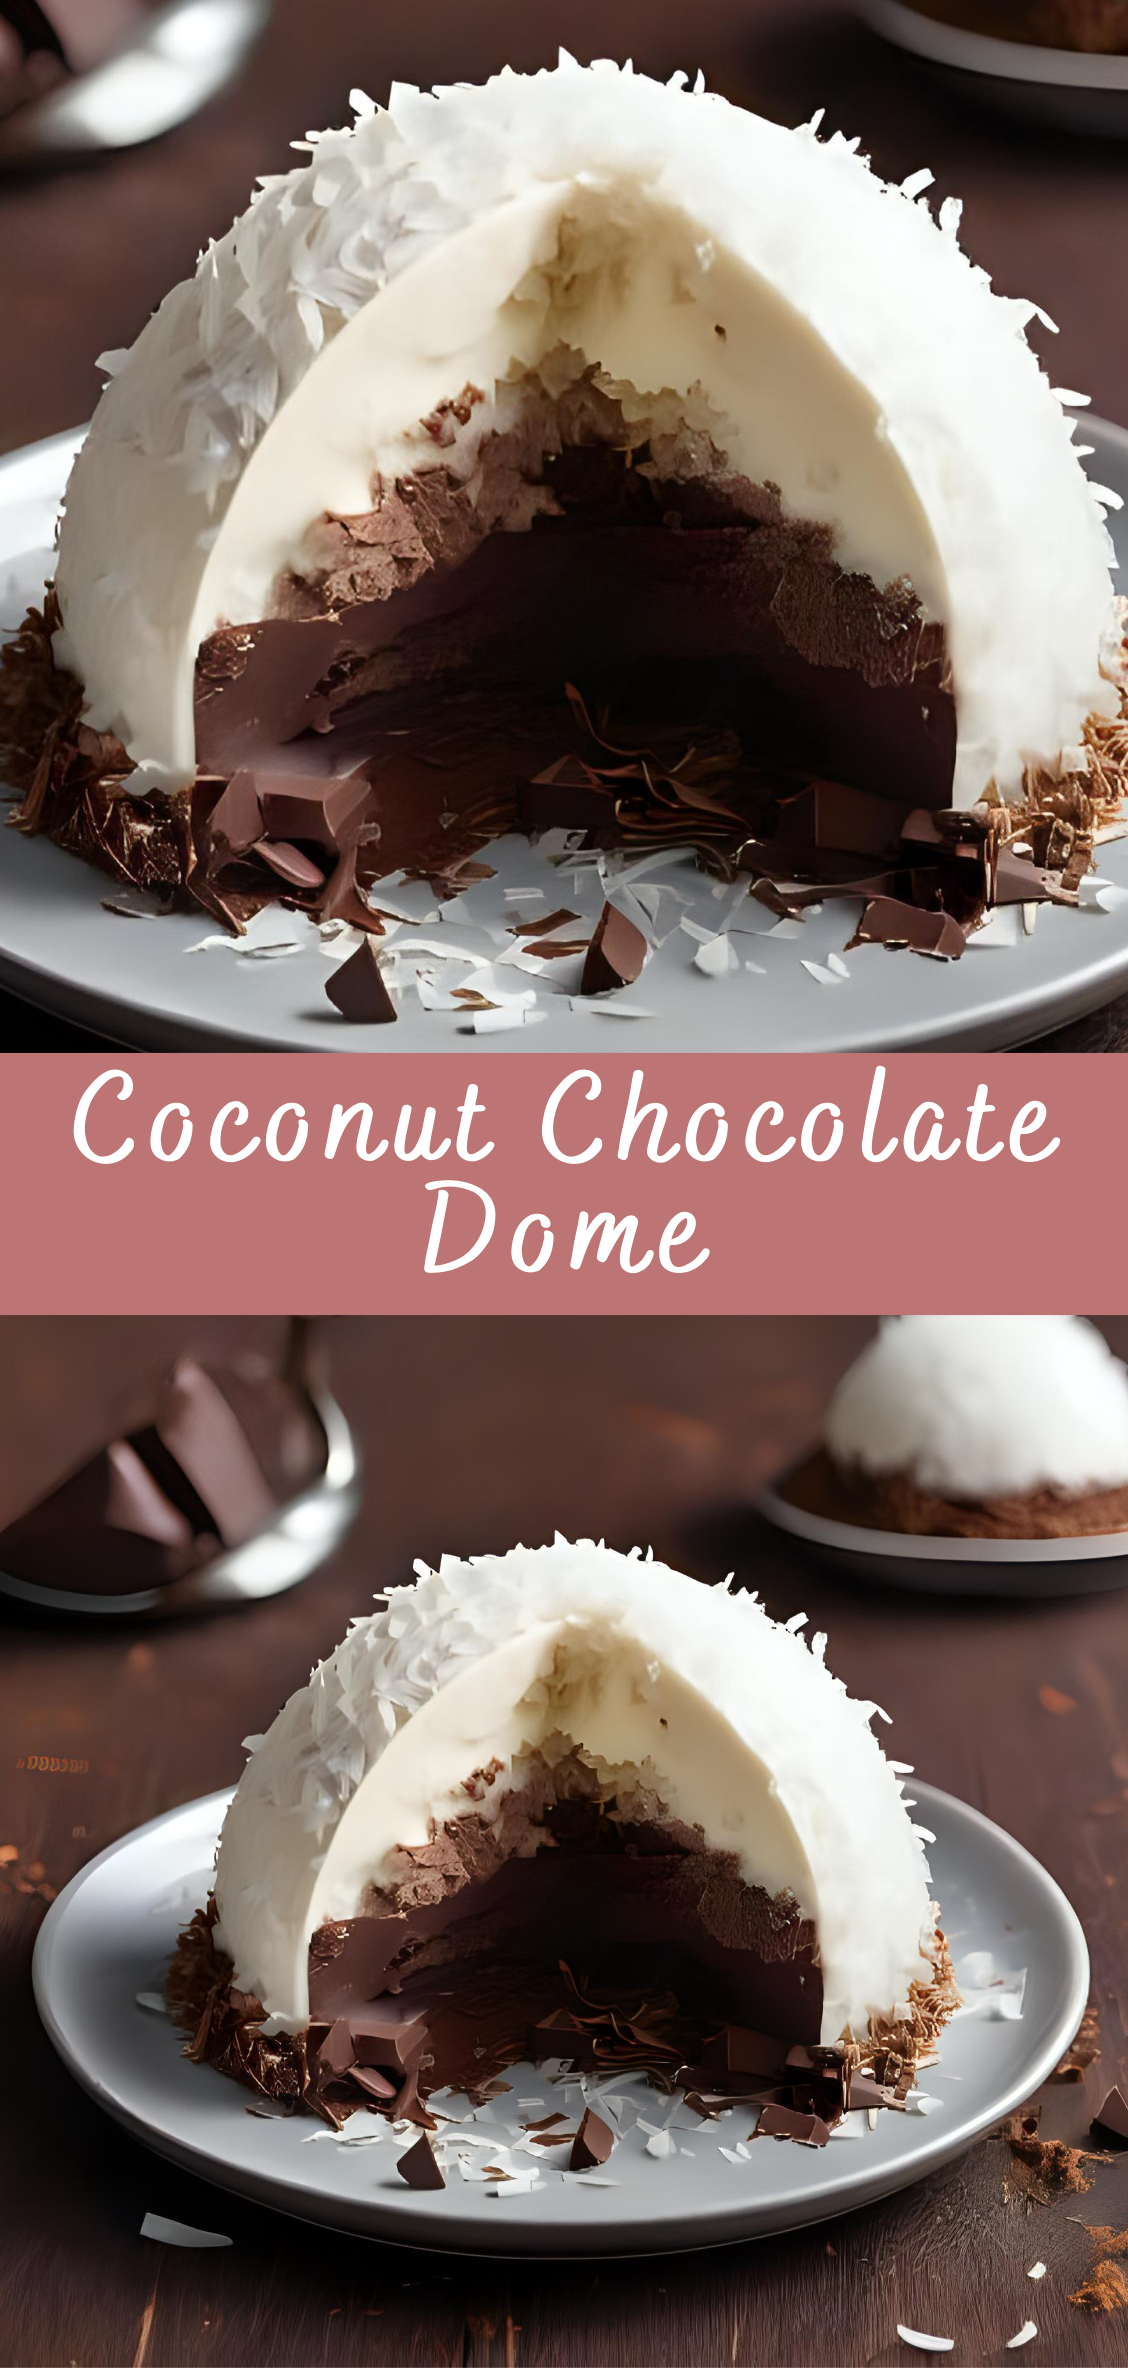
Coconut Chocolate Dome
When it comes to desserts that are both visually stunning and decadently delicious, the Coconut Chocolate Dome stands out as a true showstopper. This dessert effortlessly combines the tropical sweetness of coconut with the rich, velvety depth of chocolate, creating a harmonious balance that delights every sense. Encased within a smooth, glossy chocolate shell lies a luscious coconut filling — often light and creamy, sometimes layered with textures that make every bite an indulgent experience.
The beauty of the Coconut Chocolate Dome isn’t just in its flavor; it’s in the artistry and technique required to craft its signature shape. The dome silhouette, glossy finish, and delicate interplay of flavors make it perfect for special occasions, elegant dinner parties, or as a centerpiece dessert that impresses guests both visually and gastronomically.
Whether you’re an experienced pastry chef or an enthusiastic home baker looking to expand your repertoire, this recipe offers an exciting challenge and a rewarding result. Alongside the classic version, there are countless opportunities to customize the dessert — from incorporating tropical fruits and nuts to experimenting with different chocolate types and coconut textures.
Detailed Instructions: Coconut Chocolate Dome
Part 1: Gather Ingredients
Before starting, make sure you have everything ready. High-quality ingredients are essential for a successful and delicious Coconut Chocolate Dome.
For the Chocolate Dome Shell:
-
12 oz (340 g) good-quality dark chocolate (60–70% cacao), chopped or in chips
-
Cocoa butter (optional, for tempering)
For the Coconut Filling:
-
1½ cups coconut cream (the thick part from canned coconut milk)
-
1 cup shredded unsweetened coconut (toasted or untoasted)
-
½ cup granulated sugar or powdered sugar
-
1 tsp vanilla extract
-
2 tsp powdered gelatin or agar-agar (for vegan option)
-
3 tbsp cold water (for blooming gelatin)
-
1 cup heavy cream (or coconut cream for dairy-free version)
Optional Add-ins or Decorations:
-
Toasted coconut flakes
-
White chocolate for drizzling
-
Fresh fruit or berries
-
Edible gold leaf or cocoa nibs
Part 2: Prepare the Coconut Filling
The filling is the heart of the dome — light, creamy, and bursting with coconut flavor.
Step 1: Bloom the Gelatin
-
In a small bowl, sprinkle gelatin powder over the cold water. Let it sit for 5–10 minutes to bloom (absorb water and swell).
-
If using agar-agar, dissolve it in water and heat gently until fully dissolved.
Step 2: Heat the Coconut Cream Mixture
-
In a small saucepan, combine coconut cream, sugar, and vanilla extract.
-
Warm gently over medium-low heat, stirring until sugar dissolves (do not boil).
-
Remove from heat, and whisk in the bloomed gelatin until fully dissolved.
-
Let the mixture cool to room temperature but not set.
Step 3: Whip the Cream
-
In a chilled bowl, whip the heavy cream (or coconut cream) to soft peaks.
-
Gently fold the whipped cream into the cooled coconut cream mixture.
-
Fold in shredded coconut evenly for texture.
-
Cover and refrigerate until slightly thickened but still pourable (about 15–20 minutes).
Part 3: Prepare the Chocolate Dome Shell
Tempering chocolate properly is key to creating a shiny, crisp shell that snaps when broken.
Step 1: Temper the Chocolate
-
Chop chocolate finely for even melting.
-
Use a double boiler or microwave method:
-
Double Boiler: Melt 2/3 of the chocolate over simmering water until it reaches about 115°F (46°C).
-
Remove from heat, add remaining chocolate, stir to cool to about 82°F (28°C).
-
Reheat gently to 88–90°F (31–32°C) for dark chocolate.
-
-
This process stabilizes the cocoa butter crystals for a glossy finish and firm snap.
Note: If you’re new to tempering, you can also simply melt chocolate fully and chill for a softer shell, but the result won’t be as crisp or shiny.
Step 2: Mold the Chocolate Domes
-
Use silicone hemisphere molds or dome-shaped bowls.
-
Spoon or brush a layer of tempered chocolate inside each mold.
-
Rotate molds to coat evenly, ensuring a thick shell (at least 2–3 mm).
-
Place molds upside down on parchment paper to drain excess chocolate.
-
Refrigerate for 10–15 minutes to set.
-
Repeat to add a second chocolate layer for sturdiness.
-
Chill until fully firm (30 minutes to 1 hour).
Part 4: Assemble the Coconut Chocolate Dome
Step 1: Fill the Domes
-
Once shells are set, gently unmold them from the silicone.
-
Spoon the chilled coconut filling into each chocolate shell, leaving a small gap at the top.
-
Smooth the filling surface with a spatula.
Step 2: Seal the Dome
-
Warm a baking sheet or plate slightly.
-
Take another tempered chocolate dome (or create flat chocolate discs) to use as lids.
-
Press lids gently onto filled domes to seal.
-
Chill again to allow the seal to set firmly.
Part 5: Decorate and Serve
Step 1: Finishing Touches
-
Brush domes lightly with melted white chocolate or dust with cocoa powder.
-
Sprinkle toasted coconut flakes on top.
-
Garnish with fresh berries or edible gold leaf for an elegant finish.
Step 2: Serving
-
Serve chilled or at room temperature.
-
Provide a sharp knife to cut through the shell and enjoy the creamy coconut filling inside.
Additional Tips:
-
Ensure all ingredients, especially chocolate and cream, are of high quality for best flavor.
-
Work quickly when tempering chocolate, as it can harden rapidly.
-
Store finished domes in the refrigerator and consume within 2–3 days for freshness.
-
For vegan or dairy-free versions, substitute heavy cream with whipped coconut cream and use agar-agar instead of gelatin.
Coconut Chocolate Dome
When it comes to desserts that are both visually stunning and decadently delicious, the Coconut Chocolate Dome stands out as a true showstopper. This dessert effortlessly combines the tropical sweetness of coconut with the rich, velvety depth of chocolate, creating a harmonious balance that delights every sense. Encased within a smooth, glossy chocolate shell lies a luscious coconut filling — often light and creamy, sometimes layered with textures that make every bite an indulgent experience.
Ingredients
- For the Coconut Mousse:
- 1 cup (240ml) coconut cream (not coconut milk)
- 1/3 cup (70g) granulated sugar
- 1 teaspoon vanilla extract
- 1 packet (7g or 2¼ tsp) unflavored gelatin
- 2 tablespoons water (for blooming gelatin)
- 1 cup (240ml) heavy whipping cream, cold
- For the Chocolate Shell:
- 10 oz (280g) semi-sweet or dark chocolate, chopped
- 1 tablespoon coconut oil (optional, for shine and easier unmolding)
- Optional Filling:
- Chocolate ganache, brownie cubes, or raspberry jelly insert
- Crushed roasted almonds or hazelnuts (for texture)
- For the Base (Optional):
- Thin round sponge cake discs, brownie circles, or cookie bases
- (cut slightly smaller than the dome mold)
Instructions
1. Make the Chocolate Shells:
- Melt chocolate and coconut oil together in a double boiler or microwave until smooth.
- Using a silicone half-sphere mold, spoon in melted chocolate and use the back of a spoon or pastry brush to coat the inside evenly.
- Freeze for 10 minutes, then apply a second coat for strength.
- Return to freezer until firm. Keep in freezer while preparing the mousse.
2. Make the Coconut Mousse:
- Bloom the gelatin: Sprinkle gelatin over 2 tbsp cold water, let sit for 5 minutes.
- In a saucepan over medium heat, combine coconut cream, sugar, and vanilla. Heat until warm (do not boil), then stir in the bloomed gelatin until fully dissolved. Let cool slightly.
Whip heavy cream to soft peaks.
Fold the cooled coconut mixture into the whipped cream gently until combined.- Optional: Spoon a small amount of mousse into each chocolate shell, add your ganache or fruit center, then cover with more mousse.
3. Assemble the Domes:
- If using a base, press it gently into the bottom of each filled mold (on top of the mousse).
- Smooth the tops and freeze domes for at least 4 hours or overnight until firm.
4. Unmold and Serve:
- Carefully pop the domes out of the silicone mold.
- Let sit at room temperature for 10–15 minutes before serving.
- Optional: Garnish with toasted coconut flakes, gold leaf, or a drizzle of melted chocolate.
Notes
- Mold size: Use 2.5–3 inch silicone hemisphere molds for individual domes.
- Dairy-Free Option: Use a dairy-free whipping cream alternative to make this dessert vegan (and skip gelatin for agar-agar, adjusted accordingly).
- Flavor Twist: Add a bit of lime zest to the coconut mousse for tropical brightness.

