Crispy and Cheesy Garlic Parmesan Bread Recipe
Few dishes in the culinary world strike the perfect balance between simplicity and indulgence quite like garlic bread. Crisp on the outside, soft and buttery on the inside, and infused with the unmistakable aroma of roasted garlic, it has long held a cherished place at dinner tables around the world. Yet when elevated with the rich complexity of Parmesan cheese and a golden, cheesy crust, garlic bread transcends its humble origins and becomes something truly extraordinary. This is the magic of Crispy and Cheesy Garlic Parmesan Bread.
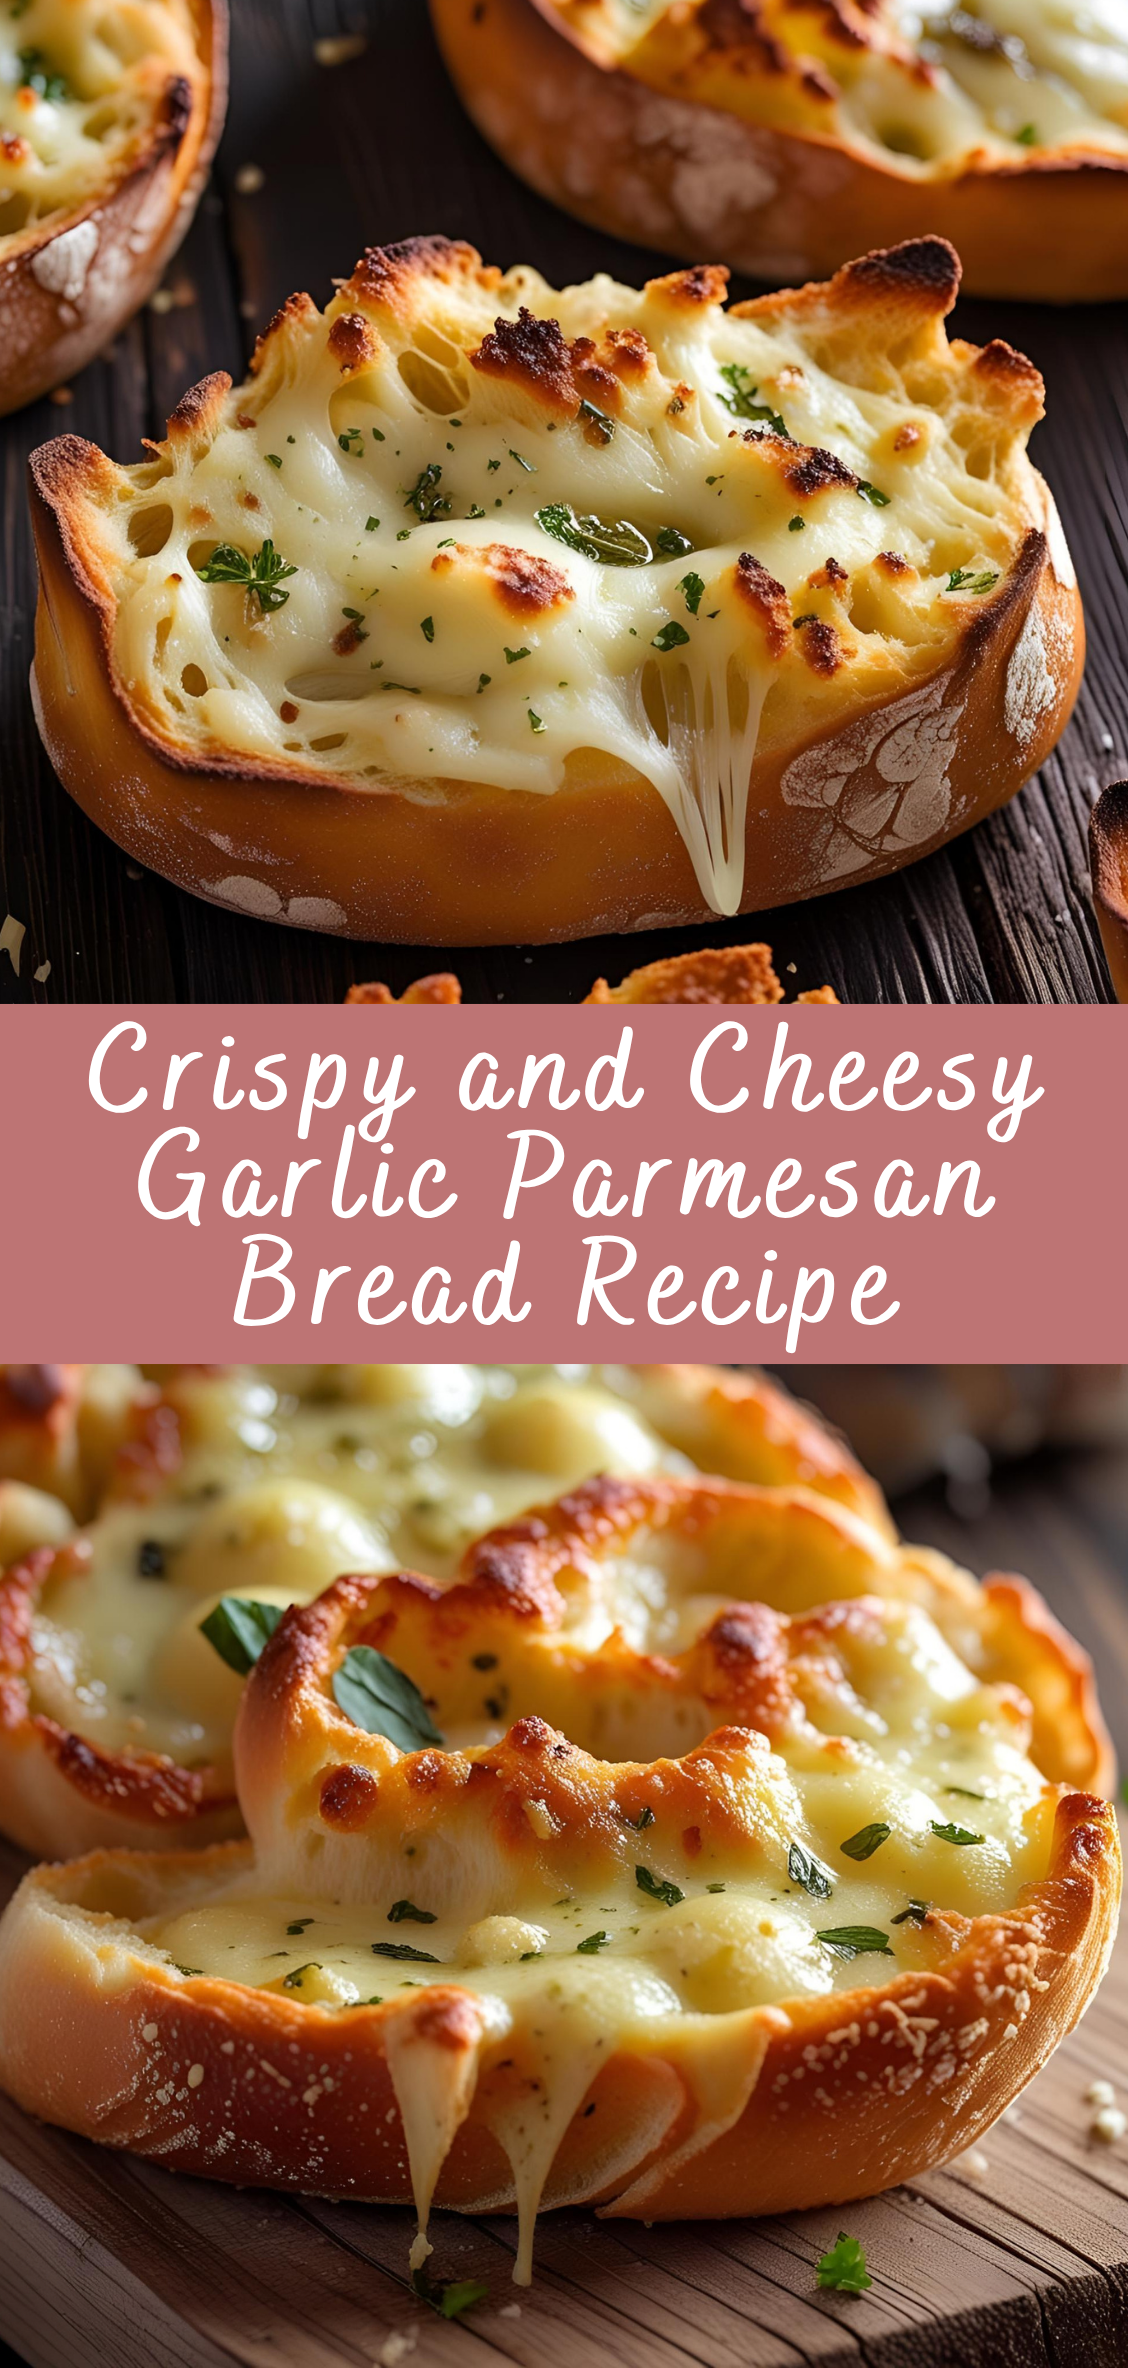
Whether served as an appetizer, a side dish, or a centerpiece at a casual gathering, this bread offers layers of flavor and texture that appeal to nearly every palate. The crispy edges provide satisfying crunch, the melted cheese brings warmth and comfort, and the garlic-infused butter permeates each bite with savory depth. It’s the kind of dish that disappears within minutes of hitting the table, with guests inevitably asking for seconds—and the recipe.
In this comprehensive guide, we will explore not just how to make this beloved bread, but how to master it. From selecting the right type of bread and cheese, to crafting the ideal garlic butter spread, to achieving the perfect bake for that golden, bubbling crust, this article is designed to take you through each step with clarity and care. Along the way, we’ll also dive into helpful tips, common mistakes to avoid, variations to suit different tastes, and suggestions for pairing your garlic Parmesan bread with everything from hearty pastas to fresh salads and comforting soups.
Homemade garlic bread is already a comfort food staple—but when you add crispy edges, gooey cheese, and the unmistakable savoriness of Parmesan, it transforms into a culinary experience that feels indulgent yet accessible. You don’t need to be a professional chef to make it. You simply need the right ingredients, a bit of patience, and a passion for great food.
So whether you’re preparing for a cozy weeknight dinner, a weekend potluck, or a festive gathering, this recipe promises to deliver a dish that’s both crowd-pleasing and unforgettable. By the time you’ve finished reading, you’ll not only have a step-by-step method for making this bread at home, but you’ll understand the reasons behind each choice—from bread selection to oven temperature—ensuring consistent, delicious results every time.
Let’s begin our journey into the heart of one of the most beloved comfort foods around: crispy, cheesy, garlic-laden, Parmesan-topped bread that’s destined to steal the spotlight at any meal.
Step-by-Step Instructions: Crafting the Perfect Crispy and Cheesy Garlic Parmesan Bread
Creating truly irresistible garlic Parmesan bread involves more than just spreading butter on a loaf and throwing it in the oven. It’s a process of layering flavor, managing texture, and timing each step just right to ensure maximum crispiness and cheesiness. The instructions below are broken down into manageable stages, each accompanied by expert tips to guide both novice and experienced home cooks toward delicious success.
Step 1: Gather Your Ingredients
Essential Ingredients:
-
1 large loaf of crusty bread (French baguette, Italian loaf, or ciabatta)
-
6–8 cloves of fresh garlic, minced or grated
-
1/2 cup (1 stick) of unsalted butter, softened to room temperature
-
2 tablespoons of olive oil (extra virgin preferred)
-
1/4 teaspoon salt, or to taste
-
1/2 teaspoon freshly ground black pepper
-
1 tablespoon fresh parsley, finely chopped (plus more for garnish)
-
1 teaspoon dried oregano (optional)
-
1 1/2 cups shredded mozzarella cheese
-
3/4 cup freshly grated Parmesan cheese (Parmigiano-Reggiano recommended)
-
Optional: pinch of red pepper flakes for heat
Pro Tip:
Use fresh garlic for maximum flavor. Pre-minced garlic in jars often lacks the sharp, aromatic intensity that defines garlic bread. Also, always grate your own Parmesan rather than using pre-shredded, which can contain anti-caking agents that prevent it from melting smoothly.
Step 2: Prepare the Bread
1. Choose the right loaf.
You’ll want a hearty bread that can hold its shape under layers of butter and cheese. A French baguette will give you long, narrow slices with lots of surface area for crisp edges, while ciabatta or an Italian loaf gives you a softer, airier base with a rustic look.
2. Slice the bread.
Slice the bread in half horizontally if using a wider loaf (such as ciabatta or Italian), creating two large flat pieces. If using a baguette, you can slice it lengthwise or into 1.5-inch-thick rounds for smaller servings.
3. Toast the bread (optional but recommended).
Pre-toast the cut side of the bread under the broiler for 1–2 minutes. This helps the interior hold up better when the butter and cheese are added, keeping it crisp and not soggy.
Step 3: Make the Garlic Butter Spread
This spread is the foundation of your flavor.
1. Combine the butter and oil.
In a medium mixing bowl, stir together the softened butter and olive oil until smooth and fully blended. The olive oil adds richness and helps the butter melt evenly into the bread during baking.
2. Add the aromatics.
Mix in the minced garlic, salt, pepper, and optional red pepper flakes. Then stir in the fresh parsley and dried oregano if using.
3. Taste and adjust.
Always taste the butter mixture before applying it. Garlic strength can vary; if it tastes a bit sharp raw, don’t worry—it will mellow as it bakes.
Optional Upgrade:
Roast the garlic beforehand for a milder, sweeter flavor profile. Simply roast whole garlic cloves in the oven wrapped in foil with a bit of olive oil at 375°F (190°C) for about 35–40 minutes. Then mash them and mix into the butter spread.
Step 4: Apply the Garlic Butter Generously
1. Spread evenly.
Using a spatula or butter knife, spread the garlic butter mixture thickly across the cut side of the bread. Don’t skimp—this is where the flavor lives. Make sure the butter reaches all edges for uniform browning and taste.
2. Let it soak in.
Allow the bread to sit for 5–10 minutes after applying the butter. This gives the mixture time to penetrate the surface, infusing it with flavor before baking.
Pro Tip:
For an extra boost of garlic, rub a raw garlic clove directly onto the toasted bread surface before spreading the butter.
Step 5: Add the Cheese Topping
1. Sprinkle the cheeses.
Evenly distribute the shredded mozzarella over the buttered surface, followed by the grated Parmesan. Don’t overdo it—too much cheese can weigh the bread down and prevent crisping.
2. Layer for texture.
Start with mozzarella for meltiness and finish with Parmesan for a sharp, salty punch and beautiful golden color when baked.
3. Optional additions.
You can also add a light dusting of smoked paprika, garlic powder, or additional herbs for a personalized touch. Some people like to mix the cheeses together first before applying, while others layer them for contrast.
Step 6: Bake to Crispy, Cheesy Perfection
1. Preheat your oven.
Set your oven to 400°F (200°C). This temperature ensures the cheese melts thoroughly while the bread crisps at the edges.
2. Line your baking tray.
Place the prepared bread on a parchment-lined or foil-lined baking sheet for easy cleanup. A wire rack over the tray can help air circulate under the bread, increasing crispiness.
3. Bake time.
Place the bread in the center rack and bake for 10–12 minutes, or until the cheese is fully melted and bubbling.
4. Broil to finish.
Turn on the broiler for the final 1–2 minutes to get that gorgeous, golden-brown top. Watch carefully—cheese can burn quickly under the broiler.
Pro Tip:
If baking multiple loaves or slices at once, rotate the tray halfway through the cooking time to ensure even browning.
Step 7: Slice and Serve
1. Cool slightly.
Let the bread rest for 2–3 minutes after removing from the oven. This allows the cheese to set slightly, making slicing cleaner and easier.
2. Slice to serve.
Use a sharp serrated knife to cut the bread into manageable pieces. For long halves, slice into 2-inch wide strips. If using rounds, serve as-is.
3. Garnish.
Sprinkle with a bit more chopped parsley or Parmesan before serving for a fresh, colorful finish.
Step 8: Enjoy and Pair Creatively
Serving Suggestions:
-
With pasta: Classic garlic Parmesan bread pairs beautifully with dishes like spaghetti bolognese, fettuccine Alfredo, or lasagna.
-
With soup: Try serving it with tomato basil soup, creamy broccoli cheddar, or roasted garlic potato soup.
-
As an appetizer: Slice into small squares and serve with marinara dipping sauce or garlic aioli for parties and gatherings.
-
With salad: Complements Caesar salad, Greek salad, or a fresh Caprese salad wonderfully.
Leftover Tip:
Reheat slices in a toaster oven or under a broiler to restore crispiness. Avoid the microwave if you want to maintain the texture.
Crispy and Cheesy Garlic Parmesan Bread Recipe
Few dishes in the culinary world strike the perfect balance between simplicity and indulgence quite like garlic bread. Crisp on the outside, soft and buttery on the inside, and infused with the unmistakable aroma of roasted garlic, it has long held a cherished place at dinner tables around the world. Yet when elevated with the rich complexity of Parmesan cheese and a golden, cheesy crust, garlic bread transcends its humble origins and becomes something truly extraordinary. This is the magic of Crispy and Cheesy Garlic Parmesan Bread.
Ingredients
- 1 loaf of French bread or Italian bread, halved lengthwise
- 1/2 cup (1 stick) unsalted butter, softened
- 3 cloves garlic, minced (or 1.5 tsp garlic paste)
- 1 cup shredded mozzarella cheese
- 1/4 cup grated Parmesan cheese
- 2 tablespoons fresh parsley, chopped (or 1 tsp dried parsley)
- 1/2 teaspoon dried oregano
- 1/4 teaspoon salt (adjust to taste)
- Optional: Red pepper flakes or cracked black pepper for a kick
Instructions
- Preheat oven to 400°F (200°C). Line a baking sheet with parchment paper or foil for easy cleanup.
- Prepare the garlic butter mixture:
In a medium bowl, mix the softened butter, minced garlic, parsley, oregano, and salt until well combined. - Spread on bread:
Place the bread halves on the baking sheet, cut side up. Evenly spread the garlic butter over both halves. - Top with cheese:
Sprinkle the mozzarella evenly over both halves, then follow with the Parmesan cheese. - Bake:
Place in the oven and bake for 10–12 minutes, or until the cheese is melted and bubbly. - Broil for crispiness (optional):
Switch to the broiler on high for an additional 1–2 minutes to brown the top and make it extra crispy. Watch closely to avoid burning. - Slice and serve:
Remove from oven, let cool slightly, then cut into slices and serve warm.
Notes
- Make it ahead: Prepare the garlic butter in advance and refrigerate for up to 3 days, or freeze for up to 1 month.
- Cheese swaps: Feel free to mix in other cheeses like cheddar, provolone, or fontina for extra flavor.
- Bread tip: Day-old bread works great for this recipe—it gets even crispier!
- Serving idea: Great as a side for pasta, soup, or salad—or just as a snack on its own.

