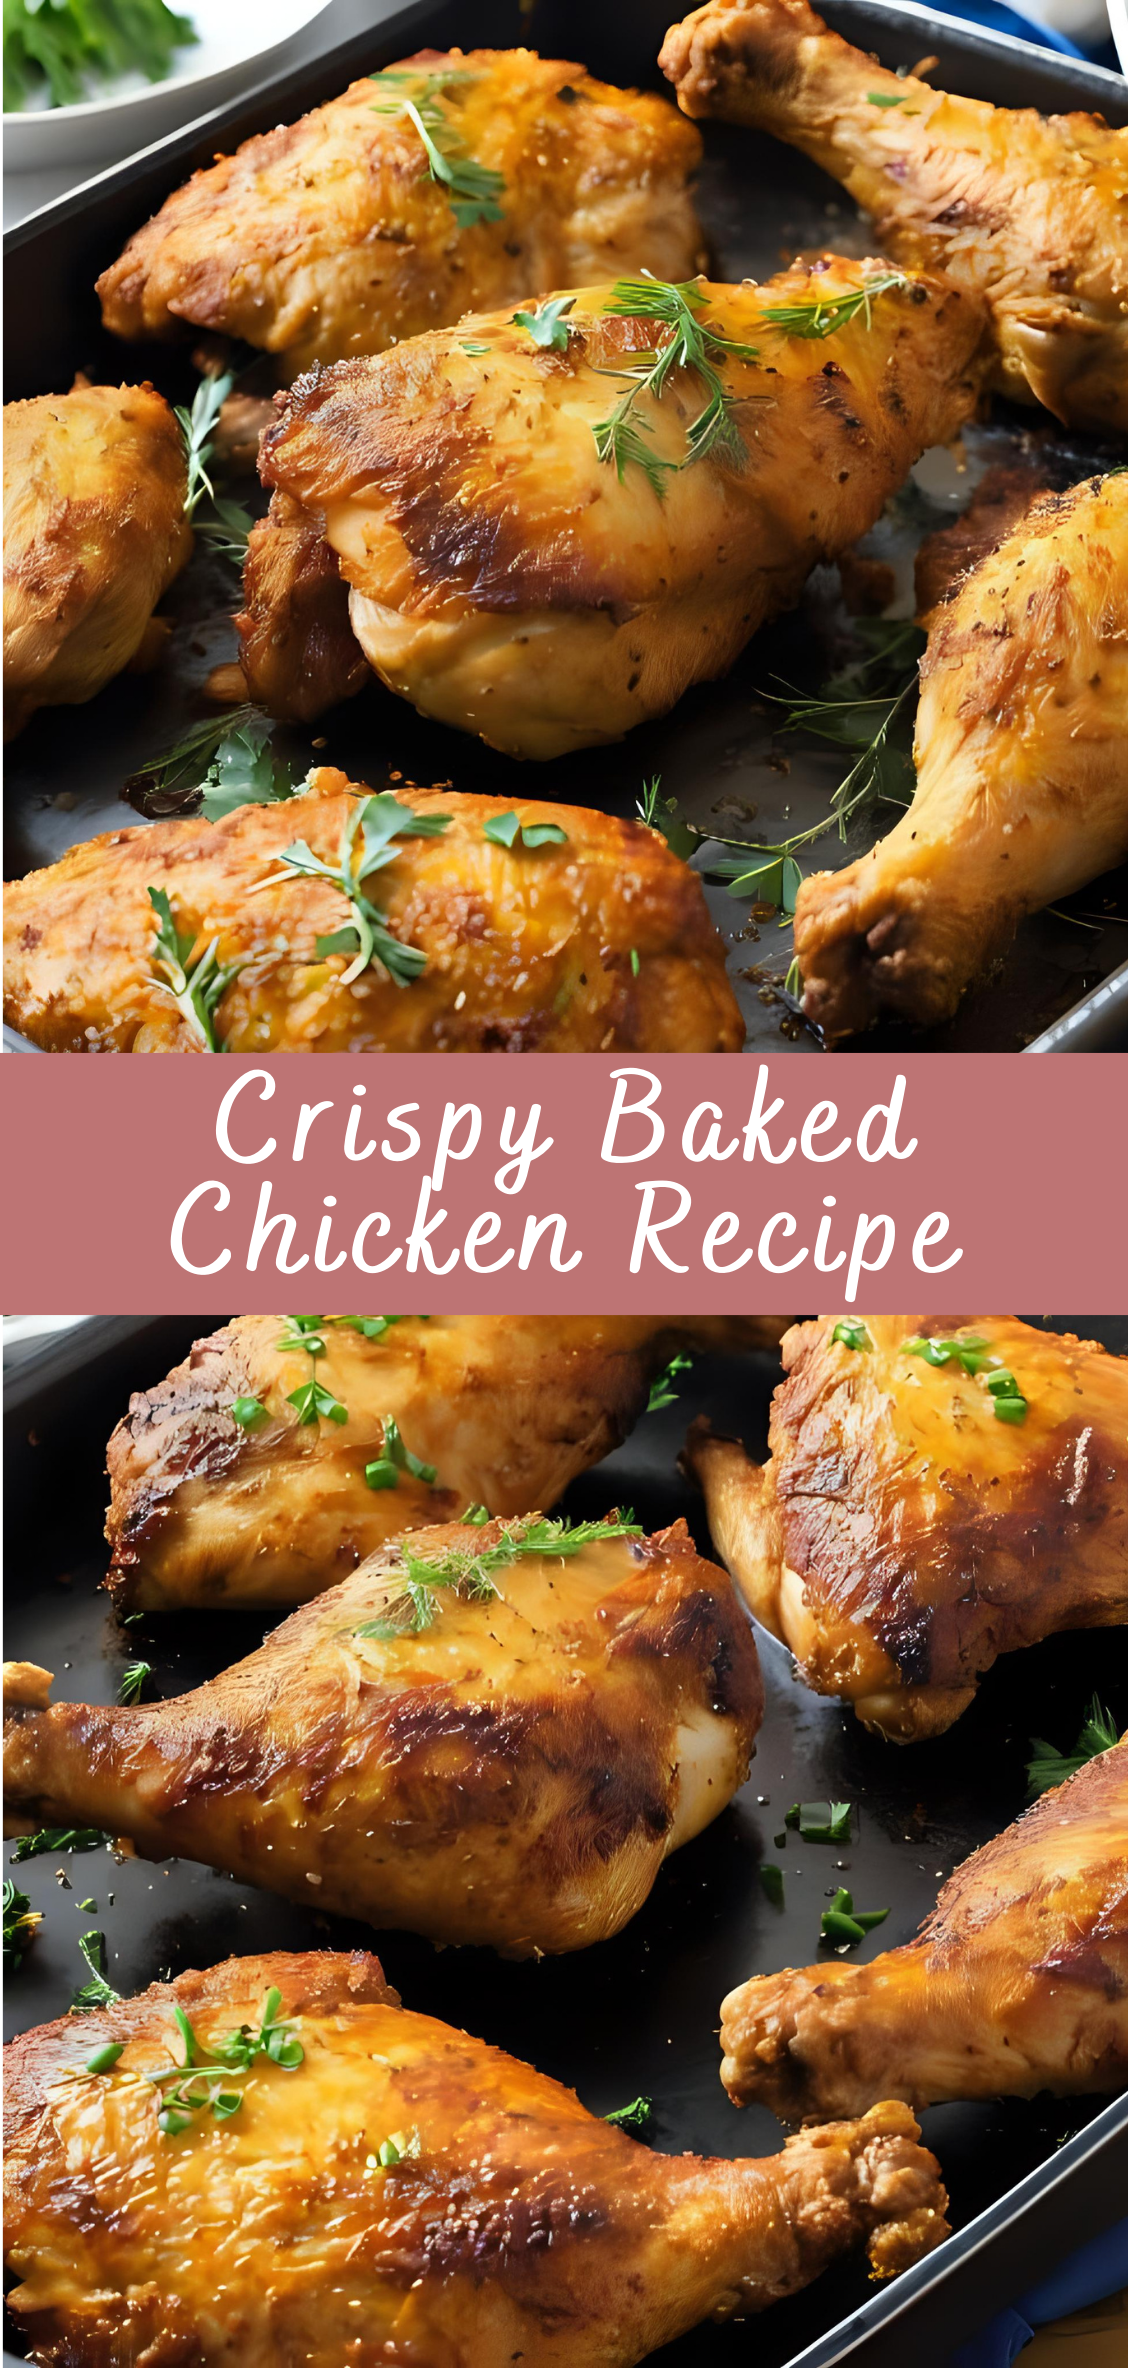
Crispy Baked Chicken Recipe
Few dishes evoke the kind of universal comfort and satisfaction that fried chicken does. With its golden, crunchy coating and juicy, tender meat, it’s no wonder that crispy chicken has cemented its place as a culinary icon. Whether served on a Sunday dinner table, packed into a picnic basket, or ordered from a neighborhood diner, it offers a nostalgic, crowd-pleasing experience that’s hard to beat. Yet, despite its undeniable charm, traditional fried chicken also comes with a few common drawbacks: heavy oil, messy deep-frying, and an overall indulgence that’s not always suited to everyday meals. That’s where Crispy Baked Chicken steps in—offering all the flavor and texture of the original, with none of the deep-fryer guilt.
Crispy baked chicken is not simply a “healthier version” of fried chicken—it’s a technique in its own right. It’s about coaxing maximum flavor and crunch from the oven through careful preparation, strategic seasoning, and smart use of ingredients. When done correctly, baked chicken can emerge with skin (or a crust) that shatters under the fork, while the interior stays moist, flavorful, and perfectly cooked. The best versions rival—if not surpass—the deep-fried variety, proving that you don’t need a pot of hot oil to achieve irresistible crispiness.
One of the most appealing things about this dish is its versatility. It can be made with any cut of chicken—drumsticks, thighs, breasts, or wings—and can be customized to suit a range of flavor profiles, from Southern-style buttermilk and paprika, to herb-crusted Italian, to spicy Korean-inspired gochujang glazes. It can be gluten-free, dairy-free, or tailored to low-carb and keto-friendly diets. And because it’s baked instead of fried, it’s less messy to prepare and easier to clean up—a major win for home cooks who want big results without the hassle.
Beyond convenience, baked chicken offers an everyday practicality that makes it ideal for weeknight dinners, meal prepping, or feeding a crowd. Once you master the core techniques—brining for juiciness, breading for texture, and high-temperature roasting for crispness—you can adapt the base recipe in countless ways. It’s the kind of go-to dish you’ll return to again and again, whether you’re cooking for your family, hosting friends, or simply craving something hearty and satisfying after a long day.
There’s also an element of satisfaction that comes with perfecting this dish. Nailing that golden-brown exterior without frying feels like a small triumph in the kitchen. It’s a recipe that teaches patience and technique while delivering immediate, delicious rewards. And unlike deep frying, which often requires hovering over hot oil and second-guessing cook times, baking allows for more even, predictable results—especially when armed with a few tips and tricks, which we’ll explore throughout this guide.
In the following sections, we’ll cover everything you need to know to make truly crispy baked chicken. We’ll begin with how to choose the right chicken cuts and whether or not to leave the skin on. We’ll dive deep into marinades and brines, and how they affect moisture and flavor. You’ll learn the secrets to a foolproof breading station, from flour and egg wash to seasoned crumb coatings that bake up golden and crisp. We’ll explore oven temperatures, baking racks, convection options, and even air fryer adaptations. And of course, we’ll share variations, sauces, serving suggestions, and storage tips to make sure your chicken tastes just as good the next day.
Whether you’re a seasoned cook refining your technique or a beginner looking for a simple yet impressive dish to master, this recipe will walk you through every step with clarity and depth. Crispy baked chicken isn’t just a comfort food classic—it’s a reminder that with the right methods, healthy and delicious don’t have to be opposites. They can live on the same plate, golden and glorious, straight from your oven.
Part 1: Selecting Chicken Cuts and Preparation
The first step in any great baked chicken recipe is choosing the right cut and preparing it properly. What you do before the chicken even hits the oven is just as important as how long you cook it.
Step 1: Choose Your Chicken Cuts
This recipe works beautifully with a variety of bone-in, skin-on chicken cuts. Each has its advantages:
-
Drumsticks: Juicy, forgiving, and great for kids or casual meals.
-
Thighs: Arguably the most flavorful cut. They stay moist and rich even after long baking times.
-
Chicken Breasts (bone-in, skin-on): Leaner and larger. Can be trickier to keep moist, but the skin helps retain juices.
-
Wings: Smaller and faster to cook. Perfect for appetizers or game day.
Tip: Bone-in, skin-on cuts yield the crispiest and juiciest results. The skin helps protect the meat and becomes wonderfully golden in the oven.
For this tutorial, we’ll use chicken thighs and drumsticks, as they offer a balance of flavor, moisture, and ease of cooking.
Step 2: Clean and Dry the Chicken
Pat each piece of chicken dry with paper towels. Removing surface moisture is essential for crisp skin and proper browning.
Why this matters: Water on the skin turns to steam in the oven, which softens the exterior. Dry skin = crispy finish.
You don’t need to wash the chicken—modern food safety guidelines recommend against it, as washing can spread bacteria around your kitchen. Just trim off any excess fat or skin if needed.
Part 2: Brining or Marinating (Optional but Recommended)
One of the best ways to guarantee juicy, flavorful chicken is to start with a brine or marinade. You can skip this step if you’re in a rush, but it’s worth the time if you want your chicken to truly shine.
Option 1: Dry Brine
This is a simple method that involves coating the chicken in salt and letting it rest uncovered in the fridge.
Ingredients:
-
1 tbsp kosher salt (or ¾ tbsp fine sea salt)
-
1 tsp black pepper
-
½ tsp paprika (optional)
-
½ tsp garlic powder (optional)
Instructions:
-
Sprinkle the salt mixture evenly over each piece of chicken.
-
Place chicken on a wire rack set over a tray or plate.
-
Refrigerate uncovered for 4 hours, or ideally overnight.
What this does: Salt draws moisture out, then reabsorbs it into the meat, seasoning deeply and drying the skin, which leads to crispier results.
Option 2: Buttermilk Marinade
If you prefer a more traditional Southern-style approach, buttermilk adds tenderness and a subtle tang.
Ingredients:
-
2 cups buttermilk
-
1 tbsp hot sauce (optional)
-
1 tsp salt
-
1 tsp garlic powder
-
1 tsp paprika
Instructions:
-
Mix ingredients in a large bowl or zip-top bag.
-
Add chicken and coat well.
-
Cover and refrigerate for 4 to 12 hours.
Tip: If you use this method, dry the chicken lightly before breading—but don’t rinse off the marinade.
Part 3: Preparing the Breading Station
Creating layers of texture is essential for that signature crispiness. This step will walk you through the dry and wet coating process.
Step 1: Set Up a Three-Bowl Station
Use three shallow bowls or dishes for the breading process:
-
Flour Mixture
-
Egg Wash
-
Breading (Breadcrumbs or Crushed Cornflakes)
Bowl 1: Flour Mixture
-
1 cup all-purpose flour
-
1 tsp paprika
-
1 tsp garlic powder
-
½ tsp onion powder
-
½ tsp salt
-
½ tsp black pepper
Bowl 2: Egg Wash
-
2 large eggs
-
2 tbsp milk or water
Whisk until smooth.
Bowl 3: Crispy Coating
Choose one of the following:
-
1½ cups panko breadcrumbs (for light, airy crunch)
-
1½ cups crushed cornflakes (for extra crispy texture)
-
1½ cups seasoned breadcrumbs (for more flavor)
Optional: Add ¼ cup grated Parmesan cheese and 1 tsp dried herbs (thyme, oregano, rosemary) to the coating for extra flavor.
Step 2: Bread the Chicken
-
Dredge in flour mixture. Shake off excess.
-
Dip in egg wash. Make sure it’s fully coated.
-
Press into breadcrumb mixture. Use your hands to press coating firmly onto each piece.
Pro Tip: Use one hand for dry ingredients and one for wet to avoid clumping and mess.
Place each coated piece onto a wire rack or parchment-lined baking sheet.
Part 4: Baking the Chicken
Now that your chicken is fully prepped and coated, it’s time to bake it to golden perfection.
Step 1: Preheat the Oven
-
Set your oven to 425°F (220°C).
-
If you have a convection setting, use it for even better crisping.
-
Line a large baking sheet with parchment paper or foil, and place a wire rack on top.
Why a rack? It allows air to circulate around the chicken, so the bottoms get crispy too. If you don’t have one, flip the chicken halfway through baking.
Step 2: Arrange the Chicken
Place the breaded chicken pieces on the rack with a little space between each one. This ensures they bake evenly.
Optional: Lightly spray the tops with oil or cooking spray to boost browning.
Step 3: Bake to Perfection
Bake the chicken for 35 to 45 minutes, depending on size and cut. The skin/coating should be deep golden brown and crisp.
-
Drumsticks and thighs: Usually done around 40 minutes.
-
Breasts: Might take closer to 45–50 minutes if very thick.
-
Wings: Often done around 30–35 minutes.
Check internal temperature with a meat thermometer:
-
Chicken is safe at 165°F (74°C), but thighs/drumsticks are better at 175–185°F for tenderness.
Step 4: Let Rest Before Serving
Let the chicken rest for 5–10 minutes after baking. This helps the juices redistribute and prevents soggy coating.
Crispy Baked Chicken Recipe
Few dishes evoke the kind of universal comfort and satisfaction that fried chicken does. With its golden, crunchy coating and juicy, tender meat, it’s no wonder that crispy chicken has cemented its place as a culinary icon. Whether served on a Sunday dinner table, packed into a picnic basket, or ordered from a neighborhood diner, it offers a nostalgic, crowd-pleasing experience that's hard to beat. Yet, despite its undeniable charm, traditional fried chicken also comes with a few common drawbacks: heavy oil, messy deep-frying, and an overall indulgence that’s not always suited to everyday meals. That’s where Crispy Baked Chicken steps in—offering all the flavor and texture of the original, with none of the deep-fryer guilt.
Ingredients
- Chicken:
- 4 bone-in, skin-on chicken thighs (or drumsticks or breasts)
- 1 tbsp olive oil
- Salt & pepper to taste
- Buttermilk Marinade (optional but recommended):
- 1 cup buttermilk
- 1 tsp garlic powder
- 1 tsp onion powder
- 1 tsp hot sauce (optional)
- Breading:
- 1 cup panko breadcrumbs
- 1/2 cup plain breadcrumbs
- 1/2 cup grated Parmesan cheese (optional for extra flavor)
- 1 tsp smoked paprika
- 1/2 tsp garlic powder
- 1/2 tsp onion powder
- 1/2 tsp salt
- 1/2 tsp black pepper
- Cooking spray or a bit of oil for misting
Instructions
1. (Optional) Marinate the Chicken:
- In a bowl or zip-top bag, combine chicken, buttermilk, garlic powder, onion powder, and hot sauce.
- Marinate for at least 1 hour or overnight in the refrigerator for best flavor and tenderness.
- Remove chicken from marinade, allowing excess to drip off.
2. Preheat the Oven:
- Preheat to 425°F (220°C).
- Line a baking sheet with foil and place a wire rack on top. Lightly oil or spray the rack to prevent sticking.
3. Prepare the Breading:
- In a shallow dish, mix together panko, breadcrumbs, Parmesan, and seasonings.
4. Coat the Chicken:
- Pat chicken lightly with paper towels to remove excess moisture (if marinated).
- Brush or rub with olive oil, then press each piece firmly into the breadcrumb mixture, coating all sides well.
5. Bake:
- Place chicken on the wire rack.
- Lightly mist with cooking spray or drizzle a little oil over the top to enhance browning.
- Bake for 40–45 minutes, or until golden, crispy, and internal temp reaches 165°F (74°C). No need to flip.
6. Rest and Serve:
- Let rest for 5 minutes before serving.
- Pair with mashed potatoes, roasted veggies, or a fresh salad.
Notes
- No buttermilk? Use 1 cup milk + 1 tbsp lemon juice or vinegar. Let sit 5–10 min.
- Panko = Extra Crunch. Don't skip it—it’s the secret to a super crispy crust.
- Wire Rack Tip: Elevates chicken for airflow and even crisping. Don’t have one? Flip chicken halfway through.

