Crispy Buttermilk Fried Chicken Sandwich Recipe
Few dishes in the world of comfort food have reached the near-mythical status of the fried chicken sandwich. Its irresistible combination of tender, juicy chicken encased in a shatteringly crisp coating, paired with pillowy bread and vibrant toppings, has transcended regional boundaries to become a staple on menus across the globe. Whether served simply or loaded with layers of flavor, the fried chicken sandwich occupies a unique place in the hearts (and stomachs) of food lovers.
But there’s one version that stands out for its flavor, texture, and old-fashioned Southern roots: the Crispy Buttermilk Fried Chicken Sandwich. This sandwich is more than just fast food fare—it’s a culinary tradition born from the American South, elevated through generations of home cooks and chefs who understand the power of technique, seasoning, and balance.
The beauty of the buttermilk fried chicken sandwich lies in its contrasts. The buttermilk marinade tenderizes the chicken while adding a slight tang, enhancing the meat’s natural juiciness. A well-seasoned flour dredge creates a crust that is both crispy and golden, giving way to moist, flavorful chicken with every bite. All of this is nestled between soft, buttery buns, often with accompaniments like crunchy pickles, creamy slaw, or a zesty aioli that cut through the richness and offer a counterpoint to the savory depth of the chicken.
In recent years, this sandwich has sparked fierce rivalries among fast food giants and gourmet restaurants alike, each trying to claim the title of the best. However, the ultimate version of this dish isn’t found under a drive-thru speaker or wrapped in branded paper—it’s made in your own kitchen, where every step of the process is done with intention and care.
This comprehensive recipe guide doesn’t just give you instructions; it provides insight into why each ingredient and technique matters. We’ll explore the science behind brining in buttermilk, the secrets to achieving a super-crispy crust, the ideal oil temperature for frying, and how to build a sandwich that’s perfectly balanced in every bite.
Whether you’re a seasoned home cook or new to the world of frying, this recipe will walk you through each stage with precision and confidence. Along the way, we’ll cover everything from ingredient sourcing and equipment recommendations to side dish pairings and storage tips, making this your go-to manual for mastering the crispy buttermilk fried chicken sandwich.
At the heart of it all is a love for food that brings people together. There’s something undeniably satisfying about biting into a sandwich that delivers on every level—flavor, texture, comfort, and nostalgia. So roll up your sleeves, fire up the stove, and prepare to create a dish that’s as impressive as it is deeply satisfying.
In the following sections, we’ll dive into the history of fried chicken, the evolution of the chicken sandwich, the role of buttermilk in Southern cooking, and the step-by-step breakdown of crafting this unforgettable meal from scratch. By the end, you’ll not only have a recipe—you’ll have a new kitchen favorite that’s destined to become part of your culinary repertoire.
Step-by-Step Instructions: How to Make the Ultimate Crispy Buttermilk Fried Chicken Sandwich
This section is divided into key stages of preparation:
-
Preparing the chicken and marinade
-
Making the seasoned flour dredge
-
Preparing the buttermilk-egg wash
-
Dredging and setting the chicken
-
Frying the chicken properly
-
Assembling the sandwich
-
Optional: Sauces, slaws, and variations
Each step includes detailed methods, tips, and timing suggestions.
1. Preparing the Chicken and Marinade
Ingredients:
-
4 boneless, skinless chicken thighs or breasts (about 5–6 oz each)
-
2 cups full-fat buttermilk
-
1 tablespoon hot sauce (optional, for heat and tang)
-
1 teaspoon kosher salt
-
1/2 teaspoon black pepper
-
1/2 teaspoon garlic powder
-
1/2 teaspoon onion powder
-
1/4 teaspoon smoked paprika
Instructions:
1.1 Choose the right cut
For optimal tenderness and flavor, chicken thighs are highly recommended. They’re fattier than breasts, more forgiving during frying, and yield a juicier sandwich. If using chicken breasts, slice them in half horizontally for thinner cutlets. This ensures quicker cooking and better sandwich stacking.
1.2 Pound to even thickness
Use a meat mallet or the bottom of a skillet to gently pound each piece to an even 1/2 to 3/4 inch thickness. This helps cook the chicken uniformly and avoids dryness in thinner sections.
1.3 Make the marinade
In a large bowl or zip-top bag, combine buttermilk, hot sauce, and seasonings. Stir to combine thoroughly.
1.4 Marinate the chicken
Add the chicken pieces to the marinade, ensuring they are fully submerged. Cover and refrigerate for at least 4 hours, preferably overnight (8–12 hours). This step is critical: the acids and enzymes in buttermilk help tenderize the meat while infusing it with flavor.
Tip: Do not skip this marination window. It’s what separates average fried chicken from restaurant-quality results.
2. Creating the Seasoned Flour Dredge
Ingredients:
-
2 cups all-purpose flour
-
1 tablespoon cornstarch (adds extra crunch)
-
1 ½ teaspoons kosher salt
-
1 teaspoon black pepper
-
1 teaspoon paprika
-
1 teaspoon garlic powder
-
1/2 teaspoon cayenne pepper (optional, for heat)
-
1/2 teaspoon onion powder
-
1/4 teaspoon baking powder (optional, helps with lightness)
Instructions:
2.1 Mix dry ingredients thoroughly
In a large shallow dish or bowl, whisk together the flour, cornstarch, baking powder, and all spices until evenly distributed. This is your crust foundation. Every seasoning here plays a role—salt enhances flavor, cornstarch improves texture, and paprika adds warmth and color.
Tip: For an extra craggy crust, reserve a few tablespoons of the buttermilk marinade and drizzle into the flour mix. Mix with your fingers to create small flour “shards” or “clumps.” These stick to the chicken and crisp up beautifully during frying.
3. Preparing the Buttermilk-Egg Wash (Optional Step for Extra Binding)
For an even thicker, crispier crust, especially if you’re double-dredging:
Ingredients:
-
1 egg
-
1/2 cup buttermilk (from the marinade or fresh)
Instructions:
Whisk the egg and buttermilk together in a small bowl. This mixture will act as a binder between the seasoned flour and chicken, helping the coating adhere and develop more texture during frying.
4. Dredging and Setting the Chicken
Instructions:
4.1 Remove and dry chicken slightly
Take the marinated chicken out of the fridge. Let it rest at room temperature for 20–30 minutes before dredging (cold chicken can cool the oil too quickly when frying). Let excess marinade drip off, but do not wipe or rinse it.
4.2 Coat in flour mixture
Press each piece of chicken firmly into the seasoned flour, turning and pressing multiple times to ensure complete coverage.
4.3 Optional second dredge
For extra crunch: Dip the floured chicken into the buttermilk-egg wash, then back into the flour. Press again firmly, packing the flour onto the surface.
4.4 Let the coated chicken rest
Place dredged chicken pieces on a wire rack and let them rest for 10–15 minutes. This allows the coating to hydrate slightly and adhere better, preventing it from falling off during frying.
5. Frying the Chicken Properly
Ingredients:
-
Neutral oil for frying (such as peanut, canola, or vegetable oil)
-
Deep, heavy-bottomed pan or Dutch oven
-
Instant-read thermometer (highly recommended)
Instructions:
5.1 Preheat your oil
Pour enough oil into your pan to submerge the chicken at least halfway (usually about 2–3 inches deep). Heat the oil to 325–350°F (163–177°C). Monitor the temperature closely—oil that’s too cool leads to greasy chicken; too hot, and the crust burns before the inside cooks.
5.2 Fry in batches
Carefully place 1–2 pieces of chicken into the hot oil at a time, without crowding the pan. Fry for 5–6 minutes per side, depending on thickness, or until the internal temperature reaches 165°F (74°C).
Tip: Let the oil return to temperature between batches. Maintain consistent heat to ensure crispness.
5.3 Drain and rest
Once golden brown and crisp, remove chicken and place on a wire rack (not paper towels, which trap steam). Let rest for 5 minutes before assembling the sandwich.
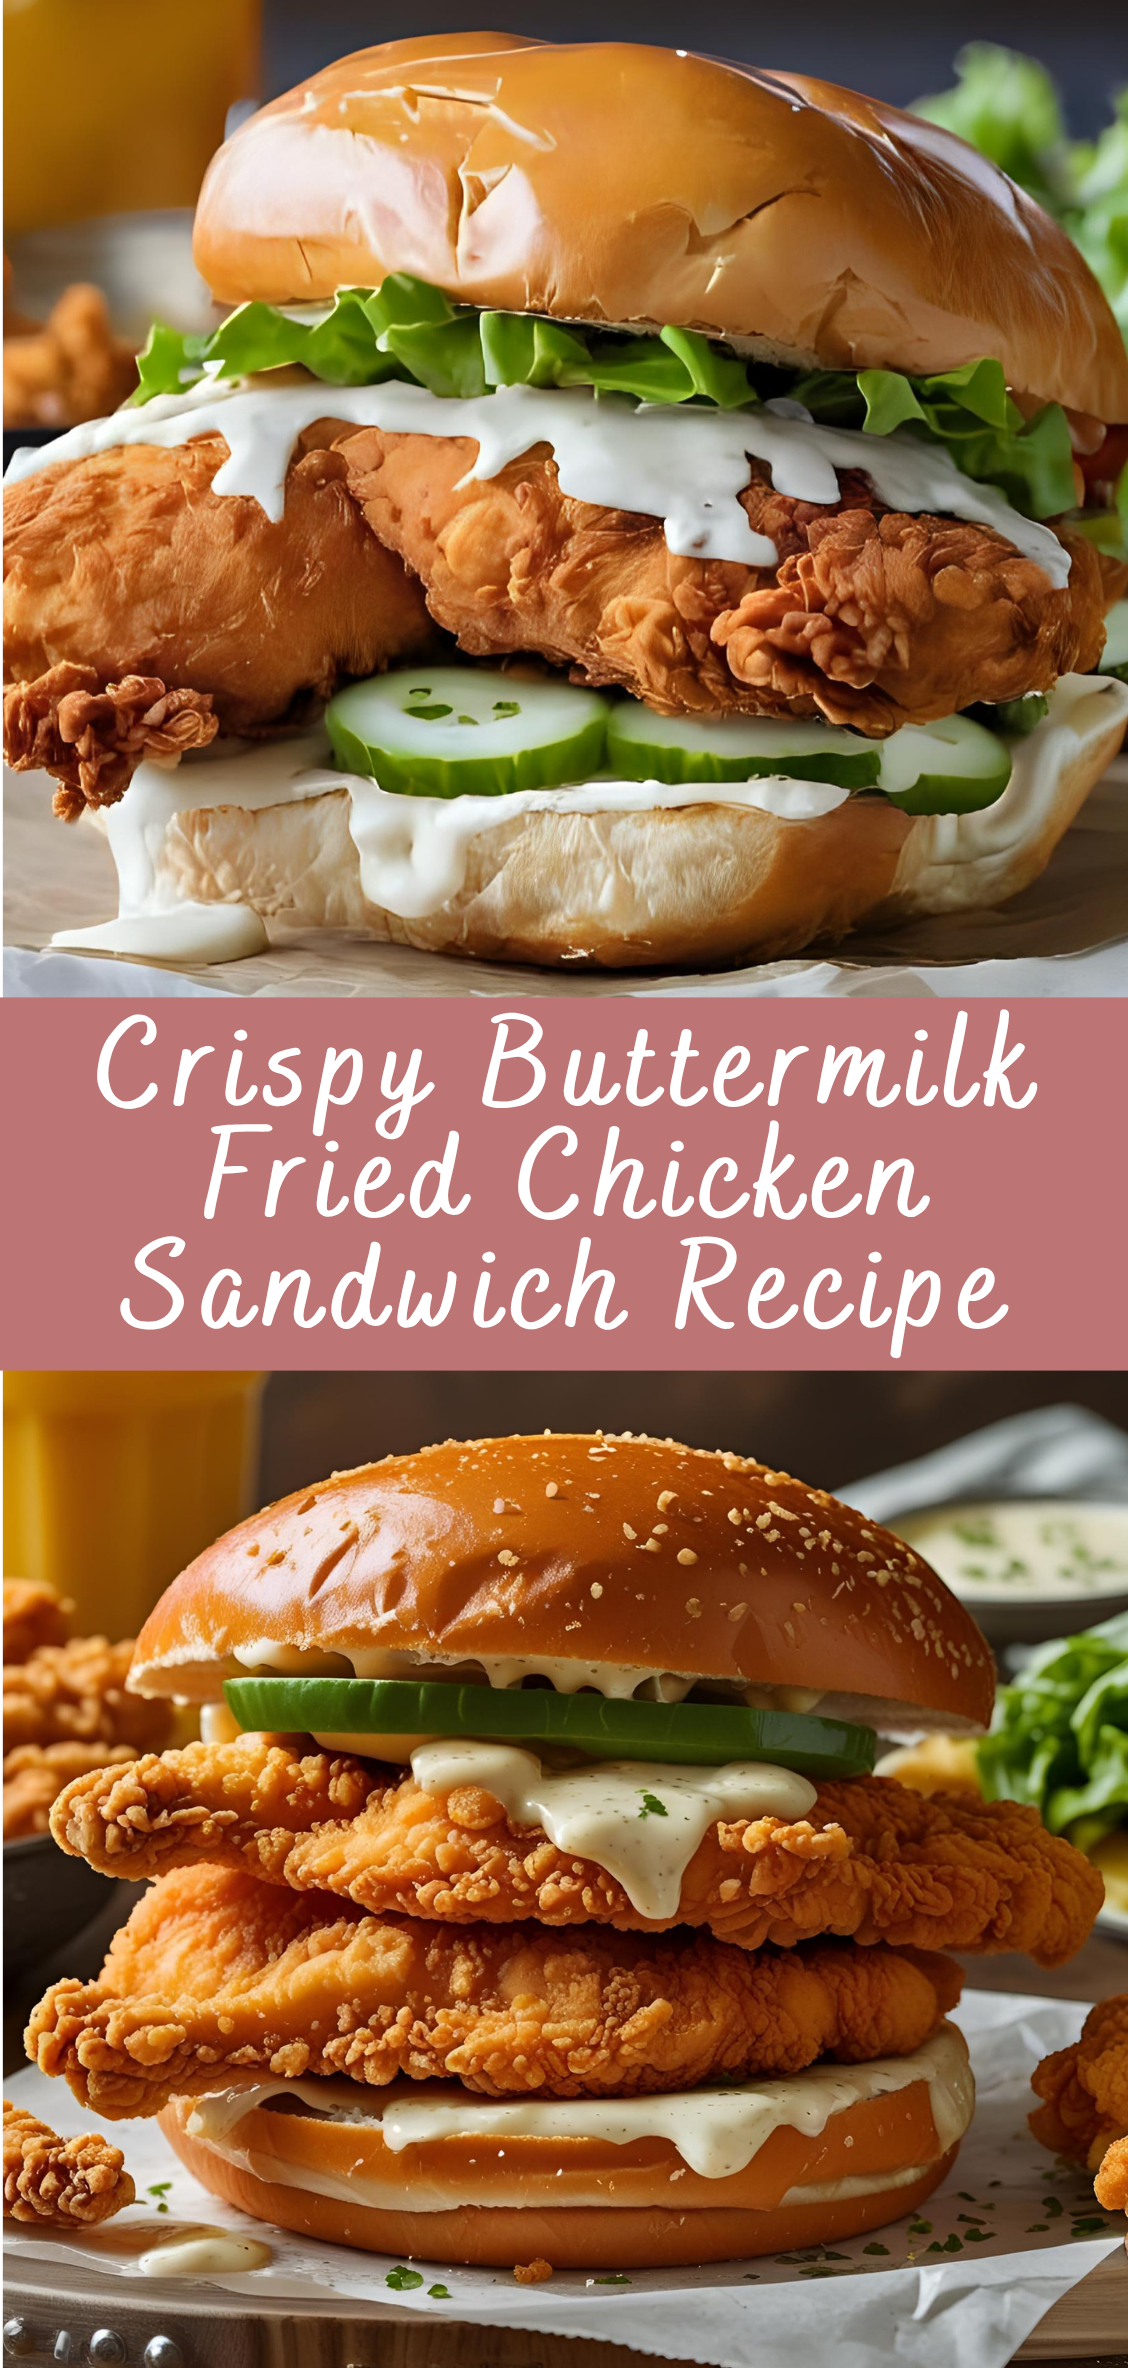
6. Assembling the Sandwich
Base Ingredients:
-
4 toasted brioche or potato buns
-
Butter or mayo for toasting
-
Pickles (dill, bread and butter, or spicy)
-
Optional: slaw, lettuce, tomato, or spicy mayo
Instructions:
6.1 Toast the buns
Split and lightly butter the buns. Toast them cut-side down in a hot skillet until golden. This step prevents sogginess and adds rich flavor.
6.2 Build the sandwich
Layer as follows:
-
Bottom bun
-
Light spread of mayo or sauce
-
Crispy chicken
-
Pickles or slaw
-
Extra sauce (if using)
-
Top bun
Tip: Balance textures and flavors. If your chicken is spicy, pair with a cooling slaw or aioli. If mild, try a tangy pickle or hot sauce drizzle.
7. Optional Additions and Variations
-
Spicy Version: Add cayenne to the flour and mix hot sauce into your mayo for a Nashville-style kick.
-
Buttermilk Ranch Slaw: Combine shredded cabbage, carrots, and herbs with homemade ranch for a creamy, tangy crunch.
-
Honey Butter Glaze: For a sweet twist, brush the chicken with warm honey butter right after frying.
-
Brioche vs. Potato Rolls: Brioche offers richness, while potato buns are soft and hold up well to juicy fillings.
Crispy Buttermilk Fried Chicken Sandwich Recipe
Few dishes in the world of comfort food have reached the near-mythical status of the fried chicken sandwich. Its irresistible combination of tender, juicy chicken encased in a shatteringly crisp coating, paired with pillowy bread and vibrant toppings, has transcended regional boundaries to become a staple on menus across the globe. Whether served simply or loaded with layers of flavor, the fried chicken sandwich occupies a unique place in the hearts (and stomachs) of food lovers.
Ingredients
- For the Chicken:
- 4 boneless, skinless chicken thighs (or breasts, pounded to even thickness)
- 1 cup buttermilk
- 1 tsp hot sauce (optional)
- 1 tsp salt
- ½ tsp black pepper
- ½ tsp garlic powder
- ½ tsp paprika
- For the Breading:
- 1½ cups all-purpose flour
- ½ cup cornstarch
- 1 tsp salt
- 1 tsp garlic powder
- 1 tsp onion powder
- ½ tsp cayenne pepper (optional)
- ½ tsp paprika
- ½ tsp black pepper
- For Frying:
- Vegetable oil (for deep frying)
- To Assemble:
- 4 brioche or potato buns, toasted
- Pickles (dill slices work great)
- Mayo or spicy mayo
- Lettuce or slaw (optional)
Instructions
1. Marinate the Chicken
- In a large bowl or zip-top bag, mix buttermilk, hot sauce, salt, pepper, garlic powder, and paprika.
- Add chicken, coat well, and marinate in the fridge for at least 4 hours, ideally overnight.
2. Prepare the Breading
- In a shallow bowl, combine flour, cornstarch, salt, garlic powder, onion powder, cayenne, paprika, and pepper.
3. Dredge the Chicken
- Remove chicken from marinade, letting excess drip off.
- Dredge each piece in the flour mixture, pressing to adhere. For extra crispiness, dip the chicken back into buttermilk and dredge a second time.
4. Fry the Chicken
- Heat 2–3 inches of oil in a heavy pot to 350°F (175°C).
- Carefully fry chicken in batches, 5–7 minutes per side or until golden brown and internal temp reaches 165°F (74°C).
- Drain on a wire rack or paper towels.
5. Assemble Sandwiches
- Toast buns and spread mayo or spicy mayo on each half.
- Layer with pickles, lettuce or slaw (if using), then the crispy chicken.
- Top with bun and serve hot.

