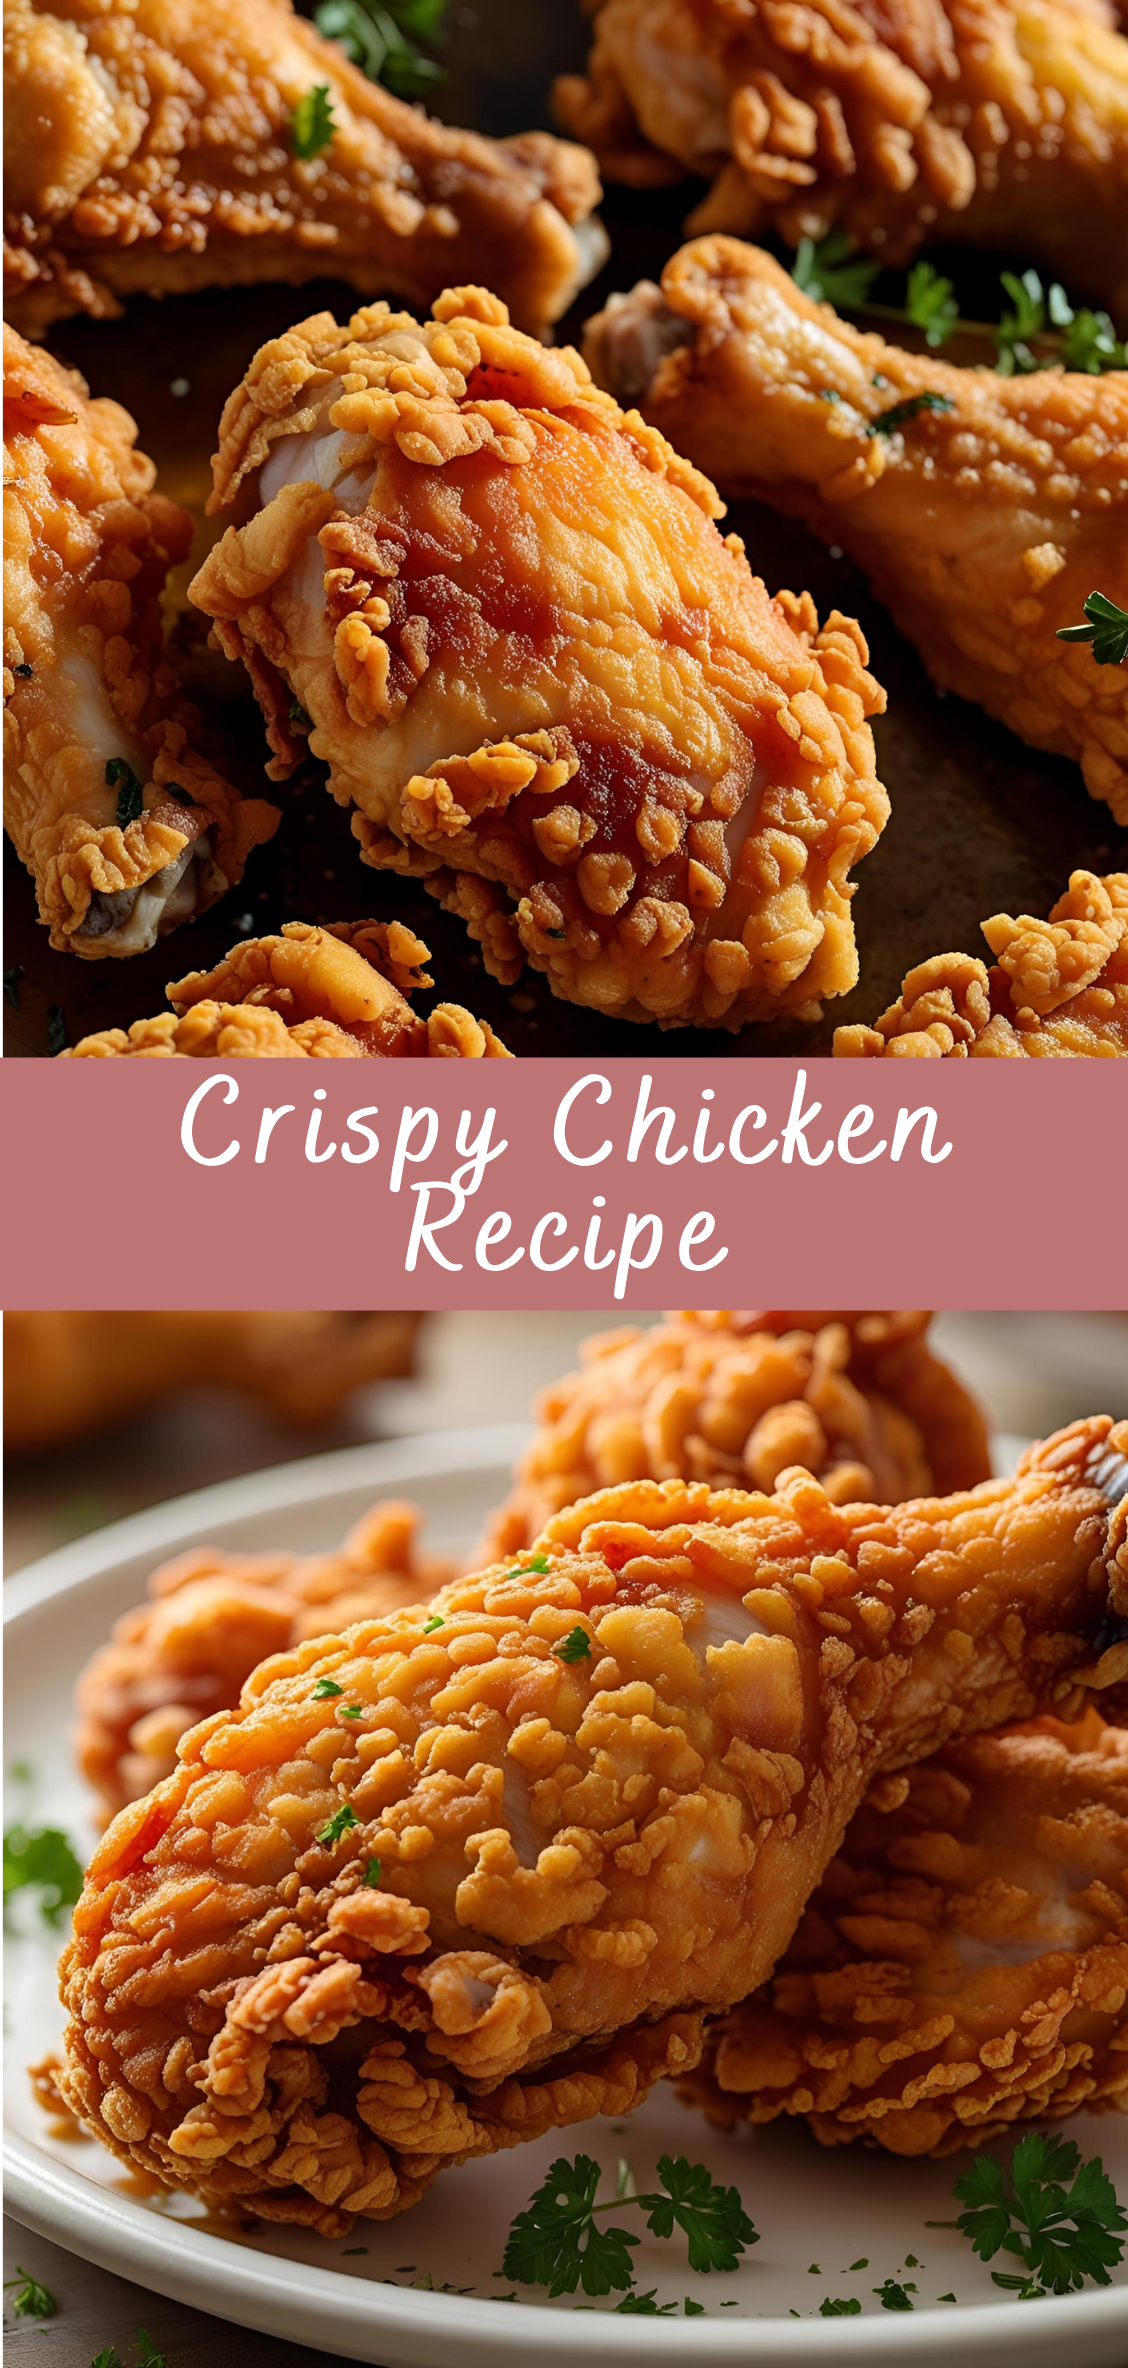
Crispy Chicken Recipe
Crispy chicken is a beloved dish enjoyed across the globe for its irresistible texture and comforting flavors. Whether it’s fried, baked, or air-fried, the hallmark of crispy chicken lies in its perfectly golden, crunchy exterior paired with tender, juicy meat inside. This combination creates a satisfying contrast that has made crispy chicken a staple in home kitchens and restaurants alike.

The appeal of crispy chicken extends beyond its taste. It evokes a sense of nostalgia and comfort, often associated with family meals, casual gatherings, and festive celebrations. From Southern-style fried chicken to Asian-inspired crispy chicken wings, this dish embodies a versatile and universally appreciated culinary tradition.
Achieving the perfect crispy chicken, however, requires attention to detail — from choosing the right cut of chicken to mastering the coating technique and cooking method. Factors such as marinating time, breading ingredients, oil temperature, and cooking duration all play crucial roles in delivering a dish that is both crispy on the outside and juicy on the inside.
In this comprehensive guide, you will discover step-by-step instructions for making various types of crispy chicken, including classic fried chicken, oven-baked versions, and healthier alternatives like air-fried chicken. We will explore the science behind crispiness, share tips on seasoning and preparation, and offer recipes for complementary sauces and sides to complete your meal.
Whether you are a beginner seeking a foolproof recipe or an experienced cook eager to refine your technique and experiment with flavors, this extensive exploration of crispy chicken will provide you with the knowledge and inspiration to create deliciously crispy, mouthwatering chicken every time.
Detailed Instructions for Making Crispy Chicken
Step 1: Choosing the Chicken Cuts
Selecting the right chicken cuts is the first step toward great crispy chicken. Popular options include bone-in pieces such as drumsticks, thighs, wings, or breast pieces with skin on. Bone-in chicken tends to retain moisture better during cooking, which helps keep the meat juicy. However, boneless cuts can also be used if you prefer, but be mindful of their shorter cooking times.
For even cooking, try to select pieces of similar size. If you’re using larger cuts, consider slicing them into smaller portions or butterflying breasts to ensure they cook evenly and the breading crisps properly.
Step 2: Preparing the Chicken – Cleaning and Patting Dry
Begin by rinsing the chicken under cold water to remove any excess blood or residue. After rinsing, thoroughly pat the chicken pieces dry with paper towels. Removing surface moisture is essential to ensure the coating adheres well and the skin crisps up during cooking.
If you prefer, trim any excess fat or skin from the pieces for a cleaner presentation and to avoid flare-ups if frying.
Step 3: Marinating or Brining for Flavor and Moisture
Marinating or brining your chicken is a vital step to infuse flavor and lock in moisture, which helps the meat stay juicy inside the crispy coating.
-
Wet Brine: Soak the chicken in a mixture of water, salt, sugar, and optional flavorings like garlic, herbs, or spices for at least 1 hour, preferably overnight. This enhances moisture retention and tenderness.
-
Buttermilk Marinade: A classic method, soaking chicken in buttermilk (sometimes seasoned with salt, pepper, paprika, or hot sauce) for 4-24 hours tenderizes the meat and adds subtle tanginess. The acidity also helps the breading adhere better.
-
Dry Brine: For a quicker option, season the chicken liberally with salt and other spices, then refrigerate uncovered for several hours. This method draws out moisture and concentrates flavor.
Step 4: Preparing the Coating Mixture
The coating is what gives crispy chicken its signature crunch. There are several components to a good coating:
-
Flour Base: All-purpose flour is the classic choice. For extra crispiness, you can mix in cornstarch, rice flour, or breadcrumbs. Some cooks prefer panko breadcrumbs for a lighter, airier crunch.
-
Seasonings: Add salt, pepper, garlic powder, onion powder, paprika, cayenne pepper, or herbs to the flour mixture for flavor. Adjust the spice level to your preference.
-
Wet Dip: This usually consists of beaten eggs, buttermilk, or a combination of both. Some recipes incorporate mustard or hot sauce into this mixture for added flavor and tang.
Prepare two shallow bowls or plates — one with the seasoned flour mixture and one with the wet dip — for dredging.
Step 5: Dredging the Chicken
Dredging involves coating the chicken pieces thoroughly to ensure an even, crispy crust.
-
Dip each piece into the wet mixture, allowing excess to drip off.
-
Transfer it immediately into the seasoned flour mixture, pressing lightly to ensure the flour adheres well.
-
For extra crunch, double-dip by repeating the wet dip and flour coating.
-
Place the coated pieces on a wire rack and let them rest for 10-15 minutes. This resting period helps the coating adhere better and prevents it from falling off during cooking.
Step 6: Choosing Your Cooking Method
There are several methods to cook crispy chicken, each with its pros and cons:
-
Deep-Frying: The classic approach. Heat oil (vegetable, peanut, or canola) to about 350°F (175°C) in a deep fryer or heavy pot. Fry the chicken in batches to avoid overcrowding, turning occasionally until golden brown and cooked through (internal temp 165°F/74°C). Drain on paper towels.
-
Pan-Frying: Uses less oil than deep-frying but still provides a crispy exterior. Use a skillet with ¼ to ½ inch of oil heated to medium-high. Cook chicken pieces, turning to brown all sides, then finish in the oven if needed.
-
Oven-Baking: A healthier alternative. Preheat the oven to 425°F (220°C). Place the coated chicken on a wire rack over a baking sheet and spray lightly with oil. Bake for 25-35 minutes until golden and cooked through, turning halfway.
-
Air-Frying: Uses circulating hot air and little to no oil for a crispy result. Preheat the air fryer to 375°F (190°C). Cook chicken pieces in a single layer for 20-25 minutes, shaking the basket or flipping halfway.
Step 7: Monitoring Internal Temperature
Regardless of cooking method, always use a meat thermometer to check doneness. Insert it into the thickest part of the chicken; it should read at least 165°F (74°C). Overcooking will dry out the chicken, while undercooking poses health risks.
Step 8: Resting and Serving
Once cooked, transfer the chicken to a wire rack or plate lined with paper towels and let it rest for 5 minutes. This allows juices to redistribute and keeps the coating crisp.
Serve crispy chicken hot with your favorite sides and sauces. Popular accompaniments include mashed potatoes, coleslaw, biscuits, or dipping sauces like honey mustard, ranch, or spicy mayo.
Crispy Chicken Recipe
Crispy chicken is a beloved dish enjoyed across the globe for its irresistible texture and comforting flavors. Whether it's fried, baked, or air-fried, the hallmark of crispy chicken lies in its perfectly golden, crunchy exterior paired with tender, juicy meat inside. This combination creates a satisfying contrast that has made crispy chicken a staple in home kitchens and restaurants alike.
Ingredients
- 4 bone-in, skin-on chicken thighs or drumsticks
- 1 cup all-purpose flour
- 1 teaspoon paprika
- 1 teaspoon garlic powder
- 1 teaspoon onion powder
- 1 teaspoon salt
- ½ teaspoon black pepper
- 1 teaspoon dried oregano or thyme (optional)
- 1 cup buttermilk (or plain yogurt)
- Vegetable oil or canola oil, for frying (about 2 inches depth)
Instructions
- Marinate:
Pour the buttermilk into a bowl and soak the chicken pieces for at least 30 minutes (or up to overnight in the fridge) to tenderize and add flavor. - Prepare coating:
In a shallow bowl or plate, mix the flour, paprika, garlic powder, onion powder, salt, pepper, and dried herbs. - Coat chicken:
Remove chicken from buttermilk, letting excess drip off. Dredge each piece thoroughly in the seasoned flour mixture, pressing to adhere well. - Heat oil:
Pour oil into a deep skillet or Dutch oven, heating it over medium-high heat until it reaches about 350°F (175°C). You can test by dropping a pinch of flour in — it should sizzle immediately. - Fry chicken:
Carefully place chicken pieces in hot oil, skin side down. Fry in batches if needed to avoid overcrowding. Cook 7-9 minutes per side, turning once, until golden brown and cooked through (internal temp 165°F / 75°C). - Drain:
Remove chicken and place on a wire rack or paper towels to drain excess oil. - Serve:
Let rest for a few minutes, then serve hot and crispy!
Notes
- For extra crispiness, double dredge the chicken: dip back into buttermilk and then again in flour mixture before frying.
- You can bake the chicken after frying at 350°F (175°C) for 10-15 minutes to ensure it’s fully cooked inside.
- Try using a mix of spices to customize flavor (cayenne for heat, smoked paprika for smokiness).
- Use a thermometer to monitor oil temperature for best results.

