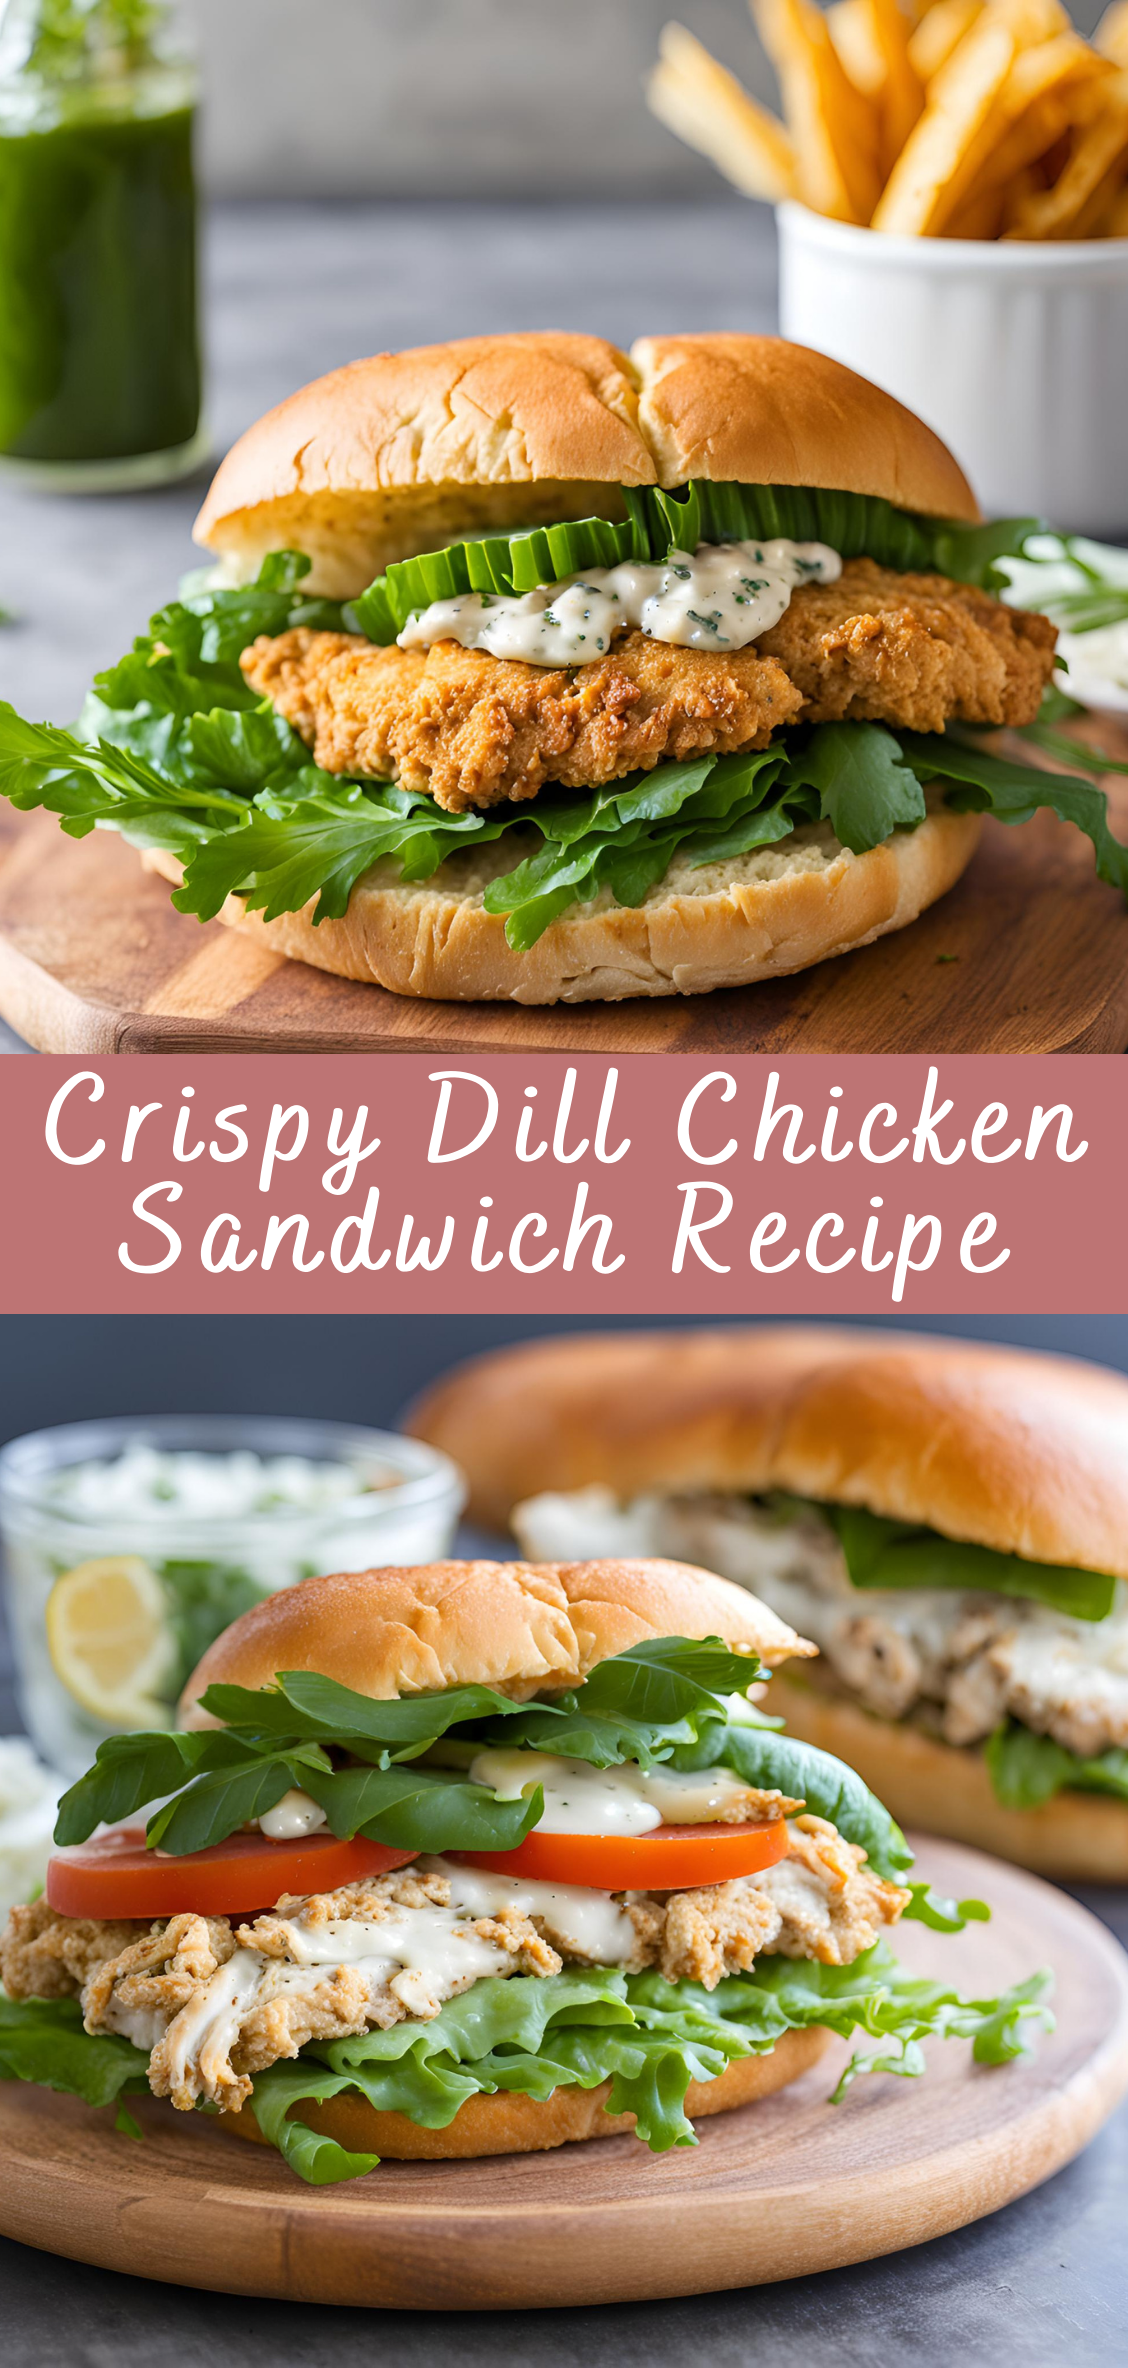
Crispy Dill Chicken Sandwich Recipe
If you love crispy chicken sandwiches but want something a little different, this Crispy Dill Chicken Sandwich will quickly become your new favorite. The chicken is golden and crunchy, while the tangy dill sauce adds a fresh and unique twist to the traditional sandwich. It’s easy to make, incredibly delicious, and perfect for a quick meal that doesn’t sacrifice flavor.
Why This Crispy Dill Chicken Sandwich Stands Out
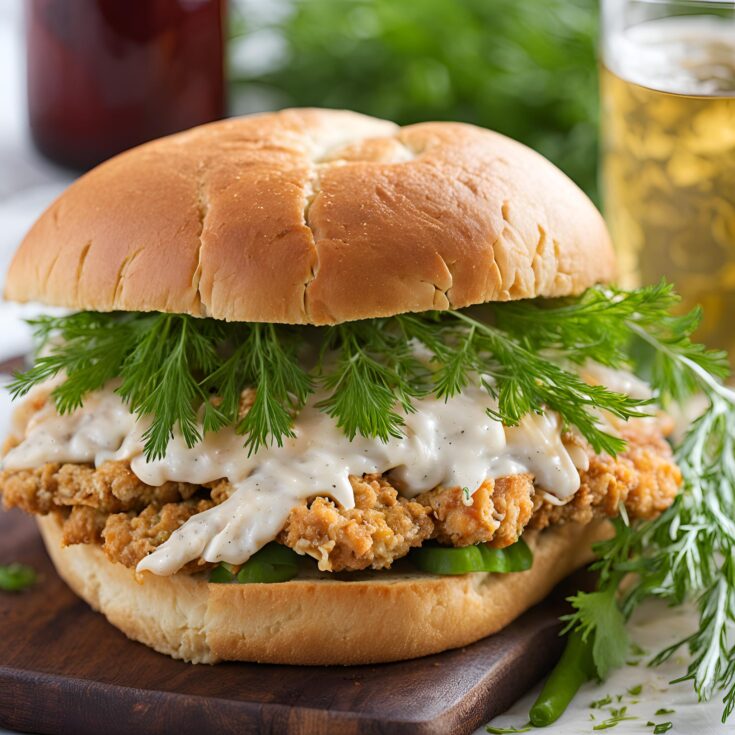
This sandwich isn’t your typical crispy chicken sandwich. The dill flavor in the sauce elevates it with a refreshing tang, making it both comforting and zesty. Plus, the crispy chicken is perfectly seasoned and fried to golden perfection.
- Delicious Flavor Profile: The dill sauce combined with crispy, juicy chicken creates an amazing flavor combination.
- Versatile Meal: This sandwich is perfect for lunch, dinner, or even as a party favorite.
- Easy to Customize: You can easily switch up the toppings or make it spicier with a few small adjustments.
How to Make Crispy Dill Chicken Sandwich
Step 1: Preparing the Chicken
Start by seasoning your chicken breasts with salt, pepper, garlic powder, and paprika. Set up a dredging station with three bowls: one with flour, one with buttermilk, and one with panko breadcrumbs. Dredge each chicken breast in flour, dip it into the buttermilk, and finally coat it with the panko breadcrumbs.
Heat oil in a frying pan over medium-high heat. Fry the chicken breasts for about 4-5 minutes on each side, or until they are golden and crispy. Remove the chicken and let it rest on paper towels to drain any excess oil.
Step 2: Making the Dill Sauce
While the chicken is frying, mix together the mayonnaise, sour cream, chopped dill, lemon juice, garlic powder, salt, and pepper in a small bowl. Stir until smooth and creamy. Taste and adjust seasoning if needed. This dill sauce is the secret ingredient that makes the sandwich stand out.
Step 3: Assembling the Sandwich
Toast the brioche buns for extra crunch and warmth. Spread a generous layer of dill sauce on both the top and bottom buns. Place the crispy chicken breast on the bottom bun, followed by lettuce, sliced tomatoes, and pickles if desired. Top with the other half of the bun, and your Crispy Dill Chicken Sandwich is ready to enjoy!
Tips for the Perfect Crispy Chicken
Getting the Perfect Crunch
To achieve the ultimate crispy chicken, use panko breadcrumbs. They provide a lighter, airier crunch compared to regular breadcrumbs. Also, make sure your oil is at the right temperature (about 350°F or 175°C) for frying so that the chicken doesn’t absorb too much oil and becomes greasy.
Adding Extra Flavor with Dill
If you’re a dill lover, feel free to increase the amount of fresh dill in the sauce or even add a sprinkle of dill to the panko breadcrumbs before frying the chicken.
Substitutions and Variations
Different Bread and Toppings
You can swap the brioche buns for whole wheat buns, ciabatta rolls, or even pretzel buns. Toppings like avocado slices, pickled onions, or even a fried egg can add another layer of flavor.
Adjusting the Dill Flavor
If you’re not a fan of dill or want to try something new, you can replace the dill with other fresh herbs like parsley, chives, or even basil.
What to Serve with Crispy Dill Chicken Sandwich
This sandwich pairs well with a variety of sides:
- Fries or Sweet Potato Fries for a classic combination.
- Coleslaw adds a crunchy, tangy side that complements the sandwich.
- A Light Green Salad works well if you’re looking for a fresher option.
- Iced Tea or Lemonade are great drink pairings to balance the richness of the sandwich.
Storing and Reheating Leftovers
If you have leftover chicken, store it in an airtight container in the fridge for up to 3 days. Reheat the chicken in the oven at 350°F for 10-12 minutes to keep it crispy. It’s best to store the sauce separately in the fridge, where it will last for up to a week.
Nutritional Information
Each Crispy Dill Chicken Sandwich provides approximately:
- Calories: 650
- Protein: 38g
- Fat: 35g
- Carbohydrates: 45g
Frequently Asked Questions
Can I bake the chicken instead of frying?
Yes! To bake the chicken, preheat your oven to 400°F and bake the breaded chicken breasts on a wire rack for 25-30 minutes, flipping halfway through, until crispy and cooked through.
How do I make the chicken extra crispy?
Double-coating the chicken (dipping it back into the buttermilk and panko) can give it an extra crispy exterior. Also, make sure not to overcrowd the pan when frying, as this can reduce the oil temperature and lead to less crispy chicken.
What other herbs work well with dill?
Fresh parsley, chives, and tarragon are excellent herbs to complement the dill flavor in the sauce.
Conclusion
If you’re a fan of crispy chicken sandwiches, this Crispy Dill Chicken Sandwich will be a hit. The crispy chicken paired with a tangy dill sauce is a fresh take on a classic dish. It’s easy to make, customizable, and perfect for any occasion. Whether you enjoy it with fries or a salad, this sandwich is sure to satisfy your cravings.
Crispy Dill Chicken Sandwich Recipe
If you love crispy chicken sandwiches but want something a little different, this Crispy Dill Chicken Sandwich will quickly become your new favorite. The chicken is golden and crunchy, while the tangy dill sauce adds a fresh and unique twist to the traditional sandwich. It’s easy to make, incredibly delicious, and perfect for a quick meal that doesn't sacrifice flavor.
Ingredients
- For the Chicken:
- 4 boneless, skinless chicken breasts
- 1 cup buttermilk
- 1 cup all-purpose flour
- 1/2 cup cornstarch
- 1 tbsp dried dill
- 1 tsp garlic powder
- 1 tsp onion powder
- 1/2 tsp paprika
- 1/2 tsp salt
- 1/2 tsp black pepper
- Vegetable oil (for frying)
- For the Sandwiches:
- 4 hamburger buns
- 4 tbsp mayonnaise
- 2 tbsp fresh dill, chopped
- 1 cup shredded lettuce
- 1 tomato, sliced
- Pickles (optional)
Instructions
- Prepare the Chicken:
Place the chicken breasts between two sheets of plastic wrap and pound them to an even thickness, about 1/2 inch thick.
In a large bowl, soak the chicken breasts in buttermilk for at least 15 minutes (or up to overnight) to tenderize and add flavor. - Bread the Chicken:
In a separate bowl, combine the flour, cornstarch, dried dill, garlic powder, onion powder, paprika, salt, and black pepper.
Remove the chicken breasts from the buttermilk, allowing excess to drip off. Dredge each piece in the flour mixture, pressing lightly to adhere. Shake off excess flour. - Fry the Chicken:
Heat vegetable oil in a large skillet over medium-high heat, enough to cover the bottom of the pan.
Fry the chicken breasts for 4-5 minutes per side, or until golden brown and crispy, and the internal temperature reaches 165°F (74°C). Transfer to a plate lined with paper towels to drain excess oil. - Prepare the Mayonnaise Spread:
In a small bowl, mix the mayonnaise with chopped fresh dill. Adjust seasoning with salt and pepper to taste. - Assemble the Sandwiches:
Toast the hamburger buns if desired.
Spread the dill mayonnaise on the bottom half of each bun.
Top with shredded lettuce, a crispy chicken breast, a slice of tomato, and pickles if using.
Cover with the top half of the bun. - Serve:
Serve the crispy dill chicken sandwiches immediately, either on their own or with a side of fries or salad.

