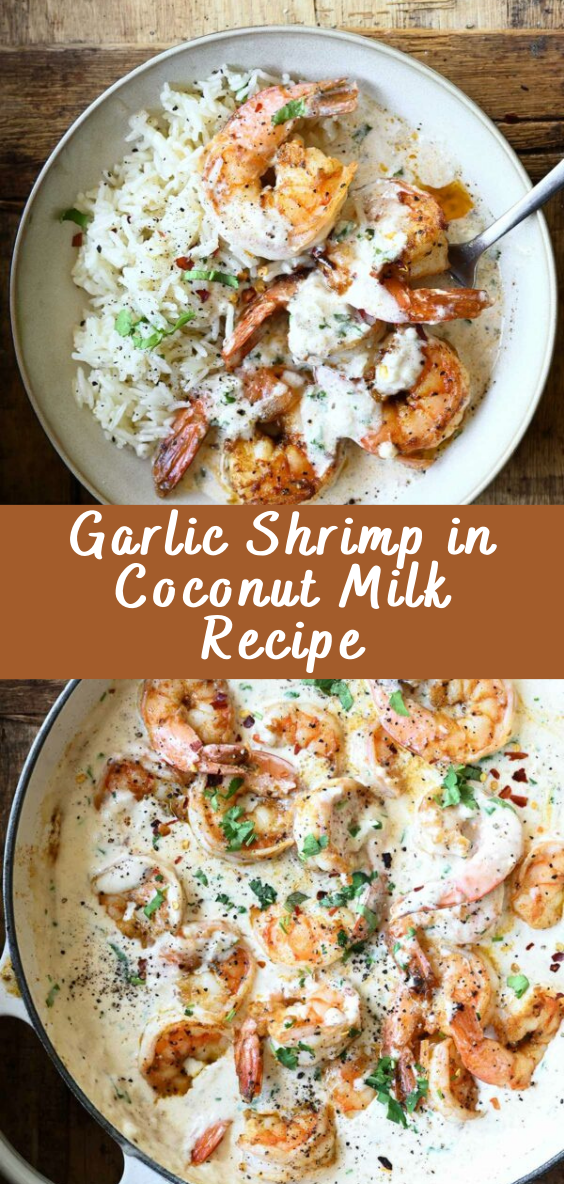
Garlic Shrimp in Coconut Milk Recipe
Garlic shrimp in coconut milk is a delightful and flavorful dish that combines the succulence of shrimp with the creamy richness of coconut milk, infused with aromatic garlic and spices. This recipe offers a perfect balance of flavors and textures, making it a favorite among seafood enthusiasts. Whether you’re hosting a dinner party or craving a comforting homemade meal, garlic shrimp in coconut milk is sure to satisfy your taste buds. Let’s dive into the details of this mouthwatering recipe.

Ingredients Needed
To prepare garlic shrimp in coconut milk, you will need the following ingredients:
- Fresh Garlic: Garlic cloves add a robust flavor base to the dish.
- Shrimp: Opt for fresh, deveined shrimp for the best taste and texture.
- Coconut Milk: Use unsweetened coconut milk for a creamy consistency without added sweetness.
- Spices and Herbs: Commonly used spices include paprika, cumin, coriander, and fresh herbs like cilantro or parsley.
Preparation Steps
Cleaning and Peeling Shrimp
Start by cleaning and peeling the shrimp. Remove the shells and devein them if necessary. Rinse the shrimp under cold water and pat them dry with paper towels.
Chopping Garlic and Herbs
Next, finely chop the garlic cloves and any fresh herbs you plan to use. This step ensures that the flavors are evenly distributed throughout the dish.
Cooking Process
In a skillet or pan, heat olive oil over medium heat. Add the chopped garlic and sauté until golden brown and fragrant. Then, add the shrimp to the pan and cook until they turn pink and opaque.
Once the shrimp are cooked, pour in the coconut milk and add your desired spices and herbs. Simmer the mixture gently until the flavors meld together and the sauce thickens slightly.
Health Benefits of Garlic Shrimp in Coconut Milk
Garlic shrimp in coconut milk not only tantalizes the taste buds but also offers several health benefits:
- Rich in Protein: Shrimp is a lean source of protein, essential for muscle repair and growth.
- Immune-Boosting Properties: Garlic is renowned for its immune-boosting properties, thanks to its high concentration of allicin, a compound known for its antibacterial and antiviral effects.
- Heart-Healthy Ingredients: Coconut milk contains medium-chain triglycerides (MCTs), which may promote heart health by raising HDL (good) cholesterol levels.
Variations and Customizations
Feel free to customize this recipe to suit your preferences:
- Adding Vegetables: Incorporate vegetables like bell peppers, spinach, or cherry tomatoes for added color and nutrition.
- Adjusting Spice Levels: Adjust the amount of spices and herbs to suit your preferred level of heat and flavor.
- Serving Suggestions: Serve garlic shrimp in coconut milk over steamed rice, quinoa, or with crusty bread for a complete meal.
Frequently Asked Questions
- How long does it take to cook garlic shrimp in coconut milk?
- Cooking time typically ranges from 10 to 15 minutes, depending on the size of the shrimp and the desired thickness of the sauce.
- Can I use frozen shrimp for this recipe?
- Yes, you can use frozen shrimp, but make sure to thaw them completely and pat them dry before cooking to prevent excess moisture.
- Is this dish suitable for vegetarians?
- No, this recipe contains shrimp and is not suitable for vegetarians. However, you can explore alternative recipes using plant-based proteins like tofu or tempeh.
- Can I make this recipe ahead of time?
- Yes, you can prepare the garlic shrimp in coconut milk ahead of time and reheat it gently before serving. Store any leftovers in an airtight container in the refrigerator for up to two days.
- How can I store leftovers?
- Leftover garlic shrimp in coconut milk can be stored in the refrigerator for up to two days. Reheat gently on the stovetop or in the microwave before serving.
In conclusion, garlic shrimp in coconut milk is a delectable dish that offers a harmonious blend of flavors and nutritional benefits. Whether you’re cooking for a special occasion or a weeknight dinner, this recipe is sure to impress. Experiment with different spices and ingredients to make it your own, and enjoy the irresistible combination of garlic, shrimp, and creamy coconut milk.
Source: servingdumplings.com
Easy Ricotta Cheese Pasta with Chicken

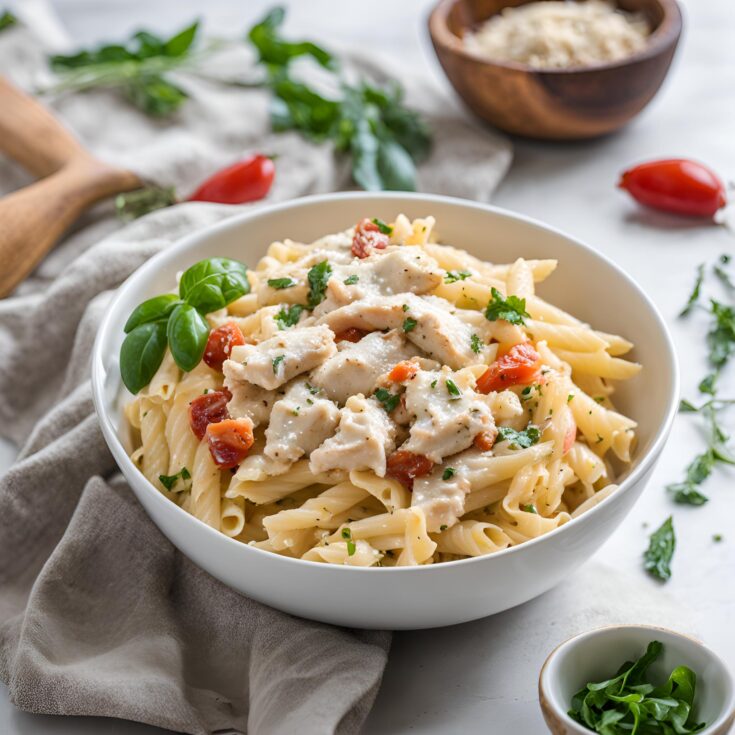
In the realm of comfort food, pasta dishes hold a special place, and when combined with creamy ricotta cheese and tender chicken, they become utterly irresistible. This Easy Ricotta Cheese Pasta with Chicken is a perfect blend of rich flavors, creamy textures, and hearty satisfaction. Whether you're looking for a quick weeknight dinner or a dish to impress your family and friends, this recipe ticks all the boxes. Let's explore the steps to create this delightful meal.
Ingredients
- 1 pound boneless, skinless, chicken breast
- 1/2 cup parmesan cheese freshly grated
- 1 cup part-skim ricotta cheese
- salt and black pepper to taste
- 1 tsp smoked paprika to give chicken color
- 2 tsp italian seasoning
- 4 garlic cloves crushes
- 1-2 tbsp olive oil
- 1 lb rotini pasta or your choice of pasta
- 2 cup reserved pasta water
- 2 tbsp lemon juice
- 1 tbsp lemon zest
- 4 strips bacon chopped
- 2 cups spinach optional
- parsley, fresh basil, or oregano for garnish (optional)
Instructions
Cook the bacon until crispy, chop into small pieces, then set aside. Pound the chicken breasts until they are about 1 inch thick. Season your chicken with paprika, salt, pepper, and Italian season and in the same frying pan, sear your chicken breasts on medium-high heat until fully cooked.
While chicken is cooking, boil and salt some water in a large pot for the pasta. Cook pasta until almost al dente. Reserve two cups of the pasta water!
Make the pasta sauce next. Whisk together 1 cup of the reserved pasta water, 1 cup of ricotta cheese, lemon juice and zest and 1/2 cup of grated parmesan in a large bowl until smooth. Add fresh herbs and pepper to taste. You could also use a blender for a smoother sauce.
Lower the heat and in the same pan you cooked the chicken, add the crushed garlic and cook until fragrant. Then add the ricotta mixture. Continously stir until the bottom of the pan is clean. You want all the delicious flavor from the chicken to be absorbed! You can tell the sauce is thick enough when it is creamy and sticks to the back of your spatula or wooden spoon.
Lastly, add the cooked pasta and bacon pieces and stir until well combined. Add the chicken at this step or serve on top of the pasta when plating. Add more of the reserved pasta water if you want a thinner sauce.
Top with more cheese, herbs, and bacon on top for garnish and serve immediately!
Notes
This is best served right away! Leftovers if any, can be stored for two days in an airtight container in the fridge. Note: The ricotta will tend to thicken up after a few days and look clumpy. That is why this is best served on the same day. ENJOY!!