Crispy Homemade Onion Rings: The Ultimate Guide to Golden Perfection
Few snacks hit the sweet spot between crispy, savory, and satisfying quite like onion rings. Golden, crunchy, and addictively good, these deep-fried classics have earned their place alongside burgers, sandwiches, and cold drinks everywhere from diners to gourmet burger joints. But as irresistible as they are in restaurants, truly great onion rings are surprisingly easy to make at home — when you understand the technique behind them.
That’s where this guide comes in.
Homemade onion rings are more than just a side dish — they’re a celebration of texture and flavor. Done right, they feature paper-thin layers of sweet, tender onion wrapped in a shatteringly crisp, perfectly seasoned coating that holds its crunch long after the first bite. But getting them “just right” at home often takes more than dipping slices in batter and tossing them in hot oil. The real secret lies in the details — the type of onion, the cut, the batter structure, the oil temperature, and the resting process.
This article is not a quick recipe card. It’s a step-by-step masterclass that covers everything you need to know to make professional-quality onion rings in your own kitchen. Whether you’re making a batch for a weekend cookout, game-day platter, burger night, or just because you’re craving a salty, crunchy snack, you’ll find that these homemade rings deliver a far superior flavor and texture to anything frozen or fast food.
Whether you’re a beginner cook hoping to impress your friends or a seasoned home chef looking to refine your fried food game, this guide will equip you with everything you need to master onion rings from the inside out.
So, get your oil heated, grab a sharp knife, and prepare for crunch — because once you learn how to make onion rings like this, you may never order them out again.
Part 1: Selecting Ingredients and Equipment
Choosing the Right Onion
Not all onions are created equal when it comes to onion rings. The type of onion you choose will directly affect the sweetness, texture, and even the crispness of the final product.
Recommended Onions:
-
Sweet onions – such as Vidalia, Walla Walla, or Maui onions
-
Flavor: Mild, sweet, perfect for those who prefer a subtle bite
-
Texture: Tender when fried
-
-
Yellow onions – slightly sharper than sweet onions but still balanced
-
Flavor: A bit stronger, more traditional
-
Texture: Good structure, holds up well to frying
-
Avoid:
-
Red onions – too sharp, with a bitter aftertaste when fried
-
White onions – very pungent and can overpower the batter
Equipment Checklist
-
Sharp chef’s knife or mandoline slicer
-
Large mixing bowls (2–3)
-
Deep fryer or heavy-bottomed pot (like a Dutch oven)
-
Slotted spoon or spider strainer
-
Cooling rack and paper towels
-
Tongs
-
Deep-fry thermometer (essential for oil control)
-
Sheet tray for battering station
Part 2: Preparing the Onion Rings
Step 1: Slicing the Onions
-
Peel your onion and trim off both ends.
-
Slice crosswise into ½-inch thick rings — this size gives the best balance between tenderness and crispness.
-
Gently separate each slice into individual rings.
-
Reserve smaller inner rings for another use (like caramelizing), or include them if you prefer bite-sized rings.
Tip: To keep your onions from slipping, slice a small piece off one side to stabilize the base.
Step 2: Soaking the Rings (Optional but Recommended)
Soaking sliced onions in a cold liquid helps mellow their sharpness and softens the texture slightly, which makes for a better bite after frying.
Soaking Options:
-
Buttermilk (traditional Southern-style): 30 minutes to 1 hour
-
Ice water: 30 minutes
-
Beer or milk: Adds flavor and aids in batter adhesion
Why soak? It reduces the harsh raw onion taste and helps the batter stick better during frying.
After soaking:
-
Drain the rings well and pat dry thoroughly with paper towels.
-
Dry rings = better batter adhesion = crispier results.
Part 3: Making the Perfect Coating
There are two major types of onion ring coatings: dry dredge + wet batter, or batter-only. For ultra-crispy, golden rings, this guide uses a 3-step coating method for maximum crunch and durability.
Step 3: Prepare Your Breading Station
Bowl 1: Seasoned Flour
-
1 cup all-purpose flour
-
1 tsp salt
-
½ tsp black pepper
-
½ tsp paprika
-
Optional: garlic powder, cayenne (for a spicy kick)
Bowl 2: Wet Batter
-
¾ cup flour
-
1 tsp baking powder
-
1 large egg
-
¾ cup cold club soda or beer
-
Mix until smooth and just slightly thick (like pancake batter)
Bowl 3: Dry Crunch Layer (Optional)
-
1½ cups panko breadcrumbs for extra crunch
-
Or crushed cornflakes / seasoned breadcrumbs for variation
Note: You can skip the panko layer for a classic batter-only ring, but the triple-coat method gives longer-lasting crispness.
Step 4: Coating the Rings
-
Toss rings in the seasoned flour (Bowl 1) – this helps the batter grip the onion.
-
Dip into the wet batter (Bowl 2) – let excess drip off.
-
Optional: Press into panko (Bowl 3) for extra crispiness.
-
Set battered rings on a rack or tray and let rest 5–10 minutes before frying.
Tip: Work in batches and avoid overcrowding the batter station to prevent a mess.
Part 4: Frying the Onion Rings
Step 5: Heating the Oil
-
Fill a deep pot or fryer with 2–3 inches of neutral, high-smoke-point oil:
-
Peanut oil, vegetable oil, canola oil are all excellent options.
-
-
Heat oil to 350–375°F (175–190°C) — use a thermometer for accuracy.
-
Maintain this temperature consistently during frying. Temperature drop = soggy rings.
Step 6: Frying in Batches
-
Carefully lower 4–6 rings into the oil at a time.
-
Fry for 2–3 minutes, turning halfway, until golden brown and crispy.
-
Remove with slotted spoon or spider strainer.
-
Transfer immediately to a paper towel-lined wire rack to drain.
Don’t stack or cover the onion rings while hot — steam will ruin the crispness.
Part 5: Seasoning and Serving
Step 7: Season Right Out of the Oil
-
While the rings are still hot, lightly sprinkle with fine salt or seasoned salt.
-
You can also add:
-
Cajun seasoning
-
Parmesan cheese
-
Cracked pepper
-
Chili powder or smoked paprika
-
Step 8: Serving Suggestions
Onion rings are incredibly versatile. Serve them:
-
On their own with dipping sauces (see below)
-
Alongside burgers, hot dogs, or sandwiches
-
As a topping on pulled pork or grilled steak
-
With a big bowl of chili or hearty soup
Bonus: Dipping Sauce Ideas
Try pairing your onion rings with these classic and creative dips:
-
Spicy aioli (mayo + garlic + hot sauce)
-
Honey mustard
-
Chipotle ranch
-
Sriracha mayo
-
Blue cheese or buffalo dip
-
Classic ketchup or BBQ sauce
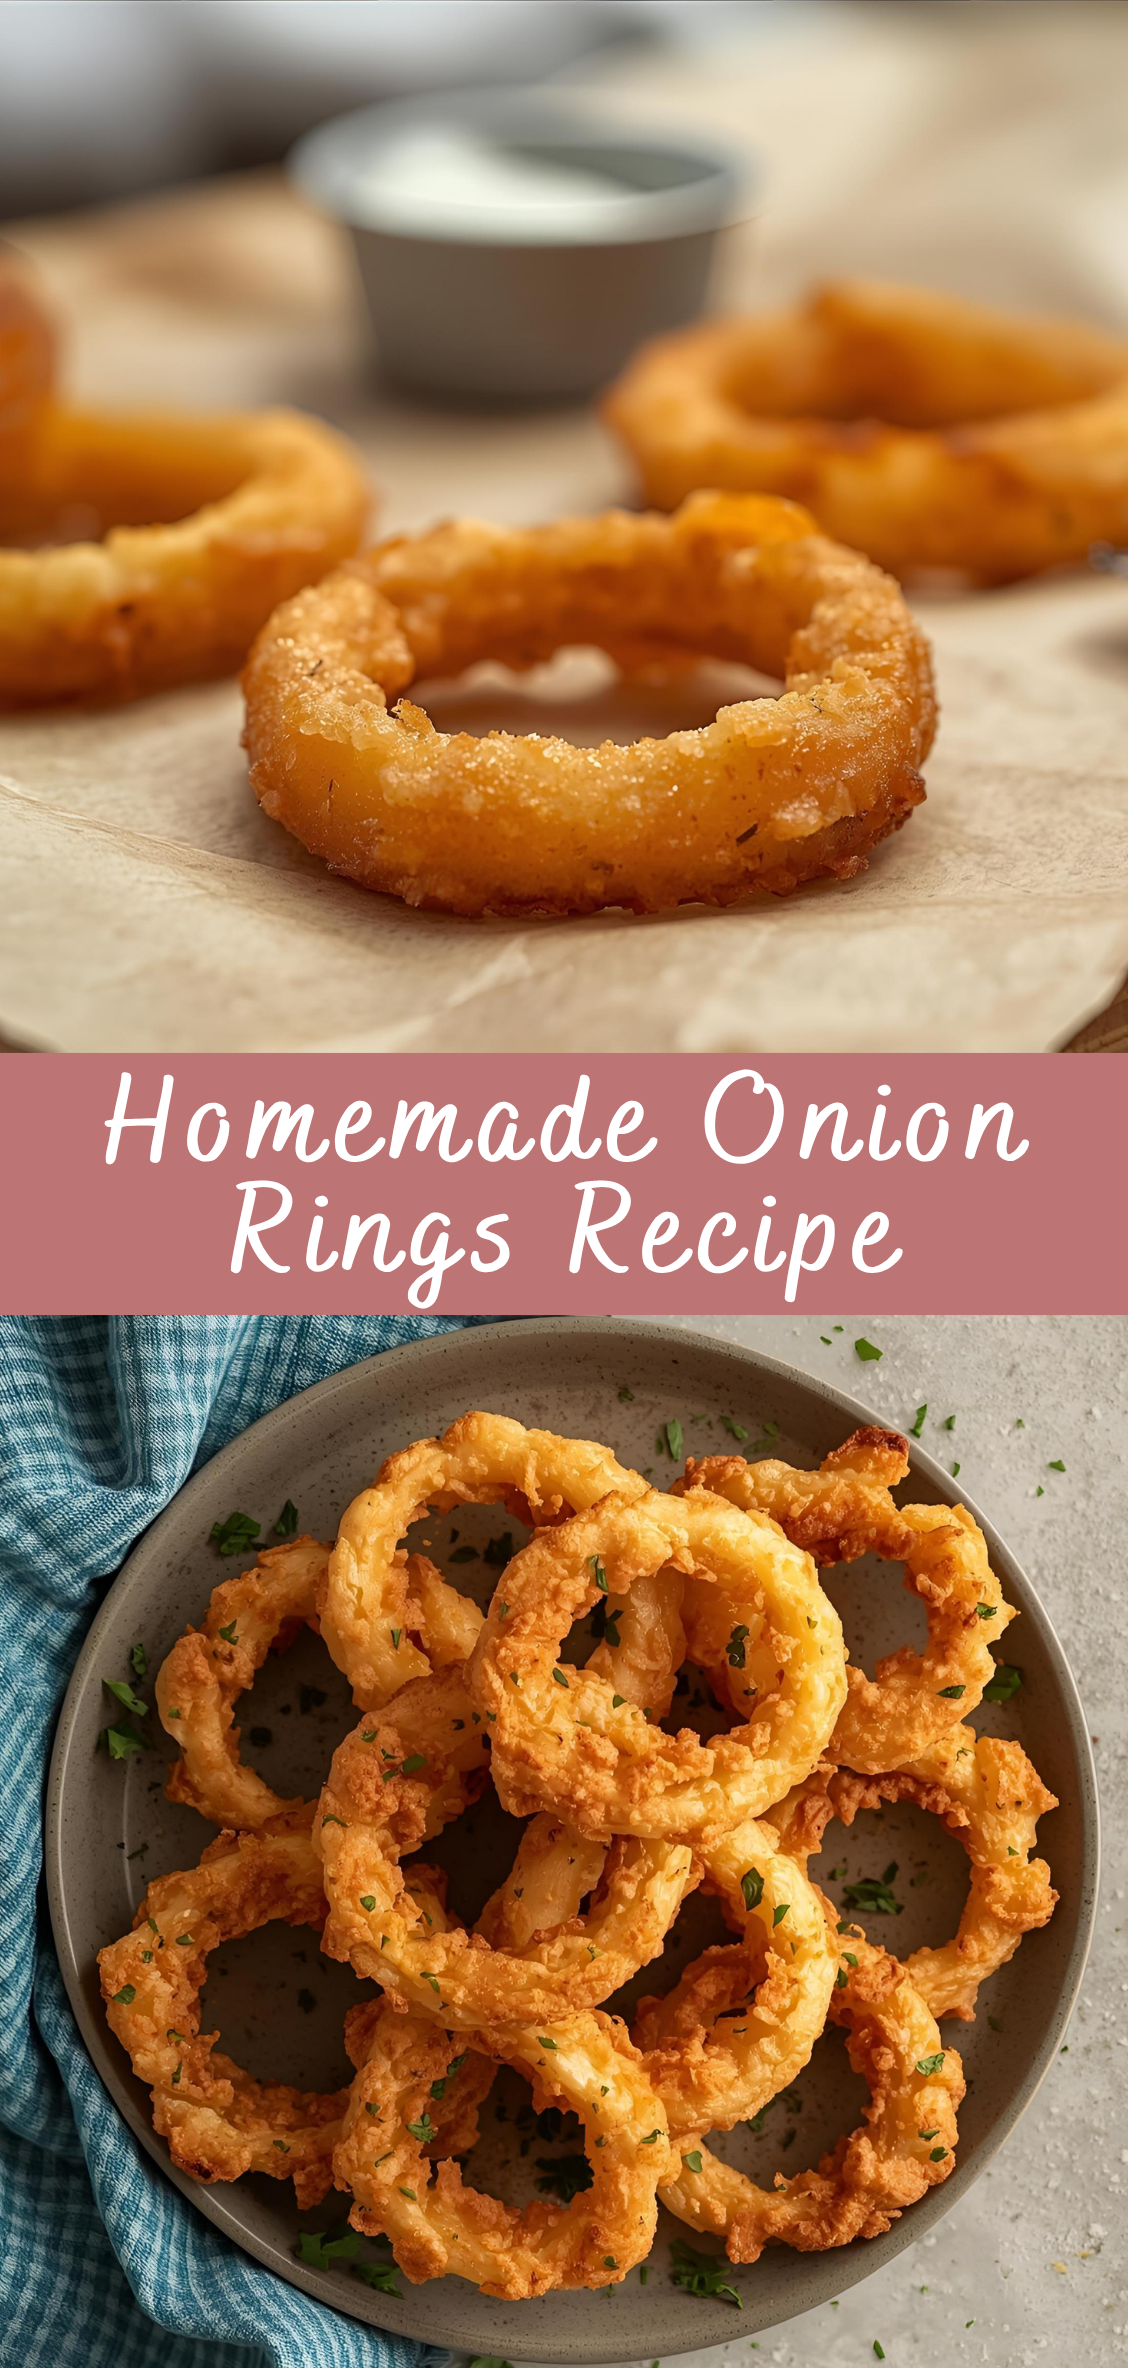
Homemade Onion Rings Recipe
Few snacks hit the sweet spot between crispy, savory, and satisfying quite like onion rings. Golden, crunchy, and addictively good, these deep-fried classics have earned their place alongside burgers, sandwiches, and cold drinks everywhere from diners to gourmet burger joints. But as irresistible as they are in restaurants, truly great onion rings are surprisingly easy to make at home — when you understand the technique behind them.
Ingredients
- For the Onion Rings:
- 2 large yellow or sweet onions (like Vidalia)
- 1 cup all-purpose flour
- 1 teaspoon baking powder
- 1 teaspoon salt
- 1/2 teaspoon black pepper
- 1/2 teaspoon paprika (optional)
- 1 egg
- 1 cup cold sparkling water or cold milk
- 1 cup breadcrumbs or panko (for extra crunch)
- Vegetable oil, for frying
Instructions
1. Prep the Onions:
- Peel onions and slice into 1/4- to 1/2-inch thick rings.
- Separate the rings and set aside. Pat dry with paper towels to remove excess moisture.
2. Make the Batter:
- In a medium bowl, whisk together flour, baking powder, salt, pepper, and paprika.
- Whisk in the egg and cold sparkling water or milk until smooth. The batter should be slightly thick but not heavy.
3. Set Up Breading Station:
- Place breadcrumbs or panko in a shallow dish.
- Set a wire rack or paper towels nearby for draining.
4. Heat the Oil:
- In a deep pot or skillet, heat 2–3 inches of oil to 350–375°F (175–190°C). Use a thermometer for accuracy.
5. Fry the Onion Rings:
- Dip each onion ring into the batter, allowing excess to drip off.
- Then coat with breadcrumbs or panko.
- Carefully place a few rings at a time into the hot oil.
- Fry for 2–3 minutes per side, or until golden brown and crispy.
- Use a slotted spoon to remove and drain on the rack or paper towels.
- Repeat with remaining rings, working in batches.
6. Serve:
- Sprinkle with extra salt while still hot.
- Serve with ketchup, ranch, garlic aioli, or your favorite dipping sauce.
Notes
- Crispier Rings: Use panko instead of regular breadcrumbs.
- Spicy Kick: Add cayenne or chili powder to the batter.
- Baked Version: Spray coated rings with oil and bake at 425°F (220°C) for 18–22 minutes, flipping halfway.
- Air Fryer Option: Air fry at 400°F (200°C) for 10–12 minutes, flipping halfway through.

