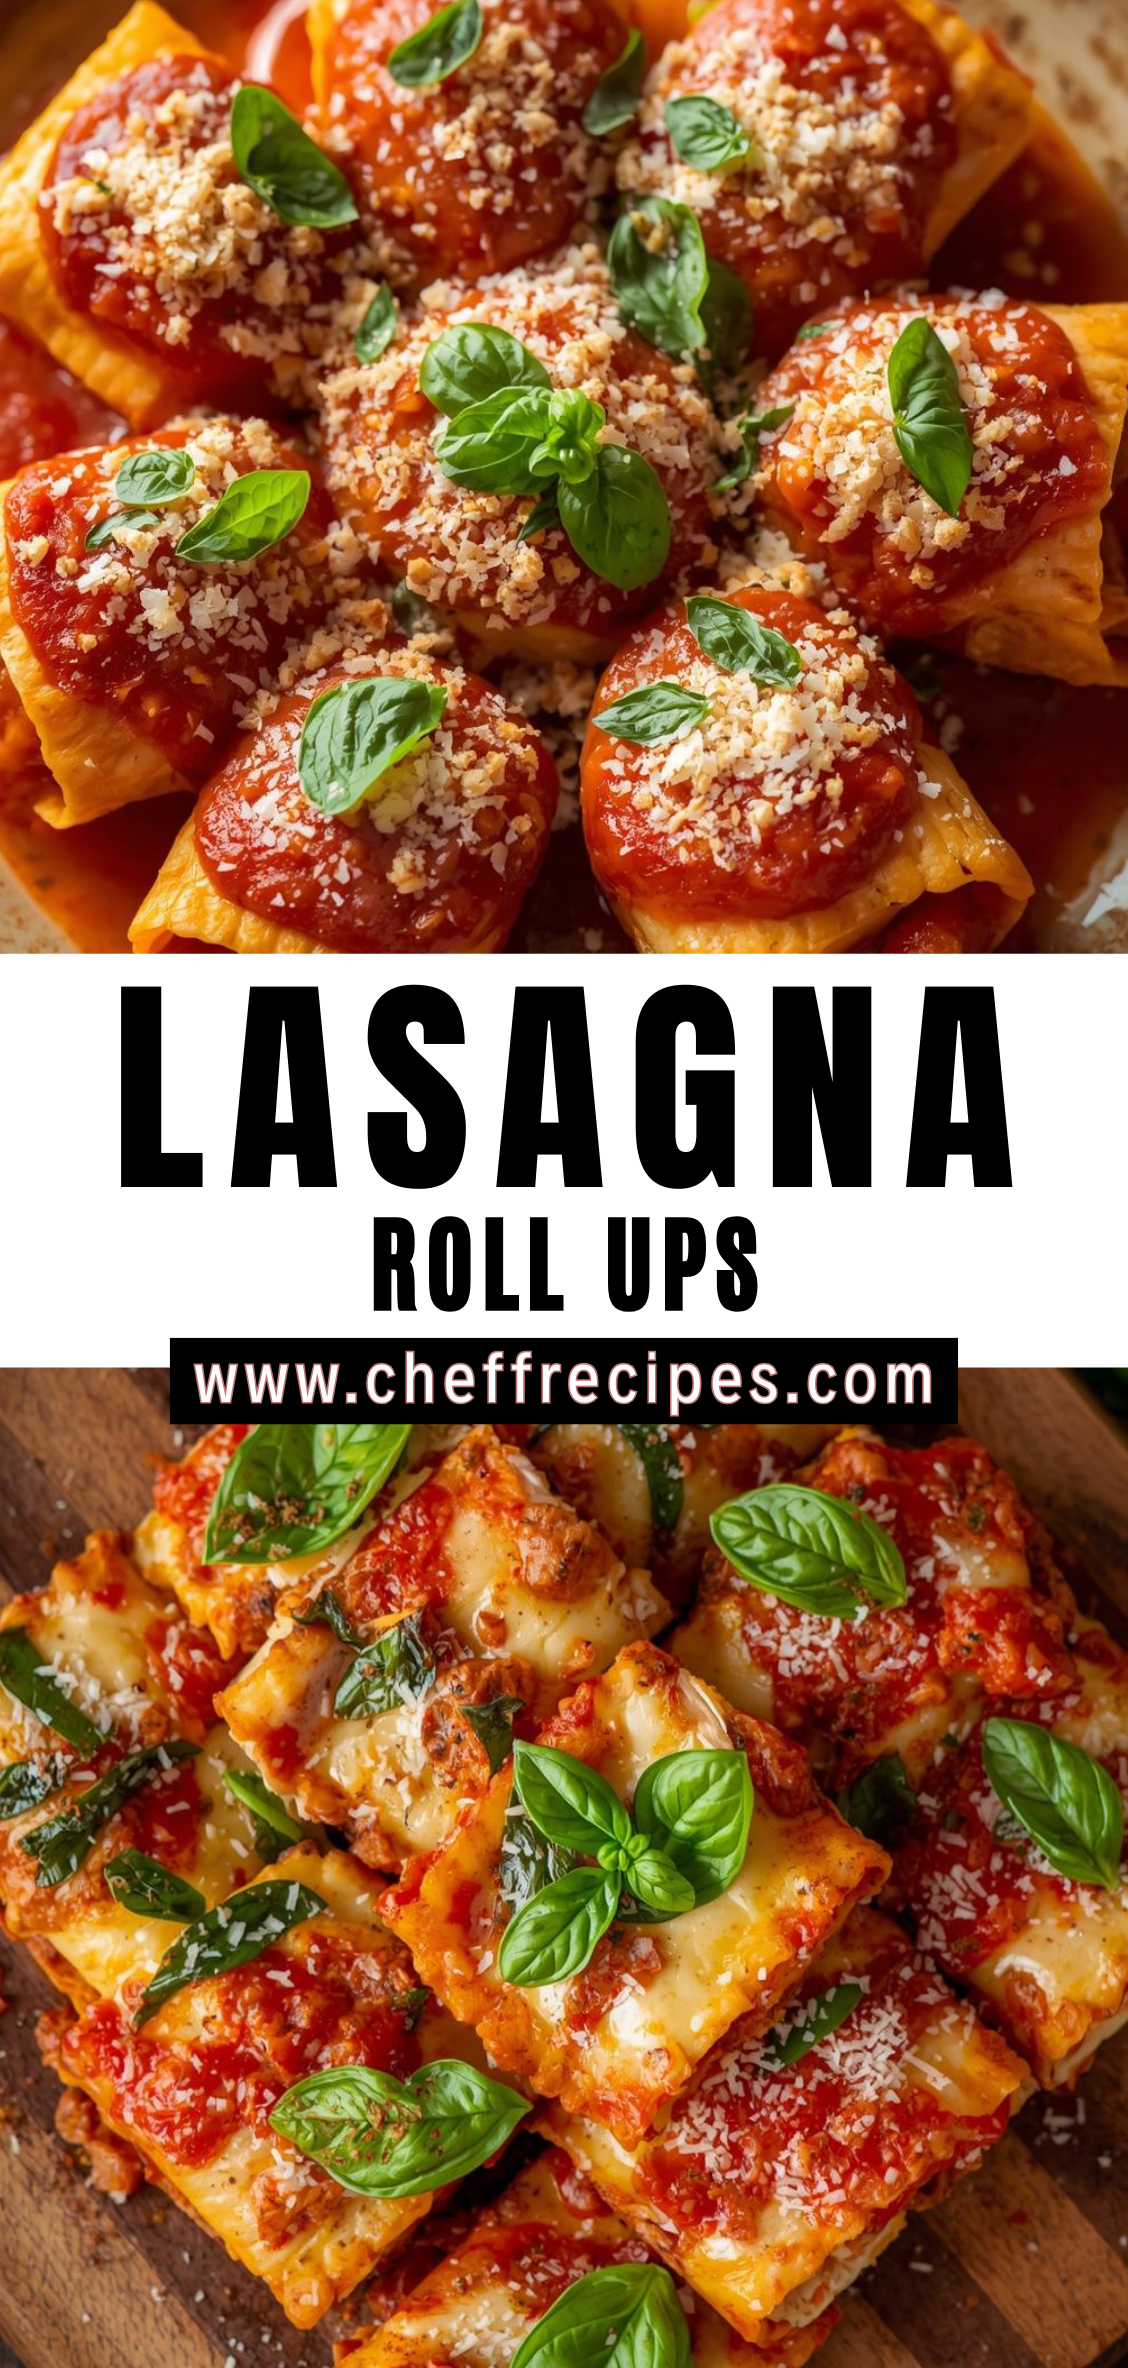
Lasagna is one of those dishes that occupies a unique place in the landscape of comfort food. It carries with it the warmth of family gatherings, the pride of a home-cooked meal pulled bubbling from the oven, and the sense of abundance that comes from layers of pasta, sauce, and cheese stacked into a single pan. Yet even the most treasured traditions can invite variation, and that is where lasagna roll ups enter the picture. They preserve everything people love about classic lasagna while adding a touch of creativity and convenience. Instead of building a casserole in layers, each noodle becomes its own individual bundle of flavor, rolled tightly around a savory filling and arranged neatly in a baking dish. The result is a dish that looks elegant, feels fresh, and is surprisingly simple to assemble.
Lasagna roll ups have earned their popularity not only for their visual appeal but also for their practicality. They cook evenly, serve cleanly, and can be portioned effortlessly, making them ideal for large gatherings, weeknight dinners, and meal prepping alike. For many home cooks, the process of assembling a traditional lasagna can feel intimidating or time-consuming, particularly when trying to prevent the layers from slipping or ensuring the dish sets correctly. Roll ups eliminate those concerns. Each noodle acts as a self-contained package that holds its shape whether it is being baked, transported, or reheated. Even beginners find that this structure makes the entire experience more approachable.
What truly sets lasagna roll ups apart, however, is their adaptability. The format welcomes countless variations, from classic ricotta and spinach blends to hearty meat fillings, roasted vegetables, or even more adventurous combinations like pesto chicken or creamy mushroom mixtures. Sauces can be swapped to transform the profile of the dish, shifting from a robust marinara to a velvety Alfredo or a spicy arrabbiata. Because each roll is independent, a single pan can include multiple flavor combinations, allowing cooks to cater to different tastes and dietary preferences without preparing separate meals. This flexibility is one of the reasons the roll up technique has become a favorite among creative cooks.
Beyond flavor and function, lasagna roll ups offer a sense of intentionality. They require a few extra steps compared to layering a pan, but each step is hands-on and satisfying. Spreading the filling, rolling each noodle, aligning them neatly in a dish, and watching as they bake into tidy spirals creates a feeling of craftsmanship. It transforms cooking from a routine task into a process that invites attention and enjoyment. Whether you are preparing them for a special occasion or simply looking to elevate a weeknight dinner, the effort feels meaningful.
Step-by-Step Instructions
1. Preparing the Workspace
Before beginning the cooking process, it is essential to organize your workspace so the preparation flows smoothly. Lasagna roll ups require multiple components assembled in stages, and having every ingredient and tool within reach helps prevent mistakes or oversights. Start by clearing your countertop and setting out a large cutting board or clean surface where you will eventually spread and fill the noodles. Place mixing bowls, a large pot, and your baking dish nearby. Keep towels and a small bowl of water accessible, as you may need to wipe spills or moisten your fingers when handling the pasta. Proper organization not only streamlines the process but also reduces stress, especially if this is your first time making roll ups.
2. Cooking the Lasagna Noodles
Bring a large pot of water to a vigorous boil. The pot should be large enough to allow the noodles to move freely; overcrowding will cause them to stick and tear. Salt the water generously, as this is your only opportunity to season the pasta itself. Although lasagna noodles will be covered in sauce later, unseasoned noodles can make the entire dish taste flat.
Once the water reaches a full rolling boil, gently lower the noodles into the pot. Stir them carefully during the first minute to ensure they remain separate. Cook according to package instructions, but remove them one to two minutes earlier than fully tender. Slightly undercooked noodles are sturdier, making them easier to roll without tearing, and they will finish cooking in the oven.
When the noodles are ready, drain them immediately and rinse them under cold water to halt the cooking process. This step is crucial, as hot noodles continue to soften even after being drained. Lay them flat on a lightly greased baking sheet or on clean kitchen towels. If you stack them, place wax paper or parchment between layers to prevent sticking. Keeping the noodles intact during this stage ensures that every roll is clean, uniform, and structurally sound.
3. Preparing the Ricotta Filling
While the noodles cool, assemble the filling. In a large bowl, combine ricotta cheese, eggs, shredded mozzarella, grated Parmesan, salt, black pepper, and any optional seasonings such as minced garlic, chopped spinach, or fresh herbs. Use a sturdy spatula or spoon to blend the mixture thoroughly. The texture should be creamy but thick enough to spread without running.
If using spinach, ensure it is well-drained to avoid introducing excess moisture, which can thin the filling and cause the roll ups to collapse or release water during baking. Taste the mixture before adding the eggs if you want to adjust seasoning. Once satisfied, incorporate the eggs, which help the filling set and hold its shape inside the noodle spirals. Set the filling aside.
4. Preparing the Sauce
A well-constructed sauce elevates lasagna roll ups from good to exceptional. Whether using homemade or store-bought marinara, warming the sauce before assembling the dish improves consistency and allows flavors to meld. In a saucepan, heat olive oil over medium heat, add minced garlic until fragrant, and then pour in your sauce. Let it simmer for ten to fifteen minutes.
If making a meat sauce, brown ground beef or Italian sausage in a separate pan, draining excess fat before adding it to the simmering marinara. Season with salt, pepper, and optional herbs. A slightly thickened sauce provides better coverage and prevents watery residue from pooling in the baking dish.
5. Assembling the Roll Ups
This stage brings together all prepared components. Begin by lightly coating the bottom of your baking dish with a ladle of marinara sauce. This prevents sticking and ensures that the first layer of moisture surrounds the pasta.
Lay out the cooled noodles on your clean surface. Working one noodle at a time, spread a thin, even layer of ricotta filling across its entire length, leaving a small margin at the top end to prevent overflow when rolled. The layer should be thick enough to distribute flavor but thin enough to avoid bulging during rolling.
Starting from the bottom edge, roll the noodle tightly but without applying excessive pressure. Too-tight rolling will push filling out; too-loose rolling will cause the roll to unravel during baking. Once rolled, place the noodle seam-side down in the baking dish. Continue until all noodles are filled and placed.
6. Adding Sauce and Cheese
Once the roll ups are arranged in the baking dish, spoon a generous amount of sauce over the tops. Ensure each roll is fully coated, as exposed pasta may dry out in the oven. Distribute shredded mozzarella and grated Parmesan evenly across the dish. The cheese should cover the roll ups without forming excessively thick mounds, as this can lead to uneven melting.
7. Baking
Preheat your oven to 375°F (190°C). Cover the baking dish with aluminum foil, ensuring it does not touch the cheese. The foil helps trap steam, allowing the roll ups to heat evenly and preventing the cheese from burning. Bake for twenty-five to thirty minutes.
After this initial period, remove the foil and continue baking for an additional ten to fifteen minutes or until the cheese on top is melted, bubbly, and lightly golden. The sauce should be simmering around the edges, and the roll ups should feel firm rather than soft or collapsing.
8. Resting Before Serving
Removing the dish from the oven is not the final step. Allow the lasagna roll ups to rest for at least ten minutes before serving. Resting helps the filling set and allows the sauce to thicken slightly, making the roll ups easier to plate without falling apart. Many cooks overlook this step, but it contributes to a cleaner presentation and more balanced texture.
Lasagna Roll Ups
Lasagna is one of those dishes that occupies a unique place in the landscape of comfort food. It carries with it the warmth of family gatherings, the pride of a home-cooked meal pulled bubbling from the oven, and the sense of abundance that comes from layers of pasta, sauce, and cheese stacked into a single pan. Yet even the most treasured traditions can invite variation, and that is where lasagna roll ups enter the picture. They preserve everything people love about classic lasagna while adding a touch of creativity and convenience. Instead of building a casserole in layers, each noodle becomes its own individual bundle of flavor, rolled tightly around a savory filling and arranged neatly in a baking dish. The result is a dish that looks elegant, feels fresh, and is surprisingly simple to assemble.
Ingredients
- For the Roll Ups:
- 12 lasagna noodles, cooked al dente
- 2 cups ricotta cheese
- 1 ½ cups shredded mozzarella cheese (plus extra for topping)
- ½ cup grated Parmesan cheese
- 1 large egg
- 2 cups fresh spinach (sautéed and squeezed dry) or 1 cup frozen, thawed and drained
- 2 teaspoons Italian seasoning
- 1 teaspoon garlic powder
- ½ teaspoon salt
- ¼ teaspoon black pepper
- For the Sauce:
- 3 cups marinara sauce
- Optional: ½ pound ground beef or Italian sausage (browned and drained)
Instructions
- Prep the noodles: Cook lasagna noodles according to package instructions until al dente. Drain and lay them flat on parchment paper to prevent sticking.
- Make the filling: In a bowl, mix ricotta, mozzarella, Parmesan, egg, spinach, Italian seasoning, garlic powder, salt, and pepper until smooth.
- Prepare the baking dish: Spread 1 cup of marinara sauce along the bottom of a 9×13-inch baking dish. If using meat, mix it into the sauce first.
- Assemble the roll ups: Spread 2–3 tablespoons of filling evenly over each noodle. Roll each noodle from the short end to the other to form a tight spiral.
- Arrange: Place the rolls seam-side down in the baking dish.
- Top: Pour remaining marinara sauce over the roll ups and sprinkle with additional mozzarella.
- Bake: Cover with foil and bake at 375°F (190°C) for 25 minutes. Remove foil and bake an additional 10 minutes until bubbly and lightly golden.
- Serve: Let cool for 5 minutes before serving.
Notes
- Variations: – Swap spinach for sautéed mushrooms or chopped cooked broccoli. – Add red pepper flakes for heat. – Use Alfredo instead of marinara for a creamy version.
- Make-ahead: Assemble up to 24 hours in advance and refrigerate; bake when ready.
- Freezer-friendly: Freeze assembled roll ups (before baking). Bake from frozen at 375°F for 45–50 minutes.
- Protein options: Add cooked ground beef, turkey, sausage, or chopped rotisserie chicken to the filling or sauce.

