The Ultimate Lemon Crumb Bars Recipe: A Bright and Buttery Classic Reimagined
Lemon crumb bars hold a special place in the world of baked desserts—striking a perfect balance between tangy citrus and rich, buttery sweetness. Whether served at a spring brunch, enjoyed with a cup of tea on a quiet afternoon, or brought to a festive gathering, these bars never fail to leave a lasting impression. Their vibrant flavor, paired with a satisfying crumbly texture, makes them an ideal treat for both casual bakers and culinary enthusiasts alike.
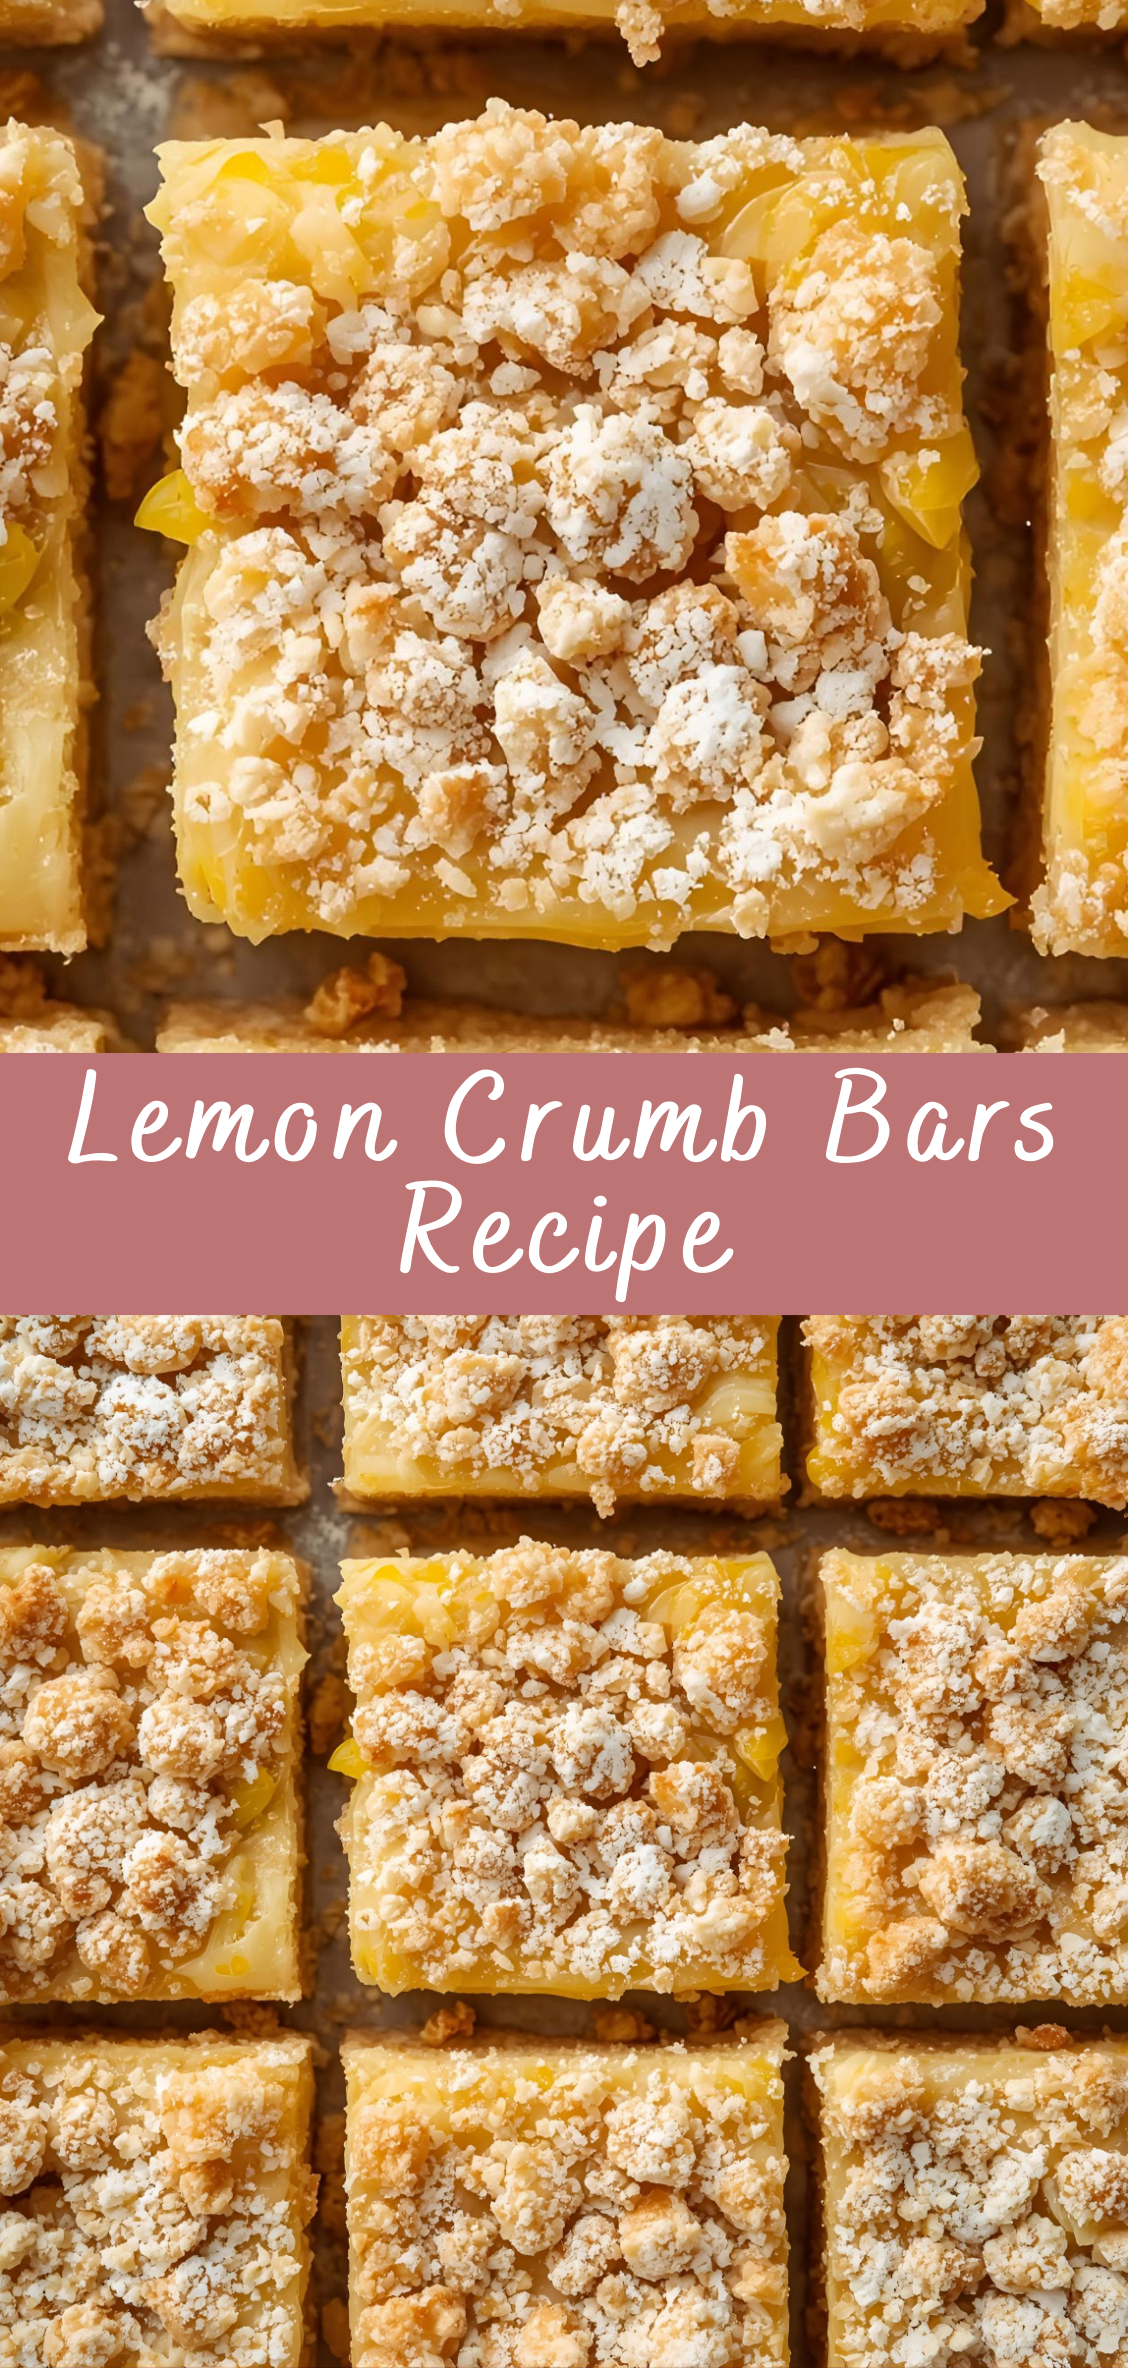
What sets lemon crumb bars apart is their beautiful simplicity: a tender shortbread-style crust, a luscious lemon curd center, and a golden, crumbly topping that adds just the right amount of crunch. Yet, within this seemingly simple dessert lies a depth of flavor and texture that can be refined, customized, and perfected. From choosing the right lemons to balancing sweetness and acidity, there are many subtle factors that elevate a good lemon bar to an unforgettable one.
In this comprehensive guide, we’ll walk you through everything you need to know to master the art of lemon crumb bars. You’ll learn not just how to bake them, but why each ingredient and technique matters. Along the way, we’ll explore variations, troubleshooting tips, storage methods, and even creative ways to serve and present them. Whether you’re looking for a go-to recipe or aiming to elevate your baking skills, this guide will be your ultimate resource.
By the end of this article, you’ll have a deep understanding of what makes lemon crumb bars so beloved—and how to make a version that’s uniquely yours. Let’s dive into the delicious, sun-kissed world of lemon crumb bars.
Step-by-Step Instructions: How to Make Lemon Crumb Bars
Mastering lemon crumb bars is all about understanding the role of each component: the crust, the lemon filling, and the crumb topping. Each layer contributes to the texture and flavor of the final dessert. These instructions are broken down into clear stages with explanations to help even beginner bakers achieve success.
Stage 1: Preparing Your Workspace and Ingredients
Before you begin, it’s essential to set up your kitchen and prepare all your ingredients. This is a step often overlooked by novice bakers, but mise en place—the French term for “everything in its place”—is crucial for a smooth baking experience.
What You’ll Need:
-
Measuring cups and spoons
-
Mixing bowls (medium and large)
-
Whisk
-
Silicone spatula or wooden spoon
-
Pastry blender or fork (optional but helpful)
-
8×8-inch or 9×9-inch baking pan (metal or glass)
-
Parchment paper
-
Microplane or fine grater (for zesting)
-
Citrus juicer (manual or electric)
-
Oven thermometer (optional but recommended)
Ingredient Prep:
-
Butter: Use cold, unsalted butter. Cut it into small cubes and return to the refrigerator until needed.
-
Lemons: Wash thoroughly under warm water to remove any wax. Zest first, then juice. You’ll need both zest and fresh juice for optimal flavor.
-
Eggs: Bring to room temperature for a more stable filling. Cold eggs can cause curdling or uneven texture.
-
Flour: Spoon and level your flour when measuring to avoid dense results.
-
Sugar: Granulated white sugar works best in both the crust and the filling, though some variations include powdered sugar in the crust for a more tender bite.
-
Salt and vanilla extract: These are small ingredients, but they play a big role in flavor balance.
Stage 2: Making the Crumb Mixture (Crust and Topping)
This mixture serves dual purposes: as a buttery shortbread-style crust, and as a golden, crispy crumb topping. Making a single dough and dividing it in half keeps the process efficient without sacrificing quality.
Ingredients for the Crumb Base:
-
1 ½ cups (190g) all-purpose flour
-
½ teaspoon salt
-
½ cup (100g) granulated sugar
-
¾ cup (170g) cold unsalted butter, cut into cubes
-
1 teaspoon pure vanilla extract
-
Optional: ¼ teaspoon baking powder for a slightly lighter texture
Instructions:
-
Combine dry ingredients: In a large mixing bowl, whisk together the flour, salt, and sugar until evenly distributed. This ensures your crust has a consistent flavor and texture throughout.
-
Cut in the butter: Add the cold butter cubes into the dry ingredients. Use a pastry blender, fork, or your fingertips to cut the butter into the flour until the mixture resembles coarse crumbs. You’re looking for small, pea-sized pieces of butter. This step is critical for creating a tender, flaky base and crunchy topping.
-
Add vanilla: Stir in the vanilla extract. It may slightly moisten the mixture but should still remain crumbly.
-
Divide the dough: Remove approximately 1 cup of the crumb mixture and set it aside for the topping. Press the remaining mixture into your prepared baking pan to form the crust.
-
Pack the crust: Use your fingers, a measuring cup, or the flat bottom of a glass to press the crust firmly and evenly across the bottom of the pan. Be sure to reach all corners for a consistent base.
-
Chill the crust (optional but recommended): Place the pan in the refrigerator for 15–20 minutes before baking. Chilling helps prevent shrinkage and ensures a more defined layer.
-
Pre-bake the crust: Bake the crust in a preheated 350°F (175°C) oven for 15–18 minutes, or until the edges are lightly golden and the surface looks set. Don’t over-bake at this stage; it will bake further once the filling is added.
-
Cool slightly: Allow the crust to cool for 5–10 minutes before pouring in the filling. This pause helps prevent the filling from seeping into the crust.
Stage 3: Preparing the Lemon Filling
The filling is the heart of the lemon crumb bar. It should be bright, smooth, and custard-like, with just the right balance between tartness and sweetness.
Ingredients for the Filling:
-
2 large eggs, room temperature
-
1 cup (200g) granulated sugar
-
2 tablespoons (15g) all-purpose flour
-
Zest of 2 medium lemons (about 1 tablespoon)
-
½ cup (120ml) freshly squeezed lemon juice (from about 3–4 lemons)
-
Optional: Pinch of salt to enhance flavor
Instructions:
-
Whisk the eggs: In a medium mixing bowl, whisk the eggs until fully combined. A uniform egg mixture ensures a consistent filling texture.
-
Add sugar: Gradually whisk in the sugar until the mixture is smooth and slightly pale. This step begins dissolving the sugar, helping the filling bake evenly.
-
Incorporate flour: Sift in the flour to avoid lumps, and whisk until no dry streaks remain. The flour acts as a light thickener, giving structure to the filling without making it heavy.
-
Add lemon zest and juice: Stir in the freshly grated lemon zest and lemon juice. The zest provides intense lemon aroma, while the juice delivers the signature tartness. Use fresh juice only—bottled lemon juice often lacks the vibrant flavor needed here.
-
Optional salt: Add a small pinch of salt to round out the flavors. While subtle, it prevents the filling from tasting flat or overly sweet.
-
Check for lumps: Pour the mixture through a fine mesh strainer if you notice any lumps or egg solids. A smooth filling is key to a luxurious texture.
Stage 4: Assembling and Baking the Bars
Now it’s time to bring everything together.
Assembly Instructions:
-
Pour the filling over the crust: Once the crust has cooled slightly, gently pour the lemon filling over it. Tilt the pan slightly to distribute the filling evenly if needed.
-
Sprinkle crumb topping: Take the reserved crumb mixture and crumble it over the top of the lemon layer. You can leave large chunks for more texture or break them into finer crumbs depending on your preference.
-
Bake: Return the pan to the oven and bake at 350°F (175°C) for 25–30 minutes, or until the center is just set and the crumb topping is lightly golden. A slight jiggle in the center is okay—it will firm up as it cools.
-
Avoid overbaking: Overbaking can result in a rubbery texture and dull flavor. If you notice the topping browning too quickly, loosely tent the pan with foil for the last 5–10 minutes.
Stage 5: Cooling and Cutting
Cooling is essential for the bars to set properly and for clean slicing.
Cooling Instructions:
-
Cool in the pan: Place the pan on a wire rack and let the bars cool completely at room temperature—this usually takes about 1–2 hours.
-
Chill for best results: For extra clean slices and firmer texture, refrigerate the cooled bars for at least 1 hour before cutting. The chilled lemon filling is easier to slice and has a smooth, creamy bite.
-
Lift and slice: Use the parchment paper overhang to lift the entire slab from the pan. Transfer to a cutting board and use a long, sharp knife to cut into squares or rectangles. Wipe the knife clean between cuts for the best presentation.
Stage 6: Serving and Presentation Tips
These lemon crumb bars can be dressed up or served simply, depending on the occasion.
Presentation Ideas:
-
Dust with powdered sugar: Right before serving, lightly dust with confectioners’ sugar for a classic finish.
-
Garnish: Add a twist of lemon zest or a fresh raspberry to each bar for a decorative touch.
-
Serve with tea or coffee: These bars pair beautifully with a lightly sweetened black tea or a mild coffee.
-
Plate with style: For a formal event, serve bars on individual dessert plates with a dollop of whipped cream or a drizzle of raspberry coulis.
Lemon Crumb Bars Recipe
Lemon crumb bars hold a special place in the world of baked desserts—striking a perfect balance between tangy citrus and rich, buttery sweetness. Whether served at a spring brunch, enjoyed with a cup of tea on a quiet afternoon, or brought to a festive gathering, these bars never fail to leave a lasting impression. Their vibrant flavor, paired with a satisfying crumbly texture, makes them an ideal treat for both casual bakers and culinary enthusiasts alike.
Ingredients
- For the Crumb Base and Topping:
- 1 ½ cups all-purpose flour
- 1 ½ cups old-fashioned oats
- 1 cup light brown sugar, packed
- ½ teaspoon baking soda
- ¼ teaspoon salt
- ¾ cup (1 ½ sticks) unsalted butter, melted
- For the Lemon Filling:
- 1 (14 oz) can sweetened condensed milk
- ½ cup fresh lemon juice (about 2–3 lemons)
- 1 tablespoon lemon zest (optional but recommended)
- 2 large egg yolks
Instructions
- Preheat the oven to 350°F (175°C). Line an 8x8-inch or 9x9-inch baking dish with parchment paper or lightly grease it.
- Make the crumb mixture:
In a large bowl, mix flour, oats, brown sugar, baking soda, and salt.
Pour in the melted butter and stir until the mixture is crumbly and evenly moistened. - Press the crust:
Take about 2/3 of the crumb mixture and press it firmly into the bottom of the prepared pan to form the base.
Bake for 10 minutes, then remove from the oven. - Prepare the lemon filling:
In a medium bowl, whisk together sweetened condensed milk, lemon juice, lemon zest, and egg yolks until smooth and well combined. - Assemble the bars:
Pour the lemon filling over the warm crust and spread evenly.
Sprinkle the remaining crumb mixture over the top. - Bake again:
Return the pan to the oven and bake for 20–25 minutes, or until the top is lightly golden and the filling is just set. - Cool and chill:
Let the bars cool completely at room temperature, then refrigerate for at least 2 hours (or overnight) before cutting. - Serve:
Slice into bars and enjoy chilled or at room temperature.
Notes
- Zest adds depth: Don’t skip the lemon zest — it boosts the citrus flavor.
- Make it gluten-free: Substitute gluten-free flour and certified GF oats.

