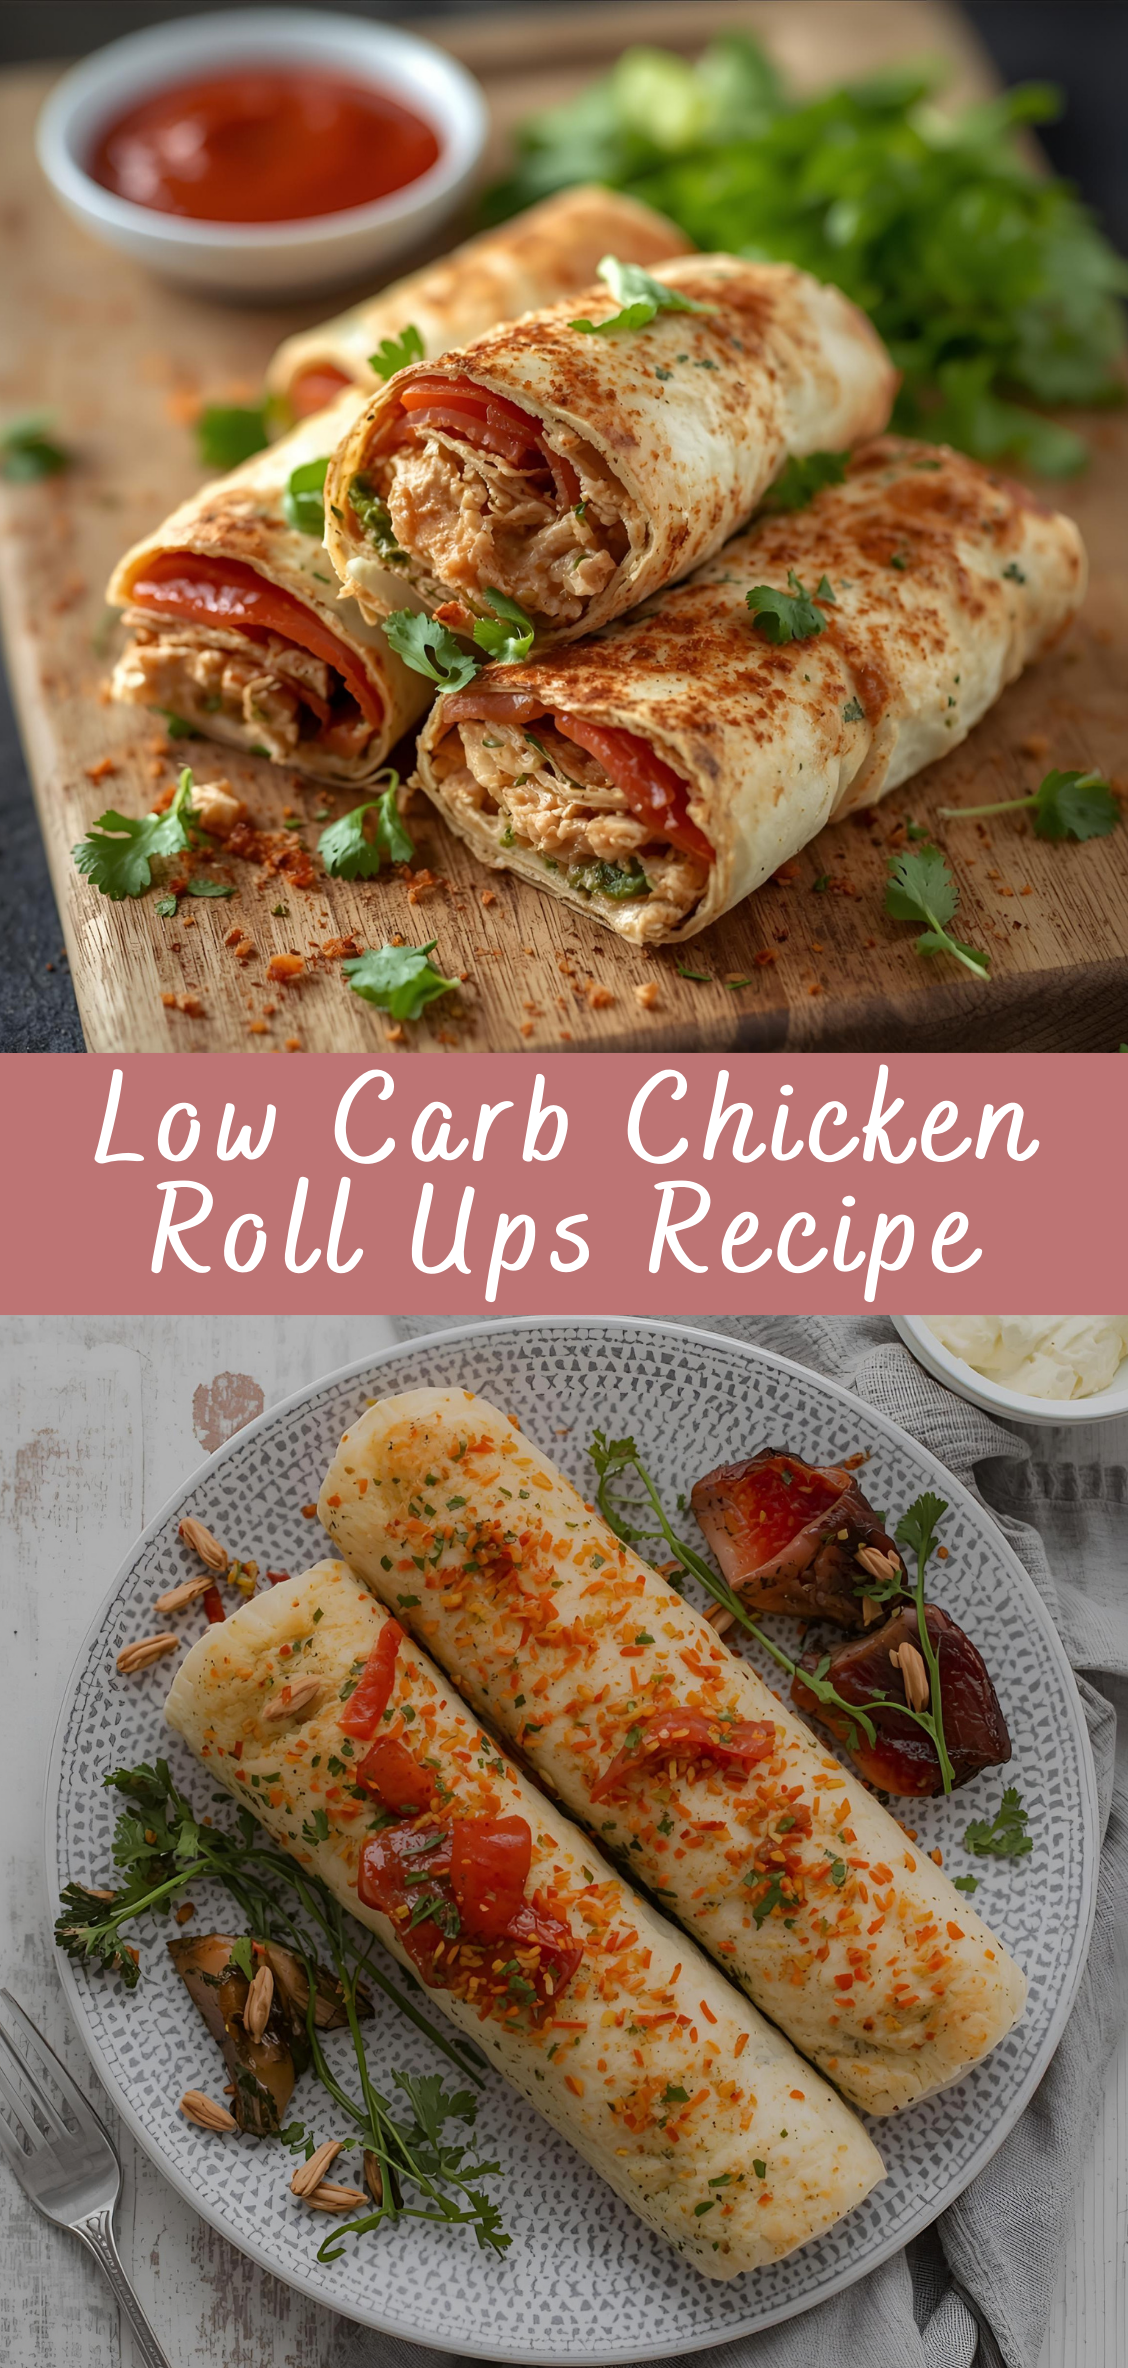
Low Carb Chicken Roll Ups Recipe
In today’s world of dietary preferences and health-conscious eating, finding meals that are both satisfying and low in carbohydrates can often feel like a challenge. However, delicious, nutritious, and low-carb dishes don’t have to be complicated or bland. Enter the Low Carb Chicken Roll Ups—a simple yet elegant solution that brings together lean protein, fresh ingredients, and bold flavors wrapped in a neat, bite-sized package.
This recipe offers a fresh take on chicken by rolling tender chicken breasts or thinly sliced chicken around flavorful fillings like creamy cheese, crisp vegetables, and aromatic herbs. The result is a dish that’s packed with protein, low in carbs, and versatile enough to be dressed up for a special occasion or kept casual for a quick weeknight dinner. Whether you’re following a ketogenic, paleo, or simply a low-carb lifestyle, these roll ups provide a perfect balance of taste and nutrition.
What makes Low Carb Chicken Roll Ups especially appealing is their adaptability. You can customize the fillings to suit your palate, using ingredients like spinach, sun-dried tomatoes, mozzarella, or even bacon, creating endless variations. Plus, they’re easy to prepare, cook quickly, and make for beautiful presentations that impress guests without requiring hours in the kitchen.
In this comprehensive guide, we’ll walk you through every step of making these chicken roll ups—from choosing the right cuts of chicken and preparing flavorful fillings to cooking techniques that keep the meat juicy and tender. We’ll also explore tips for pairing with delicious low-carb sides, strategies for meal prep and storage, and creative ideas for adapting the recipe to various dietary needs.
Whether you’re new to low-carb cooking or looking to expand your recipe collection with fresh, protein-rich options, these chicken roll ups are a versatile, delicious, and satisfying choice. Get ready to bring bold flavor, healthy ingredients, and effortless elegance to your table with this standout dish.
Detailed Instructions for Low Carb Chicken Roll Ups
Step 1: Selecting and Preparing the Chicken
-
Choose your chicken:
Use boneless, skinless chicken breasts or thighs. Chicken breasts are leaner, but thighs offer more flavor and juiciness. For roll ups, you’ll want thin, even pieces. -
Butterfly the chicken breasts:
Place each chicken breast on a cutting board. Using a sharp knife, carefully slice horizontally through the thickest part, creating a thinner, wider piece without cutting all the way through. Alternatively, you can slice the chicken fully and then flatten it. -
Pound the chicken to even thickness:
Place the chicken pieces between two sheets of plastic wrap or parchment paper. Using a meat mallet or rolling pin, gently pound the chicken until it’s about ¼ inch thick. This ensures even cooking and makes rolling easier. -
Season the chicken:
Sprinkle both sides with salt, pepper, and any preferred herbs or spices (such as garlic powder, paprika, or Italian seasoning) to build a flavorful base.
Step 2: Preparing the Filling
-
Choose your filling ingredients:
A classic low carb filling includes a combination of:-
Cream cheese or ricotta cheese (for creaminess)
-
Shredded mozzarella or cheddar (for meltiness)
-
Fresh spinach or kale (lightly sautéed or raw)
-
Sun-dried tomatoes, chopped
-
Cooked bacon bits or prosciutto for smoky flavor (optional)
-
Fresh herbs such as basil or parsley
-
-
Mix the filling:
In a small bowl, combine the cheeses, chopped sun-dried tomatoes, herbs, and any other ingredients you’ve chosen. Adjust salt and pepper to taste.
Step 3: Assembling the Roll Ups
-
Spread the filling:
Lay the pounded chicken pieces flat on a clean surface or cutting board. Evenly spread a layer of the prepared filling over each piece, leaving a small border around the edges to prevent filling from spilling out. -
Roll tightly:
Starting from one end, carefully roll the chicken up into a tight cylinder. Use your hands to gently compress the roll so it holds together. -
Secure the roll:
Use toothpicks or kitchen twine to hold each roll up securely. This prevents unrolling during cooking.
Step 4: Cooking the Roll Ups
-
Preheat the oven or stovetop:
If baking, preheat your oven to 375°F (190°C).
If cooking on the stovetop, heat a large oven-safe skillet over medium-high heat with a small amount of olive oil. -
Sear the roll ups:
Place the chicken roll ups seam-side down in the hot skillet. Sear for 2-3 minutes on each side until golden brown to lock in flavor and create a beautiful crust. -
Bake to finish cooking:
If using the oven, transfer the skillet (or move the roll ups to a baking dish) and bake for 15-20 minutes, or until the internal temperature reaches 165°F (74°C). This ensures the chicken is fully cooked and the filling is hot and melty. -
Alternative stovetop method:
After searing, cover the skillet with a lid and reduce heat to medium-low. Cook for about 15 minutes, turning occasionally, until cooked through.
Step 5: Serving the Roll Ups
-
Remove toothpicks or twine:
Carefully remove the toothpicks or twine before serving. -
Let rest briefly:
Allow the roll ups to rest for 5 minutes to let juices redistribute, making for juicier chicken. -
Slice or serve whole:
You can serve the roll ups whole or slice them into rounds to showcase the colorful filling inside. -
Optional garnish:
Garnish with fresh herbs, a drizzle of olive oil, or a squeeze of lemon juice for brightness. -
Pair with low-carb sides:
Serve alongside roasted vegetables, cauliflower rice, or a crisp green salad for a complete low-carb meal.
Tips for Perfect Low Carb Chicken Roll Ups
-
Even Thickness is Key:
Taking the time to pound your chicken evenly ensures uniform cooking. This prevents thinner parts from drying out while thicker sections finish cooking. -
Don’t Overfill:
While it’s tempting to load up your roll ups, too much filling can cause them to burst open during cooking. Leave a small border around the edges for easy rolling and secure closure. -
Use a Meat Thermometer:
Chicken should be cooked to an internal temperature of 165°F (74°C). Using a meat thermometer helps prevent undercooking or drying out the chicken. -
Sear for Flavor:
Browning the roll ups on the stove before baking adds depth of flavor and texture. It creates a nice crust that seals in juices. -
Secure Rolls Properly:
Toothpicks or kitchen twine keep your roll ups intact while cooking. Just remember to remove them before serving.
Variations on Low Carb Chicken Roll Ups
-
Mediterranean Style:
Fill with feta cheese, spinach, olives, and sun-dried tomatoes. Season with oregano and garlic for a Greek-inspired twist. -
Caprese Roll Ups:
Use fresh mozzarella, basil leaves, and sun-dried or fresh tomatoes. Drizzle with balsamic glaze after cooking for extra flavor. -
Bacon and Cheddar:
Add crispy bacon bits and shredded sharp cheddar cheese for a smoky, indulgent version. -
Pesto and Goat Cheese:
Spread a thin layer of basil pesto and creamy goat cheese inside for a bright, herbaceous flavor. -
Spicy Jalapeño:
Add diced jalapeños or a dash of cayenne powder to the filling for a kick of heat.
Suggested Low Carb Side Dishes
-
Roasted or Sautéed Vegetables:
Think asparagus, broccoli, zucchini noodles, or Brussels sprouts seasoned simply with olive oil, salt, pepper, and garlic. -
Cauliflower Rice:
A light, fluffy alternative to traditional rice that pairs perfectly with the richness of the roll ups. -
Mixed Green Salad:
A crisp salad with leafy greens, avocado, cucumber, and a lemon vinaigrette adds freshness and contrast. -
Creamy Mashed Cauliflower:
Silky and comforting, mashed cauliflower is a fantastic low-carb substitute for mashed potatoes.
Low Carb Chicken Roll Ups Recipe
In today’s world of dietary preferences and health-conscious eating, finding meals that are both satisfying and low in carbohydrates can often feel like a challenge. However, delicious, nutritious, and low-carb dishes don’t have to be complicated or bland. Enter the Low Carb Chicken Roll Ups—a simple yet elegant solution that brings together lean protein, fresh ingredients, and bold flavors wrapped in a neat, bite-sized package.
Ingredients
- 4 large boneless, skinless chicken breasts
- 8 slices of bacon
- 4 oz cream cheese, softened
- 1 cup fresh spinach, chopped
- ½ cup shredded mozzarella cheese
- 2 cloves garlic, minced
- 1 teaspoon Italian seasoning
- Salt and pepper, to taste
- Toothpicks (to secure roll ups)
- Olive oil or cooking spray
Instructions
- Preheat oven to 375°F (190°C). Line a baking sheet with foil or parchment paper.
- Prepare the chicken:
Butterfly each chicken breast by slicing it horizontally almost all the way through, then open like a book.
Place between two sheets of plastic wrap and pound gently to about ¼-inch thickness. - Make the filling:
In a bowl, mix cream cheese, chopped spinach, mozzarella, garlic, Italian seasoning, salt, and pepper until well combined. - Assemble roll ups:
Spread an even layer of the cheese and spinach mixture over each flattened chicken breast.
Roll up tightly and secure with toothpicks.
Wrap each roll with 2 slices of bacon. - Cook:
Heat a little olive oil in an oven-safe skillet over medium heat.
Sear the chicken roll ups, turning to brown all sides (about 3 minutes per side).
Transfer skillet to the preheated oven (or move roll ups to baking sheet) and bake for 15–20 minutes, until chicken is cooked through and bacon is crispy. - Serve:
Let rest for a few minutes, then remove toothpicks and slice if desired. Serve warm.
Notes
- Cheese alternatives: Use goat cheese or feta for different flavors.
- Add herbs: Fresh basil or parsley folded into the filling adds freshness.
- Make ahead: Assemble roll ups a few hours ahead and refrigerate until ready to cook.
- Air fryer option: Sear then air fry at 375°F for about 15 minutes for a crispier bacon finish.

