Mini Banana Pudding Cheesecakes: A Bite-Sized Delight of Creamy Nostalgia
Desserts hold a special place in the heart of every food lover, and few evoke as much comfort and nostalgia as banana pudding. This classic Southern treat, with its layers of creamy custard, soft bananas, and crunchy vanilla wafers, has been a beloved staple for generations, conjuring memories of family gatherings, warm kitchens, and lazy summer afternoons. But what if you could take all those comforting flavors and textures, and transform them into elegant, individual-sized cheesecakes that are both visually stunning and irresistibly delicious?
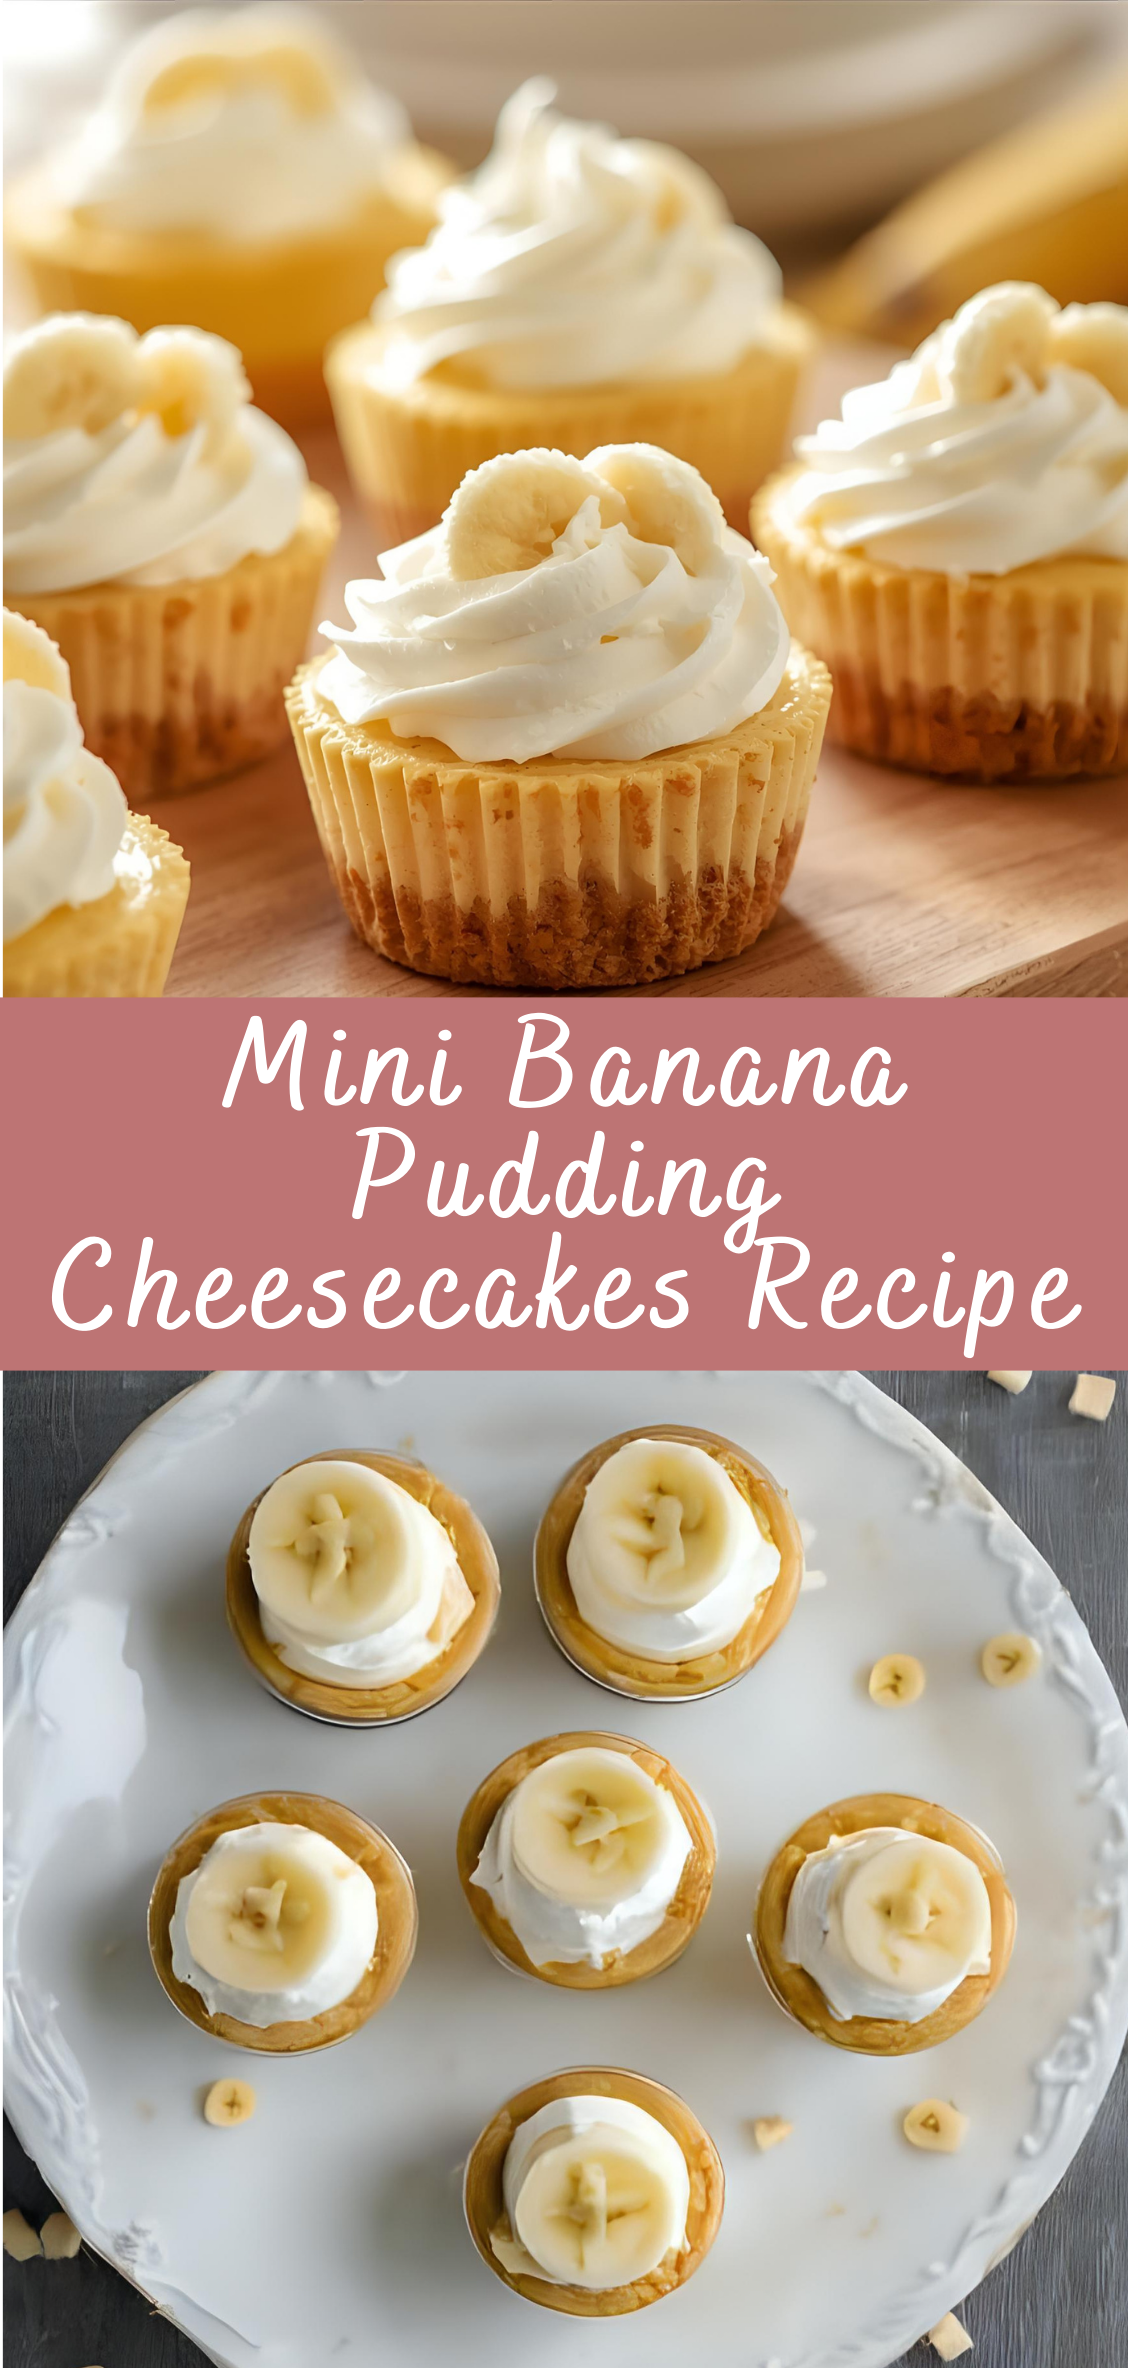
Enter the Mini Banana Pudding Cheesecake — a creative, refined twist on tradition that marries the creamy tang of cheesecake with the luscious sweetness of banana pudding. These petite desserts combine a rich, velvety cheesecake filling infused with fresh banana flavor, nestled atop a crisp vanilla wafer crust, and crowned with fluffy whipped cream and a sprinkle of banana chips or crushed wafers for texture. The result is a harmonious balance of creaminess, sweetness, and crunch in every bite.
What makes these mini cheesecakes truly special isn’t just their flavor, but the way they elevate the humble banana pudding into a dessert fit for celebrations, dinner parties, or simply indulging your sweet tooth. They’re perfect for portion control, making them ideal for entertaining or gifting. Plus, their beautiful presentation in small jars, cupcake liners, or mini springform pans adds a touch of sophistication that’s sure to impress.
Whether you’re a seasoned baker looking to impress, or a dessert lover eager to try something new and delightful, this recipe promises a journey into creamy, dreamy indulgence. These mini banana pudding cheesecakes are not only a feast for your taste buds but also a celebration of comfort, tradition, and innovation.
Get ready to dive into the world of rich textures, sweet banana goodness, and cheesecake perfection. Your next favorite dessert awaits.
Ingredients: The Foundation of Flavor and Texture
Before diving into the process, here’s a carefully curated list of ingredients, broken down by components to keep things clear:
For the Crust
-
1 ½ cups vanilla wafer crumbs (about 2 cups whole vanilla wafers, crushed)
-
¼ cup granulated sugar
-
6 tablespoons unsalted butter, melted
For the Cheesecake Filling
-
16 oz (450 g) cream cheese, softened to room temperature
-
¾ cup granulated sugar
-
2 large eggs, room temperature
-
1 teaspoon pure vanilla extract
-
1 cup mashed ripe bananas (about 2 medium bananas, very ripe for best flavor)
-
½ cup sour cream or Greek yogurt (for creaminess and slight tang)
-
2 tablespoons all-purpose flour (helps stabilize the filling)
For the Topping
-
1 cup heavy whipping cream
-
2 tablespoons powdered sugar
-
1 teaspoon vanilla extract
-
Optional garnishes: sliced fresh bananas, crushed vanilla wafers, banana chips, or toasted coconut flakes
Tools You’ll Need
-
Mini muffin tin or mini springform pans (24-count is ideal)
-
Paper liners (optional, for easy removal)
-
Mixing bowls
-
Electric mixer (stand or hand)
-
Measuring cups and spoons
-
Rubber spatula
-
Food processor or resealable plastic bag and rolling pin (to crush wafers)
-
Whisk
-
Cooling rack
Step-by-Step Instructions: Crafting Mini Banana Pudding Cheesecakes
Step 1: Prepare the Vanilla Wafer Crust
Why: A sturdy yet tender crust provides contrast to the creamy filling and acts as a delicious base.
-
Crush the vanilla wafers:
Place the wafers in a food processor and pulse until fine crumbs form. Alternatively, seal the wafers in a large resealable plastic bag and crush with a rolling pin until finely ground. -
Combine crust ingredients:
In a mixing bowl, stir together the vanilla wafer crumbs, sugar, and melted butter until evenly combined. The mixture should feel like wet sand and hold together when pressed. -
Press crust into mini pans:
Line your mini muffin tin with paper liners if using. Spoon about 1 tablespoon of crust mixture into each cup. Press firmly and evenly into the bottom (and slightly up the sides if you prefer a thicker crust) to create a compact layer. -
Chill the crust:
Place the prepared tin in the refrigerator while you prepare the filling. Chilling helps the crust firm up and hold together during baking.
Step 2: Prepare the Cheesecake Filling
Why: The filling is the star—smooth, creamy, and infused with fresh banana flavor.
-
Mash the bananas:
In a small bowl, mash ripe bananas with a fork until mostly smooth but with some small chunks for texture. -
Beat the cream cheese:
In a large mixing bowl, use an electric mixer to beat softened cream cheese until smooth and creamy, about 2-3 minutes. This step is crucial to avoid lumps. -
Add sugar and vanilla:
Gradually add the sugar and vanilla extract, continuing to beat until combined and fluffy. -
Incorporate eggs one at a time:
Add eggs one at a time, mixing on low speed after each addition just until combined. Avoid overmixing, which can cause cracking later. -
Mix in bananas and sour cream:
Fold in the mashed bananas and sour cream (or Greek yogurt) gently with a rubber spatula until evenly distributed. -
Add flour:
Sprinkle flour over the mixture and fold it in carefully to help stabilize the filling.
Step 3: Assemble and Bake the Mini Cheesecakes
Why: Gentle baking ensures creamy, smooth texture without cracking.
-
Fill crust-lined cups:
Using a small spoon or piping bag, fill each crust-lined muffin cup with cheesecake filling, almost to the top. -
Prepare a water bath (optional but recommended):
To prevent cracking and ensure even baking, place the mini muffin tin inside a larger baking dish. Pour hot water into the larger dish until it reaches about halfway up the sides of the muffin tin. This gentle steam bath moderates oven temperature. -
Bake:
Bake at 325°F (163°C) for about 20-25 minutes, or until the centers are mostly set but still slightly jiggly. -
Cool:
Remove the mini cheesecakes from the water bath (if used) and allow to cool on a wire rack for about 30 minutes. -
Chill:
Transfer the cheesecakes to the refrigerator and chill for at least 4 hours, preferably overnight, to fully set.
Step 4: Prepare the Whipped Cream Topping
Why: Adds lightness and balances the rich cheesecake.
-
Chill your mixing bowl and beaters:
For best results, chill the bowl and beaters in the freezer for 15 minutes before whipping. -
Whip the cream:
Pour the heavy whipping cream into the cold bowl. Beat on medium-high speed until soft peaks form. -
Add sugar and vanilla:
Add powdered sugar and vanilla extract, then continue beating until stiff peaks form.
Step 5: Garnish and Serve
-
Top cheesecakes:
Pipe or dollop whipped cream onto each mini cheesecake. -
Add garnishes:
Decorate with fresh banana slices, crushed vanilla wafers, banana chips, or toasted coconut flakes for extra texture and visual appeal. -
Serve immediately or keep chilled:
These mini cheesecakes are best served chilled. Store leftovers covered in the refrigerator for up to 3 days.
Mini Banana Pudding Cheesecakes Recipe
Desserts hold a special place in the heart of every food lover, and few evoke as much comfort and nostalgia as banana pudding. This classic Southern treat, with its layers of creamy custard, soft bananas, and crunchy vanilla wafers, has been a beloved staple for generations, conjuring memories of family gatherings, warm kitchens, and lazy summer afternoons. But what if you could take all those comforting flavors and textures, and transform them into elegant, individual-sized cheesecakes that are both visually stunning and irresistibly delicious?
Ingredients
- For the Crust:
- 1 1/2 cups vanilla wafer crumbs (about 40 wafers crushed)
- 1/4 cup unsalted butter, melted
- For the Cheesecake Filling:
- 16 oz (450g) cream cheese, softened
- 1/2 cup granulated sugar
- 2 large eggs
- 1 tsp vanilla extract
- 1/2 cup sour cream
- 1/4 cup banana pudding mix (instant, dry powder) or 1/4 cup vanilla pudding mix
- 1/2 cup mashed ripe banana (about 1 medium banana)
- For the Topping:
- 1 cup heavy whipping cream
- 2 tbsp powdered sugar
- 1/2 tsp vanilla extract
- Banana slices and crushed vanilla wafers (for garnish)
Instructions
- Preheat oven to 325°F (160°C). Line a 12-cup muffin tin with paper liners or lightly grease.
- Make the crust:
Mix vanilla wafer crumbs and melted butter until combined. Press about 1 tablespoon of crust mixture into the bottom of each muffin cup, creating an even layer. Bake for 5–7 minutes. Remove and let cool slightly. - Prepare cheesecake filling:
In a large bowl, beat softened cream cheese and sugar until smooth and creamy. Add eggs one at a time, mixing well after each. Stir in vanilla extract, sour cream, and banana pudding mix until smooth. Gently fold in mashed banana. - Fill muffin cups:
Spoon cheesecake batter evenly over crusts, filling each cup almost to the top. - Bake:
Bake for 18–22 minutes, or until the edges are set but centers slightly jiggle. Remove from oven and let cool to room temperature. - Chill:
Refrigerate mini cheesecakes for at least 4 hours or overnight to fully set. - Make whipped cream topping:
Beat heavy cream, powdered sugar, and vanilla extract until stiff peaks form. - Serve:
Top each mini cheesecake with a dollop of whipped cream, a slice of banana, and a sprinkle of crushed vanilla wafers.

