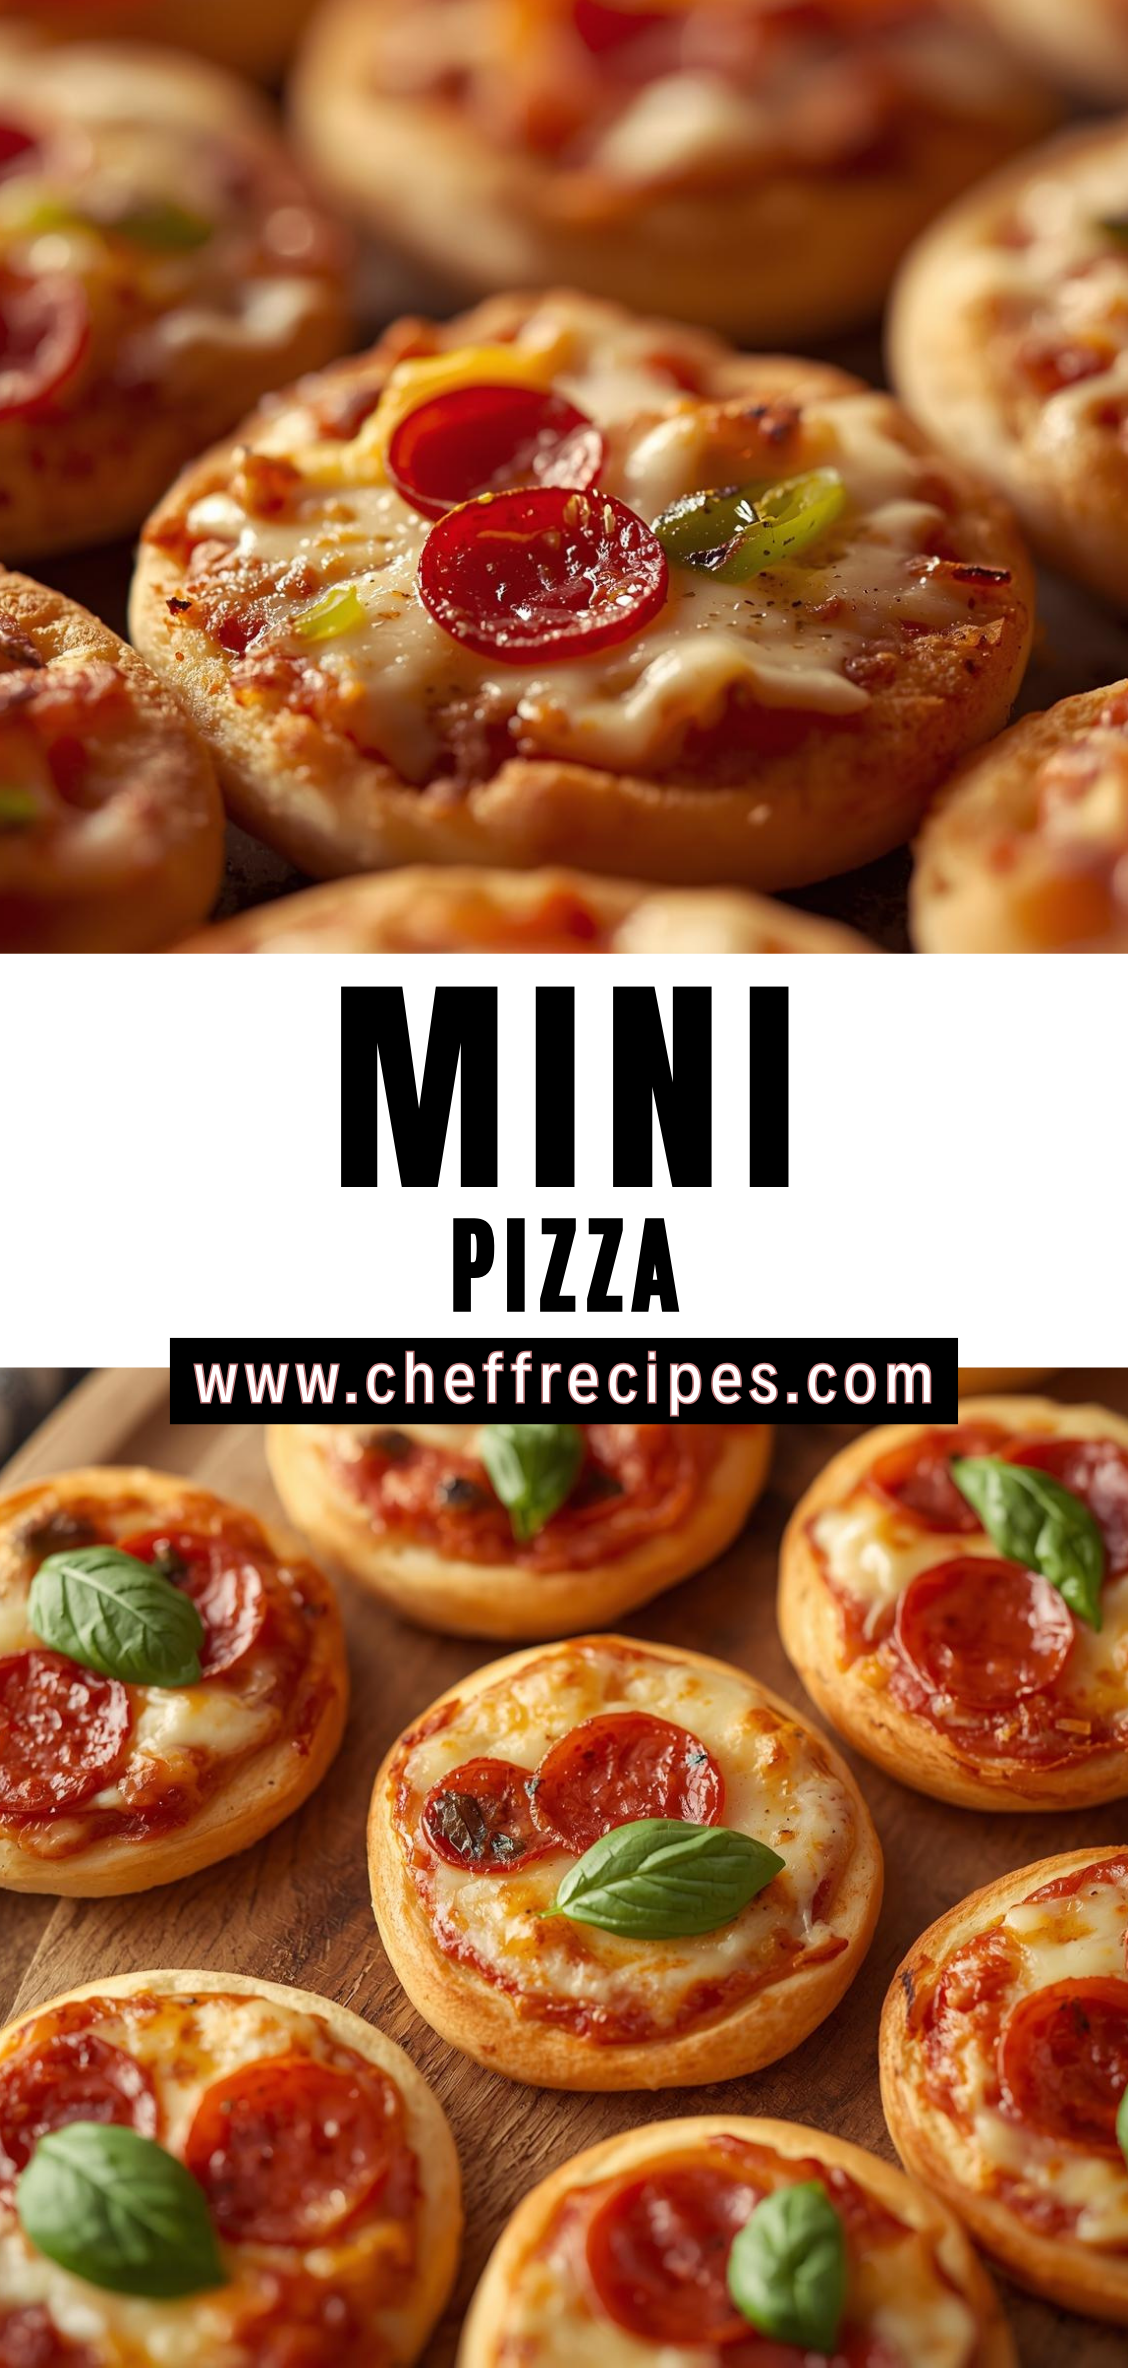
Mini pizzas are a delightful culinary creation that captures all the flavors, textures, and aromas of traditional pizza but in a perfectly portable, bite-sized format. They have become increasingly popular in homes, restaurants, and party settings because they combine the indulgence of pizza with the convenience of finger food. Whether baked for a casual family dinner, served at a festive gathering, or enjoyed as a snack, mini pizzas offer versatility, creativity, and a universally appealing flavor profile.
The appeal of mini pizzas goes beyond their size. They provide an opportunity to experiment with toppings, sauces, and cheeses in ways that are difficult to do with a full-sized pizza. Each mini pizza can be customized to suit individual tastes, dietary preferences, or seasonal ingredients. For instance, one pizza might feature classic pepperoni and mozzarella, while another showcases roasted vegetables, fresh herbs, or even unconventional ingredients like pesto and goat cheese. This adaptability makes mini pizzas ideal for households with diverse tastes or for entertaining, where a variety of flavors can be offered simultaneously.
Another aspect that makes mini pizzas so popular is their approachability. Unlike large pizzas that may require specialized equipment or advanced baking skills, mini pizzas can be crafted using simple tools and ingredients that are readily available. From pre-made dough and store-bought sauce to fresh-baked bases with homemade tomato sauce, the recipe is highly adaptable to different skill levels. The process of assembling mini pizzas is intuitive, engaging, and often enjoyable for cooks of all ages, making it a fantastic activity for family cooking nights or social gatherings.
Mini pizzas also hold a unique position in the culinary spectrum because they combine convenience with freshness. Unlike store-bought frozen options, homemade mini pizzas allow complete control over ingredient quality and flavor. Using fresh vegetables, high-quality cheese, and well-seasoned sauces elevates the taste and nutritional value of each mini pizza. Additionally, their small size ensures quick cooking, which retains the integrity of the toppings and produces a perfectly crisp crust without requiring long baking times.
From a presentation perspective, mini pizzas are visually appealing and fun to serve. Their bite-sized format makes them ideal for buffets, lunch boxes, or casual appetizers at parties. They invite creativity not just in flavor combinations but also in arrangement, garnishes, and plating. Whether stacked on a platter, served on individual plates, or presented in a colorful arrangement, mini pizzas are inherently attractive and encourage immediate indulgence.
Furthermore, mini pizzas are a gateway to exploring the broader world of pizza-making techniques. Learning to make a perfectly crisp base, balancing flavors with complementary toppings, and understanding how cheese melts optimally on a small scale teaches foundational skills applicable to larger pizza-making endeavors. They also encourage experimentation with crust types—ranging from traditional hand-tossed dough to whole wheat, gluten-free, or even flatbread and naan bases—showcasing the adaptability of pizza as a culinary medium.
In essence, mini pizzas are more than just smaller versions of a favorite dish. They represent an accessible, versatile, and creative approach to pizza that emphasizes personalization, flavor, and convenience without sacrificing quality or enjoyment. This introduction sets the stage for a comprehensive guide that will explore ingredients, step-by-step preparation, creative variations, expert tips, serving ideas, and storage strategies, all designed to help you master the art of mini pizzas from scratch.
Detailed Instructions
Mini pizzas may appear simple at first glance, but crafting perfectly balanced, flavorful, and visually appealing bite-sized pizzas requires attention to each stage: dough preparation, sauce, toppings, assembly, and baking. The following instructions are designed to guide you through every step, ensuring consistent results and giving you room to customize flavors.
1. Prepare the Dough
The foundation of a mini pizza is its crust, and the choice of dough will determine the texture and flavor.
Ingredients and Tools:
-
All-purpose flour (or a blend with bread flour for chewier texture)
-
Active dry yeast
-
Warm water (100–110°F / 37–43°C)
-
Olive oil
-
Salt
-
Optional: sugar or honey to feed the yeast
Steps:
-
In a small bowl, dissolve the yeast in warm water with a pinch of sugar or honey. Allow it to bloom for 5–10 minutes until foamy. This ensures the yeast is active and will give your dough a light, airy texture.
-
In a large mixing bowl, combine the flour and salt. Gradually add the yeast mixture and olive oil while stirring with a wooden spoon or spatula until a sticky dough forms.
-
Turn the dough onto a lightly floured surface and knead for 8–10 minutes until smooth and elastic. Proper kneading develops gluten, which gives the crust structure and chewiness.
-
Form the dough into a ball and place it in a lightly oiled bowl, turning it to coat the surface. Cover with a clean towel or plastic wrap and let it rise in a warm, draft-free area for 1–2 hours, or until it doubles in size.
Tips for Success:
-
For faster dough, use warm water and a slightly higher yeast concentration, but avoid water that is too hot, which can kill the yeast.
-
Dough can also be made in advance and refrigerated for up to 24 hours. Bring it to room temperature before shaping.
2. Prepare the Sauce
A flavorful sauce is essential to complement the toppings without overpowering them.
Ingredients:
-
Canned or fresh tomatoes
-
Olive oil
-
Garlic, minced
-
Salt and pepper
-
Dried or fresh herbs: oregano, basil, thyme
-
Optional: a pinch of sugar for acidity balance
Steps:
-
Heat olive oil in a saucepan over medium heat. Sauté minced garlic for 1–2 minutes until fragrant.
-
Add canned or pureed fresh tomatoes and stir to combine.
-
Season with salt, pepper, and herbs. Reduce the heat and simmer for 15–20 minutes until slightly thickened.
-
Taste and adjust seasoning. For smoother sauce, blend with an immersion blender.
Tips for Success:
-
Use high-quality tomatoes for the best flavor.
-
For a quick version, store-bought marinara sauce can be enhanced with extra garlic, olive oil, and fresh herbs.
3. Prepare Toppings
Mini pizzas allow for creative toppings. The key is balance—don’t overload the crust, or it may become soggy.
Cheese Options:
-
Mozzarella (classic melt)
-
Cheddar (adds sharpness)
-
Parmesan (for a nutty, savory finish)
-
Other: goat cheese, feta, or provolone for variation
Vegetables:
-
Bell peppers, thinly sliced
-
Onions, thinly sliced
-
Mushrooms, sliced
-
Olives, sliced
-
Cherry tomatoes, halved
Meats (optional):
-
Pepperoni, sliced
-
Cooked sausage
-
Bacon, crumbled
Herbs and Finishes:
-
Fresh basil, torn
-
Oregano, dried
-
Red pepper flakes
-
Olive oil drizzle
Preparation Tips:
-
Pre-cook high-moisture toppings (like mushrooms or zucchini) to prevent soggy crust.
-
Slice all ingredients uniformly for even cooking.
4. Shape the Mini Pizzas
Steps:
-
Punch down the risen dough and divide it into equal portions, typically 2–4 ounces each depending on desired mini pizza size.
-
Roll each portion into a smooth ball, then flatten on a lightly floured surface to a 4–6 inch circle. The thickness should be about ¼ inch for a crisp-crust mini pizza or slightly thicker for a softer bite.
-
For uniform baking, try to keep the edges slightly thicker than the center to hold toppings without spilling.
Tips:
-
If you want a crispy crust, roll thinner. For a chewy, bread-like texture, leave slightly thicker.
-
Mini pizzas can also be made on pre-baked tart shells or pita bread for convenience.
5. Assemble the Mini Pizzas
Steps:
-
Preheat the oven to 450°F (230°C). A hot oven ensures crisp edges and bubbly cheese.
-
Spread 1–2 tablespoons of sauce on each mini pizza, leaving a small border around the edge.
-
Sprinkle a generous layer of shredded cheese over the sauce.
-
Add selected toppings, being careful not to overload.
-
Finish with a light drizzle of olive oil if desired, which enhances browning and flavor.
Tips:
-
Assemble directly on a parchment-lined baking sheet or a lightly greased pizza stone.
-
Layer ingredients thoughtfully: heavier toppings on the bottom, delicate greens or herbs on top after baking.
6. Bake the Mini Pizzas
Steps:
-
Bake for 10–15 minutes, or until the crust is golden and the cheese is melted and bubbly.
-
Rotate the pan halfway through baking for even color and doneness.
-
Optional: broil for the last 1–2 minutes for extra browning on cheese and edges.
Tips:
-
Baking time depends on oven performance and crust thickness. Keep a close eye to avoid burning.
-
If using a pizza stone, preheat the stone for 20–30 minutes before baking.
7. Garnish and Serve
-
Remove mini pizzas from the oven and let them rest for 2–3 minutes.
-
Add fresh herbs like basil or parsley for color and aroma.
-
Slice into halves or quarters if desired for sharing.
-
Serve warm, ideally on a platter for casual gatherings or plated individually for a more formal presentation.
8. Optional Variations
-
White Mini Pizza: Skip tomato sauce and use a ricotta-cheese base.
-
Veggie Lovers: Layer bell peppers, mushrooms, onions, spinach, and artichoke hearts.
-
Meat Feast: Pepperoni, sausage, ham, and bacon.
-
Gluten-Free: Use gluten-free pizza dough or flatbread.
-
Mini Dessert Pizzas: Nutella base with sliced bananas or berries, dusted with powdered sugar.
Mini Pizza
Mini pizzas are a delightful culinary creation that captures all the flavors, textures, and aromas of traditional pizza but in a perfectly portable, bite-sized format. They have become increasingly popular in homes, restaurants, and party settings because they combine the indulgence of pizza with the convenience of finger food. Whether baked for a casual family dinner, served at a festive gathering, or enjoyed as a snack, mini pizzas offer versatility, creativity, and a universally appealing flavor profile.
Ingredients
- For the Dough:
- 1 pre-made pizza dough (or homemade, ~1 lb)
- 1–2 tbsp olive oil (for brushing)
- For the Sauce:
- ½ cup pizza sauce or marinara
- ½ tsp dried oregano
- ½ tsp garlic powder
- Pinch of salt & pepper
- For the Toppings:
- 1–1½ cups shredded mozzarella cheese
- Pepperoni slices, cooked sausage, or other meats (optional)
- Sliced vegetables: bell peppers, mushrooms, olives, onions, etc.
- Fresh basil or arugula for garnish (optional)
Instructions
1. Preheat oven
- Preheat to 425°F (220°C). Line a baking sheet with parchment paper.
2. Prepare dough
- Roll out pizza dough on a lightly floured surface.
- Cut into small rounds or squares, about 4–5 inches in diameter.
- Place on the prepared baking sheet.
3. Add sauce
- Brush each mini pizza with a little olive oil.
- Spread a thin layer of pizza sauce over each.
4. Add cheese and toppings
- Sprinkle shredded mozzarella evenly.
- Add meats, veggies, or any desired toppings.
5. Bake
- Bake 12–15 minutes until crust is golden and cheese is melted and bubbly.
6. Serve
- Garnish with fresh basil or arugula if desired.
- Serve hot as a snack, appetizer, or kid-friendly meal.
Notes
- Gluten-free option: Use gluten-free pizza dough.
- Vegan option: Use dairy-free cheese and omit meat.
- Crispier crust: Pre-bake dough rounds 3–4 minutes before adding sauce and toppings.
- Fun variation: Use English muffins, pita bread, or naan as a quick mini pizza base.

