No Bake Peanut Butter Bars Recipe
There’s a certain magic in a recipe that requires no oven, minimal ingredients, and delivers the kind of satisfaction that lingers well after the last bite. No-Bake Peanut Butter Bars are one of those timeless desserts—beloved for their bold flavor, simplicity, and nostalgic appeal. Equal parts sweet, salty, creamy, and crunchy, these bars are as versatile as they are irresistible, making them a staple in home kitchens, lunchboxes, bake sales, and holiday dessert spreads alike.

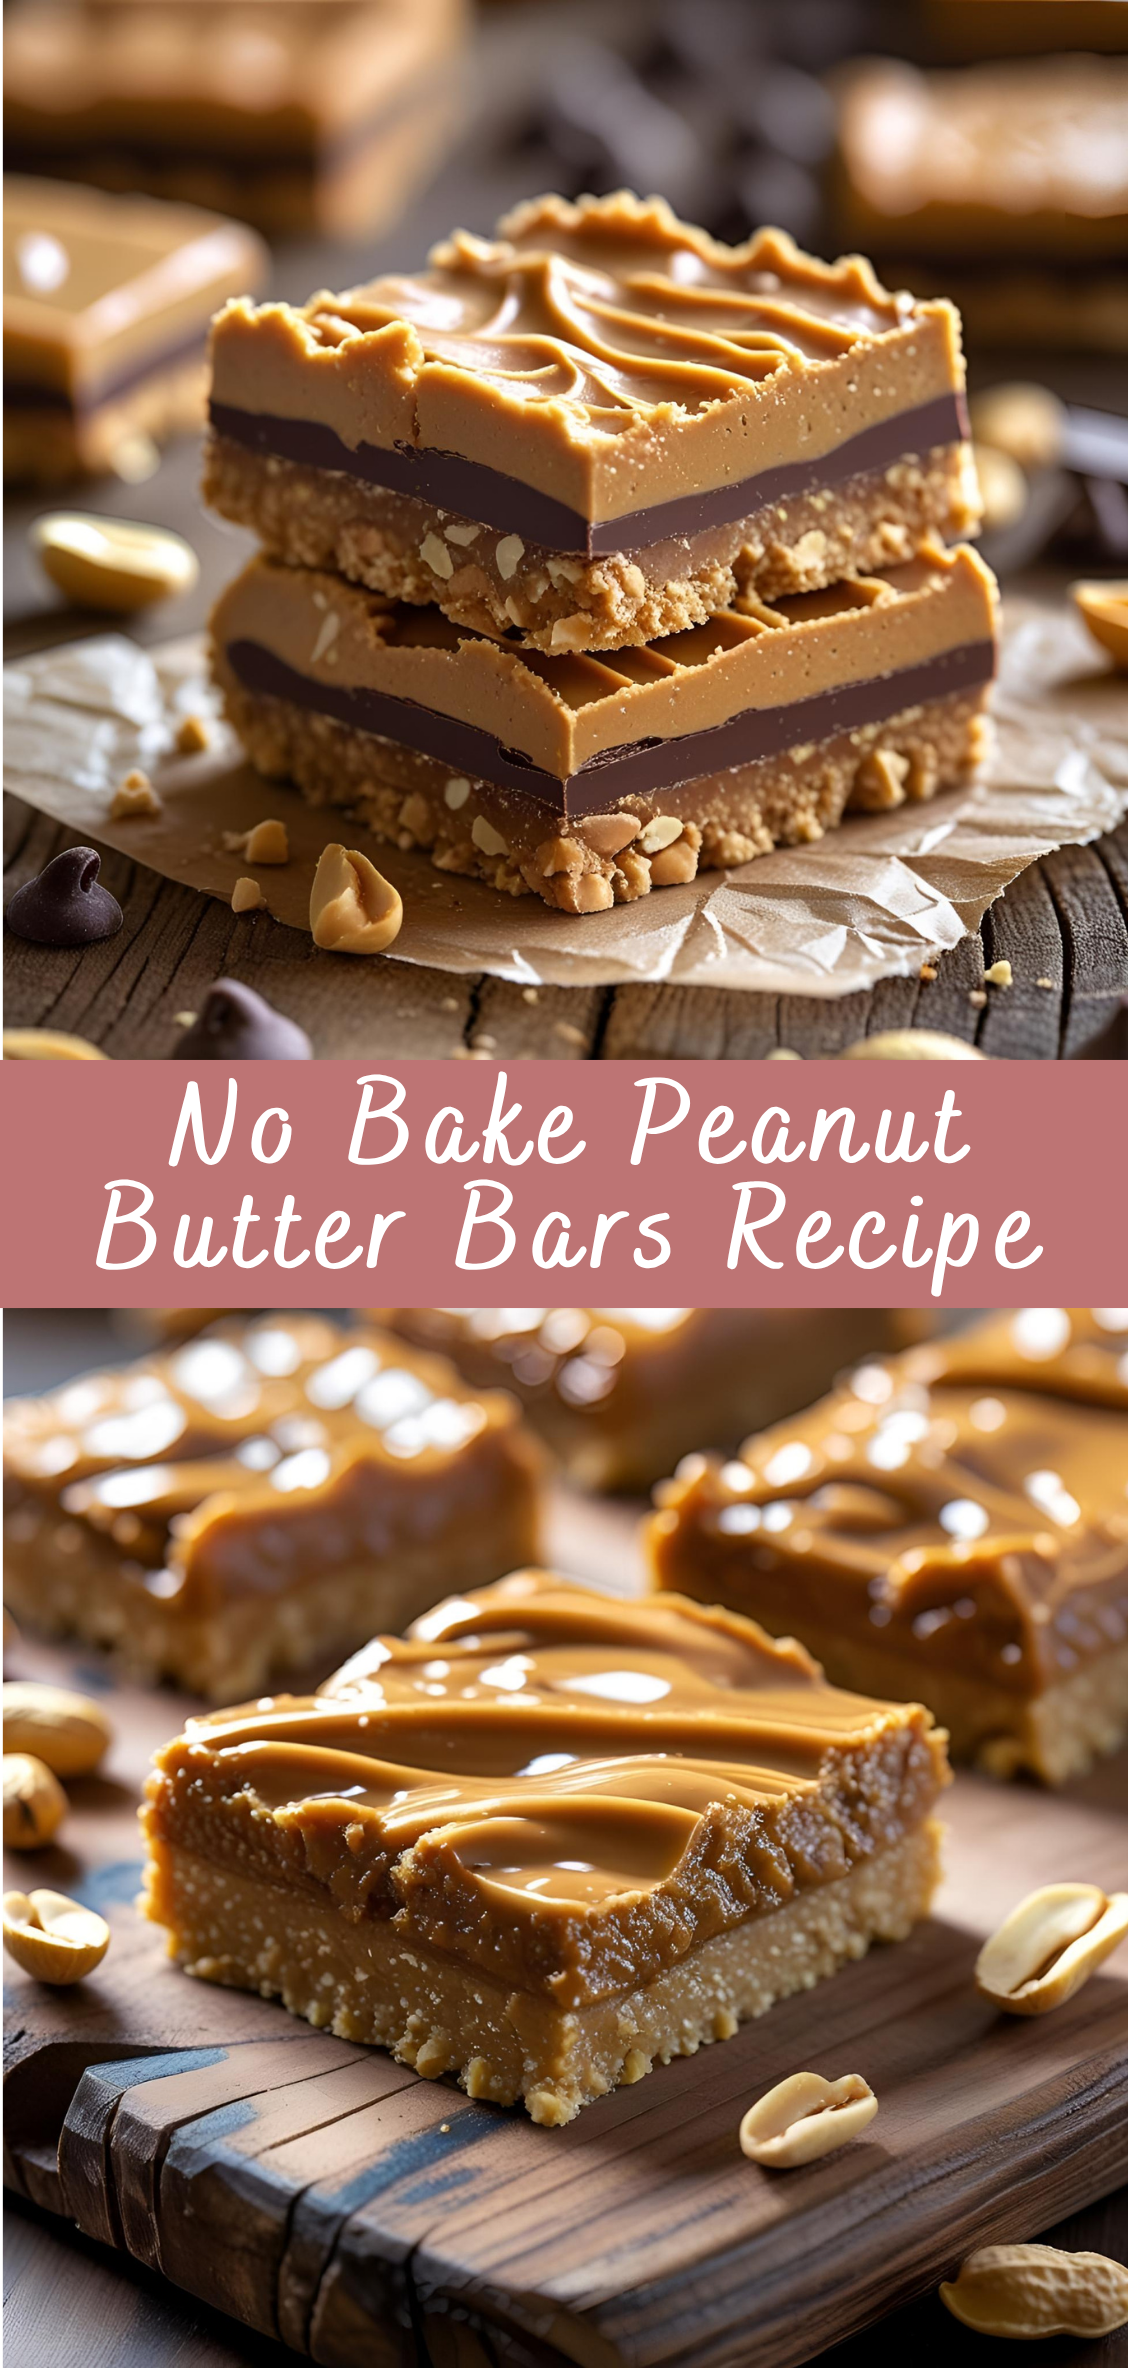
At their core, no-bake peanut butter bars represent everything people love about homemade desserts: they’re approachable, indulgent, and endlessly customizable. The classic version mimics the flavor of a peanut butter cup—a smooth, peanut buttery base topped with a rich layer of chocolate. But beyond that simple two-layer format lies a whole world of creative potential: variations with oats for texture, almond flour for a gluten-free twist, coconut for depth, or even crushed pretzels for a salty crunch.
What sets these bars apart from other desserts is not just their taste but their practicality. Because they require no baking, they’re perfect for warm-weather months when turning on the oven feels unbearable. They’re also incredibly beginner-friendly—requiring no advanced techniques, specialty equipment, or long ingredient lists. In fact, many versions of this recipe can be made with pantry staples and finished in under 20 minutes, plus chilling time. That means even novice home cooks or kids can confidently whip up a batch with fantastic results.
But don’t mistake ease for mediocrity. With the right balance of ingredients, no-bake peanut butter bars can rival even the most sophisticated baked desserts. The trick is in the texture—a firm but creamy peanut butter layer that holds its shape without being dry or crumbly, paired with a smooth chocolate topping that snaps gently when cut or bitten. Achieving that contrast requires attention to ratios, temperature, and method—small details that make a big difference in the final product.
These bars also cater to a wide variety of diets and preferences. With simple swaps, they can be made gluten-free, dairy-free, or even low-carb. Peanut allergies? Almond or sunflower seed butter works beautifully. Watching sugar intake? There are easy adaptations using natural sweeteners like maple syrup, honey, or sugar alternatives. This flexibility makes the recipe a favorite among those who love to experiment or need to accommodate dietary needs without sacrificing flavor.
In this comprehensive guide, we’ll go far beyond just listing ingredients and steps. We’ll explore the history of peanut butter bars and their popularity in American kitchens, break down the best ingredient options (natural vs. processed peanut butter, graham crackers vs. oat flour), and provide detailed, step-by-step instructions with tips for perfect results every time. We’ll also share storage and freezing tips, troubleshoot common issues (like chocolate separating from the base), and offer creative variations to keep things fresh and fun.
Whether you’re preparing a last-minute dessert for a dinner party, making snacks for the week, or just craving something sweet and satisfying without the hassle of baking, these No-Bake Peanut Butter Bars are a foolproof choice. They’re quick, crowd-pleasing, and adaptable—everything a home cook could ask for in a go-to dessert recipe.
Let’s begin by diving into the essential components that make up the perfect no-bake peanut butter bar—and how each one plays a role in delivering that signature flavor and texture.
Step-by-Step Instructions: No-Bake Peanut Butter Bars
Step 1: Gather and Prepare Your Ingredients
Before you start, ensure you have all the ingredients ready and measured. This smooth workflow helps prevent mistakes and speeds up the process.
Basic ingredients you’ll need:
-
1 cup creamy peanut butter (natural or processed)
-
½ cup unsalted butter, melted
-
2 cups powdered sugar (confectioners’ sugar)
-
1 ½ cups graham cracker crumbs (or substitute with oats or almond flour)
-
1 ½ cups semi-sweet chocolate chips (or chopped chocolate)
-
Optional: 1 teaspoon vanilla extract
-
Optional toppings: sea salt flakes, chopped peanuts
Step 2: Prepare the Peanut Butter Base
-
Melt the butter:
In a microwave-safe bowl, gently melt the butter in 20-30 second bursts until fully liquefied. Avoid overheating. -
Mix peanut butter and butter:
Add the peanut butter to the melted butter and stir until smooth and fully combined. The warmth from the butter helps blend the peanut butter smoothly. -
Add vanilla extract (optional):
For added depth of flavor, stir in 1 teaspoon of vanilla extract.
Step 3: Incorporate the Dry Ingredients
-
Add powdered sugar:
Gradually add the powdered sugar to the peanut butter mixture, stirring continuously. The powdered sugar sweetens and thickens the base. -
Add graham cracker crumbs:
Stir in the graham cracker crumbs until fully combined. The crumbs provide texture and help the bars hold their shape.
Tip: Use finely crushed graham crackers for a smoother texture. For a gluten-free option, substitute with almond flour or finely ground oats.
-
Mix thoroughly:
Ensure there are no dry pockets of crumbs or sugar—aim for a thick, uniform dough that holds together when pressed.
Step 4: Press the Peanut Butter Mixture into the Pan
-
Prepare the pan:
Line an 8×8-inch (or 9×9-inch) square baking pan with parchment paper or lightly grease it to prevent sticking. -
Transfer the peanut butter mixture:
Scoop the mixture into the pan. -
Press evenly:
Use a spatula or your hands (lightly greased or covered with plastic wrap) to press the mixture firmly and evenly into the pan, creating a smooth, level surface.
Step 5: Prepare the Chocolate Topping
-
Melt the chocolate chips:
Place the chocolate chips in a microwave-safe bowl and heat in 20-30 second intervals, stirring in between, until smooth and fully melted. Alternatively, melt the chocolate over a double boiler on the stovetop. -
Optional additions:
For extra richness or flavor, stir in a teaspoon of coconut oil or a pinch of sea salt to the melted chocolate.
Step 6: Spread the Chocolate Layer
-
Pour melted chocolate over the peanut butter base:
Pour the melted chocolate evenly over the pressed peanut butter layer. -
Smooth the top:
Use a spatula to spread the chocolate into an even layer, covering all the peanut butter mixture. -
Add optional toppings:
Before the chocolate sets, sprinkle chopped peanuts, sea salt flakes, or any desired toppings evenly on top for texture and visual appeal.
Step 7: Chill and Set
-
Refrigerate the bars:
Place the pan in the refrigerator for at least 2 hours or until the chocolate is firm and the bars hold together when cut. -
Optional freezing:
For quicker setting, place the bars in the freezer for 30-45 minutes.
Step 8: Cut and Serve
-
Remove from pan:
Lift the bars out of the pan using the parchment paper edges. -
Cut into squares or rectangles:
Use a sharp knife to cut the bars into your desired size. For cleaner cuts, warm the knife under hot water and wipe dry between slices. -
Serve and enjoy:
These bars are perfect as a snack, dessert, or treat any time of day.
No Bake Peanut Butter Bars Recipe
There’s a certain magic in a recipe that requires no oven, minimal ingredients, and delivers the kind of satisfaction that lingers well after the last bite. No-Bake Peanut Butter Bars are one of those timeless desserts—beloved for their bold flavor, simplicity, and nostalgic appeal. Equal parts sweet, salty, creamy, and crunchy, these bars are as versatile as they are irresistible, making them a staple in home kitchens, lunchboxes, bake sales, and holiday dessert spreads alike.
Ingredients
- 1 cup (250g) creamy peanut butter (natural or regular)
- 1/2 cup (115g) unsalted butter, melted
- 2 cups (200g) powdered sugar
- 2 cups (180g) graham cracker crumbs (or crushed digestive biscuits)
- 1 1/2 cups (260g) semi-sweet chocolate chips
- 1 tbsp peanut butter (for chocolate topping, optional)
Instructions
- Prepare the Base:
In a large bowl, mix together peanut butter, melted butter, powdered sugar, and graham cracker crumbs until combined into a thick dough-like mixture. - Press Into Pan:
Line an 8x8 inch (20x20 cm) square pan with parchment paper.
Press the peanut butter mixture firmly and evenly into the pan. - Make the Chocolate Topping:
In a microwave-safe bowl, melt the chocolate chips with 1 tbsp peanut butter (if using), stirring every 20 seconds until smooth. - Spread Chocolate:
Pour the melted chocolate over the peanut butter base and spread evenly with a spatula. - Chill:
Refrigerate for 1–2 hours or until firm. - Serve:
Lift the bars out of the pan using the parchment paper edges.
Cut into squares and enjoy!
Notes
- Peanut Butter Swap: You can use crunchy peanut butter for extra texture.
- Add-ins: Stir in mini chocolate chips, chopped nuts, or a pinch of sea salt into the base for variation.

