One-Pan Garlic Butter Chicken and Potatoes Recipe
In the realm of home cooking, there’s something undeniably satisfying about a meal that requires minimal effort but yields maximum flavor. Enter the One-Pan Garlic Butter Chicken and Potatoes — a dish that epitomizes comfort, convenience, and culinary delight all in one skillet. This recipe takes simple, wholesome ingredients and transforms them into a hearty, satisfying dinner that’s perfect for busy weeknights or casual weekend gatherings.
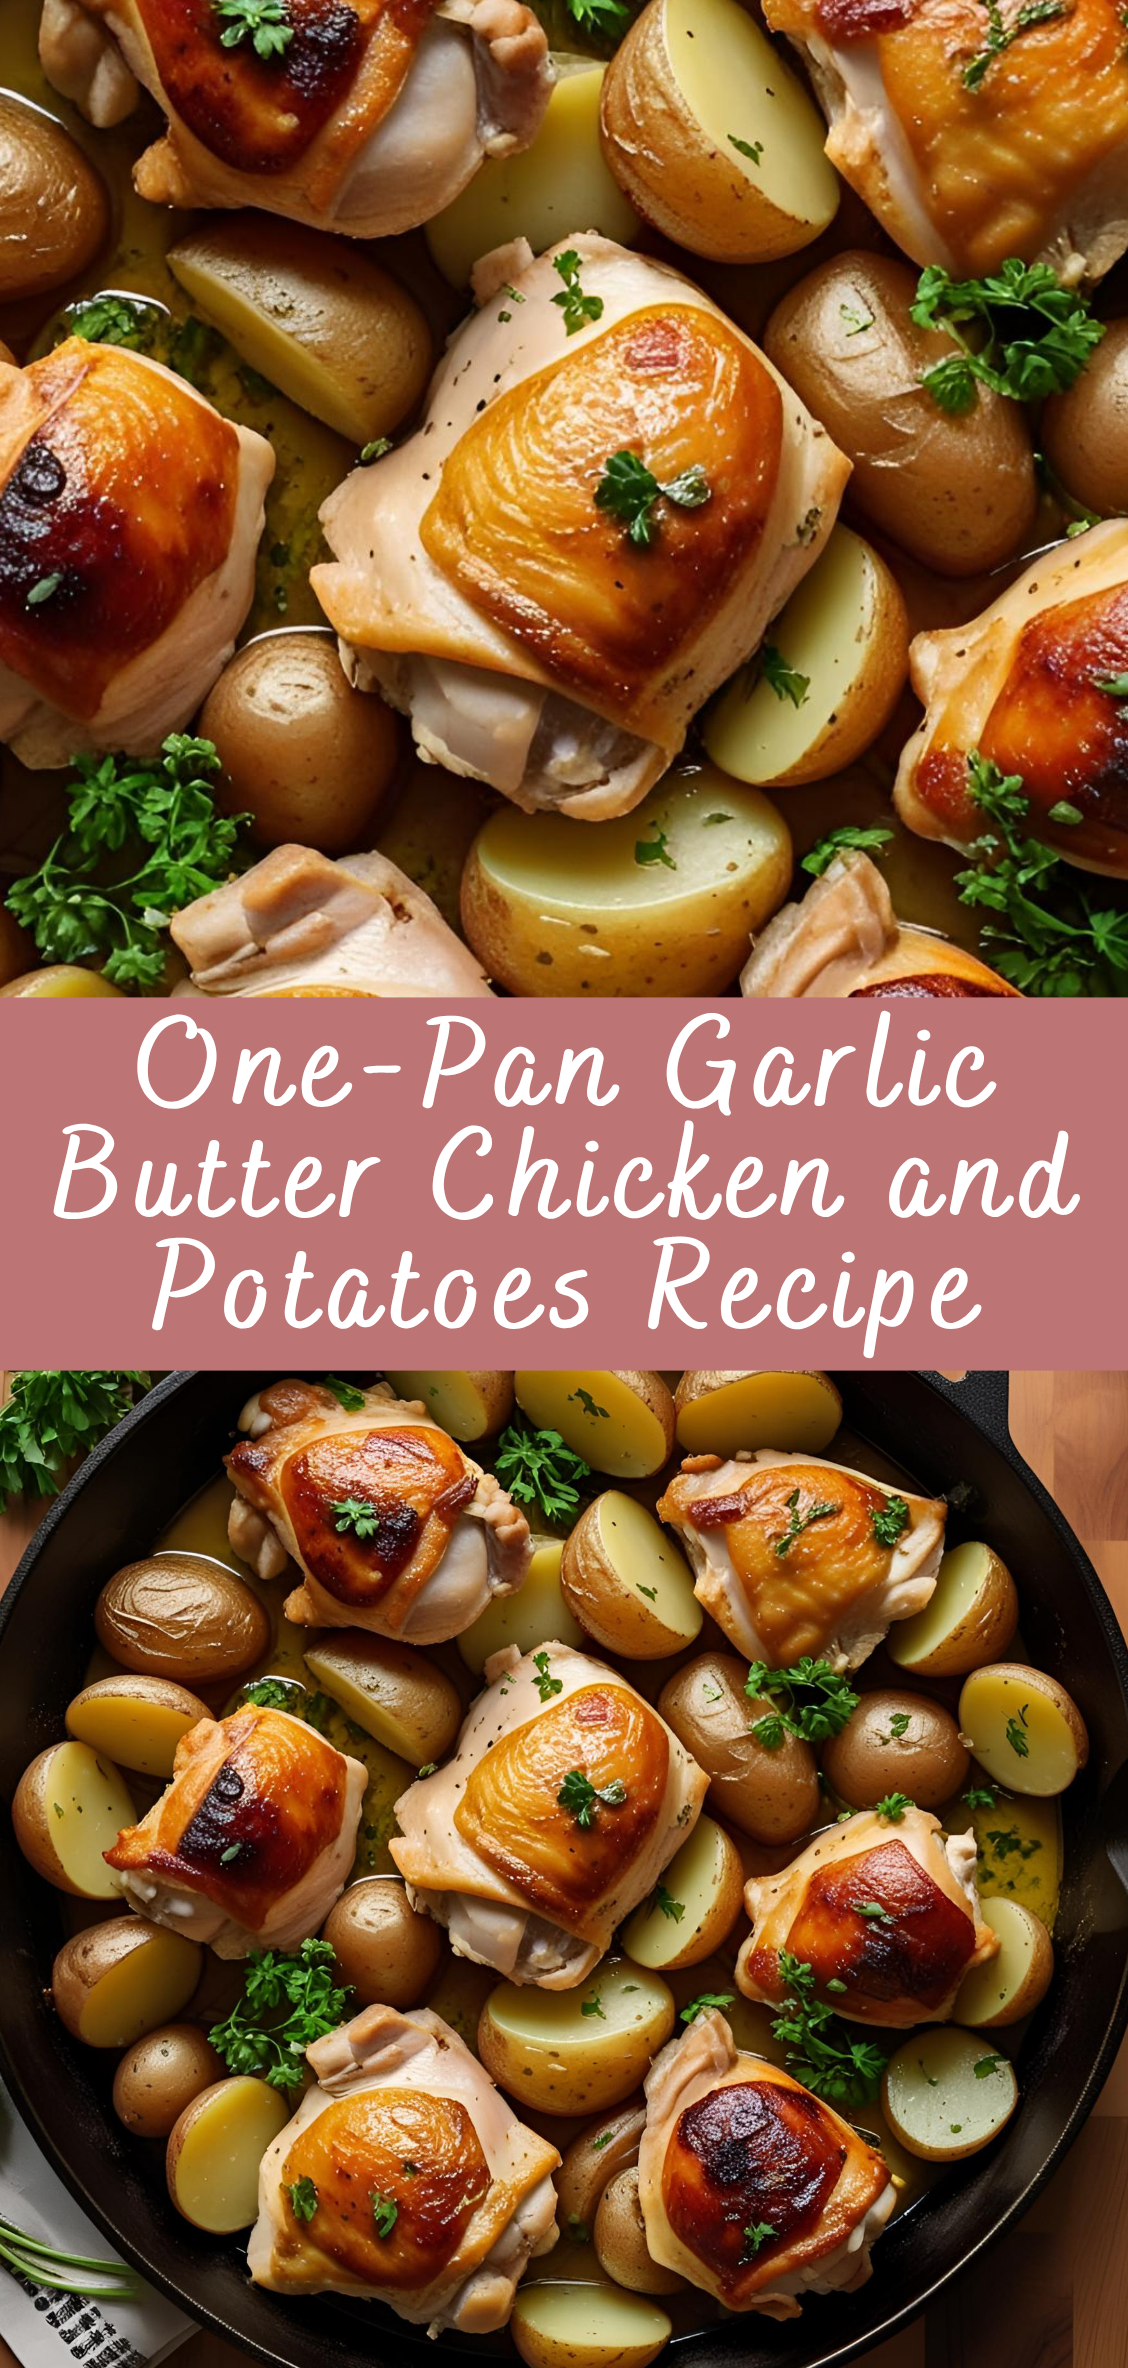
The magic lies in its simplicity: juicy, tender chicken breasts or thighs cooked alongside golden, crispy potatoes in a rich, aromatic garlic butter sauce. Each bite is infused with the irresistible flavors of garlic, fresh herbs, and browned butter, making it a guaranteed crowd-pleaser.
What’s more, the “one-pan” approach means fewer dishes to wash, less time in the kitchen, and a beautifully rustic presentation that looks as good as it tastes. Whether you’re a novice cook or a seasoned pro, this recipe delivers a perfect balance of ease and flavor, showcasing how just a handful of ingredients can come together for an unforgettable meal.
In this guide, you’ll find a detailed step-by-step walkthrough of the entire cooking process, tips for perfecting your dish every time, ideas for ingredient variations, and suggestions for complementary sides and beverages to round out the meal. Whether you’re cooking for yourself, your family, or entertaining guests, this one-pan garlic butter chicken and potatoes recipe will quickly become a staple in your culinary repertoire.
Ingredients
To serve 4 people, you will need:
For the Chicken and Potatoes:
-
4 boneless, skinless chicken thighs or breasts (thighs are juicier; breasts are leaner)
-
1.5 pounds (about 700 grams) baby potatoes or Yukon Gold potatoes, halved or quartered depending on size
-
4 tablespoons unsalted butter
-
4 cloves garlic, minced (adjust to taste)
-
1 tablespoon olive oil
-
1 teaspoon smoked paprika (optional, for a subtle smoky depth)
-
1 teaspoon dried thyme or 2 teaspoons fresh thyme leaves
-
1 teaspoon dried rosemary or 2 teaspoons fresh rosemary, finely chopped
-
Salt and freshly ground black pepper, to taste
-
Fresh parsley, chopped, for garnish
-
Lemon wedges (optional, for serving)
Tools Needed
-
Large oven-safe skillet (preferably cast iron or stainless steel)
-
Sharp knife and cutting board
-
Tongs or spatula
-
Measuring spoons
-
Garlic press or mincer (optional)
-
Oven mitts
-
Serving plates
Step-by-Step Instructions
Step 1: Prep Your Ingredients
Before turning on the stove, it’s best to prep everything for a smooth cooking process.
-
Wash and dry the potatoes. Cut them into evenly sized halves or quarters to ensure even roasting.
-
Pat the chicken dry with paper towels. Dry chicken will brown better and help you achieve a crispy crust.
-
Mince the garlic finely.
-
Preheat your oven to 400°F (200°C) if using an oven-safe skillet.
Step 2: Season the Chicken and Potatoes
In a large bowl or plate:
-
Toss the potatoes with half the olive oil, half the minced garlic, half the thyme and rosemary, smoked paprika, salt, and pepper.
-
Season the chicken breasts/thighs generously with salt, pepper, and the remaining thyme and rosemary.
Pro Tip: Don’t skimp on seasoning! Both chicken and potatoes benefit from a good hit of salt and spices to bring out their natural flavors.
Step 3: Brown the Chicken
-
Heat the large skillet over medium-high heat.
-
Add 2 tablespoons of butter and the remaining olive oil.
-
Once the butter melts and starts to foam, add the chicken pieces skin side down (if using skin-on) or simply place breasts/thighs in the pan.
-
Cook for 4-6 minutes without moving them, allowing a golden-brown crust to form.
-
Flip and cook the other side for 3-4 minutes.
-
Remove chicken from the pan and set aside temporarily on a plate.
Step 4: Cook the Potatoes
-
In the same skillet, add the remaining butter.
-
Add the seasoned potatoes to the pan in a single layer.
-
Let them cook for 8-10 minutes, stirring occasionally, until they develop a golden, crispy exterior.
-
Add the remaining garlic in the last 2 minutes to avoid burning.
Step 5: Combine and Bake (if using oven-safe skillet)
-
Nestle the browned chicken pieces on top of the potatoes.
-
Spoon some of the garlic butter sauce over the chicken.
-
Transfer the skillet to the preheated oven.
-
Bake for 15-20 minutes until the chicken is cooked through (internal temperature 165°F/74°C) and potatoes are tender when pierced with a fork.
If you do not have an oven-safe skillet, transfer everything to a baking dish before baking.
Step 6: Finish and Serve
-
Remove the skillet from the oven carefully.
-
Sprinkle fresh parsley over the dish for a burst of color and freshness.
-
Serve with lemon wedges for squeezing over the chicken and potatoes — the acidity brightens the rich flavors beautifully.
-
Plate individual servings and enjoy immediately while hot.
Detailed Cooking Instructions for One-Pan Garlic Butter Chicken and Potatoes
Step 1: Preparing Your Ingredients with Care
Proper preparation is the foundation of a delicious dish. Begin by washing your potatoes thoroughly under cold water to remove any dirt or grit. Using baby potatoes or Yukon Gold potatoes is ideal because of their tender flesh and ability to crisp nicely.
-
Cutting the potatoes: Halve or quarter the potatoes so that all pieces are roughly the same size. This promotes even cooking, ensuring some pieces don’t overcook or remain undercooked.
-
Drying the chicken: Use paper towels to pat your chicken dry. Moisture on the surface of chicken can steam it instead of browning it, which affects both flavor and texture.
-
Mincing garlic: Garlic releases the most flavor when it’s finely minced. Use a garlic press if you want a fine paste or mince with a sharp knife. Avoid crushing the garlic too early to prevent bitterness.
-
Preheating your oven: Setting your oven to 400°F (200°C) before you start cooking ensures a seamless transition when the time comes to bake the dish.
Step 2: Seasoning Your Chicken and Potatoes — Building Flavor Layers
Seasoning is where you begin to build the rich, robust flavor profile of this dish.
-
For the potatoes: Toss them in a bowl with half the minced garlic, half the olive oil, smoked paprika, dried thyme, rosemary, salt, and pepper. The paprika adds a subtle smoky note and a beautiful golden hue, while the herbs impart an earthy, fragrant quality.
-
For the chicken: Sprinkle both sides with salt, pepper, and the remaining herbs. If you have time, you can season the chicken an hour ahead and refrigerate it uncovered to dry the skin (if using skin-on), helping to crisp it during cooking.
Pro Tip: Season generously. Potatoes and chicken absorb seasoning during cooking, so don’t be shy with the salt and spices.
Step 3: Achieving the Perfect Brown on Your Chicken
Browning the chicken is crucial for flavor and texture.
-
Heat a heavy-bottomed skillet (cast iron is best) over medium-high heat until hot.
-
Add 2 tablespoons butter and 1 tablespoon olive oil. The oil raises the smoke point of butter, preventing it from burning while still allowing that rich buttery flavor.
-
Place the chicken skin-side down (if skin-on) or simply on one side if skinless. Don’t overcrowd the pan; work in batches if necessary.
-
Let the chicken cook undisturbed for 4–6 minutes to develop a deep golden crust. Avoid the temptation to move it too soon — patience here results in better searing.
-
Flip the chicken and cook another 3–4 minutes. The goal is a golden crust and partially cooked chicken — it will finish cooking in the oven.
-
Transfer chicken to a plate and tent loosely with foil to keep warm.
Step 4: Perfecting the Potatoes — Crispy Outside, Tender Inside
Using the same skillet ensures the dish gains extra flavor from the chicken drippings.
-
Add the remaining butter to the skillet. The butter will melt and begin to brown, adding a nutty depth to your potatoes.
-
Add the seasoned potatoes in a single layer. Crowding the pan will steam the potatoes instead of roasting them, so spread them out evenly.
-
Let them cook for 8-10 minutes, turning occasionally with a spatula or tongs. You’re looking for a crisp, golden-brown crust on the exterior.
-
Add the remaining garlic in the last 2 minutes of cooking to avoid burning. Garlic can become bitter if overcooked.
Chef’s Tip: Use a flat spatula to gently press the potatoes down while cooking to increase contact with the pan for extra crispiness.
Step 5: Bringing It All Together and Baking to Perfection
This step finishes the cooking process, ensuring the chicken is cooked through and the potatoes are tender.
-
Nestle the browned chicken pieces on top of the partially cooked potatoes in the skillet.
-
Spoon some of the garlic butter sauce over the chicken for extra flavor.
-
Carefully transfer the skillet to your preheated oven.
-
Bake uncovered for 15-20 minutes, or until the chicken reaches an internal temperature of 165°F (74°C) and the potatoes are fork-tender.
If you don’t have an oven-safe skillet, transfer everything to a baking dish, spoon over any extra butter and garlic, and bake in the same way.
Step 6: Finishing Touches and Serving Your Masterpiece
Presentation and the final flavor boost make all the difference.
-
Remove the skillet carefully from the oven using oven mitts — the handle will be hot.
-
Sprinkle fresh chopped parsley over the top for a vibrant color contrast and a fresh herbal note.
-
Serve with lemon wedges on the side. A quick squeeze of lemon juice adds bright acidity that cuts through the richness of the garlic butter, balancing the dish beautifully.
-
Plate your chicken and potatoes alongside your favorite green vegetables or a crisp salad for a complete meal.
Troubleshooting Tips:
-
Chicken not browning? Make sure the pan is hot and dry the chicken thoroughly before cooking.
-
Potatoes soggy? Avoid overcrowding the pan; potatoes need space to crisp.
-
Garlic burnt? Add garlic later during cooking and keep the heat moderate.
-
Chicken dry? Don’t overcook on the stove — finish cooking in the oven and let it rest before serving.
One-Pan Garlic Butter Chicken and Potatoes Recipe
In the realm of home cooking, there’s something undeniably satisfying about a meal that requires minimal effort but yields maximum flavor. Enter the One-Pan Garlic Butter Chicken and Potatoes — a dish that epitomizes comfort, convenience, and culinary delight all in one skillet. This recipe takes simple, wholesome ingredients and transforms them into a hearty, satisfying dinner that’s perfect for busy weeknights or casual weekend gatherings.
Ingredients
- 4 bone-in, skin-on chicken thighs (or breasts if preferred)
- 1½ lbs baby potatoes, halved or quartered if large
- 4 tbsp unsalted butter, melted
- 4 cloves garlic, minced
- 1 tsp dried thyme (or fresh if available)
- 1 tsp dried rosemary (or fresh)
- 1 tsp paprika
- Salt and pepper, to taste
- 2 tbsp olive oil
- Fresh parsley, chopped (for garnish)
- Optional: lemon wedges for serving
Instructions
1. Prep Chicken and Potatoes:
- Preheat oven to 400°F (200°C).
- In a large bowl, toss potatoes with 1 tbsp olive oil, salt, pepper, half the garlic, and half the herbs.
2. Prepare Garlic Butter:
- In a small bowl, mix melted butter, remaining garlic, herbs, paprika, salt, and pepper.
3. Assemble in Pan:
- Heat 1 tbsp olive oil in a large oven-safe skillet or cast iron pan over medium-high heat.
- Sear chicken thighs skin-side down for 3–4 minutes until golden brown. Flip and cook 2 more minutes.
- Remove chicken from pan.
- Add potatoes to the pan and spread out evenly.
- Place chicken on top of potatoes, skin side up.
- Drizzle garlic butter evenly over chicken and potatoes.
4. Bake:
- Transfer the pan to the preheated oven.
- Roast for 25–30 minutes until chicken is cooked through (internal temp 165°F/74°C) and potatoes are tender.
5. Serve:
- Garnish with fresh parsley and lemon wedges if desired.
- Serve hot and enjoy!
Notes
- You can substitute chicken thighs with breasts or drumsticks; adjust cooking time accordingly.
- For extra crispiness, broil the chicken skin for 2–3 minutes at the end.
- Add vegetables like green beans or carrots in the last 15 minutes of roasting for a complete meal.
- Leftovers reheat well and make great next-day lunches!

