Sheet Pan Breadsticks Recipe
Breadsticks are one of those universally beloved foods that have stood the test of time. Often served as a side dish in Italian cuisine, these simple yet flavorful bread creations have evolved into numerous forms, from crispy and crunchy to soft and pillowy. In their early days, breadsticks—known as grissini in Italy—were a product of necessity. Invented in the 17th century in the city of Turin, Italy, they were originally designed to be a light, digestible bread for the sick and young children. They became so popular that they quickly spread across the globe, finding their place on tables not only in Italy but worldwide.
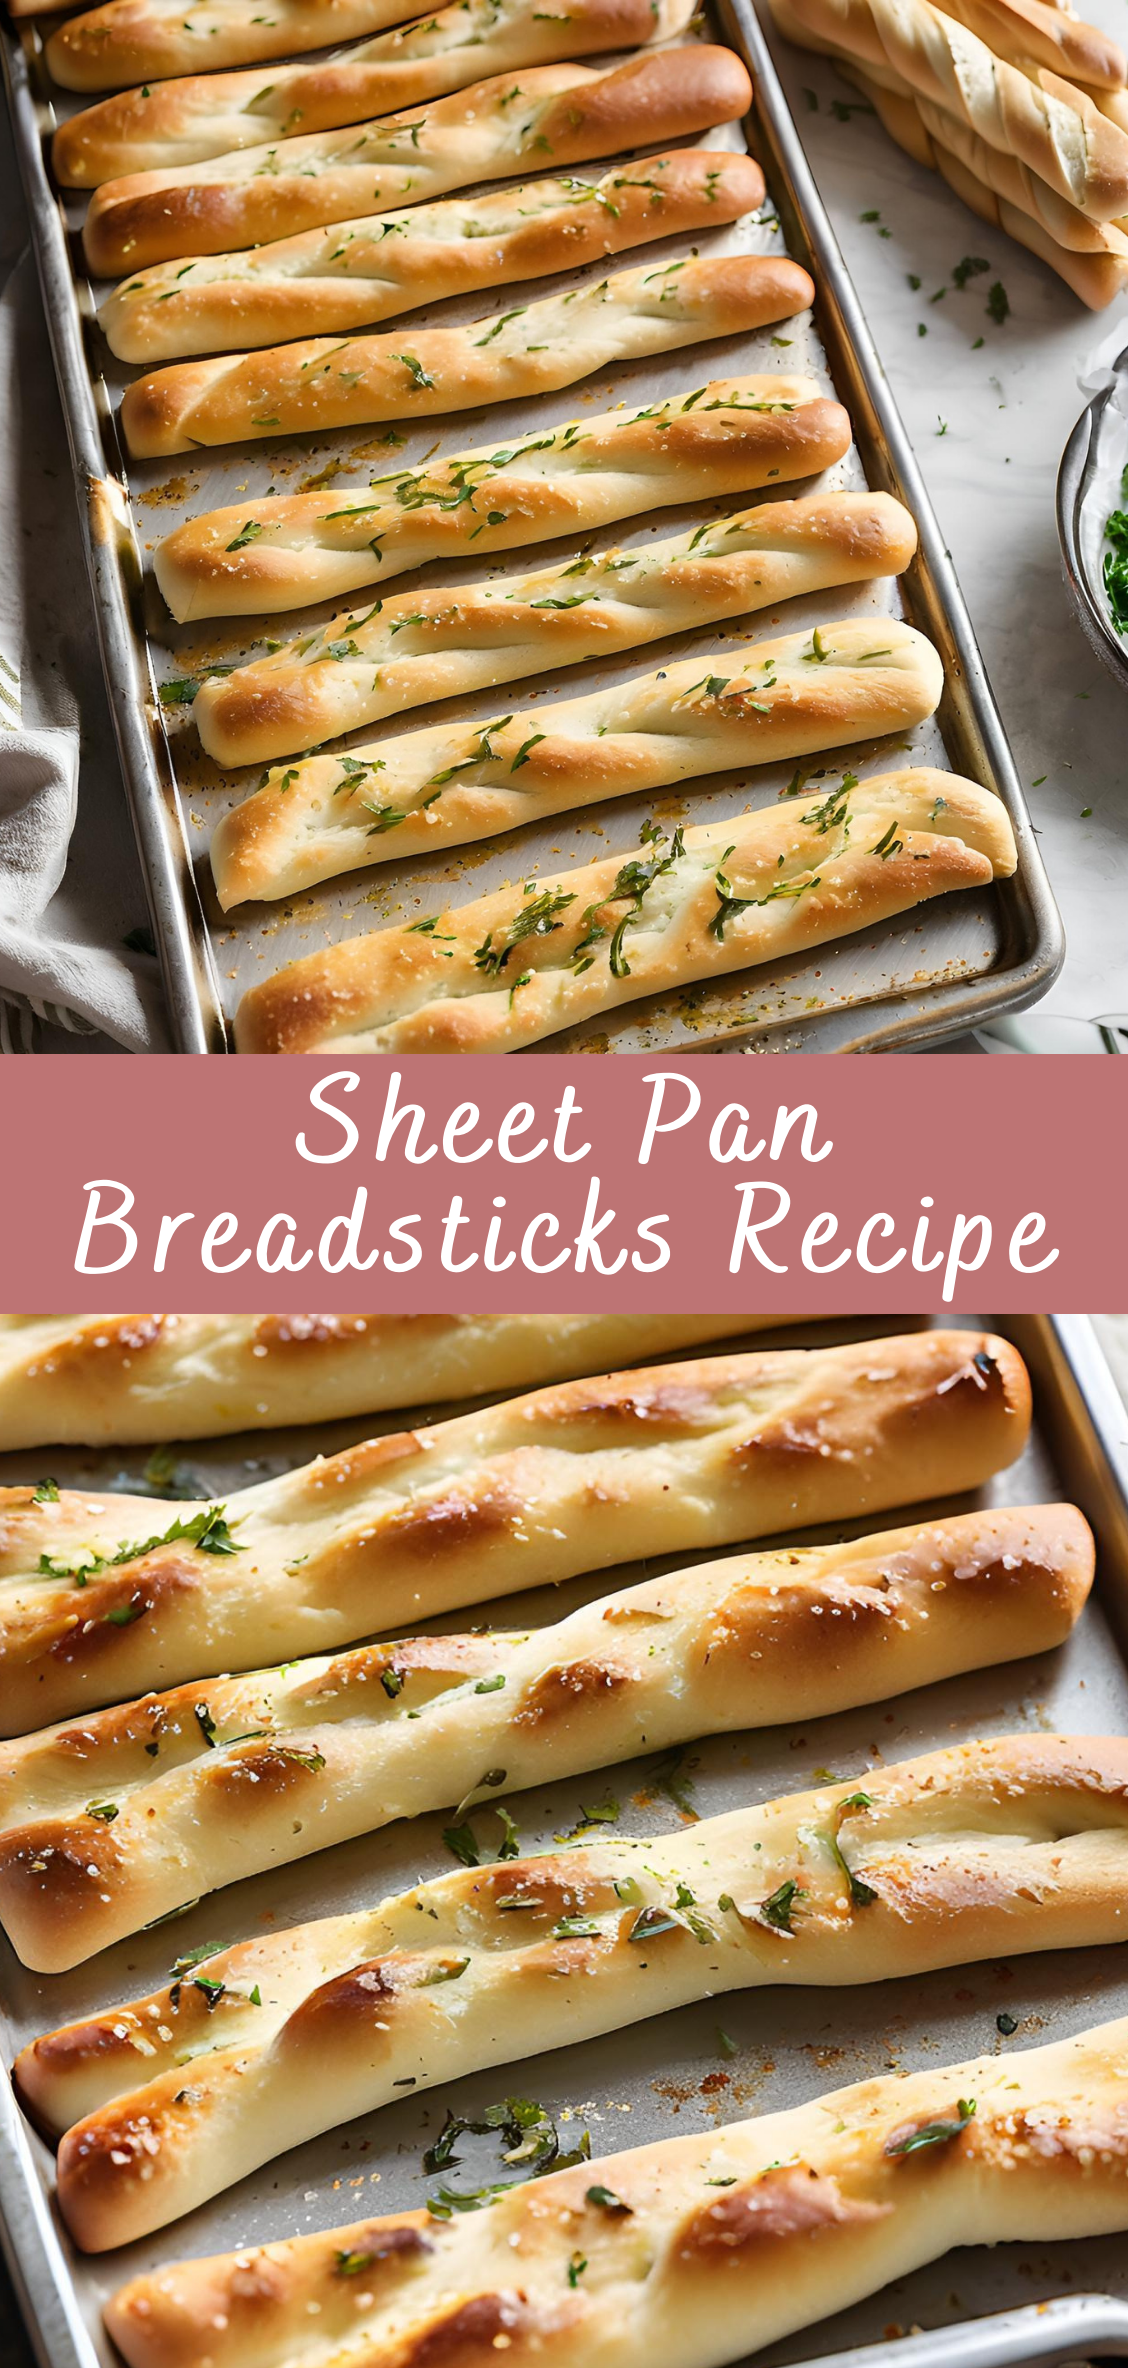
In many Italian restaurants, breadsticks have become a hallmark of the dining experience—whether served as a starter, appetizer, or even a snack to accompany soups and salads. Traditionally, breadsticks are made by rolling out the dough into long, thin strips and baking them until golden brown and slightly crisp. But, with the advent of sheet pan baking, breadsticks can now be made with ease on a single baking sheet, offering a more convenient method without sacrificing flavor.
Sheet pan breadsticks are a modern take on the traditional style, using a sheet pan for a quick, easy-to-make batch of breadsticks that are perfect for family meals, dinner parties, or even as a comforting snack. These breadsticks are soft and chewy on the inside, with a golden, lightly crispy exterior. The best part? They’re made using pantry staples, so you don’t need to make a trip to the store for a fancy ingredient. It’s a simple, versatile recipe that anyone can make with minimal effort and impressive results.
In this recipe, we’ll cover everything from the basic dough preparation to techniques for shaping, baking, and topping your breadsticks. Along the way, we’ll explore various customization options, such as adding different herbs, cheese, or even garlic butter, so you can tailor the breadsticks to your preferences. Whether you’re new to baking or a seasoned pro, these sheet pan breadsticks will surely become a staple in your kitchen.
Let’s dive into the ingredients and their roles in making these delicious, fluffy breadsticks!
Preparation Techniques
Making sheet pan breadsticks is a relatively straightforward process, but a few key techniques can help you achieve the best possible results. From mixing the dough to achieving the perfect rise and texture, each step contributes to the final product. Let’s break it down:
Proofing the Yeast
Before you begin mixing the dough, it’s crucial to proof the yeast. This step ensures that the yeast is alive and active, which is essential for the dough to rise properly.
How to Proof Yeast:
-
In a small bowl, combine 1 cup warm water (about 100°F or 37°C) and 1 tablespoon sugar.
-
Sprinkle the active dry yeast (about 2¼ teaspoons) into the water and stir gently.
-
Let the mixture sit for 5-10 minutes. During this time, you should see the yeast bubble and foam, indicating that it’s active and ready to use. If there’s no bubbling or foaming, the yeast may be expired, and you’ll need to use fresh yeast.
Tip:
If you’re using instant yeast, you don’t need to proof it. You can add it directly to the dry ingredients without dissolving it first.
Mixing the Dough
Once your yeast is ready, you can begin mixing the dough. This process combines the flour, salt, olive oil, and yeast mixture into a smooth dough.
How to Mix the Dough:
-
In a large mixing bowl, combine 3½ cups all-purpose flour and 1 teaspoon salt.
-
Pour in the proofed yeast mixture and 2 tablespoons olive oil.
-
Stir everything together using a wooden spoon or dough hook attachment (if you’re using a stand mixer) until the dough starts to come together.
Tip:
If the dough feels too sticky, gradually add a little more flour, one tablespoon at a time. If it feels too dry, add a little more warm water, a teaspoon at a time, until the dough comes together.
Kneading the Dough
Kneading is a vital step for developing the gluten structure in the dough, which will give your breadsticks their soft and chewy texture.
How to Knead the Dough:
-
Transfer the dough onto a floured surface and begin kneading by folding the dough over itself and pressing it down with the heels of your hands.
-
Continue kneading for about 8-10 minutes until the dough becomes smooth and elastic.
-
If you’re using a stand mixer, use the dough hook and knead on low speed for about 5-7 minutes.
Tip:
If the dough feels too sticky while kneading, add a little more flour. However, be careful not to add too much, as it can lead to dense breadsticks.
First Rise (Bulk Fermentation)
After kneading, the dough needs to rise to allow the yeast to work its magic and create air bubbles that make the breadsticks light and fluffy.
How to Let the Dough Rise:
-
Lightly oil the mixing bowl and place the dough inside.
-
Cover the bowl with a clean kitchen towel or plastic wrap and let it rise in a warm place for about 1 to 1½ hours, or until it has doubled in size.
Tip:
If your kitchen is cool, you can place the bowl in an oven with the light on or near a radiator. Just make sure the dough doesn’t get too hot, as this can kill the yeast.
Shaping the Dough
Once the dough has risen, it’s time to shape it into breadsticks. This step is key to getting evenly sized, soft breadsticks with the perfect texture.
How to Shape the Dough:
-
Punch down the dough gently to release any air bubbles that have formed.
-
Transfer the dough to a lightly floured surface and roll it out into a large rectangle (about 12×16 inches or the size of your baking sheet).
-
Using a pizza cutter or a sharp knife, cut the dough into strips (around 1 inch wide). You can make them thicker or thinner based on your preference, but keep in mind that thinner breadsticks will bake more quickly, while thicker ones will be chewier.
Tip:
For a more rustic look, you can shape the dough into individual pieces by simply tearing it by hand instead of cutting with a knife.
Second Rise (Proofing the Breadsticks)
After shaping the breadsticks, they need a second rise to give them their final puff before baking. This rise is shorter than the first, but it’s still crucial for the texture.
How to Proof the Breadsticks:
-
Line a sheet pan with parchment paper or lightly grease it.
-
Arrange the shaped breadsticks on the sheet pan, making sure they are close together but not touching.
-
Cover the pan with a clean kitchen towel and let the breadsticks rise for about 30-45 minutes, or until they have puffed up.
Tip:
This rise is important for light, fluffy breadsticks. Don’t skip it! If the breadsticks are too spread out on the pan, they won’t rise properly and may bake into flat pieces.
Preheat the Oven
While the breadsticks are proofing, preheat your oven to 375°F (190°C). This temperature allows the breadsticks to bake evenly, creating a golden brown exterior while keeping the inside soft and airy.
Baking the Breadsticks
Now comes the exciting part—baking the breadsticks! The goal is to achieve a golden-brown color with a soft, chewy center.
How to Bake the Breadsticks:
-
Once the breadsticks have finished their second rise, you can brush them with olive oil or melted butter for extra flavor and color.
-
Place the sheet pan in the preheated oven and bake for about 18-20 minutes, or until the breadsticks are golden brown and sound hollow when tapped on the bottom.
Tip:
For an extra golden crust, you can broil the breadsticks for the last 1–2 minutes of baking. Just be sure to watch them closely to avoid burning.
Adding Toppings (Optional)
Once your breadsticks are baked, you can add some extra flavor and texture by topping them with herbs, cheese, or garlic butter.
-
Garlic Butter: Mix melted butter with garlic powder (or minced fresh garlic) and brush it over the warm breadsticks.
-
Parmesan Cheese: Sprinkle freshly grated Parmesan on top right after baking for a savory, cheesy finish.
-
Fresh Herbs: Sprinkle fresh chopped parsley, basil, or rosemary on top for added flavor and a burst of color.
Cooling and Serving
Allow the breadsticks to cool slightly before serving. They’re best enjoyed warm, but they can also be stored and reheated if needed.
Sheet Pan Breadsticks Recipe
Breadsticks are one of those universally beloved foods that have stood the test of time. Often served as a side dish in Italian cuisine, these simple yet flavorful bread creations have evolved into numerous forms, from crispy and crunchy to soft and pillowy. In their early days, breadsticks—known as grissini in Italy—were a product of necessity. Invented in the 17th century in the city of Turin, Italy, they were originally designed to be a light, digestible bread for the sick and young children. They became so popular that they quickly spread across the globe, finding their place on tables not only in Italy but worldwide.
Ingredients
- 2 1/4 teaspoons active dry yeast (one packet)
- 1 teaspoon sugar
- 3/4 cup warm water (110°F/43°C)
- 2 1/2 cups all-purpose flour
- 1 teaspoon salt
- 2 tablespoons olive oil, plus more for brushing
- 1 tablespoon unsalted butter, melted
- 1/2 teaspoon garlic powder
- 1/2 teaspoon Italian seasoning (optional)
- 1/4 cup grated Parmesan cheese (optional)
Instructions
- Activate the Yeast:
In a small bowl, combine warm water, sugar, and yeast. Let it sit for about 5–10 minutes, until it becomes foamy. - Make the Dough:
In a large mixing bowl, combine the flour and salt. Add the activated yeast mixture and olive oil. Stir to combine and form a dough. - Knead the Dough:
Turn the dough onto a lightly floured surface and knead for about 5 minutes, until smooth and elastic. If the dough is sticky, add a little more flour, but be careful not to add too much. - Let the Dough Rise:
Place the dough in an oiled bowl, cover it with a damp cloth or plastic wrap, and let it rise in a warm place for 30–45 minutes, or until it doubles in size. - Preheat Oven:
Preheat your oven to 400°F (200°C). Line a sheet pan with parchment paper. - Shape the Breadsticks:
Punch down the risen dough and transfer it to the prepared sheet pan. Use your hands to stretch and press the dough into a rectangle (about 12×8 inches). If the dough resists, let it rest for a few minutes before continuing to stretch. - Cut and Brush:
Using a sharp knife or pizza cutter, slice the dough into 12–16 strips. Brush the dough with melted butter and sprinkle with garlic powder, Italian seasoning, and Parmesan cheese (if using). - Bake:
Bake in the preheated oven for 15–20 minutes, or until the breadsticks are golden brown. - Serve:
Allow the breadsticks to cool for a couple of minutes, then serve warm.
Notes
- Variations: Add your favorite herbs, such as rosemary or thyme, into the dough for extra flavor.
- Dipping Sauces: Serve with marinara sauce, garlic butter, or ranch for dipping.
- Make It Cheesy: For extra cheesy breadsticks, sprinkle shredded mozzarella cheese on top before baking.

