Simple Crispy Roast Chicken Recipe
Roast chicken has long been a favorite in kitchens worldwide, celebrated for its simplicity, versatility, and comfort factor. It’s the kind of dish that can be adapted to suit various tastes, seasons, and occasions. Whether you’re a novice cook or an experienced chef, the process of making a simple crispy roast chicken is an approachable and rewarding task that delivers a delicious, crispy-skinned, juicy bird every time.
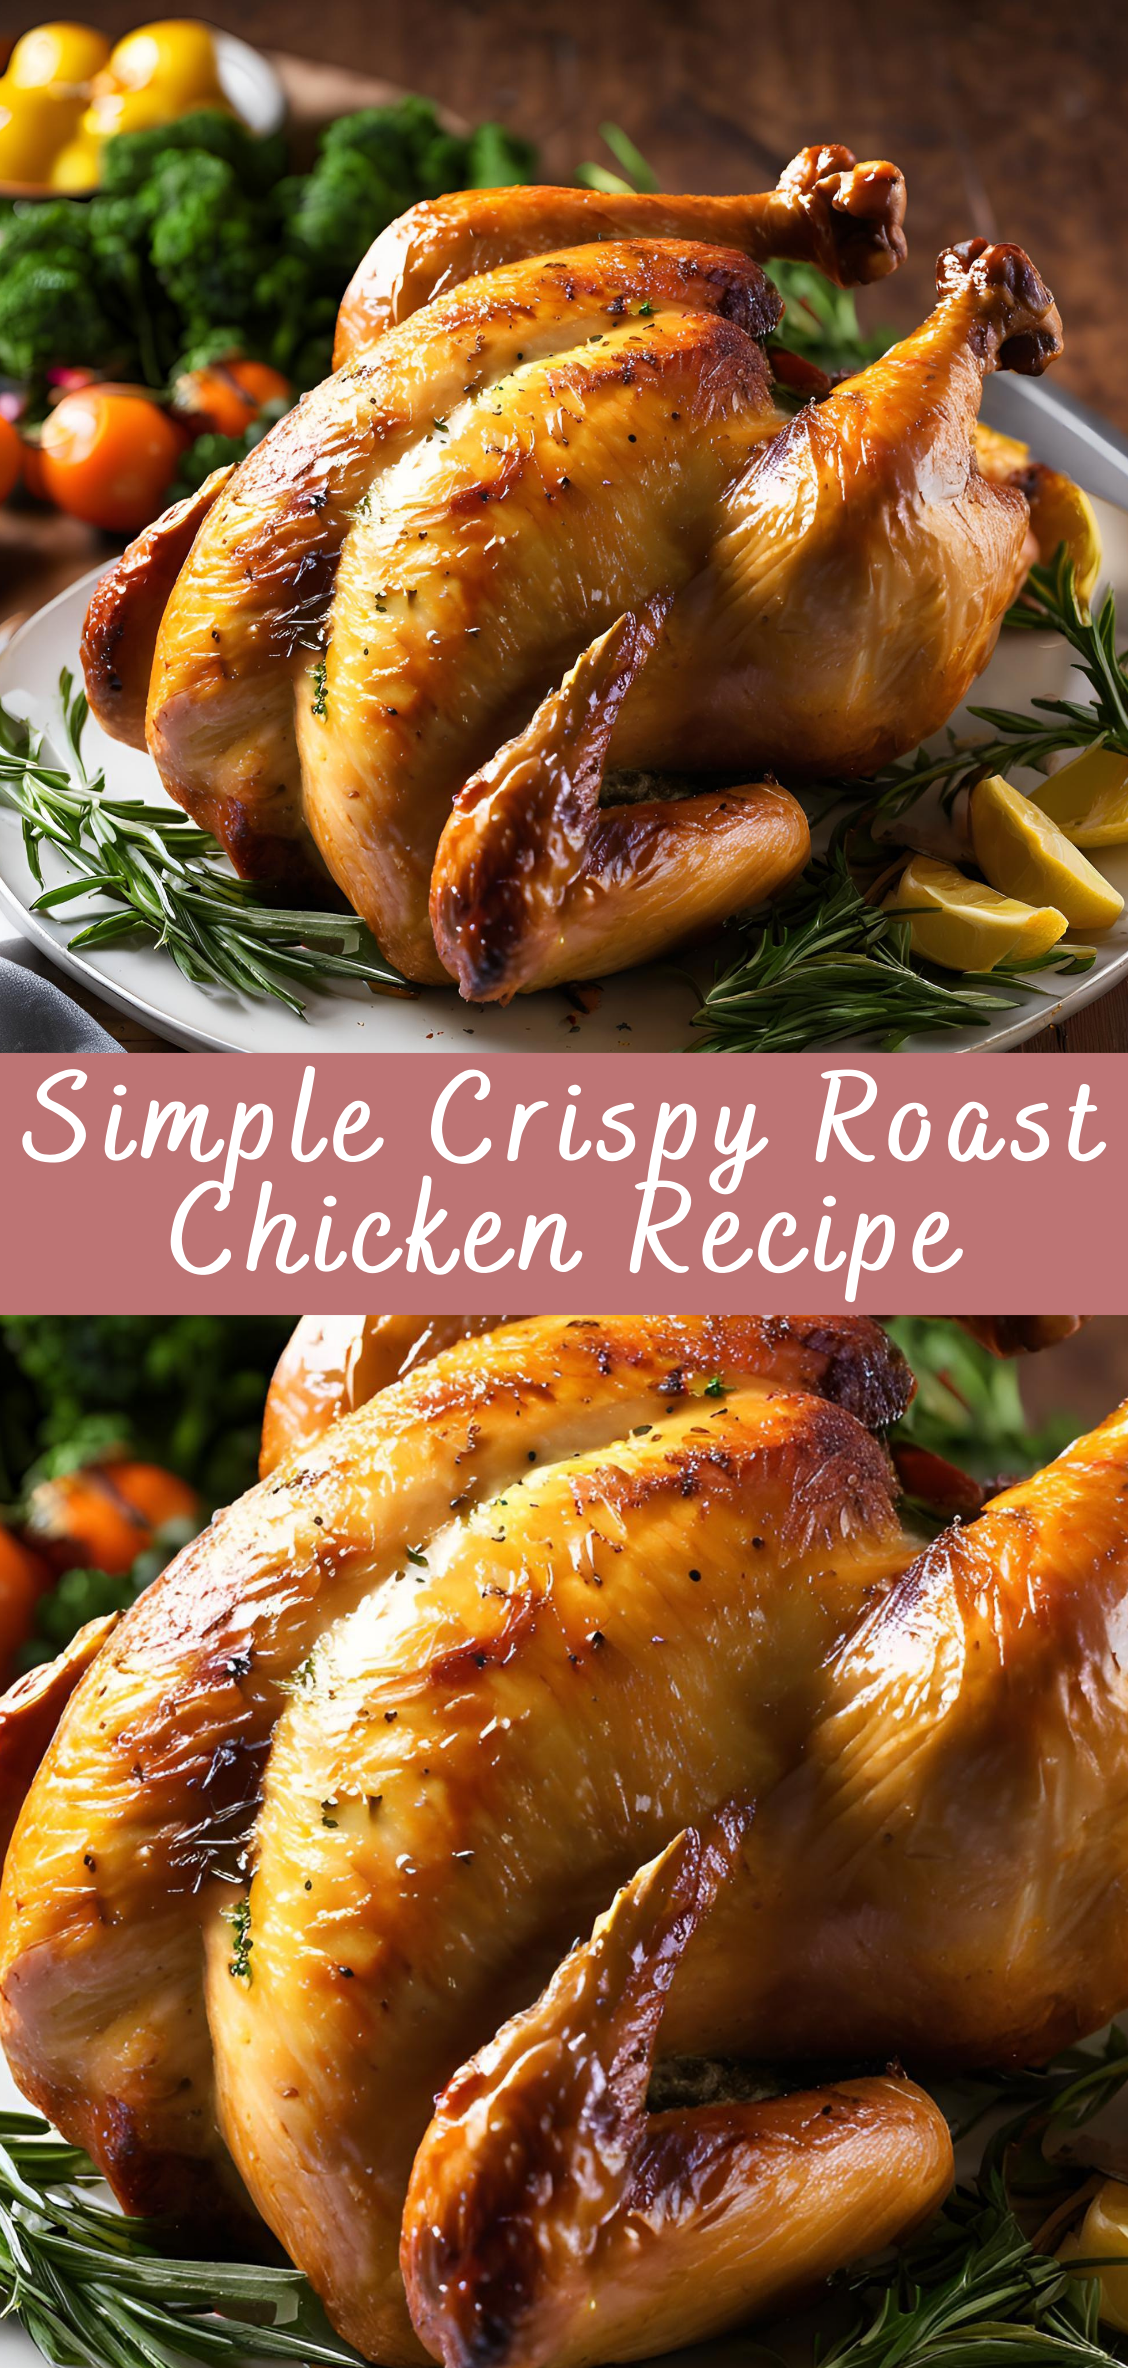
The joy of a perfectly roasted chicken is undeniable: a golden, crackling skin with juicy, tender meat inside. It’s a dish that can serve as a centerpiece for family gatherings, holiday meals, or weeknight dinners, making it an essential skill in any cook’s repertoire. But beyond its appeal as a comfort food, roast chicken is also incredibly adaptable. The seasoning choices are nearly endless, allowing cooks to incorporate flavors from various cuisines, whether it’s a Mediterranean-inspired lemon and herb roast or a smoky, paprika-heavy version from Eastern Europe.
What sets the Simple Crispy Roast Chicken apart from other methods is its focus on achieving that crisp, golden skin without a lot of complexity. The simplicity of this recipe is in its commitment to using just a few key ingredients, relying on high-quality chicken, salt, pepper, and fat to produce a perfectly roasted bird with minimal fuss.
In this recipe, we’ll dive deep into the art of roasting chicken, from selecting the right bird to understanding the key techniques that make the skin crisp and the meat tender. Whether you’re roasting a whole chicken for the first time or looking to improve your technique, this guide will walk you through every step of the process to help you achieve a roast chicken that rivals the best restaurants.
This Simple Crispy Roast Chicken recipe also highlights the significance of patience, the role of heat, and the importance of timing. While it may seem like an easy dish to prepare, the key to getting that perfect crispiness is often in the details—such as the preparation of the chicken, the use of a hot oven, and, most importantly, letting the chicken rest after it’s done cooking.
So, whether you’re serving a family dinner, entertaining guests, or meal prepping for the week, a crispy roast chicken should be part of your cooking repertoire. By the end of this article, you’ll be armed with all the knowledge you need to make a roast chicken that’s both easy to prepare and irresistibly delicious.
Preparing the Simple Crispy Roast Chicken
Now that we’ve covered the key ingredients, let’s move on to the preparation stage. Proper preparation is essential for achieving crispy skin and juicy meat.
Step 1: Preparing the Chicken
-
Remove the Chicken from the Packaging: If the chicken is frozen, ensure it is completely thawed. You can thaw it in the refrigerator for 24 hours or use a quicker method of placing it in a sealed plastic bag and submerging it in cold water for a few hours.
-
Pat the Chicken Dry: One of the key factors in getting crispy skin is drying the chicken thoroughly. Use paper towels to pat the chicken inside and out. Moisture is the enemy of crispiness, so removing excess liquid is crucial.
-
Truss the Chicken (Optional): While not mandatory, trussing the chicken (tying the legs together with kitchen twine) helps ensure even cooking. It keeps the bird’s shape intact, promoting more uniform heat distribution during roasting.
Step 2: Seasoning the Chicken
-
Rub the Chicken with Fat: Take your olive oil or melted butter and rub it generously over the entire chicken. Be sure to cover every part of the skin, including the wings and drumsticks. This helps to promote even browning and crispiness.
-
Season with Salt and Pepper: Sprinkle salt and pepper liberally on the skin of the chicken. Don’t forget to season inside the cavity of the chicken as well.
-
Add Garlic and Herbs: Mince the garlic and rub it under the skin of the chicken. This will allow the garlic to infuse the meat as it roasts. Place a couple of sprigs of your chosen herbs inside the chicken’s cavity, along with the halved lemon. This will impart flavor from the inside out.
-
Add Paprika: Sprinkle paprika evenly over the chicken’s skin. This will help achieve that gorgeous golden-brown color and impart a slight smoky flavor.
Step 3: Roasting the Chicken
-
Preheat the Oven: Preheat your oven to 425°F (220°C). A high heat is key to achieving a crispy skin, so make sure the oven is fully preheated before placing the chicken inside.
-
Place the Chicken in the Roasting Pan: Position the chicken breast side up on a roasting rack inside a roasting pan. Using a rack allows air to circulate around the chicken, ensuring even cooking and crisping.
-
Roast the Chicken: Roast the chicken for about 1.5 hours, depending on the size of the bird. A 3.5-pound chicken will typically cook in this time frame. As a general rule of thumb, cook the chicken for 20 minutes per pound.
-
Baste the Chicken (Optional): Every 30 minutes, you can baste the chicken with the pan juices to keep the skin moist and enhance the flavor. However, if you want the crispiest skin possible, you can skip this step.
-
Check for Doneness: The chicken is done when the internal temperature reaches 165°F (74°C) when measured at the thickest part of the thigh. The juices should run clear, not pink.
Step 4: Rest the Chicken
After removing the chicken from the oven, allow it to rest for at least 10 to 15 minutes. This allows the juices to redistribute within the meat, ensuring a juicy and tender roast chicken.
Serving the Simple Crispy Roast Chicken
Once the chicken has rested, it’s time to carve and serve. Here are some ideas for serving your crispy roast chicken:
1. Side Dish Pairings
-
Roasted Vegetables: Carrots, potatoes, parsnips, and Brussels sprouts all make excellent side dishes that can be roasted alongside the chicken. Toss the vegetables in olive oil, salt, and pepper, and roast them in the same oven as the chicken.
-
Mashed Potatoes: A creamy, buttery mashed potato is a classic pairing for roast chicken. It provides a rich, comforting contrast to the crispy skin and savory chicken.
-
Green Salad: A fresh green salad with a simple vinaigrette adds a refreshing contrast to the richness of the chicken.
2. Sauce Options
-
Gravy: Serve the chicken with a rich, savory gravy made from the pan drippings. You can make a simple gravy by adding flour to the drippings and whisking in chicken broth to thicken.
-
Chimichurri: For a bright, herbal contrast, serve your chicken with a fresh chimichurri sauce made with parsley, garlic, vinegar, and olive oil.
Common Mistakes and Troubleshooting
Even with the simplest recipes, things can occasionally go wrong. Don’t worry though! Most of the issues that arise when roasting a chicken are easy to fix, and they provide opportunities to learn and improve. Here are some of the most common mistakes and how to avoid or fix them.
1. The Chicken Skin Isn’t Crispy
Problem: You’ve followed the recipe to a T, but your chicken skin remains soggy or undercooked.
Solution:
-
Moisture is the Enemy of Crispiness: The most common reason for soggy skin is moisture. It’s crucial to pat the chicken dry thoroughly before roasting. Even a small amount of moisture on the skin can prevent it from crisping up. Make sure both the outside and inside of the chicken are as dry as possible before seasoning.
-
High Heat: To achieve crispy skin, the chicken needs to be roasted at a high temperature. If your chicken skin isn’t crisping up, make sure the oven is preheated to at least 425°F (220°C). Also, ensure that the oven remains at this temperature throughout the cooking process. If you have a convection oven, use the convection setting to allow for better air circulation around the chicken.
-
Too Much Basting: While basting adds flavor and moisture to the meat, it can also make the skin soggy. If you’re aiming for crispy skin, skip the basting altogether, or do so sparingly.
2. The Chicken is Dry
Problem: You’ve got a crispy, golden skin, but the chicken meat is dry and overcooked.
Solution:
-
Cooking Time: Overcooking is one of the main culprits behind dry chicken. Use a meat thermometer to check the internal temperature of the chicken. The thickest part of the chicken should reach 165°F (74°C). If you don’t have a thermometer, check the juices – they should run clear, not pink.
-
Rest the Chicken: Letting the chicken rest after it comes out of the oven is just as important as cooking it. Resting helps the juices redistribute within the meat, making it more tender and moist. Let the chicken rest for 10 to 15 minutes before carving.
3. Uneven Cooking (One Side Is More Cooked Than the Other)
Problem: The chicken cooks unevenly, and one side is more cooked than the other, leaving you with dry parts and undercooked spots.
Solution:
-
Use a Roasting Rack: A roasting rack is essential for ensuring even heat circulation around the chicken. If the chicken sits directly in the pan, the bottom will cook faster than the top. A rack elevates the bird, allowing air to circulate all around it and ensuring even cooking.
-
Rotate the Chicken: If you notice uneven browning, you can rotate the chicken halfway through the roasting time. This ensures that all sides get an equal amount of heat.
4. The Chicken Isn’t Fully Cooked
Problem: Despite following the recipe, your chicken isn’t fully cooked in the center.
Solution:
-
Oven Temperature: If your oven temperature isn’t accurate, it could result in uneven cooking. Make sure your oven is preheated to the proper temperature (425°F/220°C) and that the temperature remains stable. An oven thermometer can be a helpful tool to ensure accuracy.
-
Check the Size of the Chicken: If you’re using a larger chicken than recommended, it will take longer to cook. A 4-pound chicken may need an additional 20-30 minutes in the oven.
-
Use a Meat Thermometer: A meat thermometer is the most reliable way to check doneness. Insert it into the thickest part of the thigh, avoiding the bone, for an accurate reading.
5. The Chicken is Not Flavorful Enough
Problem: The chicken tastes bland despite using salt and pepper.
Solution:
-
Seasoning Under the Skin: To ensure that the seasoning penetrates the meat, rub the seasoning under the skin as well as on top. This allows the flavors to infuse the meat directly.
-
Marinate Overnight: If you want an extra layer of flavor, marinate the chicken overnight in your favorite seasoning mix or with olive oil, garlic, and lemon. Even an hour or two of marinating can make a difference in flavor.
-
Add Aromatics Inside the Cavity: Filling the cavity with aromatics like fresh herbs, garlic, lemon, and onions can greatly enhance the flavor. These ingredients release their flavors as the chicken cooks.
Tips for Perfecting Your Simple Crispy Roast Chicken
Now that you’ve learned about common mistakes and troubleshooting, let’s dive into some extra tips to perfect your crispy roast chicken. These tips can elevate your dish and ensure your roast chicken turns out perfectly every time.
1. Dry Brine for Extra Flavor
A dry brine is a technique where you season the chicken with salt and let it sit in the fridge for several hours (or overnight). This method helps the chicken retain moisture during roasting and enhances its flavor.
-
How to Dry Brine: Rub the chicken generously with kosher salt, making sure to season under the skin and inside the cavity. Let it rest uncovered in the fridge for at least 4 hours, but ideally 12-24 hours. The result is juicy meat and crispier skin.
2. Use a Roasting Rack
A roasting rack ensures even air circulation around the chicken, which is essential for achieving that perfectly crisp skin. It also allows the chicken to cook more evenly, as it won’t sit in its own juices during roasting.
-
Alternative: If you don’t have a roasting rack, you can use a bed of chopped vegetables, such as onions, carrots, and celery, to elevate the chicken off the bottom of the pan. This not only helps with air circulation but also infuses the chicken with additional flavor.
3. Stuff the Cavity with Aromatics
Stuffing the cavity of the chicken with aromatics like garlic, lemon, herbs, and onions can elevate the flavor of your roast chicken. As the chicken roasts, these ingredients release their flavors into the meat.
-
Tip: For an even more intense flavor, try stuffing the chicken with a whole garlic bulb cut in half, a couple of rosemary sprigs, and a lemon that has been pierced a few times with a knife. The result will be a wonderfully aromatic bird.
4. Rest the Chicken
Let your chicken rest for 10-15 minutes after it’s been taken out of the oven. Resting allows the juices to redistribute throughout the meat, making it more tender and juicy. If you carve the chicken immediately, the juices will spill out, leaving the meat dry.
5. Crisp the Skin Under the Broiler (Optional)
If the skin isn’t as crispy as you’d like, you can finish the chicken under the broiler for 3-5 minutes. This gives the skin a final golden, crispy touch. Keep an eye on the chicken to ensure it doesn’t burn.
Serving Suggestions for Your Simple Crispy Roast Chicken
Once your chicken is ready, it’s time to serve it! Here are a few creative ideas to round out your meal and pair your crispy roast chicken with complementary sides:
1. Roasted Vegetables
-
Roast vegetables such as carrots, Brussels sprouts, parsnips, or potatoes alongside the chicken. You can even use the same roasting pan for convenience. Just toss the vegetables in olive oil, salt, and pepper, and let them roast at the same time as the chicken.
2. Garlic Mashed Potatoes
-
Creamy mashed potatoes are a classic pairing for crispy roast chicken. The richness of the potatoes pairs beautifully with the crispy skin and savory chicken meat.
3. Side Salad
-
A green salad with a simple vinaigrette adds a refreshing contrast to the richness of the chicken. Consider adding fresh herbs, crumbled cheese, or nuts for extra texture and flavor.
4. Gravy
-
Use the pan drippings to make a delicious homemade gravy. Pour the drippings into a saucepan, whisk in some flour to form a roux, and add chicken broth to create a flavorful, savory sauce to serve with the chicken.
Health Benefits of Roast Chicken
Roast chicken is a healthy option for those looking for a lean source of protein. Here’s why:
1. High-Quality Protein
Chicken is an excellent source of high-quality protein, which is essential for muscle growth, tissue repair, and overall bodily functions.
2. Low in Fat
When roasted without excess fat or skin, chicken is relatively low in fat, making it a great option for those trying to maintain a healthy weight.
3. Rich in Nutrients
Chicken is also rich in B vitamins, especially niacin and vitamin B6, which help with energy production and metabolism. Additionally, it contains phosphorus, which supports bone health, and selenium, an important antioxidant.
Simple Crispy Roast Chicken Recipe
Roast chicken has long been a favorite in kitchens worldwide, celebrated for its simplicity, versatility, and comfort factor. It’s the kind of dish that can be adapted to suit various tastes, seasons, and occasions. Whether you’re a novice cook or an experienced chef, the process of making a simple crispy roast chicken is an approachable and rewarding task that delivers a delicious, crispy-skinned, juicy bird every time.
Ingredients
- 1 whole chicken (about 4-5 lbs)
- 2 tbsp olive oil (or melted butter)
- 1 tbsp kosher salt
- 1 tsp black pepper
- 1 tsp garlic powder
- 1 tsp onion powder
- 1/2 tsp dried thyme (or fresh, if available)
- 1/2 tsp dried rosemary (or fresh, if available)
- 1 lemon (cut in half)
- 4 garlic cloves (smashed)
- 1 small onion (quartered)
- 1-2 sprigs of fresh rosemary or thyme (optional, for inside the chicken)
Instructions
- Prep the Chicken:
Preheat your oven to 425°F (220°C).
Remove the chicken giblets (if any) from the cavity and pat the chicken dry with paper towels. The drier the skin, the crispier it will be. - Season the Chicken:
Rub the chicken all over with olive oil or melted butter.
Season generously with salt, pepper, garlic powder, onion powder, thyme, and rosemary, making sure to season both the outside and inside of the chicken.
Stuff the cavity of the chicken with the halved lemon, smashed garlic cloves, and onion quarters. You can also add a couple of sprigs of fresh rosemary or thyme inside for extra flavor. - Tie the Legs (Optional):
If you want to ensure the chicken cooks evenly, you can tie the legs together with kitchen twine. This step is optional but can help keep the chicken looking neat. - Roast the Chicken:
Place the chicken on a roasting rack inside a roasting pan. If you don’t have a rack, you can place the chicken directly in the pan, but the rack helps air circulate around the chicken for crispier skin.
Roast in the preheated oven for about 1 hour to 1 hour 15 minutes, or until the chicken reaches an internal temperature of 165°F (74°C) in the thickest part of the thigh and the skin is golden brown and crispy.
Halfway through the roasting time, you can baste the chicken with its own juices (optional), but it’s not necessary for crispiness. - Rest the Chicken:
Once the chicken is done, remove it from the oven and let it rest for 10 minutes before carving. This allows the juices to redistribute and keeps the meat moist. - Serve:
Carve the chicken and serve with your favorite side dishes.
Notes
- Crispier Skin: To ensure the skin is as crispy as possible, make sure the chicken is very dry before seasoning, and don’t cover it with foil while roasting.
- Flavor Variations: You can also add additional herbs (such as sage, parsley, or oregano) to the seasoning for a different flavor profile.
- Cooking Time: The exact cooking time may vary depending on the size of your chicken. A good rule of thumb is 20 minutes per pound at 425°F.

