The Best Sweet Yeast Roll Dough Recipe
There’s something timeless and deeply comforting about the aroma of fresh yeast rolls rising in a warm kitchen, filling the air with the promise of something soft, golden, and irresistibly sweet. Whether served as part of a holiday dinner, slathered in butter at Sunday brunch, or enjoyed on their own as a simple treat, sweet yeast rolls are a classic staple in home baking—and for good reason.
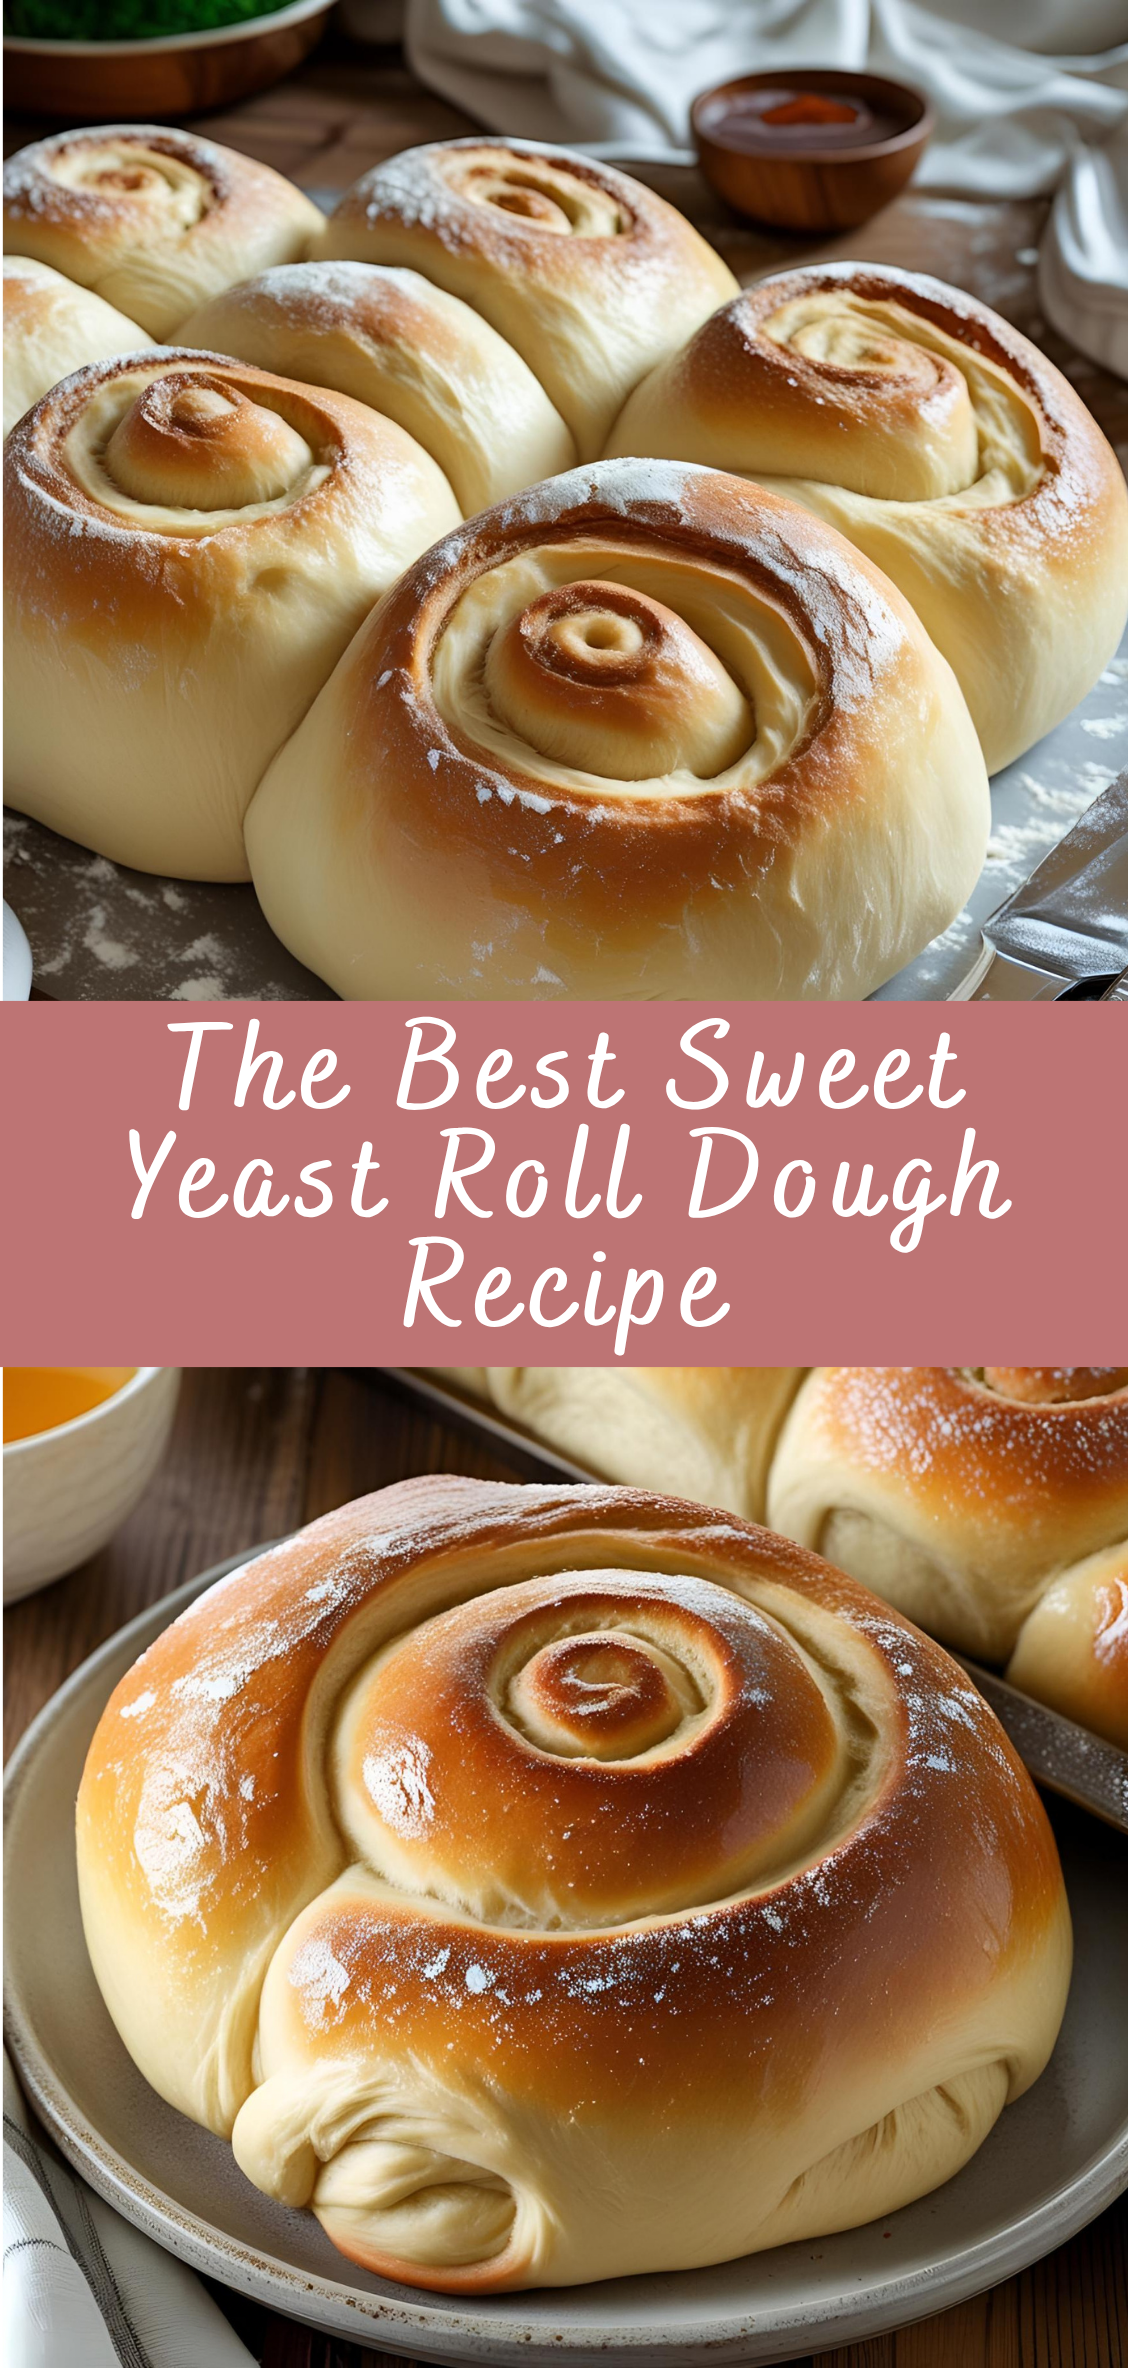
At their best, sweet yeast rolls are light yet rich, with a tender crumb and a delicate sweetness that lingers without overwhelming. The texture should be pillowy and moist, with a gentle pull that speaks to hours of slow proofing and careful kneading. But achieving that ideal balance—between structure and softness, sweetness and complexity—requires more than just following a list of ingredients. It requires understanding the dough, the yeast, the process, and the patience involved in crafting a truly exceptional batch.
That’s where this guide comes in.
This isn’t just another sweet roll recipe. This is a comprehensive baking manual designed to walk you through the entire process of making the best sweet yeast roll dough from scratch—step by step, with detailed explanations, troubleshooting advice, and expert tips drawn from both traditional and modern baking techniques. Whether you’re a beginner who’s never activated yeast before or a seasoned baker looking to refine your skills, this guide is tailored to help you produce bakery-level rolls in your own kitchen.
Why Sweet Yeast Rolls Matter
Sweet yeast rolls aren’t just delicious—they’re versatile. You can serve them as breakfast rolls with jam and honey, use the dough as a base for cinnamon rolls or sticky buns, shape it into braided loaves or cloverleaf rolls, or pair them with savory meals to create contrast on the plate. The dough’s slight sweetness complements everything from roasted turkey to spiced apple butter, making it a true workhorse in the world of homemade breads.
Beyond their flavor and utility, sweet yeast rolls offer something more profound: a connection to tradition. Across cultures and generations, enriched yeast doughs have appeared in countless forms—brioche in France, pan de leche in Latin America, challah in Jewish cuisine, and sweet milk rolls in the American South. Each version tells a story of celebration, family, and the joys of slowing down to bake from scratch.
What Makes This Recipe “The Best”
There are thousands of sweet roll dough recipes online and in cookbooks. What makes this one special?
-
Balanced Sweetness: Just enough sugar to be pleasing, but not cloying—so you can eat them with butter, honey, or even cheese.
-
Enriched, Not Overloaded: This recipe uses milk, butter, and eggs in just the right proportions to create a tender, rich dough without making it heavy.
-
Flexible Dough Structure: You can shape this dough into classic dinner rolls, spiral buns, pull-apart rolls, or filled pastries. It holds its shape and flavor across styles.
-
Make-Ahead Friendly: With proper proofing, refrigeration, and storage techniques (all covered in this guide), you can prepare the dough ahead of time and bake fresh rolls with ease.
-
Beginner-Proof Techniques: Every step is carefully explained, from blooming yeast to forming rolls, to help you build confidence and master the method.
Step-by-Step Instructions
Step 1: Warm the Milk and Activate the Yeast
Goal: Wake up the yeast and allow it to proof for a strong rise.
-
Warm the milk to between 100–110°F (38–43°C). Use a thermometer if possible. If it’s too hot, let it cool before adding yeast (above 120°F can kill yeast).
-
Pour the warm milk into a large bowl.
-
Add 2¼ tsp active dry yeast and 1 tablespoon of the sugar. Stir gently.
-
Let the mixture sit for 5–10 minutes until it becomes foamy and bubbly.
🛈 Troubleshooting:
If no foam appears, your yeast may be expired or your milk was too hot/cold. Discard and start again.
Step 2: Add Wet Ingredients
Goal: Mix in eggs, butter, and remaining sugar to enrich the dough.
-
Once the yeast is activated, add:
-
Remaining sugar (approx. 3 tbsp)
-
⅓ cup softened butter
-
2 large eggs, slightly beaten
-
Optional: 1 tsp vanilla or 1 tsp orange zest for added flavor
-
-
Whisk or stir everything together until fully combined. The mixture will look slightly lumpy or separated—that’s normal.
Step 3: Mix in the Dry Ingredients
Goal: Form a shaggy dough that begins to come together.
-
Add 1 tsp salt and the first 2½ cups of flour.
-
Stir with a wooden spoon or spatula until the mixture begins to thicken and form a sticky dough.
-
Add additional flour, ½ cup at a time, until the dough is soft but not overly sticky.
-
You may not need the full 4 cups. Aim for a soft, elastic consistency.
-
🛈 Texture tip:
The dough should stick slightly to your finger but pull away from the bowl. Too dry, and the rolls will be dense; too wet, and they’ll be hard to shape.
Step 4: Knead the Dough
Goal: Develop gluten for structure and elasticity.
Option A: By Hand
-
Turn the dough out onto a lightly floured surface.
-
Knead for 8–10 minutes, using the heel of your hand to push the dough, then fold it over and repeat.
-
Add light flour as needed, but avoid over-flouring.
Option B: Stand Mixer
-
Attach the dough hook and knead on medium-low speed for 5–7 minutes.
-
Stop when the dough is smooth, elastic, and slightly tacky.
🛈 Windowpane Test:
Take a small piece of dough and stretch it between your fingers. If it forms a thin, translucent membrane without tearing, it’s ready.
Step 5: First Rise (Bulk Fermentation)
Goal: Allow the dough to double in size and develop flavor.
-
Place the kneaded dough in a greased bowl, turning it once to coat.
-
Cover with a damp towel or plastic wrap.
-
Let rise in a warm, draft-free area for 1½ to 2 hours, or until doubled in size.
🛈 Cold option:
You can refrigerate the dough overnight at this stage. This enhances flavor and makes shaping easier.
Step 6: Punch Down and Shape
Goal: Release air and prepare the dough for final shaping.
-
Gently deflate the dough by pressing it down.
-
Transfer to a lightly floured surface.
-
Divide dough into 12–16 equal pieces depending on desired size.
-
Shape each piece into a smooth ball by pulling edges under and pinching closed underneath.
-
Arrange in a greased baking dish, spaced slightly apart for pull-apart rolls.
🛈 Alternative shapes:
-
Knots: Roll each piece into a rope, tie loosely into a knot.
-
Cloverleaf: Place three small balls per muffin tin compartment.
Step 7: Second Rise (Proofing)
Goal: Let the shaped dough rise again for the perfect final texture.
-
Cover the tray loosely with plastic wrap or a damp cloth.
-
Let the rolls rise in a warm area for 30–45 minutes, or until puffy and slightly touching.
🛈 Don’t overproof!
If the rolls rise too long, they may deflate in the oven. A light poke should leave a small dent that slowly springs back.
Step 8: Bake the Rolls
Goal: Bake to golden perfection with a tender, fluffy crumb.
-
Preheat the oven to 350°F (175°C).
-
Optional: Brush rolls with egg wash (1 beaten egg with 1 tbsp milk) for a shiny finish.
-
Bake for 18–22 minutes, or until the tops are golden brown and internal temp reaches 190°F (88°C).
-
Remove from oven and brush with melted butter for a soft, glossy finish.
Step 9: Cool and Serve
Let the rolls cool slightly before serving. Enjoy warm with butter, honey, or jam. These rolls are best eaten fresh but can be stored and reheated easily (see next section).
Flavor Variations and Add-Ins
This dough is extremely versatile, and with a few adjustments, it can become the base for multiple sweet (and even savory) rolls.
Honey Butter Rolls
Add 2 tablespoons of honey to the dough with the warm milk. After baking, brush the tops with a mixture of melted butter and honey for a glossy, sweet finish.
Cinnamon-Sugar Swirl Rolls
Roll the dough out into a large rectangle after the first rise. Brush with melted butter, then sprinkle with a mixture of cinnamon and brown sugar. Roll it into a log, slice into rounds, and place in a baking dish for homemade cinnamon rolls.
You can also add a cream cheese glaze or powdered sugar icing after baking for extra sweetness.
Orange or Lemon Rolls
Add 1 tablespoon of finely grated orange or lemon zest to the dough with the wet ingredients. For a citrus glaze, mix powdered sugar with fresh juice and drizzle over cooled rolls.
Raisin or Cranberry Rolls
After the dough has come together but before kneading, fold in ½ cup of raisins, dried cranberries, or chopped dried apricots. These will hydrate and soften during rising and baking.
To prevent fruit from sinking, toss them in a bit of flour before mixing them into the dough.
Savory Variation
Reduce the sugar to 2 tablespoons, omit any vanilla, and add chopped fresh herbs, shredded cheese, or roasted garlic. These savory rolls make an excellent side for soups and stews.
Troubleshooting Common Problems
Dough Won’t Rise
Check your yeast first—if the mixture doesn’t foam in Step 1, the yeast may be expired or the milk may have been too hot or too cold. Always use fresh, properly stored yeast and warm milk around 100–110°F.
If the dough isn’t rising during the proof, make sure it’s in a warm enough spot. Cold kitchens slow fermentation. Try placing the bowl in an unheated oven with the light on or near a warm appliance.
Rolls Are Dense or Heavy
This often results from too much flour or under-kneading. The dough should be soft and slightly tacky, not stiff. If you knead by hand, aim for a good 8–10 minutes. Underproofing (not letting the dough rise enough) is another common cause of dense rolls.
Rolls Flatten or Collapse After Baking
This can be caused by overproofing—letting the dough rise too long during the second rise. Overproofed rolls inflate with gas but collapse in the oven. Stick to 30–45 minutes for the final proof and use the “poke test”: gently press a finger into the dough. If it springs back slowly but doesn’t stay sunken, it’s ready to bake.
Crust Is Too Hard
This could be from overbaking or too high a temperature. Always preheat the oven and check rolls a few minutes before the expected baking time. If they seem too crusty after cooling, reheating with a damp towel in the microwave can help soften them.
Using This Dough for Other Recipes
The versatility of this dough allows it to be the foundation for several other baked goods.
Sweet Buns or Sticky Buns
Roll the dough out after the first rise and spread it with butter, brown sugar, and nuts. Roll it into a log, slice into thick buns, and bake in a dish coated with caramel sauce or brown sugar glaze. Turn them upside down after baking for classic sticky buns.
Braided Loaves
Divide the dough into three equal portions after the first rise. Roll each into a long rope and braid together. Let rise and bake on a sheet pan for a beautiful centerpiece loaf.
Filled Pastries
After rolling out the dough, fill with sweetened cream cheese, fruit preserves, or nut spreads. Fold over and seal, then proof and bake for pastries or breakfast rolls.
Holiday Rolls
Shape the dough into wreaths or twist into decorative knots for festive occasions. Glaze with an egg wash and top with sugar pearls, sliced almonds, or colorful sprinkles for a celebratory look.
The Best Sweet Yeast Roll Dough Recipe
There’s something timeless and deeply comforting about the aroma of fresh yeast rolls rising in a warm kitchen, filling the air with the promise of something soft, golden, and irresistibly sweet. Whether served as part of a holiday dinner, slathered in butter at Sunday brunch, or enjoyed on their own as a simple treat, sweet yeast rolls are a classic staple in home baking—and for good reason.
Ingredients
- 1 cup warm whole milk (110°F / 43°C)
- 2¼ tsp (1 packet) active dry yeast or instant yeast
- ⅓ cup granulated sugar
- ¼ cup unsalted butter, melted and slightly cooled
- 1 large egg, room temperature
- 1 tsp salt
- 3½ to 4 cups all-purpose flour (start with 3½, add more as needed)
- Optional: 1 tbsp honey (for added flavor)
- Optional: 2 tbsp dry milk powder (for extra softness)
- For brushing:
- 2 tbsp melted butter (for brushing after baking)
Instructions
1. Activate the Yeast (if using active dry):
- In a large mixing bowl or stand mixer bowl, combine warm milk, sugar, and yeast.
- Let sit for 5–10 minutes until foamy. (Skip this step if using instant yeast; mix everything together in step 2.)
2. Mix the Dough:
- Add melted butter, egg, and salt to the yeast mixture.
- Add 3½ cups flour (and dry milk powder if using). Mix until a soft dough forms.
3. Knead:
- Knead by hand for 8–10 minutes or with a dough hook for 5–6 minutes.
- Add more flour 1 tablespoon at a time if the dough is too sticky—it should be soft, slightly tacky but not wet.
4. First Rise:
- Place dough in a lightly greased bowl. Cover with a towel or plastic wrap.
- Let rise in a warm place for 1 to 1.5 hours, or until doubled in size.
5. Shape the Rolls:
- Punch down the dough and divide into 12–16 equal pieces.
- Shape into smooth balls and place in a greased 9x13-inch baking pan or on a parchment-lined sheet.
6. Second Rise:
- Cover and let rise for another 30–45 minutes, or until puffy.
7. Bake:
- Preheat oven to 375°F (190°C).
- Bake for 15–20 minutes, or until golden brown on top.
8. Finish:
- Brush warm rolls with melted butter.
Notes
- Make Ahead: After shaping, refrigerate overnight. Let come to room temp and rise before baking.
- Freezing: Baked rolls can be frozen. Reheat at 300°F for 10–12 minutes.
- Flavor Variations: Add orange zest, cinnamon, or vanilla extract to the dough for a twist.
- Softness Tip: Don’t add too much flour. A slightly sticky dough makes the softest rolls.

