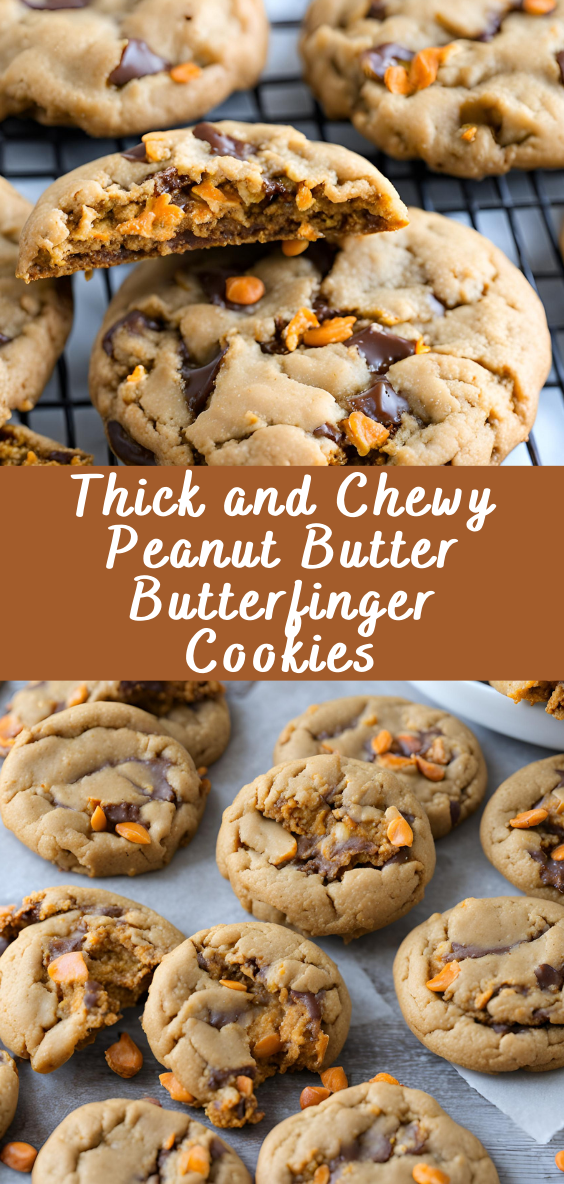
Thick and Chewy Peanut Butter Butterfinger Cookies
Introduction to Peanut Butter Butterfinger Cookies
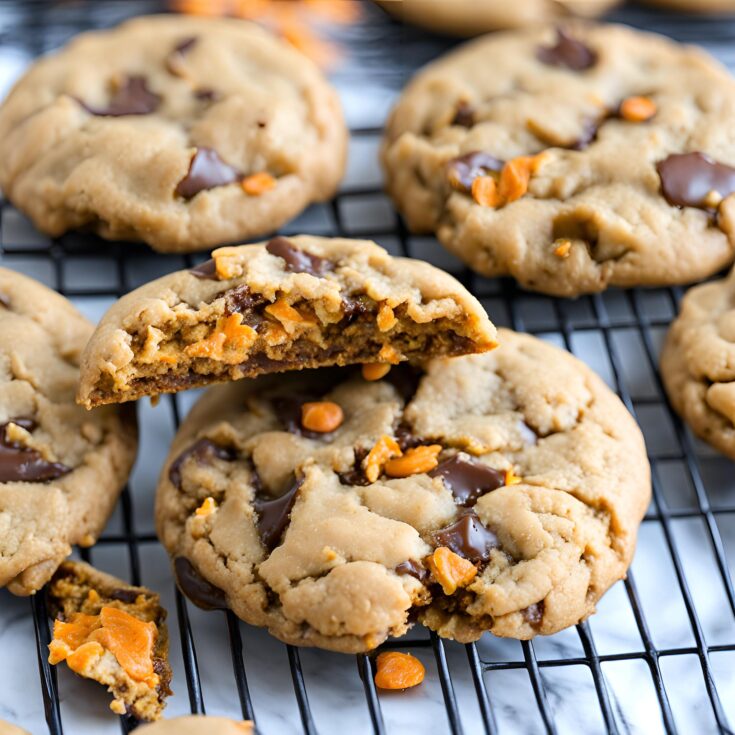
Are you ready to dive into the world of thick, chewy, and utterly irresistible cookies? If you’re a fan of peanut butter and Butterfingers, then you’re in for a real treat. These cookies are a perfect marriage of rich, creamy peanut butter and the crunchy sweetness of Butterfinger candy bars. The result? A cookie that’s thick, chewy, and packed with flavor in every bite.
What makes these cookies so special is their texture. They strike a balance between softness and chewiness, making them the perfect companion for a glass of cold milk or a warm cup of coffee. Whether you’re a seasoned baker or a newbie in the kitchen, this recipe will guide you step by step to create the perfect batch of Peanut Butter Butterfinger Cookies.
Key Ingredients
To achieve the perfect Peanut Butter Butterfinger Cookies, it’s crucial to understand the role of each ingredient. Let’s break down the key components:
The Importance of Peanut Butter
Peanut butter is the star of this show. It adds not only flavor but also moisture and richness to the cookies. Opt for creamy peanut butter for a smooth texture, but if you prefer a bit of crunch, you can use crunchy peanut butter instead. The fat content in peanut butter helps to keep the cookies tender and chewy, so don’t skimp on this ingredient!
Butterfingers: The Crunch Factor
Butterfingers are what set these cookies apart from your typical peanut butter cookie. The crispity, crunchity texture of Butterfinger candy bars adds a delightful contrast to the chewy cookie base. Chop the Butterfingers into small pieces to ensure you get a little bit of crunch in every bite.
Other Essential Ingredients
- Butter: Adds richness and helps with the chewiness of the cookies.
- Brown Sugar: Provides moisture and a slight caramel flavor, contributing to the cookie’s chewy texture.
- Granulated Sugar: Balances the sweetness and aids in creating that golden-brown exterior.
- Eggs: They help bind the ingredients together and add structure to the cookies.
- Vanilla Extract: Enhances the flavors of both the peanut butter and Butterfingers.
Ingredient Substitutions
If you’re looking to tweak the recipe to suit your dietary needs or preferences, here are some alternatives:
Healthier Alternatives
- Peanut Butter: Substitute with almond butter or sunflower seed butter for a different flavor profile.
- Butter: Use coconut oil or a plant-based butter substitute to reduce saturated fat content.
- Sugar: Opt for coconut sugar or a sugar substitute to lower the glycemic index.
Vegan and Gluten-Free Options
- Eggs: Replace with flax eggs (1 tablespoon flaxseed meal + 3 tablespoons water = 1 egg) for a vegan option.
- Flour: Use a gluten-free flour blend to make the cookies suitable for those with gluten sensitivities.
Preparing the Dough
Now that you have your ingredients ready, it’s time to get baking. Follow these steps to create the perfect cookie dough:
Mixing the Wet Ingredients
Start by creaming the butter and sugars together until the mixture is light and fluffy. This step is crucial for incorporating air into the dough, which will help the cookies rise and achieve that thick, chewy texture. Next, add in the peanut butter, eggs, and vanilla extract, and continue mixing until everything is well combined.
Combining the Dry Ingredients
In a separate bowl, whisk together the flour, baking soda, and a pinch of salt. Gradually add the dry ingredients to the wet mixture, mixing just until combined. Overmixing can lead to tough cookies, so be gentle!
Folding in the Butterfingers
Finally, fold in the chopped Butterfinger pieces. Make sure they are evenly distributed throughout the dough so that every cookie gets its fair share of crunch.
Baking Instructions
With your dough prepared, it’s time to move on to baking. Here’s how to get those cookies just right:
Shaping the Cookies
Using a cookie scoop or spoon, portion out the dough onto a baking sheet lined with parchment paper. Space the cookies about 2 inches apart, as they will spread slightly during baking. For extra-thick cookies, you can gently press down on the dough balls to flatten them slightly before baking.
Optimal Baking Time and Temperature
Preheat your oven to 350°F (175°C). Bake the cookies for 10-12 minutes, or until the edges are golden brown but the centers are still soft. Remember, the cookies will continue to cook slightly as they cool, so it’s better to underbake them slightly if you prefer a chewier texture.
Tips for Perfect Cookies
Achieving the perfect thickness and chewiness in your cookies takes a bit of practice, but these tips will help:
Tips for Achieving the Perfect Thickness
- Chilling the Dough: Chilling the dough for at least 30 minutes before baking will help prevent the cookies from spreading too much, resulting in a thicker cookie.
- Proper Cookie Placement on the Tray: Ensure that your cookies are evenly spaced and not too close together, which allows for even baking and proper airflow.
How to Keep Your Cookies Chewy
- Using Brown Sugar: Brown sugar is key to keeping your cookies chewy. The higher moisture content in brown sugar, compared to granulated sugar, helps maintain that soft texture.
- Baking Time and Storage Tips: Slightly underbaking your cookies and storing them in an airtight container will keep them chewy for days.
Best Ways to Serve Peanut Butter Butterfinger Cookies
These cookies are delicious on their own, but here are some ideas to take them to the next level:
Pairing with Beverages
A cold glass of milk is the classic pairing for these cookies, but they’re also great with coffee or hot chocolate. The rich flavors of the cookies complement the bitterness of coffee perfectly.
Adding Ice Cream for a Decadent Dessert
For a truly indulgent treat, sandwich a scoop of vanilla ice cream between two cookies. The combination of warm, chewy cookies and cold, creamy ice cream is simply divine.
Storing Your Cookies for Freshness
To ensure your cookies stay fresh and chewy, proper storage is essential:
Short-Term Storage
Store your cookies in an airtight container at room temperature. They should stay fresh for up to a week.
Long-Term Freezing Options
If you want to enjoy your cookies later, they freeze well. Place the cooled cookies in a single layer on a baking sheet, freeze until solid, then transfer to a freezer-safe bag or container. They’ll keep for up to 3 months. To enjoy, simply thaw at room temperature or warm them in the oven for a few minutes.
Nutritional Information
Curious about the nutritional content of these cookies? Here’s a quick breakdown:
Calorie Count
Each cookie is approximately 150-200 calories, depending on the size and specific ingredients used.
Protein and Fat Content
Peanut butter is a great source of protein and healthy fats, with each cookie providing about 4-6 grams of protein and 8-10 grams of fat.
Allergens and Dietary Concerns
Before indulging, it’s important to consider any potential allergens:
Nut Allergies
Since these cookies contain peanut butter, they are not suitable for those with peanut allergies. You could experiment with nut-free butter alternatives, but the flavor and texture will be different.
Gluten Considerations
If you’re using regular flour, these cookies contain gluten. For a gluten-free option, substitute with a gluten-free flour blend.
Final Thoughts on Peanut Butter Butterfinger Cookies
Peanut Butter Butterfinger Cookies are a must-try for anyone who loves a good cookie. The combination of peanut butter’s creaminess and Butterfinger’s crunch creates a texture that’s hard to resist. Plus, with the tips and variations provided, you can easily customize these cookies to fit your preferences or dietary needs. Whether you’re baking for a special occasion or just to satisfy a sweet craving, these cookies are sure to impress.
Frequently Asked Questions
Can I make these cookies without Butterfingers?
Yes, you can substitute the Butterfingers with another crunchy candy, or even chocolate chips if you prefer. The cookies will still be delicious, but they’ll have a different texture.
How do I prevent my cookies from spreading too much?
Chilling the dough before baking and ensuring that your baking sheet isn’t too warm can help prevent the cookies from spreading too much.
What’s the best way to soften butter quickly?
If you’re in a hurry, you can cut the butter into small pieces and let it sit at room temperature for about 15 minutes. Alternatively, microwave the butter in short bursts (5-10 seconds) until softened, but not melted.
Can I use crunchy peanut butter instead of creamy?
Absolutely! Crunchy peanut butter will add extra texture to your cookies, giving them even more of a bite.
How long do these cookies stay fresh?
Stored in an airtight container at room temperature, these cookies will stay fresh for up to a week. If you need to store them longer, consider freezing them.
Thick and Chewy Peanut Butter Butterfinger Cookies
Are you ready to dive into the world of thick, chewy, and utterly irresistible cookies? If you're a fan of peanut butter and Butterfingers, then you're in for a real treat. These cookies are a perfect marriage of rich, creamy peanut butter and the crunchy sweetness of Butterfinger candy bars. The result? A cookie that’s thick, chewy, and packed with flavor in every bite.
Ingredients
- 3/4 cup butter, softened (1 and 1/2 sticks)
- 1/2 cup granulated sugar
- 1/2 cup brown sugar, packed
- 1 cup peanut butter, don’t use natural pb
- 1 large egg
- 1 & 1/2 teaspoons vanilla
- 1 & 1/2 cups all purpose flour, spooned and leveled
- 1/2 teaspoon baking soda
- 1/2 teaspoon baking powder
- 1/4 teaspoon kosher salt
- 16 ounces butterfinger, chopped, see note*
Instructions
In a large bowl or stand mixer, beat 3/4 cup softened butter (this is 1 and 1/2 sticks) until it is smooth and creamy, scraping the sides of the bowl.
Add 1/2 cup sugar and 1/2 cup packed brown sugar. Beat well for about 2 minutes until it is fluffy, scraping the sides. There should be no chunks of butter.
Add 1 cup peanut butter.
Add 1 egg and 1 and 1/2 teaspoons vanilla. Beat until combined, scraping the sides of the bowl occasionally.
Add 1 and 1/2 cups all-purpose flour, making sure you spoon the flour into the measuring cup and level off. Add the flour to the bowl, but don't stir it in yet. Add 1/2 teaspoon baking soda, 1/2 teaspoon baking powder, and 1/4 teaspoon kosher salt on top of the flour. Stir it in with your teaspoon to combine the dry ingredients together a bit, making sure to break up any clumps.
Turn the mixer on to combine the dry ingredients into the dough. Don't overdo it! Once the dough barely starts to come together (with some flour still visible), stop and scrape the sides and bottom of the bowl. (Over mixing cookie dough results in tough cookies.)
Add 16 ounces of chopped butterfingers and mix in until just barely incorporated. You can use 2 (8-ounce) bags of "Butterfinger Bits" (found in the baking aisle), but this is kind of a rare find. See notes* for how many butterfingers to use if you can't find the Bits. See photos for the level of coarseness we're going for, if you're chopping.
Cover the bowl and chill the dough for 15 minutes to an hour.** (Or up to 24 hours!) Try not to eat it all. I think this is some of my favorite cookie dough EVER, no lie. It is peanut buttery crispity perfection.
Preheat the oven to 350 degrees F. Line two baking sheets with parchment paper or a silicone baking mat.
Shape the dough into 2 inch balls. I used this cookie scoop and seriously overpacked it.
Place on a baking sheet at least an inch or two apart from each other. I added 12 cookies to a 12×18 inch half baking sheet.
Bake the cookies at 350 for about 10 minutes.
The cookies are done baking when the edges are set. They should not be shiny in the middle. They will be very puffy, but should have spread a bit from their ball-shape. If they have not spread much, use your spatula to gently press on the top of each cookie to flatten them a bit. Do this after you take them out of the oven, or even 2 minutes before they are done. Top each cookie with more butterfinger crumbles, if you have any left.
Let the cookies set up on the pan for at least 5 minutes before transferring to a wire rack to cool completely.
Strange note: I do not love eating these cookies warm. (Besides Sugar cookies, I think this is a first for me!) The butterfinger melts in the oven and I don't love the chewy texture. I prefer to wait until they are approaching room temperature before eating.
This recipe makes about 25 cookies. Store leftovers in a tightly sealed container for up to 3 days.
The dough freezes very well. Place cookie dough balls in a ziplock bag and freeze for up to 3 months. Bake on a pan straight from frozen (as directed plus another minute or two), and be prepared to press down on them with your spatula after baking to help them spread.
Notes
*You need 16 ounces of crushed butterfinger for these cookies. This is:
- Two (8-ounce) bags of Butterfinger Bits (found in baking aisle)
- 24 “fun size” Butterfingers (each fun size is about 0.8 oz)
- 8 full size Butterfingers (each full size is about 1.9 oz)
The bag of Butterfinger Bits and the regular candy bars have the EXACT same ingredient list. I bet you 10 bucks they just crush them up in the factory and throw it in a bag with no other changes. Which we can certainly do on our own!
**Usually when I tell you to chill the dough on a cookie recipe, it’s absolutely essential. But you can bend the rules on this recipe. I like to give it at least a 15 minute chill to help the flavors develop and make the dough easier to work with (it’s quite soft). But you can skip the chill completely if you want, the cookies will bake up just fine!
Nutrition Information:
Amount Per Serving: Calories: 160

