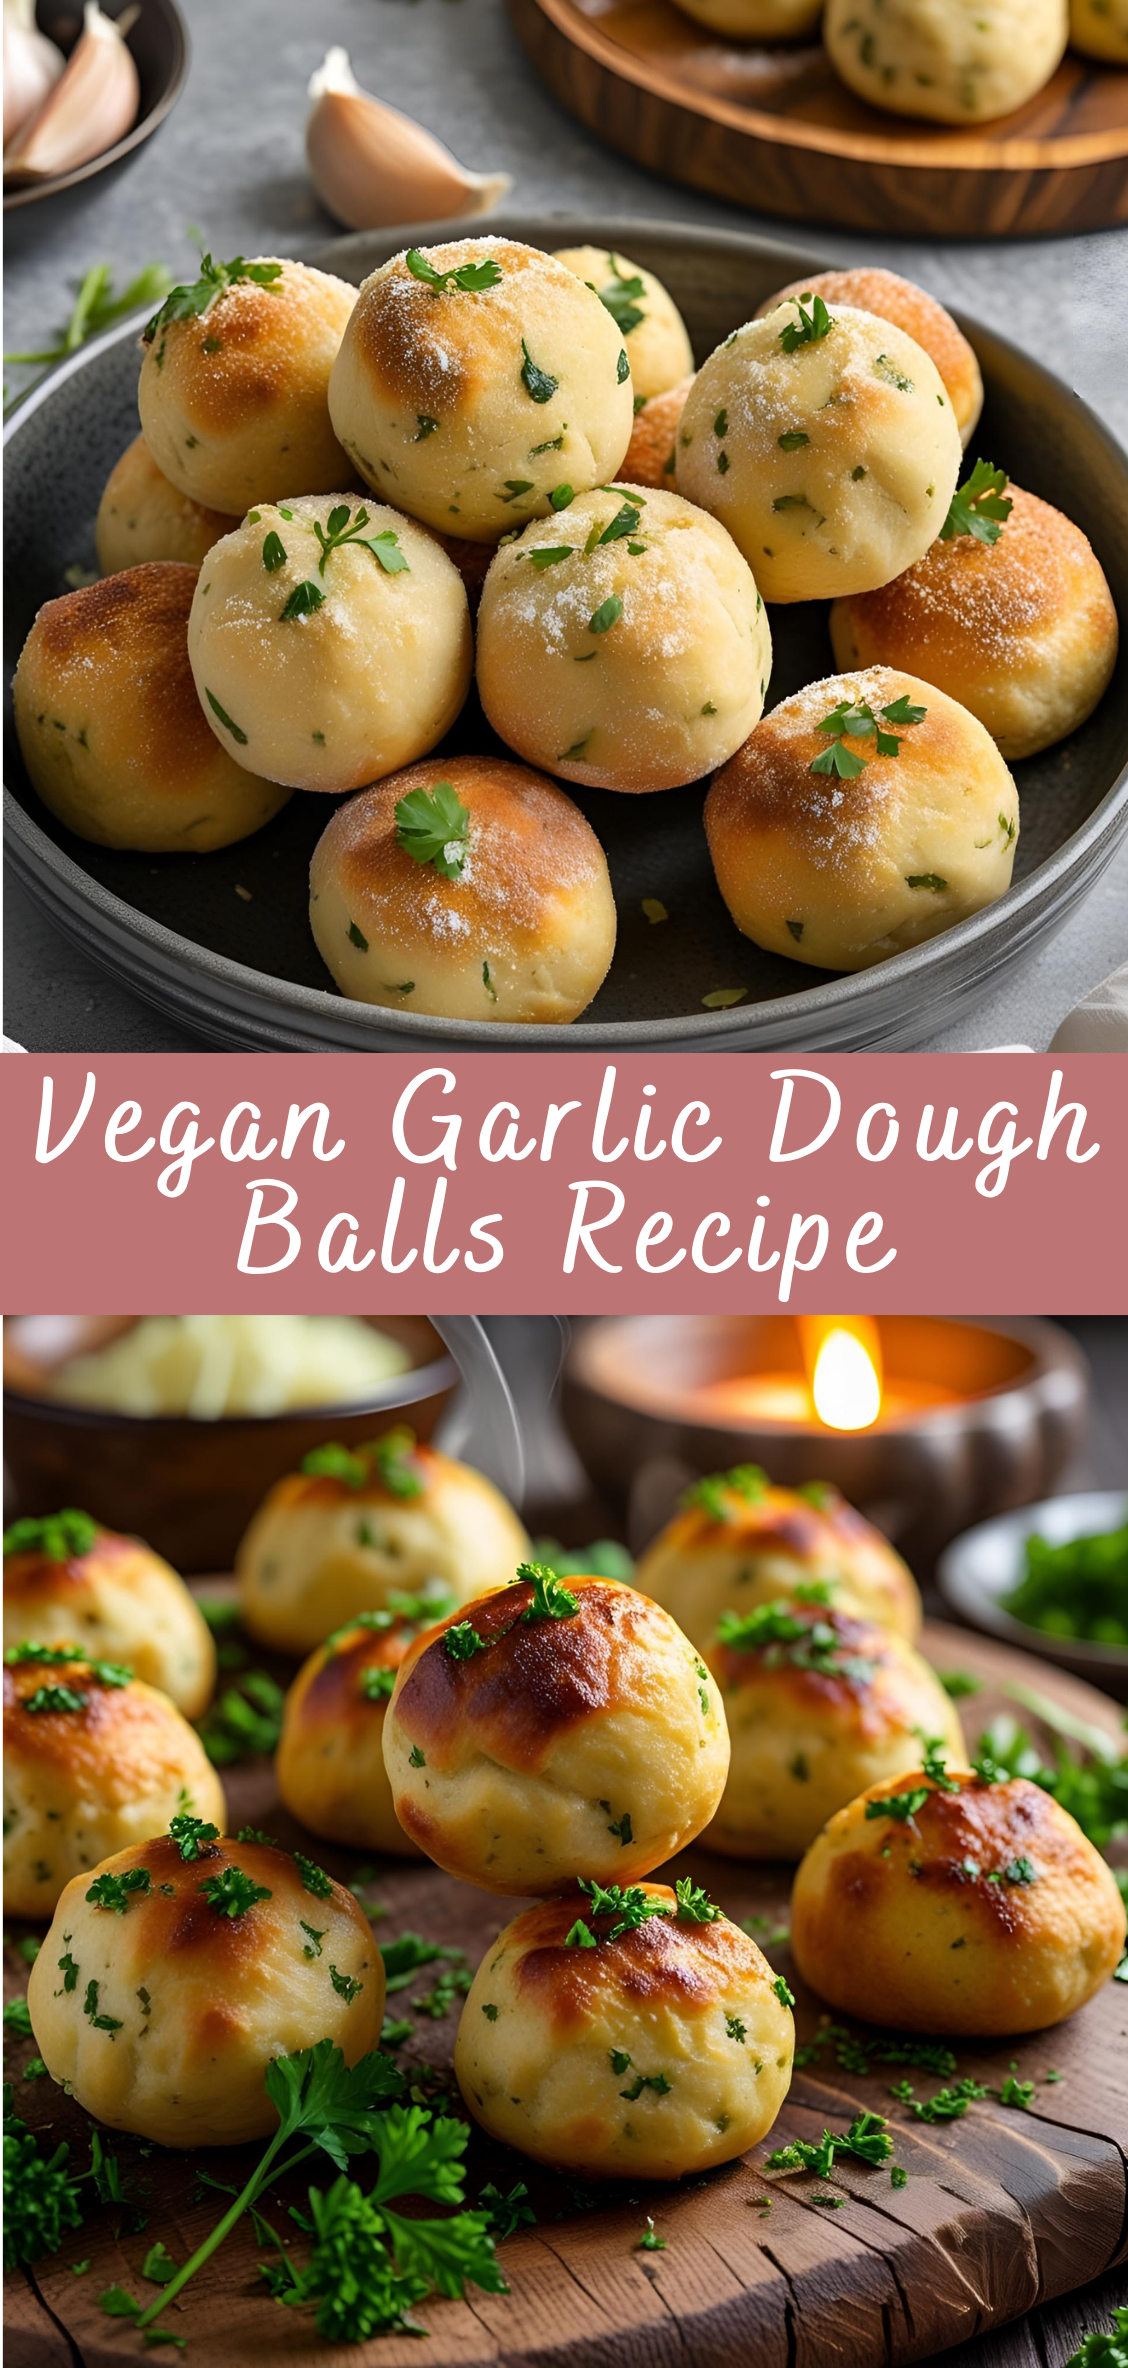
Vegan Garlic Dough Balls Recipe
There’s something universally irresistible about garlic bread—the golden, buttery crust, the intoxicating aroma of roasted garlic, and the soft, pillowy interior that just melts in your mouth. Now imagine that same addictive experience, but in the form of bite-sized, fluffy dough balls, perfect for sharing, dipping, or just savoring on their own.
Welcome to the world of Vegan Garlic Dough Balls, a plant-based twist on a beloved classic that’s bursting with flavor and warmth. These dough balls are more than just a side dish or appetizer; they’re a celebration of simple ingredients transformed into something magical through technique and love.
Whether you’re a lifelong vegan, simply trying to reduce dairy, or just curious about new ways to elevate your bread game, this recipe invites you to create something universally comforting—without butter, cheese, or any animal products. Instead, you’ll rely on wholesome, plant-based ingredients and smart substitutions that keep these dough balls soft, garlicky, and richly flavorful.
Why Vegan Garlic Dough Balls?
-
Inclusive & Allergy-Friendly: No eggs, dairy, or animal products means these are safe for many diets and easy to customize.
- Advertisement - -
Versatile & Crowd-Pleasing: Perfect alongside pasta, salads, soups, or as finger food at parties and game days.
-
Made from Scratch: Freshly made dough is soft and airy, unlike store-bought rolls or frozen snacks.
-
Flavorful & Aromatic: Garlic, fresh herbs, and olive oil create layers of rich, savory flavor without heaviness.
What Makes This Recipe Special?
This recipe balances a tender yet chewy dough with a garlic-infused oil brush and a sprinkle of fresh herbs—bringing you close to the nostalgic essence of garlic bread but in a fun, portable form. The dough is made without dairy or eggs but still rises beautifully, thanks to the right mix of yeast, flour, and careful kneading.
You’ll find detailed instructions on the dough preparation, proofing, shaping, and baking, plus tips on how to get the perfect golden crust and that crave-worthy, garlicky aroma. Plus, we’ll explore various options for herb mixes, dipping sauces, and even ways to add cheesy vegan toppings if you want to indulge a little.
The Perfect Recipe for Every Occasion
Whether you’re making a cozy weeknight dinner, preparing a batch for a potluck, or looking for a crowd-pleasing appetizer for a holiday spread, vegan garlic dough balls fit the bill. They freeze well, reheat beautifully, and taste even better fresh from the oven.
Step-by-Step Instructions: How to Make Perfect Vegan Garlic Dough Balls
Making vegan garlic dough balls from scratch is a rewarding process that combines simple ingredients with patience and care. The result? Soft, fluffy dough balls bursting with garlicky, herby goodness—perfect as a snack, appetizer, or side dish.
Step 1: Gather Your Ingredients and Tools
Ingredients:
-
3 ½ cups all-purpose flour (plus extra for dusting)
-
2 teaspoons active dry yeast or instant yeast
-
1 teaspoon sugar (to activate yeast)
-
1 ¼ cups warm water (about 105–110°F / 40–43°C)
-
2 tablespoons olive oil (plus extra for greasing and brushing)
-
1 teaspoon salt
For Garlic Herb Oil:
-
4–5 cloves garlic, finely minced or grated
-
3 tablespoons olive oil
-
1 tablespoon fresh parsley, finely chopped (or 1 tsp dried)
-
½ teaspoon dried oregano (optional)
-
Pinch of salt
Step 2: Activate the Yeast
-
In a small bowl, combine the warm water and sugar.
-
Sprinkle the yeast over the water and let it sit for 5–10 minutes, until foamy and bubbly.
-
Tip: If yeast doesn’t foam, it may be expired or water temperature was off. Start over with fresh yeast and ensure water is warm, not hot.
-
Step 3: Mix and Knead the Dough
-
In a large mixing bowl, whisk together the flour and salt.
-
Make a well in the center and pour in the yeast mixture and 2 tablespoons olive oil.
-
Using a wooden spoon or your hands, mix until a rough dough forms.
-
Transfer dough to a floured surface and knead for about 8–10 minutes until smooth, elastic, and slightly tacky.
-
Kneading tips: Press with the heel of your hand, fold the dough, turn, and repeat. If dough is sticky, sprinkle a little flour—avoid adding too much to keep dough soft.
-
-
Form dough into a ball.
Step 4: First Proof (Rising)
-
Lightly oil a large bowl and place the dough ball inside, turning to coat all sides with oil.
-
Cover bowl with a clean kitchen towel or plastic wrap.
-
Let dough rise in a warm, draft-free place for 1–1.5 hours or until doubled in size.
-
Pro tip: Ideal rising temperature is around 75–80°F (24–27°C). If your kitchen is cool, place the bowl inside an oven with just the light on.
-
Step 5: Prepare the Garlic Herb Oil
While the dough is rising, make the garlic herb oil:
-
In a small bowl, combine minced garlic, olive oil, parsley, oregano, and salt.
-
Mix well and set aside to let the flavors meld.
Step 6: Shape the Dough Balls
-
Once the dough has doubled in size, punch it down gently to release air.
-
Turn it onto a floured surface.
-
Roll the dough out into a large rectangle about ½ inch thick.
-
Using a sharp knife or bench scraper, cut the dough into equal-sized squares or strips, then roll each piece into a smooth ball.
-
For bite-sized dough balls, aim for about 1 to 1½-inch diameter.
-
For larger dinner rolls, go up to 2 inches.
-
Step 7: Second Proof (Final Rise)
-
Place the shaped dough balls on a baking sheet lined with parchment paper or a lightly greased baking dish.
-
Make sure they are spaced slightly apart (about 1 inch) to allow for expansion.
-
Cover loosely with a towel or plastic wrap.
-
Let them rise for another 30–45 minutes, until puffy and nearly doubled.
Step 8: Preheat the Oven and Prepare for Baking
-
Preheat oven to 375°F (190°C).
-
Just before baking, gently brush the tops of the dough balls with a bit of olive oil or some of the garlic herb oil mixture.
-
This will help them develop a beautiful golden color and infuse flavor.
-
Step 9: Bake the Dough Balls
-
Place the baking tray in the center of the oven.
-
Bake for 15–18 minutes, or until dough balls are golden brown on top and cooked through.
-
If desired, halfway through baking, brush the dough balls again with garlic herb oil to boost flavor and moisture.
Step 10: Final Garlic Herb Brush
-
Immediately after removing from the oven, brush the hot dough balls generously with the remaining garlic herb oil.
-
This step maximizes garlic flavor and gives the dough balls a shiny, appetizing finish.
Step 11: Serve and Enjoy!
-
Serve your vegan garlic dough balls warm.
-
They’re perfect on their own or paired with:
-
Marinara or pizza sauce for dipping
-
Vegan pesto
-
Dairy-free ranch or creamy dips
-
-
Store leftovers in an airtight container at room temperature for 1–2 days, or freeze for longer storage.
Pro Tips for Perfect Vegan Garlic Dough Balls
-
Flour type: All-purpose flour works well, but you can experiment with bread flour for chewier texture or a mix with whole wheat flour for nuttiness.
-
Water temperature: Too hot kills yeast; too cold slows fermentation. Use a thermometer or test by hand.
-
Kneading: Proper kneading develops gluten, giving structure and chew.
-
Proofing: Don’t rush. Well-risen dough means lighter, fluffier balls.
-
Garlic flavor: For milder garlic, roast cloves before mincing and mixing into oil.
-
Crispy bottoms: For a crispier bottom crust, bake dough balls on a preheated baking stone or cast-iron skillet.
Vegan Garlic Dough Balls Recipe
There’s something universally irresistible about garlic bread—the golden, buttery crust, the intoxicating aroma of roasted garlic, and the soft, pillowy interior that just melts in your mouth. Now imagine that same addictive experience, but in the form of bite-sized, fluffy dough balls, perfect for sharing, dipping, or just savoring on their own.
Ingredients
- For the Dough:
- 2 ¼ tsp (1 packet) active dry yeast
- 1 cup warm water (110°F / 43°C)
- 2 tbsp sugar
- 3 cups all-purpose flour
- 1 tsp salt
- 2 tbsp olive oil
- For the Garlic Butter (Vegan):
- 3 tbsp vegan butter (e.g., Earth Balance) or olive oil
- 3 cloves garlic, minced
- 1 tbsp fresh parsley, chopped (or 1 tsp dried parsley)
- 1/2 tsp salt
Instructions
- Activate Yeast:
In a small bowl, combine warm water, sugar, and yeast. Let sit 5–10 minutes until foamy. - Make Dough:
In a large bowl, mix flour and salt. Add yeast mixture and olive oil. Stir until a dough forms. - Knead:
Knead the dough on a floured surface for about 5–7 minutes until smooth and elastic. - First Rise:
Place dough in a lightly oiled bowl, cover with a clean towel or plastic wrap, and let rise in a warm place for about 1 hour or until doubled in size. - Shape Dough Balls:
Punch down dough and divide into 12 equal pieces. Roll each into a ball. - Preheat Oven:
Preheat oven to 400°F (200°C). Line a baking sheet with parchment paper. - Prepare Garlic Butter:
In a small saucepan or microwave-safe bowl, melt vegan butter and mix in minced garlic, parsley, and salt. - Coat & Bake:
Toss dough balls gently in half the garlic butter to coat. Place them on the baking sheet about 1 inch apart. Bake 12–15 minutes or until golden. - Brush & Serve:
Remove from oven and brush immediately with remaining garlic butter. Serve warm.
Notes
- Make Ahead: Dough balls can be shaped and refrigerated overnight; bake fresh the next day.
- Add-ins: Sprinkle nutritional yeast or vegan parmesan on top for cheesy flavor.
- Dipping Sauce: Serve with marinara, vegan ranch, or garlic dipping sauce.

