Greek Yogurt Brownies Recipe
Brownies are an all-time favorite dessert for many, loved for their rich chocolate flavor and decadent texture. However, traditional brownies can be quite high in fat and calories. If you’re looking to indulge in a chocolatey treat without feeling guilty, then Greek yogurt brownies might just be the perfect solution. These brownies use Greek yogurt to replace some of the fat in the recipe, resulting in a dessert that’s both lighter and moist but still deliciously fudgy.
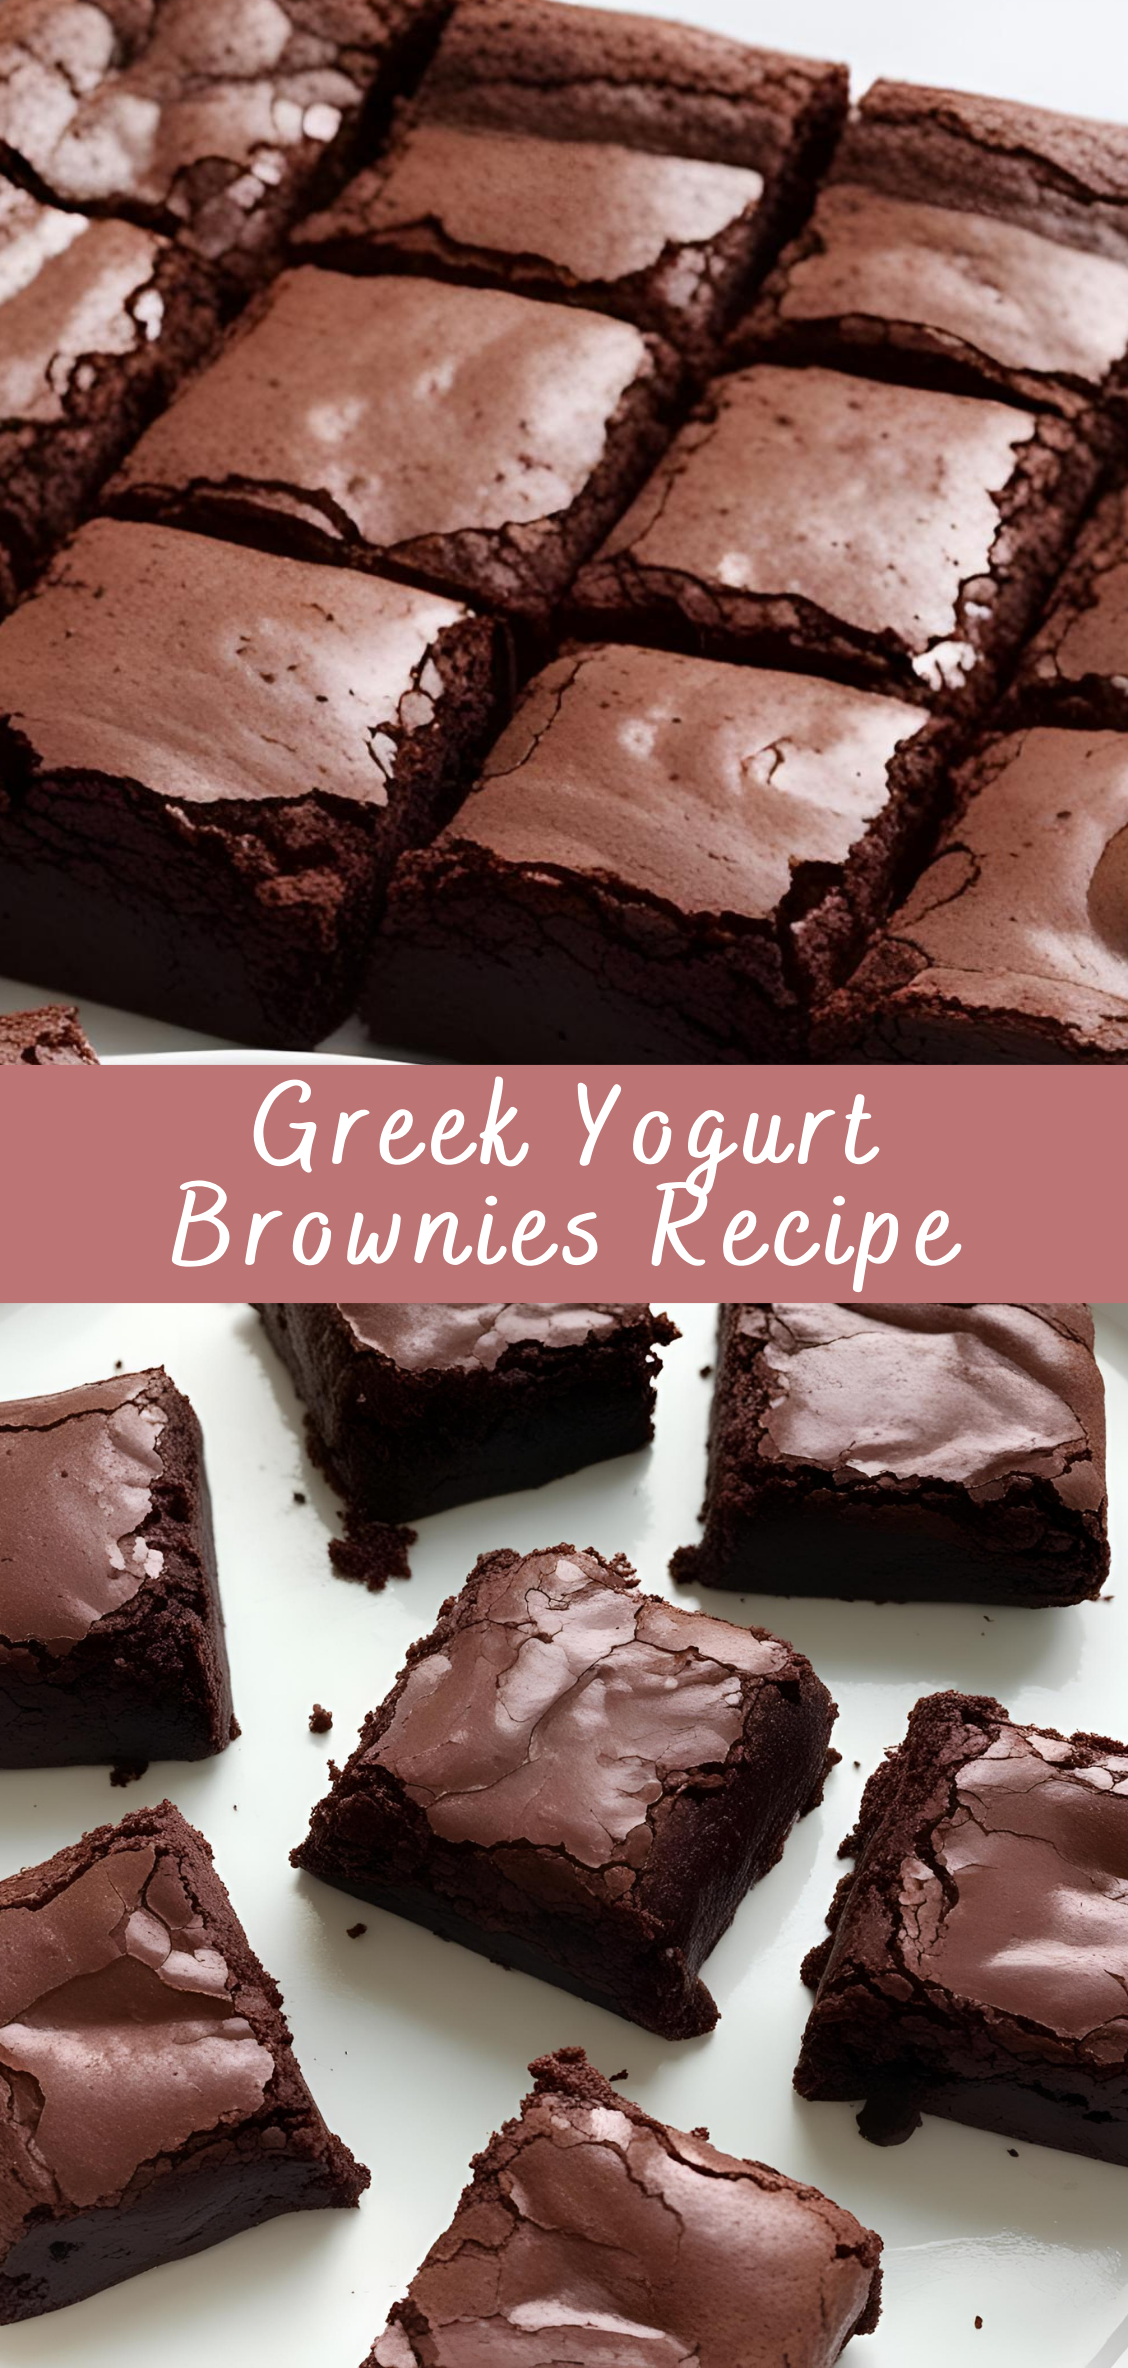
Greek yogurt is an excellent ingredient for baking due to its creamy texture, slight tang, and ability to enhance the moistness of baked goods. When added to brownies, it works wonders, providing a slight richness without the excess calories and fat found in butter or oil. Not only does Greek yogurt make these brownies healthier, but it also adds a subtle protein boost, making them a great choice for those looking to balance indulgence with nutrition.
Step-by-Step Instructions for Making Greek Yogurt Brownies
Step 1: Preheat the Oven and Prepare Your Baking Pan
Start by preheating your oven to 350°F (175°C). Preheating the oven ensures that your brownies bake evenly and thoroughly.
Next, grease an 8×8-inch square baking pan with butter or non-stick spray, or line it with parchment paper. Lining the pan with parchment paper makes it easier to remove the brownies once they are done baking. Set the pan aside while you prepare the brownie batter.
Step 2: Mix the Wet Ingredients
In a large mixing bowl, combine the Greek yogurt, applesauce, granulated sugar, and brown sugar. Whisk together until the mixture is smooth and well combined. Greek yogurt has a creamy texture, and when mixed with the applesauce and sugars, it will create a nice base for your brownies.
Next, add the eggs and vanilla extract to the mixture. Whisk until the eggs are fully incorporated, and the mixture becomes light and smooth. The Greek yogurt helps bind everything together, and the applesauce adds moisture, which helps keep the brownies soft and fudgy.
Step 3: Add the Dry Ingredients
In a separate bowl, whisk together the whole wheat flour, cocoa powder, baking powder, and salt. Whisking the dry ingredients separately ensures that they are evenly distributed and helps avoid lumps of cocoa powder in the batter.
Gradually add the dry ingredients to the wet mixture, stirring gently to combine. You want to mix just until everything is incorporated. Overmixing the batter can result in dense brownies, so be careful not to overwork the batter.
Step 4: Add the Chocolate Chips (Optional)
For an extra burst of chocolate, fold in dark chocolate chips into the batter. This is an optional step, but it can add extra richness and texture to the brownies. You can also use milk chocolate chips or even chopped chocolate if you prefer.
Step 5: Bake the Brownies
Once the batter is mixed, pour it into the prepared 8×8-inch baking pan. Use a spatula to spread the batter evenly in the pan, ensuring that it covers the entire bottom of the pan.
Place the pan in the preheated oven and bake for 20-25 minutes, or until a toothpick inserted into the center of the brownies comes out clean or with only a few crumbs attached. The baking time can vary depending on your oven and the type of pan you’re using, so be sure to check the brownies starting around the 20-minute mark.
The edges of the brownies should look set and slightly pulled away from the sides of the pan, while the center should remain soft and fudgy.
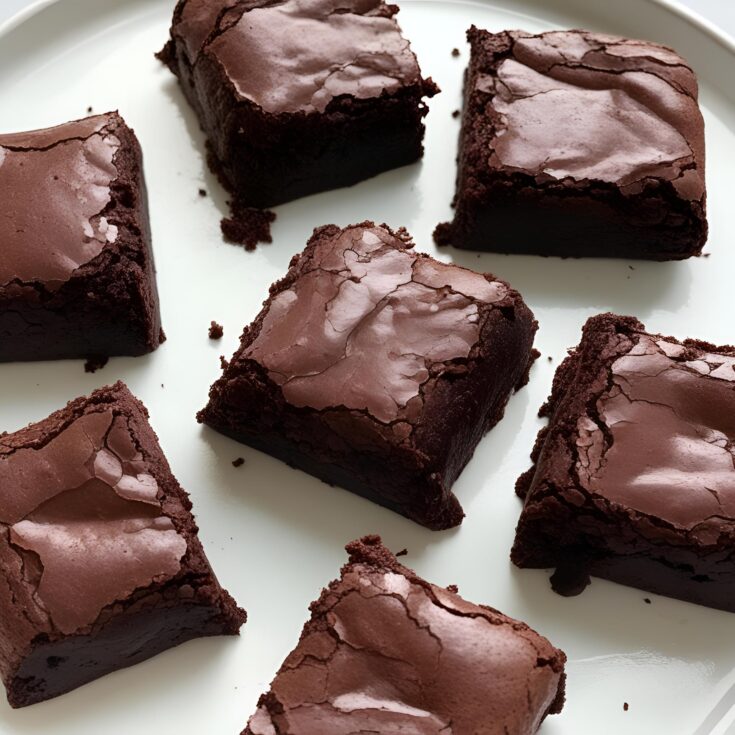
Step 6: Cool and Slice the Brownies
Once the brownies are done, remove them from the oven and let them cool in the pan for about 10 minutes. This will allow them to set and firm up a little. After 10 minutes, remove the brownies from the pan using the parchment paper (if you used it) and place them on a wire rack to cool completely.
If you didn’t use parchment paper, simply let the brownies cool in the pan. Once completely cool, slice them into squares. Depending on the size of your brownies, you can cut them into 9, 12, or even 16 pieces for smaller servings.
Step 7: Optional Toppings and Serving
While these Greek yogurt brownies are delicious on their own, you can elevate them with some optional toppings:
- Powdered Sugar: Dust a small amount of powdered sugar on top of the brownies for a beautiful finishing touch.
- Whipped Cream or Greek Yogurt: Serve the brownies with a dollop of fresh whipped cream or more Greek yogurt for a creamy contrast.
These toppings will add extra flavor and make the brownies feel a little more indulgent without overloading them with calories.
Tips and Tricks for the Best Greek Yogurt Brownies
-
Choose the Right Greek Yogurt: When selecting Greek yogurt, go for plain, unsweetened yogurt. The sweetness in the brownies will come from the sugars you add, so using sweetened yogurt will result in overly sweet brownies.
-
Use High-Quality Cocoa Powder: Since cocoa powder is the main flavoring agent in brownies, using a high-quality unsweetened cocoa powder will significantly improve the taste of the brownies. Look for cocoa powders labeled “Dutch-processed” for a smoother, richer chocolate flavor.
-
Don’t Overmix the Batter: Overmixing the batter can lead to tough brownies, so be sure to mix just until the dry ingredients are combined with the wet ingredients.
-
Check for Doneness: Brownies can easily go from perfectly baked to overbaked, so check for doneness starting at the 20-minute mark. Brownies are done when a toothpick inserted into the center comes out clean or with a few moist crumbs. They will continue to cook a bit while cooling, so it’s okay if the toothpick is a little sticky.
-
Experiment with Flavors: While the recipe as written is delicious, you can add variations to suit your taste. Consider adding chopped nuts like walnuts or pecans, or mix in some dried fruit like cranberries or raisins. You can even add a teaspoon of espresso powder to deepen the chocolate flavor.
-
Storing the Brownies: Greek yogurt brownies are best enjoyed fresh, but they can be stored in an airtight container for up to 3-4 days at room temperature. If you want to keep them longer, you can freeze them for up to 2-3 months. Simply place them in a freezer-safe bag or container, and when you’re ready to enjoy them, let them thaw at room temperature or warm them up in the microwave for a few seconds.
Health Benefits of Greek Yogurt Brownies
-
Higher Protein Content: Greek yogurt is packed with protein, which helps improve muscle repair and overall health. Replacing part of the butter or oil in brownies with Greek yogurt boosts the protein content of your brownies, making them slightly healthier than traditional versions.
-
Lower in Fat: Greek yogurt provides a creamy texture that replicates the richness of butter without the extra fat. This makes the brownies a lighter option, which can help satisfy your chocolate cravings without the excess calories.
-
Added Probiotics: Greek yogurt contains probiotics, beneficial bacteria that support digestive health. While you wouldn’t necessarily be eating enough Greek yogurt in a brownie to make a major impact on your gut health, it’s still a nice bonus to have probiotics in your dessert.
-
Rich in Calcium: Greek yogurt is an excellent source of calcium, which is important for bone health. Swapping in Greek yogurt for butter adds an extra layer of nutrition to your brownies.
-
Better for Blood Sugar Control: The combination of Greek yogurt and applesauce helps keep the sugar content in check. This is beneficial for those who are watching their blood sugar levels but still want to enjoy a sweet treat.
Conclusion
These Greek Yogurt Brownies offer a delightful, healthier twist on the classic dessert. They are rich, fudgy, and indulgent, yet lighter and more nutritious than traditional brownies. By incorporating Greek yogurt into the batter, you can enjoy a delicious chocolate treat with a protein boost and less fat. Whether you’re looking for a healthier snack, a dessert to impress guests, or just something to satisfy your sweet tooth, these brownies are sure to hit the spot.
Greek Yogurt Brownies Recipe
Brownies are an all-time favorite dessert for many, loved for their rich chocolate flavor and decadent texture. However, traditional brownies can be quite high in fat and calories. If you’re looking to indulge in a chocolatey treat without feeling guilty, then Greek yogurt brownies might just be the perfect solution. These brownies use Greek yogurt to replace some of the fat in the recipe, resulting in a dessert that’s both lighter and moist but still deliciously fudgy.
Ingredients
- 1/2 cup (120g) plain Greek yogurt (preferably full-fat or 2%)
- 1/2 cup (115g) unsweetened applesauce
- 1/2 cup (100g) granulated sugar or coconut sugar
- 2 large eggs
- 1 teaspoon vanilla extract
- 1/2 cup (60g) all-purpose flour (or whole wheat flour for a healthier option)
- 1/2 cup (50g) unsweetened cocoa powder
- 1/4 teaspoon baking powder
- 1/4 teaspoon salt
- 1/2 cup (90g) dark chocolate chips (optional for extra richness)
Instructions
1. Preheat the oven:
- Preheat your oven to 350°F (175°C).
- Grease or line an 8x8-inch baking pan with parchment paper.
2. Prepare the wet ingredients:
- In a medium-sized bowl, whisk together the Greek yogurt, applesauce, sugar, eggs, and vanilla extract until smooth and well combined.
3. Mix the dry ingredients:
- In another bowl, whisk together the flour, cocoa powder, baking powder, and salt.
4. Combine wet and dry ingredients:
- Gradually add the dry ingredients into the wet ingredients, stirring until just combined. The batter will be thick.
5. Fold in chocolate chips (optional):
- If using chocolate chips, fold them into the batter for extra richness.
6. Bake:
- Pour the batter into the prepared baking pan and spread it evenly.
- Bake for 25-30 minutes, or until a toothpick inserted into the center comes out mostly clean with a few moist crumbs (not wet batter).
7. Cool and serve:
- Allow the brownies to cool in the pan for about 10 minutes, then transfer them to a wire rack to cool completely.
- Cut into squares and enjoy!

