Chocolate Clustersl Recipe
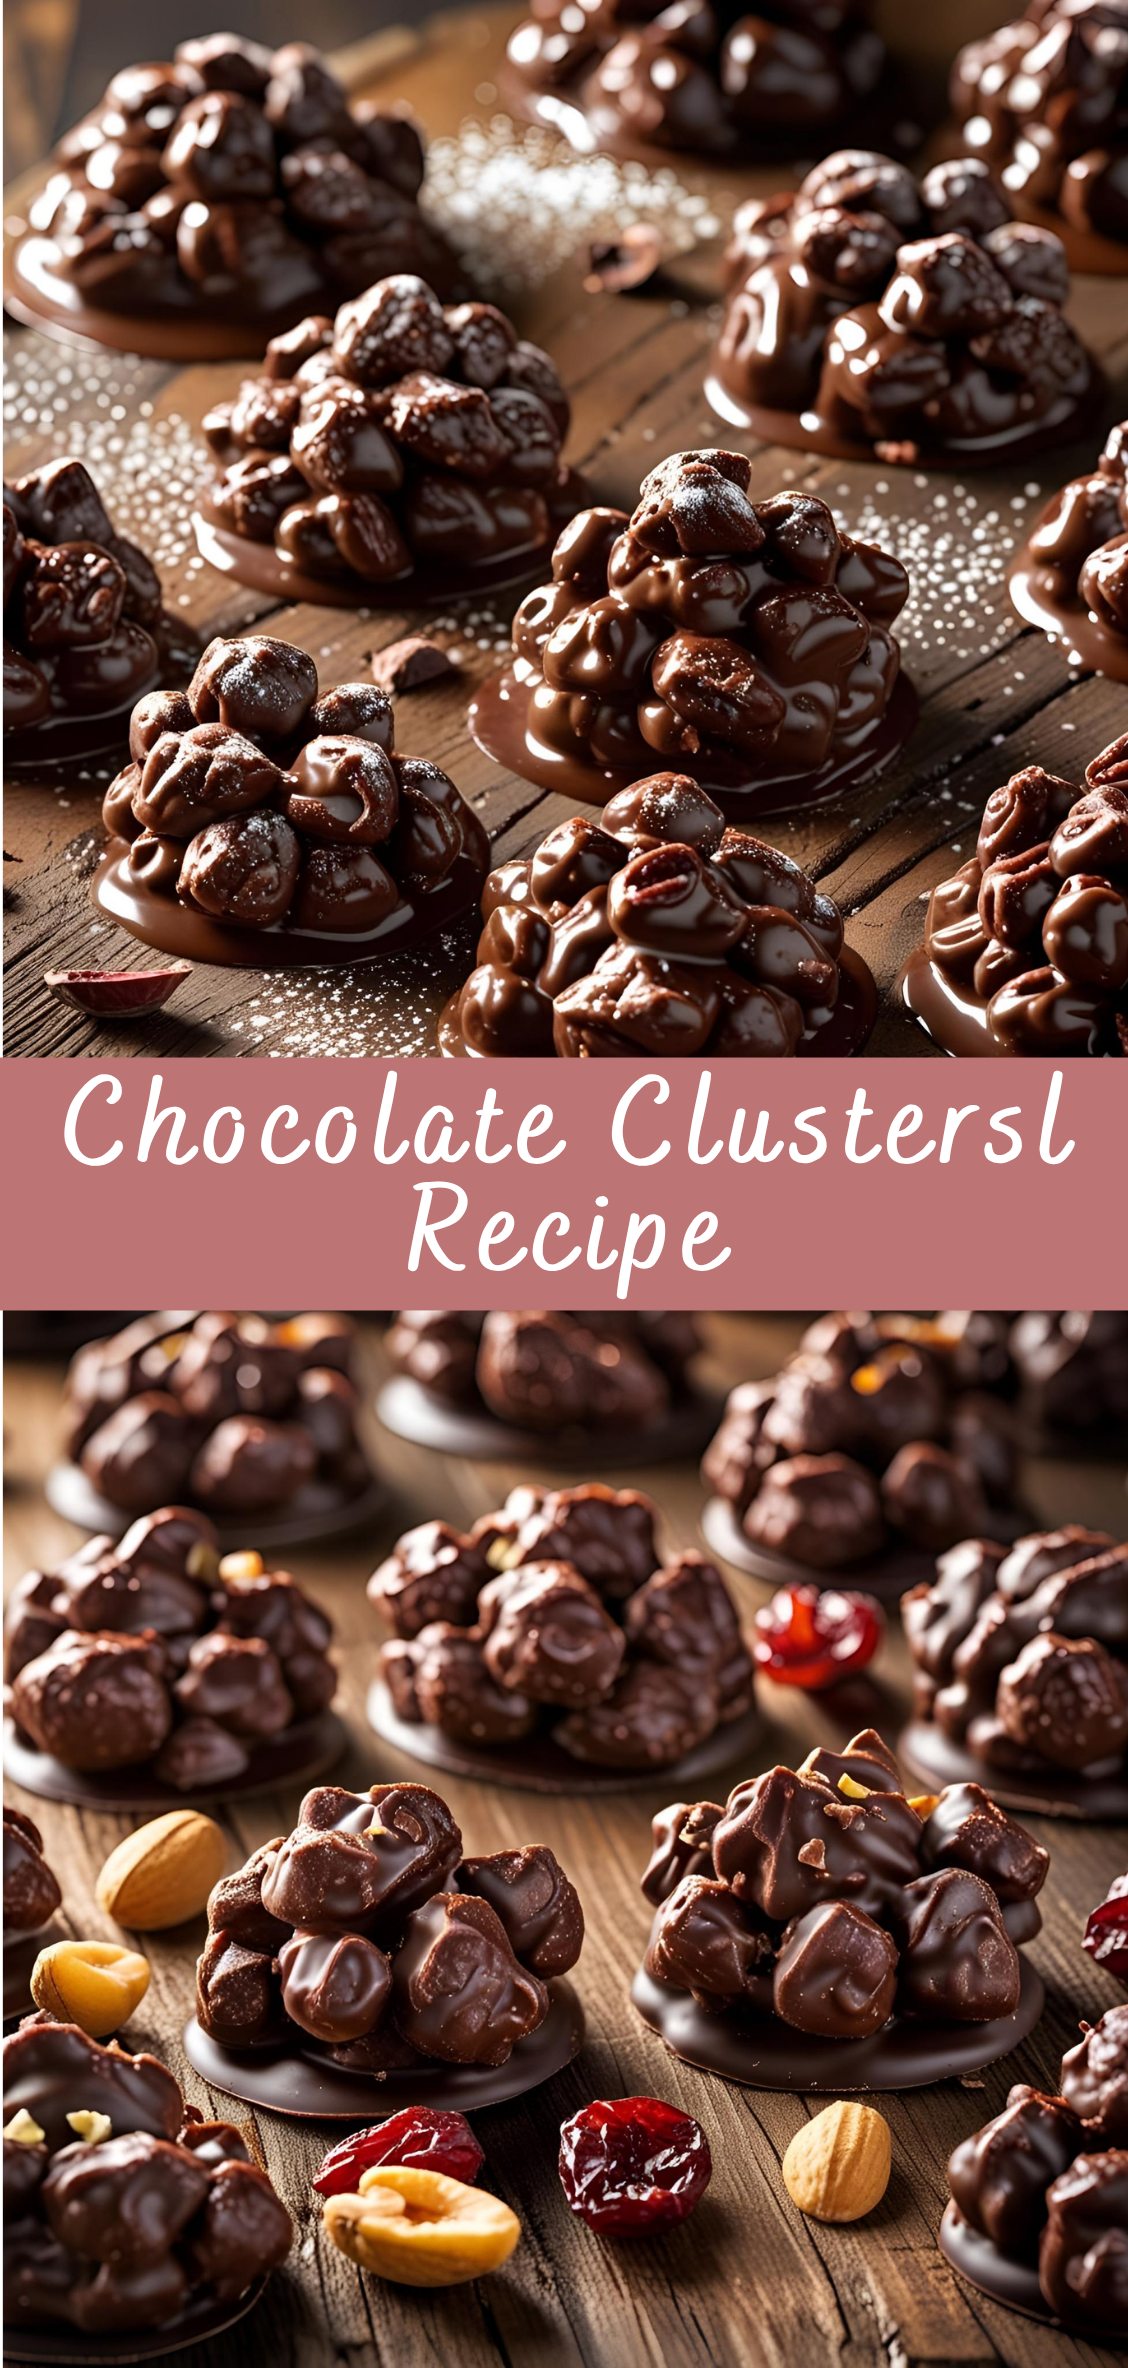
There is something undeniably comforting and universally loved about the pairing of chocolate with nuts, dried fruits, and other crunchy or chewy additions. Among the most beloved and accessible expressions of this union are chocolate clusters—bite-sized treats that bring together rich, melt-in-your-mouth chocolate with a delightful variety of textures and flavors. Whether crafted with almonds, peanuts, pretzels, cranberries, coconut flakes, or cereal, chocolate clusters are as adaptable as they are delicious.
Chocolate clusters are more than just a sweet indulgence—they are a celebration of simplicity. Requiring minimal ingredients and little more than a microwave or stovetop, these treats can be prepared in under an hour, making them ideal for last-minute gifts, party favors, or quick cravings. Despite their ease of preparation, the result is an impressively satisfying confection that balances sweetness with crunch, and indulgence with nourishment—depending on the ingredients chosen.
While the precise origins of chocolate clusters are difficult to pinpoint, their concept likely evolved organically in home kitchens where cooks experimented with melting chocolate and mixing it with pantry staples. The flexibility of the recipe has led to countless variations over the years. Some versions are health-focused, incorporating superfoods like chia seeds or dark chocolate with a high cocoa content, while others lean toward the decadent, loaded with caramel, toffee bits, or crushed cookies. Regardless of the direction, chocolate clusters retain their core identity: unpretentious, highly customizable, and irresistibly tasty.
In today’s world of elaborate desserts and gourmet confections, chocolate clusters offer a refreshing return to basics. They require no specialized tools, no advanced culinary skills, and no extravagant ingredients. At their heart, they represent the kind of homemade treat that anyone—from a novice home baker to an experienced chocolatier—can prepare with ease and joy.
In this comprehensive guide, we’ll explore everything you need to know to make perfect chocolate clusters at home. From the types of chocolate that work best to tips for achieving the perfect consistency and flavor combinations, this article will walk you through the step-by-step process, troubleshooting common issues along the way. We’ll also dive into the many variations available, including vegan, keto-friendly, and holiday-themed clusters, ensuring there’s something here for every palate and dietary preference.
Whether you’re making these treats for a festive celebration, a thoughtful homemade gift, or simply to satisfy your own sweet tooth, this guide will help you master the art of chocolate clusters from start to finish. Let’s begin by taking a closer look at the essential ingredients and tools needed to get started.
How to Make Chocolate Clusters: Step-by-Step Instructions
Making chocolate clusters at home is surprisingly easy and requires very few ingredients. However, to ensure a professional-quality result with the perfect texture and flavor, attention to detail in each step is key. Below is a detailed guide that walks you through the process, from preparation to final storage.
Step 1: Gather Your Ingredients and Tools
Basic Ingredients (for about 24 clusters):
-
12 ounces (about 340g) high-quality chocolate (dark, milk, or white)
-
2 cups of nuts, seeds, or dried fruit (e.g., roasted almonds, peanuts, pecans, raisins, dried cranberries, sunflower seeds)
-
½ teaspoon sea salt (optional, for garnish or to balance sweetness)
-
1 teaspoon vanilla extract (optional, for added flavor)
Optional Ingredients:
-
½ cup shredded coconut
-
¼ cup crushed pretzels or granola
-
1 tablespoon chia or flax seeds
-
Candy sprinkles, mini marshmallows, or toffee bits
Tools:
-
Heatproof bowl (glass or stainless steel)
-
Saucepan (if using the double boiler method)
-
Microwave-safe bowl (if using microwave method)
-
Spatula or wooden spoon
-
Two spoons or a small cookie scoop
-
Baking sheet
-
Parchment paper or silicone baking mat
-
Airtight container for storage
Step 2: Prepare Your Workstation
Before you begin melting the chocolate, it’s important to prepare everything in advance. Chocolate sets quickly once cooled, so having your tools and mix-ins ready will help streamline the process.
Instructions:
-
Line a baking sheet with parchment paper or a silicone mat. This will prevent the clusters from sticking and make cleanup easier.
-
Measure and mix your dry ingredients in a medium-sized bowl. If you’re using a combination of nuts, seeds, and dried fruit, mix them together now.
-
Chop the chocolate into small, uniform pieces if you’re using a block or bar. This helps it melt more evenly and prevents scorching.
Step 3: Melt the Chocolate
You can melt chocolate using either a double boiler method or a microwave method. Both work well, but each requires careful attention to avoid burning the chocolate.
Option A: Double Boiler Method
-
Fill a saucepan with 1–2 inches of water and bring it to a simmer.
-
Place a heatproof bowl over the saucepan, ensuring it does not touch the water.
-
Add the chopped chocolate to the bowl and stir constantly with a spatula until it’s fully melted and smooth.
-
Remove the bowl from heat as soon as the chocolate is melted.
Option B: Microwave Method
-
Place chopped chocolate in a microwave-safe bowl.
-
Microwave in 20- to 30-second intervals at 50% power, stirring well after each burst.
-
Continue until the chocolate is almost fully melted. Then stir to let residual heat finish the process.
Tip: Chocolate burns easily, so always melt it slowly and stir often. Never add water to melting chocolate—it will seize and become unusable.
Step 4: Combine Chocolate with Mix-Ins
Once the chocolate is fully melted and smooth:
-
Add your mix-ins (nuts, fruit, seeds, etc.) directly into the melted chocolate.
-
Stir gently with a spatula until everything is evenly coated and no dry spots remain.
-
If using flavor enhancers like vanilla extract or spices, add them now and stir to combine.
Tip: Don’t overload the chocolate. There should be enough chocolate to coat each piece thoroughly without creating large dry clumps. If needed, reduce the amount of dry mix-ins or melt a little more chocolate.
Step 5: Form the Clusters
-
Using two spoons or a small cookie scoop, drop spoonfuls of the mixture onto the prepared baking sheet.
-
Space them about 1 inch apart to avoid sticking.
-
Try to keep the shapes uniform in size for even setting and presentation.
Optional: Sprinkle each cluster with a pinch of flaky sea salt, shredded coconut, or sprinkles while the chocolate is still wet.
Step 6: Let the Clusters Set
There are two main ways to set your clusters:
Option A: Room Temperature Setting
-
Leave the clusters at room temperature (around 65–70°F or 18–21°C) until fully hardened. This can take 1–2 hours depending on humidity.
Option B: Refrigerator Setting
-
Place the tray in the refrigerator for 20–30 minutes for quicker setting.
-
Remove once the chocolate is firm to the touch.
Caution: Do not leave chocolate clusters in the fridge long-term unless necessary, as condensation can affect their texture and cause blooming (white streaks or spots on the surface).
Step 7: Store and Serve
Once your clusters are fully set:
-
Transfer them into an airtight container.
-
Store at room temperature in a cool, dry place for up to two weeks.
-
If you live in a warm or humid climate, store in the refrigerator in a sealed container to prevent melting or spoilage.
Serving Ideas:
-
Serve them on a dessert tray at parties or gatherings.
-
Package in decorative bags or tins for gifting.
Chocolate Clustersl Recipe
There is something undeniably comforting and universally loved about the pairing of chocolate with nuts, dried fruits, and other crunchy or chewy additions. Among the most beloved and accessible expressions of this union are chocolate clusters—bite-sized treats that bring together rich, melt-in-your-mouth chocolate with a delightful variety of textures and flavors. Whether crafted with almonds, peanuts, pretzels, cranberries, coconut flakes, or cereal, chocolate clusters are as adaptable as they are delicious.
Ingredients
- 2 cups semi-sweet chocolate chips (or chopped chocolate)
- 1 cup butterscotch or peanut butter chips (optional for added flavor)
- 2 cups roasted peanuts, almonds, or mixed nuts
- 1 cup crispy rice cereal or chow mein noodles (for crunch)
- ½ tsp vanilla extract
- Pinch of salt (if using unsalted nuts)
Instructions
- Prepare baking sheets:
Line a baking sheet with parchment paper or wax paper. - Melt the chocolate:
In a microwave-safe bowl or over a double boiler, melt the chocolate chips (and butterscotch/peanut butter chips if using), stirring every 30 seconds until smooth. - Mix in ingredients:
Once melted, stir in vanilla extract and salt. Add the nuts and crispy rice cereal (or noodles), mixing until everything is evenly coated. - Form clusters:
Drop spoonfuls of the mixture onto the prepared baking sheet, spacing them slightly apart. - Chill to set:
Refrigerate for about 30 minutes, or until firm. - Serve or store:
Enjoy immediately or store in an airtight container at room temperature for up to 1 week (or refrigerate for longer shelf life).
Notes
- Nut alternatives: You can use sunflower seeds, pumpkin seeds, or dried fruit if you want a nut-free version.
- Add-ins: Try adding shredded coconut, mini marshmallows, or crushed pretzels for extra flavor and texture.
- Chocolate options: Dark, milk, or white chocolate all work well—feel free to mix for a marbled effect.
- Holiday tip: Top with sprinkles or crushed candy canes for a festive twist!

