Mini Apple Pie Recipe
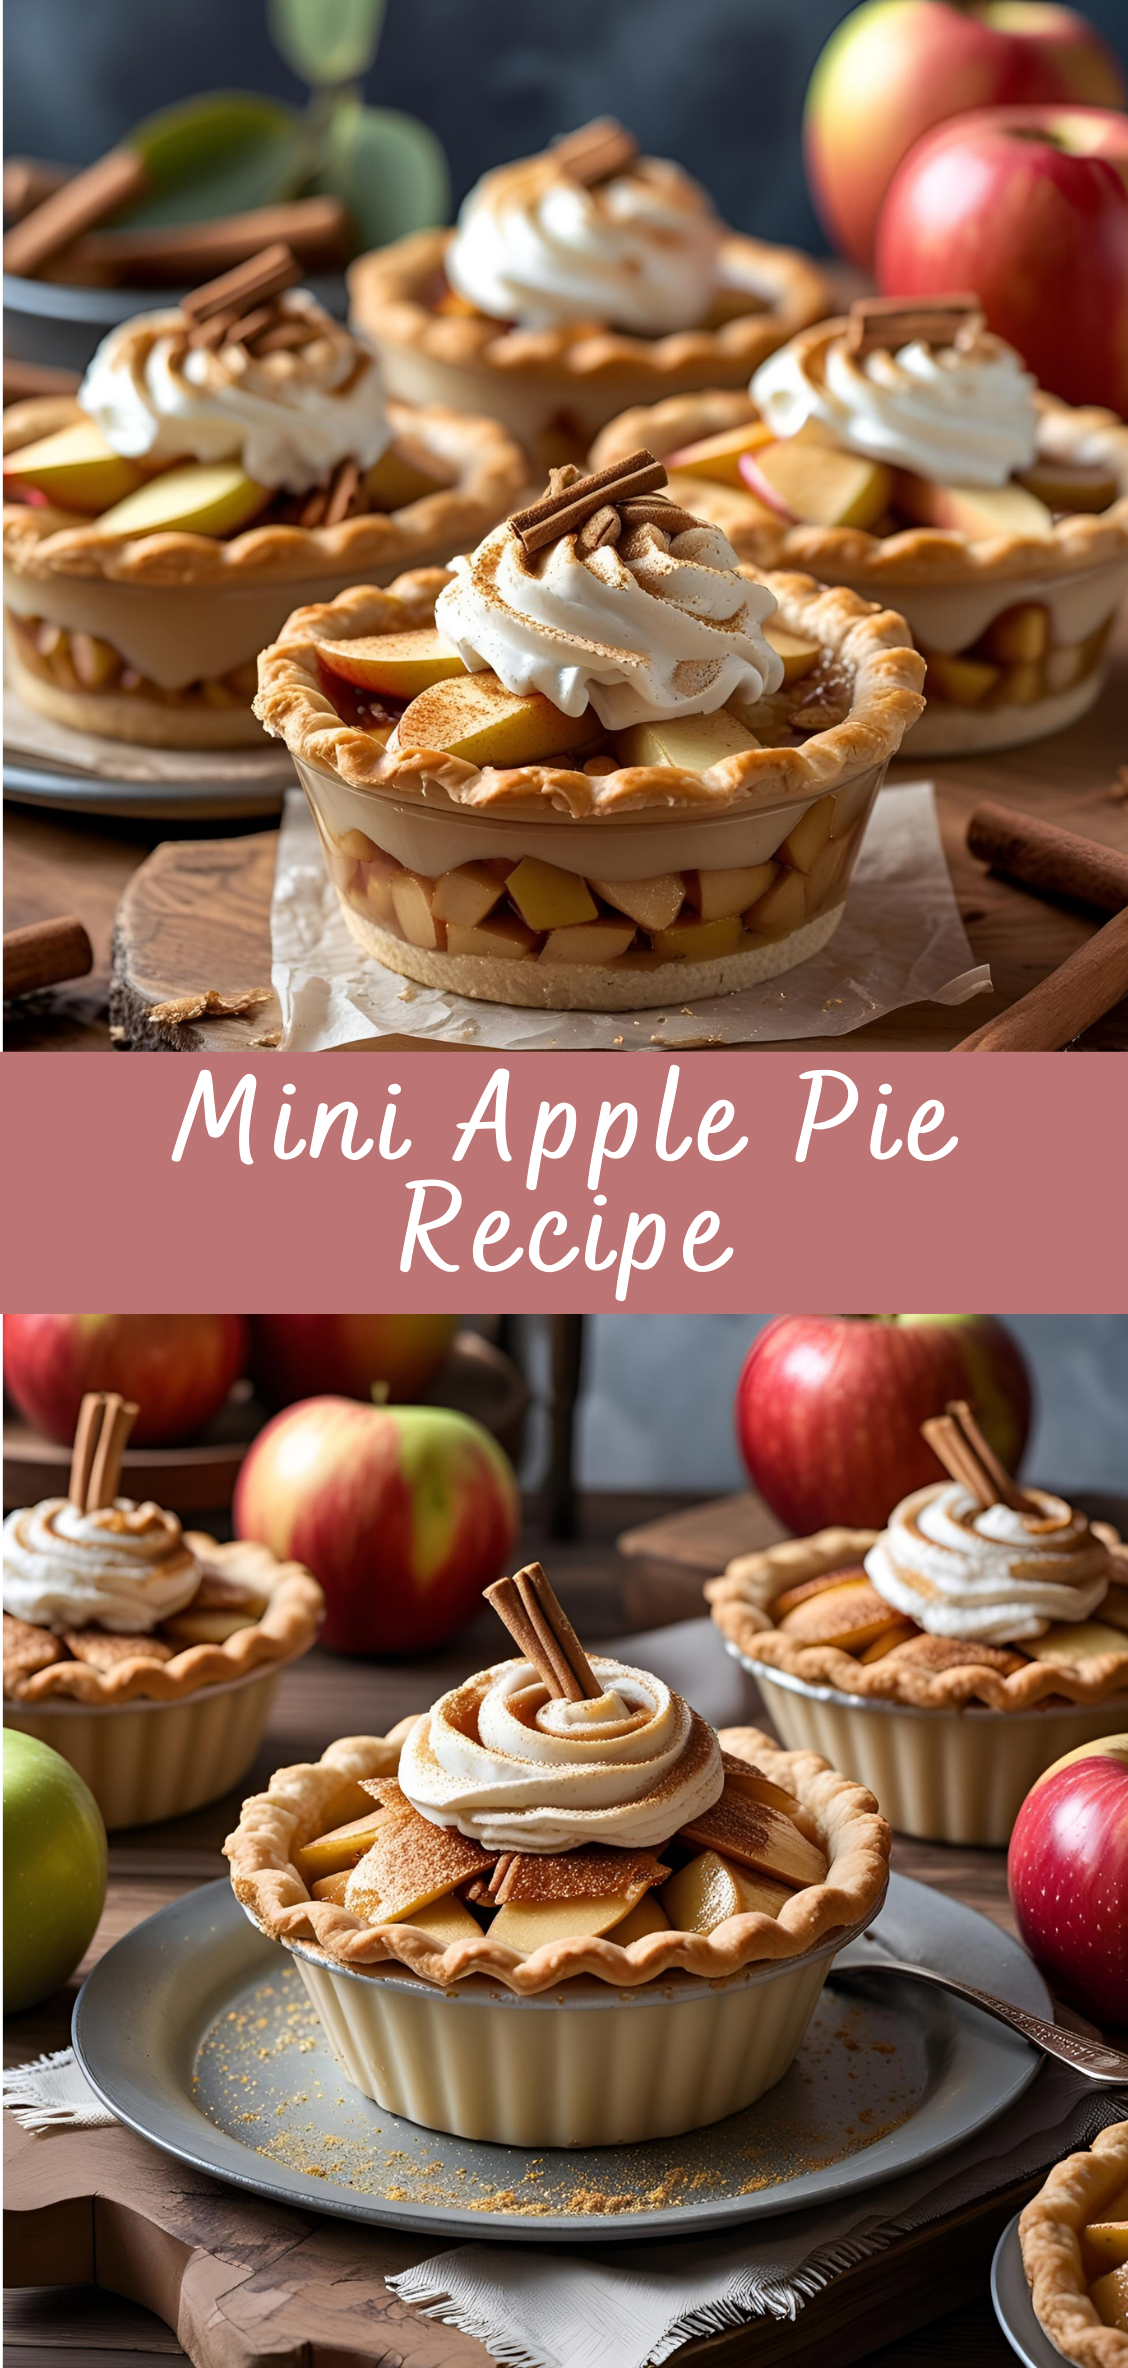
Mini apple pies are a delightful reinvention of one of the most iconic desserts in culinary history. While the classic full-size apple pie evokes images of autumn harvests, family gatherings, and the warmth of home-baked comfort, the miniature version captures that same magic in a personal, portable, and equally indulgent format. These small, handheld treats deliver all the spiced apple filling, buttery crust, and aromatic nostalgia of traditional apple pie—just in a more charming, snackable size.
Whether baked in muffin tins, mini tart pans, or as rustic free-form galettes, mini apple pies offer a unique combination of practicality and elegance. They’re ideal for dinner parties, bake sales, holiday dessert tables, and even lunchbox surprises. Beyond their visual appeal, mini pies also serve an important culinary purpose: they allow for more crust-to-filling ratio control, faster baking times, and easier customization for individual tastes.
The concept of apple pie has long held a place in the cultural and culinary heart of many societies—particularly in North America, where the phrase “as American as apple pie” speaks to its deep-seated symbolism. But the roots of apple pie go much further back, with recorded recipes dating to 14th-century England and European kitchens. Over the centuries, as the dessert traveled, adapted, and evolved, its essential core remained unchanged: spiced apples, encased in a tender, golden crust.
The mini pie, however, is a more modern development—born out of a desire for single-serving desserts, on-the-go convenience, and the continued evolution of home baking. It’s not just about making something smaller; it’s about precision, creativity, and a chance to make every serving a complete experience. Each mini pie is its own tiny masterpiece, with its own lattice top, crimped edges, glossy egg-washed finish, and golden hue. It invites personalization in a way a large pie often doesn’t—offering the chance to mix fillings, play with spices, try decorative crust designs, and explore dietary variations one serving at a time.
Mini apple pies also reflect today’s culinary values: portion control without sacrifice, impressive visuals without complexity, and the ability to blend traditional comfort with contemporary creativity. You can make them rustic or refined, sweet or slightly tart, topped or open-faced, vegan or butter-laden. They’re highly adaptable to what you have on hand and what your guests—or your own cravings—desire.
Instructions: Detailed Step-by-Step Guide to Mini Apple Pies
Making perfect mini apple pies is a process that requires patience, precision, and a few tried-and-true techniques. This guide will walk you through each stage in detail, ensuring that your mini pies have tender, flaky crusts and juicy, flavorful apple filling.
1. Preparing the Pie Crust
The crust is the foundation of any great pie, and in mini pies, it’s even more critical because the ratio of crust to filling is higher and the crust needs to hold up well in a smaller form.
Ingredients for Classic Pie Dough:
-
2½ cups (310g) all-purpose flour
-
1 teaspoon salt
-
1 tablespoon granulated sugar (optional, for a hint of sweetness)
-
1 cup (227g) unsalted cold butter, cut into small cubes
-
6–8 tablespoons ice water
Pro Tip: Use cold butter and ice water to create flaky layers. The cold butter creates steam pockets as it bakes, resulting in the signature flakiness.
Instructions:
Step 1: Mix Dry Ingredients
In a large mixing bowl, whisk together flour, salt, and sugar (if using).
Step 2: Cut in Butter
Add cold butter cubes to the flour mixture. Using a pastry cutter, two forks, or your fingertips, cut the butter into the flour until the mixture resembles coarse crumbs with some pea-sized pieces of butter remaining. These chunks are essential for flakiness.
Step 3: Add Ice Water Gradually
Sprinkle ice water over the mixture one tablespoon at a time, gently mixing with a fork or your hands until the dough just comes together. Avoid overworking the dough; it should be moist enough to hold but not sticky.
Step 4: Form the Dough and Chill
Divide the dough into two discs, wrap each in plastic wrap, and refrigerate for at least one hour. Chilling firms the butter and relaxes the gluten, making the dough easier to roll and preventing shrinkage.
2. Preparing the Apple Filling
The filling is the heart of your mini pies. Selecting the right apples and preparing them properly ensures a balanced, juicy, and spiced interior.
Ingredients:
-
3 to 4 medium apples (about 2 lbs) – best choices include Granny Smith, Honeycrisp, or Fuji
-
¼ cup granulated sugar
-
¼ cup brown sugar
-
1½ teaspoons ground cinnamon
-
¼ teaspoon ground nutmeg
-
1 tablespoon lemon juice
-
2 tablespoons all-purpose flour or cornstarch (for thickening)
-
1 teaspoon vanilla extract (optional)
Instructions:
Step 1: Peel, Core, and Dice Apples
Peel the apples, remove the cores, and cut into small, uniform cubes (about ¼-inch). Uniformity ensures even cooking.
Step 2: Toss with Flavorings
In a large bowl, mix the apple cubes with granulated sugar, brown sugar, cinnamon, nutmeg, lemon juice, and flour or cornstarch. The sugar sweetens, the spices add warmth, the lemon juice balances sweetness and prevents browning, and the flour thickens the juices released during baking.
Step 3: Let the Mixture Sit
Allow the mixture to rest for 15–20 minutes. This helps the apples release some juices and the flavors meld.
3. Rolling and Shaping the Dough
Handling the dough properly makes a huge difference in the final texture and appearance.
Step 1: Roll Out the Dough
On a lightly floured surface, roll out one disc of dough to about ⅛-inch thickness. If the dough cracks or becomes too warm, chill it briefly before continuing.
Step 2: Cut Circles for the Pie Bases
Using a round cutter or a glass about 3 to 4 inches in diameter, cut out as many circles as possible. These will form the bottoms of your mini pies.
Step 3: Transfer to Muffin Tin or Mini Tart Pan
Gently press each dough circle into the greased cavities of a muffin tin or mini tart pan. Make sure the dough goes up the sides evenly, without tearing.
Step 4: Roll Out and Cut Dough for Tops
Roll out the second dough disc and cut smaller circles or shapes for the pie tops. You can use plain circles, lattice strips, or decorative shapes.
4. Assembling the Mini Apple Pies
Step 1: Fill the Dough Cups
Spoon the apple filling into each dough-lined cup, filling almost to the top but leaving a small space to prevent overflow during baking.
Step 2: Add the Pie Tops
Place the smaller dough piece over the filling. Seal the edges by pressing gently, then crimp decoratively with a fork or your fingers. If using lattice tops, weave strips over the filling.
Step 3: Vent the Tops
If using solid tops, cut a few small slits to allow steam to escape.
Step 4: Egg Wash
Brush the tops with a beaten egg or egg yolk mixed with a tablespoon of water or milk. This promotes a golden, glossy crust.
Step 5: Optional Toppings
Sprinkle a little coarse sugar or cinnamon sugar over the tops for extra crunch and sweetness.
5. Baking the Mini Pies
Step 1: Preheat Oven
Preheat your oven to 375°F (190°C).
Step 2: Bake
Place the muffin tin or tart pan on the center rack. Bake for 25–30 minutes, or until the crust is golden and the filling is bubbly.
Step 3: Cool
Let the pies cool for 10–15 minutes in the pan before removing. This helps the filling set.
6. Serving
Mini apple pies are best served warm or at room temperature. They pair beautifully with vanilla ice cream, whipped cream, or a drizzle of caramel sauce.
Mini Apple Pie Recipe
Mini apple pies are a delightful reinvention of one of the most iconic desserts in culinary history. While the classic full-size apple pie evokes images of autumn harvests, family gatherings, and the warmth of home-baked comfort, the miniature version captures that same magic in a personal, portable, and equally indulgent format. These small, handheld treats deliver all the spiced apple filling, buttery crust, and aromatic nostalgia of traditional apple pie—just in a more charming, snackable size.
Ingredients
- For the Pie Crust (store-bought or homemade):
- 1 package refrigerated pie crust dough (or 1 recipe homemade pie dough)
- For the Apple Filling:
- 2 medium apples (Granny Smith or Honeycrisp), peeled, cored, and finely diced
- ¼ cup granulated sugar
- 1 tsp ground cinnamon
- ¼ tsp ground nutmeg
- 1 tbsp all-purpose flour
- 1 tsp lemon juice
- 1 tsp vanilla extract
- For Assembly:
- 1 egg (for egg wash)
- 1 tbsp water
- Sugar for sprinkling (optional)
Instructions
1. Preheat Oven
- Preheat oven to 375°F (190°C).
- Line a baking sheet with parchment paper.
2. Prepare Filling
- In a bowl, combine diced apples, sugar, cinnamon, nutmeg, flour, lemon juice, and vanilla. Toss well.
3. Prepare Crusts
- Roll out pie crust dough on a lightly floured surface.
- Using a round cookie cutter (about 3.5 inches in diameter), cut out 16 circles (8 for bottoms, 8 for tops).
4. Assemble Mini Pies
- Place 1 tablespoon of apple filling onto each bottom crust circle.
- Brush the edges with a little water.
- Top with another crust circle and press edges to seal. You can crimp edges with a fork or pinch with fingers.
- Cut small slits or shapes in the top crust for steam to escape.
5. Egg Wash & Sugar
- Beat egg with water to make an egg wash.
- Brush tops of pies with egg wash and sprinkle with sugar if desired.
6. Bake
- Bake for 20–25 minutes or until golden brown and bubbly.
- Cool for a few minutes before serving.
Notes
- Make Ahead: Mini pies freeze well before baking. Bake from frozen, adding a few extra minutes to the baking time.
- Spice it Up: Add a pinch of ground cloves or ginger for extra warmth.
- Serving: Serve warm with vanilla ice cream or whipped cream.

