Garlic cheese rolls are the ultimate combination of comfort, flavor, and convenience, and this 10-minute easy version takes them to a whole new level of accessibility. Imagine the irresistible aroma of roasted garlic mingling with melted, stringy cheese, all encased in a soft, pillowy roll that practically melts in your mouth. These rolls are the perfect addition to any meal, from a weeknight dinner to a festive holiday spread, or even served as a standalone snack for impromptu gatherings. What makes this recipe especially appealing is that it transforms ingredients you likely have on hand into a warm, cheesy delight in record time, without sacrificing flavor or texture.
Unlike traditional garlic bread or homemade rolls that require long rise times, this 10-minute recipe leverages pre-made dough—such as refrigerated biscuit dough, crescent roll dough, or quick yeast dough—to dramatically cut down preparation and baking time. Despite the shortcut, these rolls retain the soft, tender crumb and golden-brown exterior that make fresh-baked bread so comforting. Each bite reveals a perfect balance between the slightly crisp outside, the pillowy interior, and the gooey, melted cheese center. The combination of garlic butter brushed over the tops and the richness of the cheese inside creates a taste profile that is indulgent yet familiar, satisfying both children and adults alike.
The versatility of garlic cheese rolls is another reason they have become a staple in many kitchens. They can be filled with mozzarella, cheddar, provolone, or even a blend of cheeses, depending on your taste and what’s available. Additional ingredients, such as herbs, sun-dried tomatoes, or cooked bacon bits, can be incorporated to elevate the flavor profile and add variety. The simplicity of the assembly process also makes it ideal for novice cooks or busy parents who want to create something impressive with minimal effort.
One of the most enjoyable aspects of this recipe is the sensory experience it offers. The smell of garlic roasting in the oven, the sight of cheese bubbling and browning, and the first pull-apart bite combine to create a comforting, almost nostalgic experience reminiscent of homemade Italian bread or freshly baked dinner rolls. Unlike pre-packaged snacks, these rolls offer a sense of satisfaction that comes from creating something delicious from scratch, even when pressed for time.
These 10-minute garlic cheese rolls are also highly practical. Because they use pre-made dough, you can prepare them on a whim for unexpected guests, or double the batch for parties and gatherings. They can be served immediately or wrapped in foil to stay warm, making them suitable for take-home lunches, potlucks, or family dinners. Additionally, they can be partially prepared in advance: assemble the rolls and refrigerate until ready to bake, allowing the oven time to be the only limiting factor.
Step-by-Step Instructions
1. Preparing Your Workspace
Before starting, clear a large workspace for rolling and assembling the dough. Gather all necessary tools, including a baking sheet, parchment paper, measuring cups and spoons, a small mixing bowl, a pastry brush, and a knife or dough cutter. Also, preheat your oven to the temperature recommended for your chosen dough (typically 375–400°F / 190–200°C).
Have all fillings and toppings ready: grated cheese, garlic butter mixture, herbs, and any optional ingredients. Prepping everything in advance ensures a smooth, fast assembly process and reduces the risk of overworking the dough.
2. Preparing the Dough
If using refrigerated biscuit dough, crescent roll dough, or pre-made yeast dough, remove it from packaging and allow it to come to room temperature for a few minutes. This makes the dough easier to roll and shape.
For pre-made yeast dough, lightly flour your work surface and gently roll the dough into a rectangular shape about ¼ inch thick. If using biscuit or crescent dough, separate the pieces and flatten each into a small disc. Proper shaping at this stage ensures uniform rolls and even baking.
3. Preparing the Garlic Butter
In a small bowl, melt 2–3 tablespoons of butter and stir in minced garlic. Add a pinch of salt and optional seasonings such as dried Italian herbs or red pepper flakes. The garlic butter will be used both in the filling and brushed on top before baking. Preparing it in advance allows the flavors to meld while you work with the dough.
4. Adding the Cheese
Grate or slice your preferred cheese—mozzarella, cheddar, provolone, or a blend. Place a small amount in the center of each dough portion. Avoid overfilling, as excess cheese can leak during baking and reduce the structural integrity of the roll.
Optional fillings like cooked bacon, diced bell peppers, or spinach can be added at this stage. Ensure all ingredients are evenly distributed in the center for consistent flavor in every bite.
5. Shaping the Rolls
Fold the dough over the filling to encase it completely. Pinch the edges together tightly to prevent cheese from escaping. Then, gently roll it into a smooth, uniform ball. Place each ball seam-side down on a parchment-lined baking sheet, spacing them about 1 inch apart to allow expansion during baking.
Brush the tops lightly with garlic butter. This not only adds flavor but also ensures a golden, glossy finish. Optional: sprinkle additional grated Parmesan or herbs for an extra layer of taste and visual appeal.
6. Baking the Rolls
Place the prepared rolls in the preheated oven. Bake for 8–12 minutes, depending on size and dough type, until the tops are golden brown and the cheese inside is melted and bubbly.
Monitor closely during the last few minutes. Rolls bake quickly, and overbaking can result in a dry interior or burnt tops. The ideal texture is a lightly crisp exterior with a soft, cheesy, and tender interior.
7. Cooling and Finishing
Remove the rolls from the oven and allow them to cool for 2–3 minutes. This brief rest helps the cheese set slightly, making the rolls easier to handle.
For extra flavor, brush again with garlic butter immediately after baking. Sprinkle with chopped fresh parsley, basil, or a pinch of extra Parmesan for garnish.
8. Serving
Serve the garlic cheese rolls warm. They pair well with marinara sauce, ranch, or garlic dipping sauce. For parties, arrange them on a platter for easy access, or serve individually for a snack or side dish.
These rolls are best eaten immediately, while the cheese is melty and the dough is soft. Their quick preparation and warm, cheesy interior make them an irresistible addition to any meal.
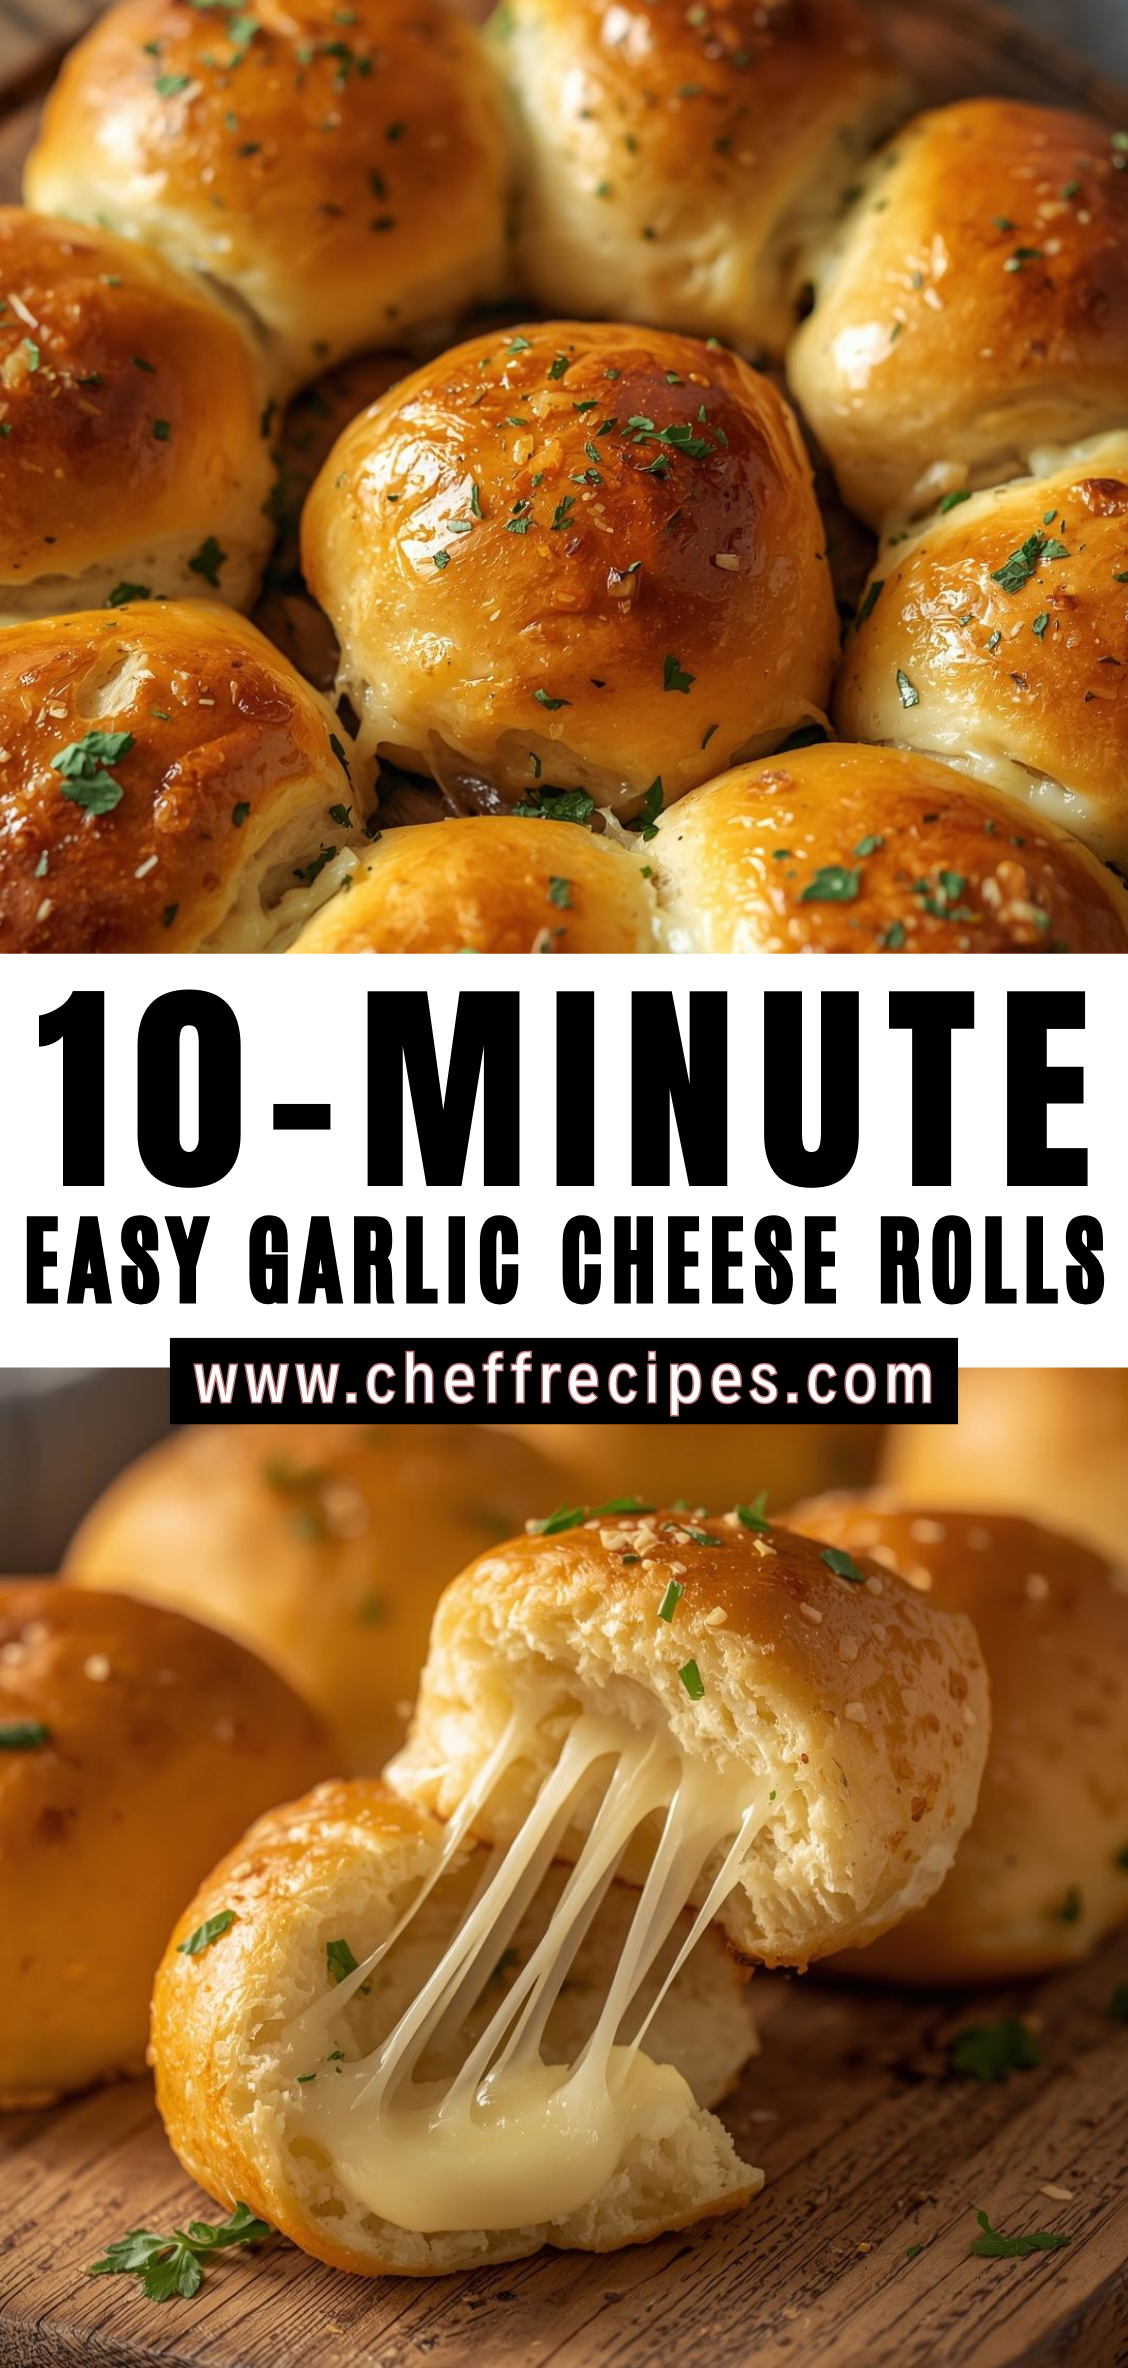
10-Minute Easy Garlic Cheese Rolls
Garlic cheese rolls are the ultimate combination of comfort, flavor, and convenience, and this 10-minute easy version takes them to a whole new level of accessibility. Imagine the irresistible aroma of roasted garlic mingling with melted, stringy cheese, all encased in a soft, pillowy roll that practically melts in your mouth. These rolls are the perfect addition to any meal, from a weeknight dinner to a festive holiday spread, or even served as a standalone snack for impromptu gatherings. What makes this recipe especially appealing is that it transforms ingredients you likely have on hand into a warm, cheesy delight in record time, without sacrificing flavor or texture.
Ingredients
- 1 cup pre-made biscuit dough (or refrigerated crescent roll dough)
- ½ cup shredded mozzarella cheese
- 2 tbsp butter, melted
- 1–2 cloves garlic, minced
- ½ tsp dried parsley (optional)
- ¼ tsp salt
Instructions
1. Prep the Garlic Butter
- In a small bowl, mix melted butter, minced garlic, parsley, and salt.
2. Assemble the Rolls
- Preheat oven to 375°F (190°C) if baking (skip if microwaving).
- Take each biscuit piece and flatten slightly.
- Place 1–2 tsp shredded cheese in the center.
- Fold edges over to form a sealed ball.
- Brush or toss rolls in garlic butter mixture.
3. Cook
- Oven method: Place rolls on a baking sheet lined with parchment. Bake 10–12 minutes until golden and cheese is melted.
- Microwave method: Place rolls on a microwave-safe plate. Microwave 45–60 seconds until cheese is melted (texture is softer than baked).
4. Serve
- Brush with extra garlic butter immediately after cooking. Serve warm.
Notes
- Cheese variations: Try cheddar, pepper jack, or a mix.
- Make it spicy: Add a pinch of red pepper flakes to the garlic butter.
- Herb boost: Use rosemary or Italian seasoning instead of parsley.
- Quick snack: Perfect for last-minute appetizers or side for pasta/soup.

