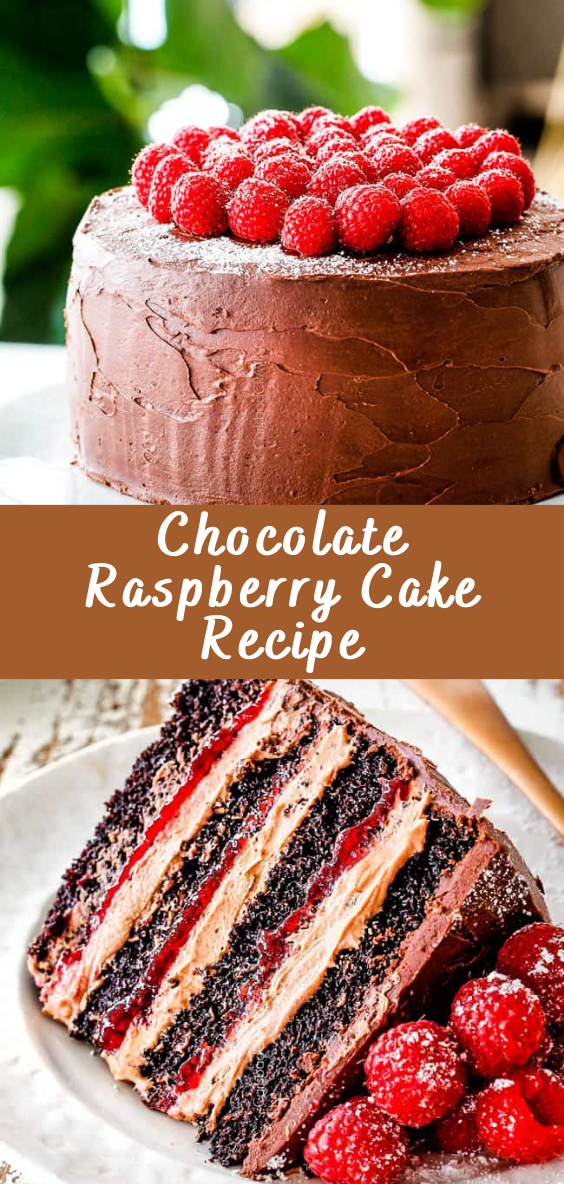
Chocolate Raspberry Cake Recipe
Who can resist the allure of a decadent chocolate raspberry cake? This indulgent dessert combines the rich flavor of chocolate with the tartness of raspberries for a delightful treat that is sure to impress. Whether you’re celebrating a special occasion or simply craving something sweet, this chocolate raspberry cake recipe is sure to satisfy your cravings.

Ingredients
To create this mouthwatering dessert, you’ll need the following ingredients:
- 2 cups all-purpose flour
- 1 cup granulated sugar
- 3/4 cup unsweetened cocoa powder
- 1 teaspoon baking powder
- 1/2 teaspoon baking soda
- 1/2 teaspoon salt
- 1 cup buttermilk
- 1/2 cup vegetable oil
- 2 large eggs
- 2 teaspoons vanilla extract
- 1 cup hot water
- 1 1/2 cups fresh raspberries
Preparation Time
The preparation time for this chocolate raspberry cake is approximately 20 minutes.
Instructions
- Preheat Oven: Preheat your oven to 350°F (175°C). Grease and flour two 9-inch round cake pans.
- Combine Dry Ingredients: In a large mixing bowl, sift together the flour, sugar, cocoa powder, baking powder, baking soda, and salt.
- Mix Wet Ingredients: In a separate bowl, whisk together the buttermilk, vegetable oil, eggs, and vanilla extract until well combined.
- Combine Mixtures: Gradually add the wet ingredients to the dry ingredients, mixing until smooth. Stir in the hot water until the batter is well combined.
- Add Raspberries: Gently fold in the fresh raspberries until evenly distributed throughout the batter.
- Pour Batter: Divide the batter evenly between the prepared cake pans, smoothing the tops with a spatula.
- Bake: Bake in the preheated oven for 25-30 minutes, or until a toothpick inserted into the center of the cakes comes out clean.
- Cool: Allow the cakes to cool in the pans for 10 minutes before transferring them to a wire rack to cool completely.
Baking Process
Baking the chocolate raspberry cake requires careful attention to detail. Make sure to follow these tips for perfect results:
- Ensure your oven is properly preheated to the correct temperature.
- Use fresh ingredients for the best flavor.
- Don’t overmix the batter to avoid a dense cake texture.
- Check for doneness by inserting a toothpick into the center of the cake – it should come out clean when the cake is ready.
Decoration
Once the cake has cooled, you can decorate it with your favorite toppings, such as chocolate ganache, whipped cream, or additional raspberries.
Serving Suggestions
Serve slices of chocolate raspberry cake with a dollop of whipped cream and a few fresh raspberries for a stunning presentation.
Variations
Feel free to experiment with different flavor combinations, such as adding almond extract to the batter or using white chocolate chips instead of raspberries.
Health Benefits
While chocolate raspberry cake is undoubtedly a treat, it also offers some health benefits. Dark chocolate contains antioxidants that can help improve heart health, while raspberries are rich in vitamins and minerals.
Tips and Tricks
- For an extra indulgent treat, serve slices of chocolate raspberry cake with a scoop of vanilla ice cream.
- Store any leftovers in an airtight container in the refrigerator for up to three days.
Common Mistakes to Avoid
- Overmixing the batter can result in a dense cake texture.
- Not properly greasing and flouring the cake pans can cause the cakes to stick.
Conclusion
In conclusion, this chocolate raspberry cake recipe is a delightful dessert option for any occasion. With its rich chocolate flavor and bursts of tart raspberry, it’s sure to be a hit with friends and family alike. So why not indulge your sweet tooth and whip up a batch today?
FAQs
- Can I use frozen raspberries instead of fresh?
- Yes, you can use frozen raspberries, but be sure to thaw and drain them before adding them to the batter.
- Can I substitute buttermilk with regular milk?
- Yes, you can substitute buttermilk with a mixture of regular milk and lemon juice or vinegar.
- Can I make this cake ahead of time?
- Yes, you can bake the cakes in advance and store them in the refrigerator until ready to assemble and serve.
- Can I freeze leftover cake?
- Yes, you can freeze leftover cake slices for up to one month. Simply wrap them tightly in plastic wrap and aluminum foil before freezing.
- Can I use this recipe to make cupcakes instead of a cake?
- Yes, you can use the same batter to make cupcakes. Just adjust the baking time accordingly.
Source: carlsbadcravings.com
Easy Turtle Brownies Recipe

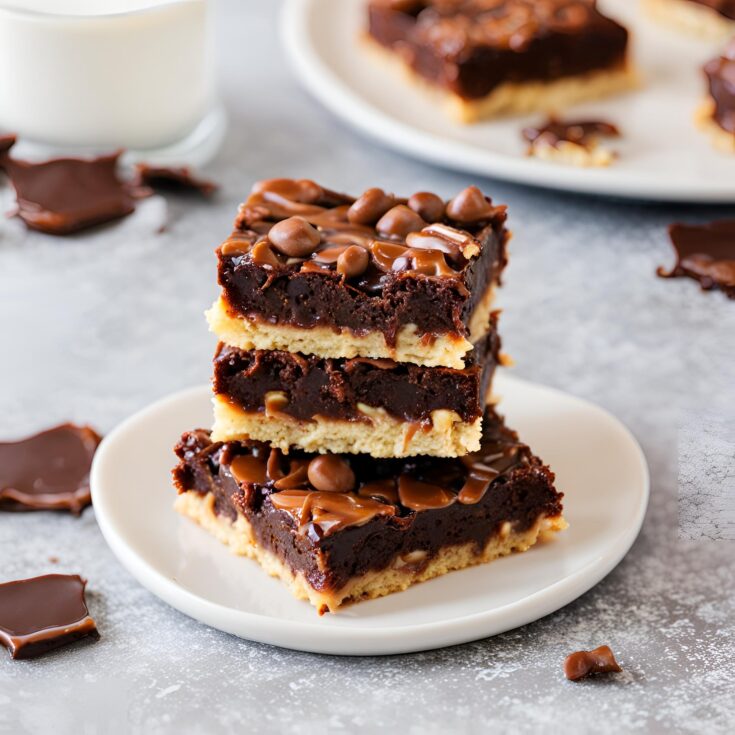
Who can resist the allure of a rich, fudgy brownie, especially when it’s topped with gooey caramel, crunchy pecans, and luscious chocolate chips? That’s the magic of Turtle Brownies, a decadent dessert that combines all the best elements of traditional brownies with the irresistible flavors of turtle candy. Whether you’re making them for a special occasion or just to satisfy a sweet craving, Turtle Brownies are sure to impress.
Ingredients
- Brownies
- 10 tbsp unsalted butter
- 3/4 cup granulated sugar
- 1/2 cup light brown sugar
- 3/4 cup unsweetened cocoa powder
- 1/2 tsp salt
- 1 tbsp instant coffee granules
- 1/2 tsp baking powder
- 2 whole large eggs, cold
- 2 tsp vanilla extract
- 2/3 cup all purpose flour
- 1/2 cup semi sweet chocolate chips, plus more for topping
- 1/2 cup chopped pecans, plus more for topping
- Caramel Sauce
- 1 cup light brown sugar
- 6 tbsp unsalted butter
- 1/2 cup heavy cream
- 1 tsp vanilla
Instructions
Brownies
- Preheat oven to 350 degrees. Line a 9 x 9 or 8 x 8 pan with aluminum foil. Lightly spray with cooking spray or grease with butter. Set aside.Add butter to a medium saucepan and cook over medium heat until light brown / caramel in color. 5-10 minutes. Make sure to keep and eye on it so butter does not burn. It also helps to use a light colored saucepan for this.
- Pour browned butter into a large bowl along with both sugars, cocoa powder, salt, instant coffee granules and baking powder. Stir until combined and allow to rest for 5 minutes or until the mixture has cooled down.
- Stir in the eggs and vanilla and mix until batter has a nice sheen to it.
- Fold in the flour and stir until combined. (Do not over mix).
- Add in the chocolate chips and pecans and stir until combined.
- Pour the batter into the prepared pan and bake for 20-25 minutes or until the top is set and a toothpick comes out clean.
- Take out of the oven and allow the brownies to cool completely before taking them out of the pan.
- Drizzle the cooled caramel sauce on top of the brownies.
- Top with pecans and chocolate chips. Place the brownies in the refrigerator to set for at least 30 minutes.
- Slice into 9 brownies, serve and enjoy!
Caramel Sauce
- Add all of the ingredients except for the vanilla to a saucepan. Cook over low-medium heat until thickened stirring occasionally. About 8 minutes. If the sauce isn't getting a lot thicker turn up the heat a bit and keep and eye on it making sure to whisk constantly. (The sauce will thicken as it cools in the refrigerator).
- Take off of the heat and stir in vanilla. Transfer to a container and place in the refrigerator to firm up and cool.