Chocolate Chip Scones with a Vanilla Glaze Finish Recipe
Few baked goods strike the perfect balance between comfort and sophistication quite like a scone. With its tender crumb, buttery layers, and lightly sweet flavor, the scone has earned a place as a timeless staple in bakeries, tearooms, and home kitchens around the world. Among the many variations of this beloved treat, Chocolate Chip Scones with a Vanilla Glaze Finish stand out as a delightful fusion of indulgence and elegance.
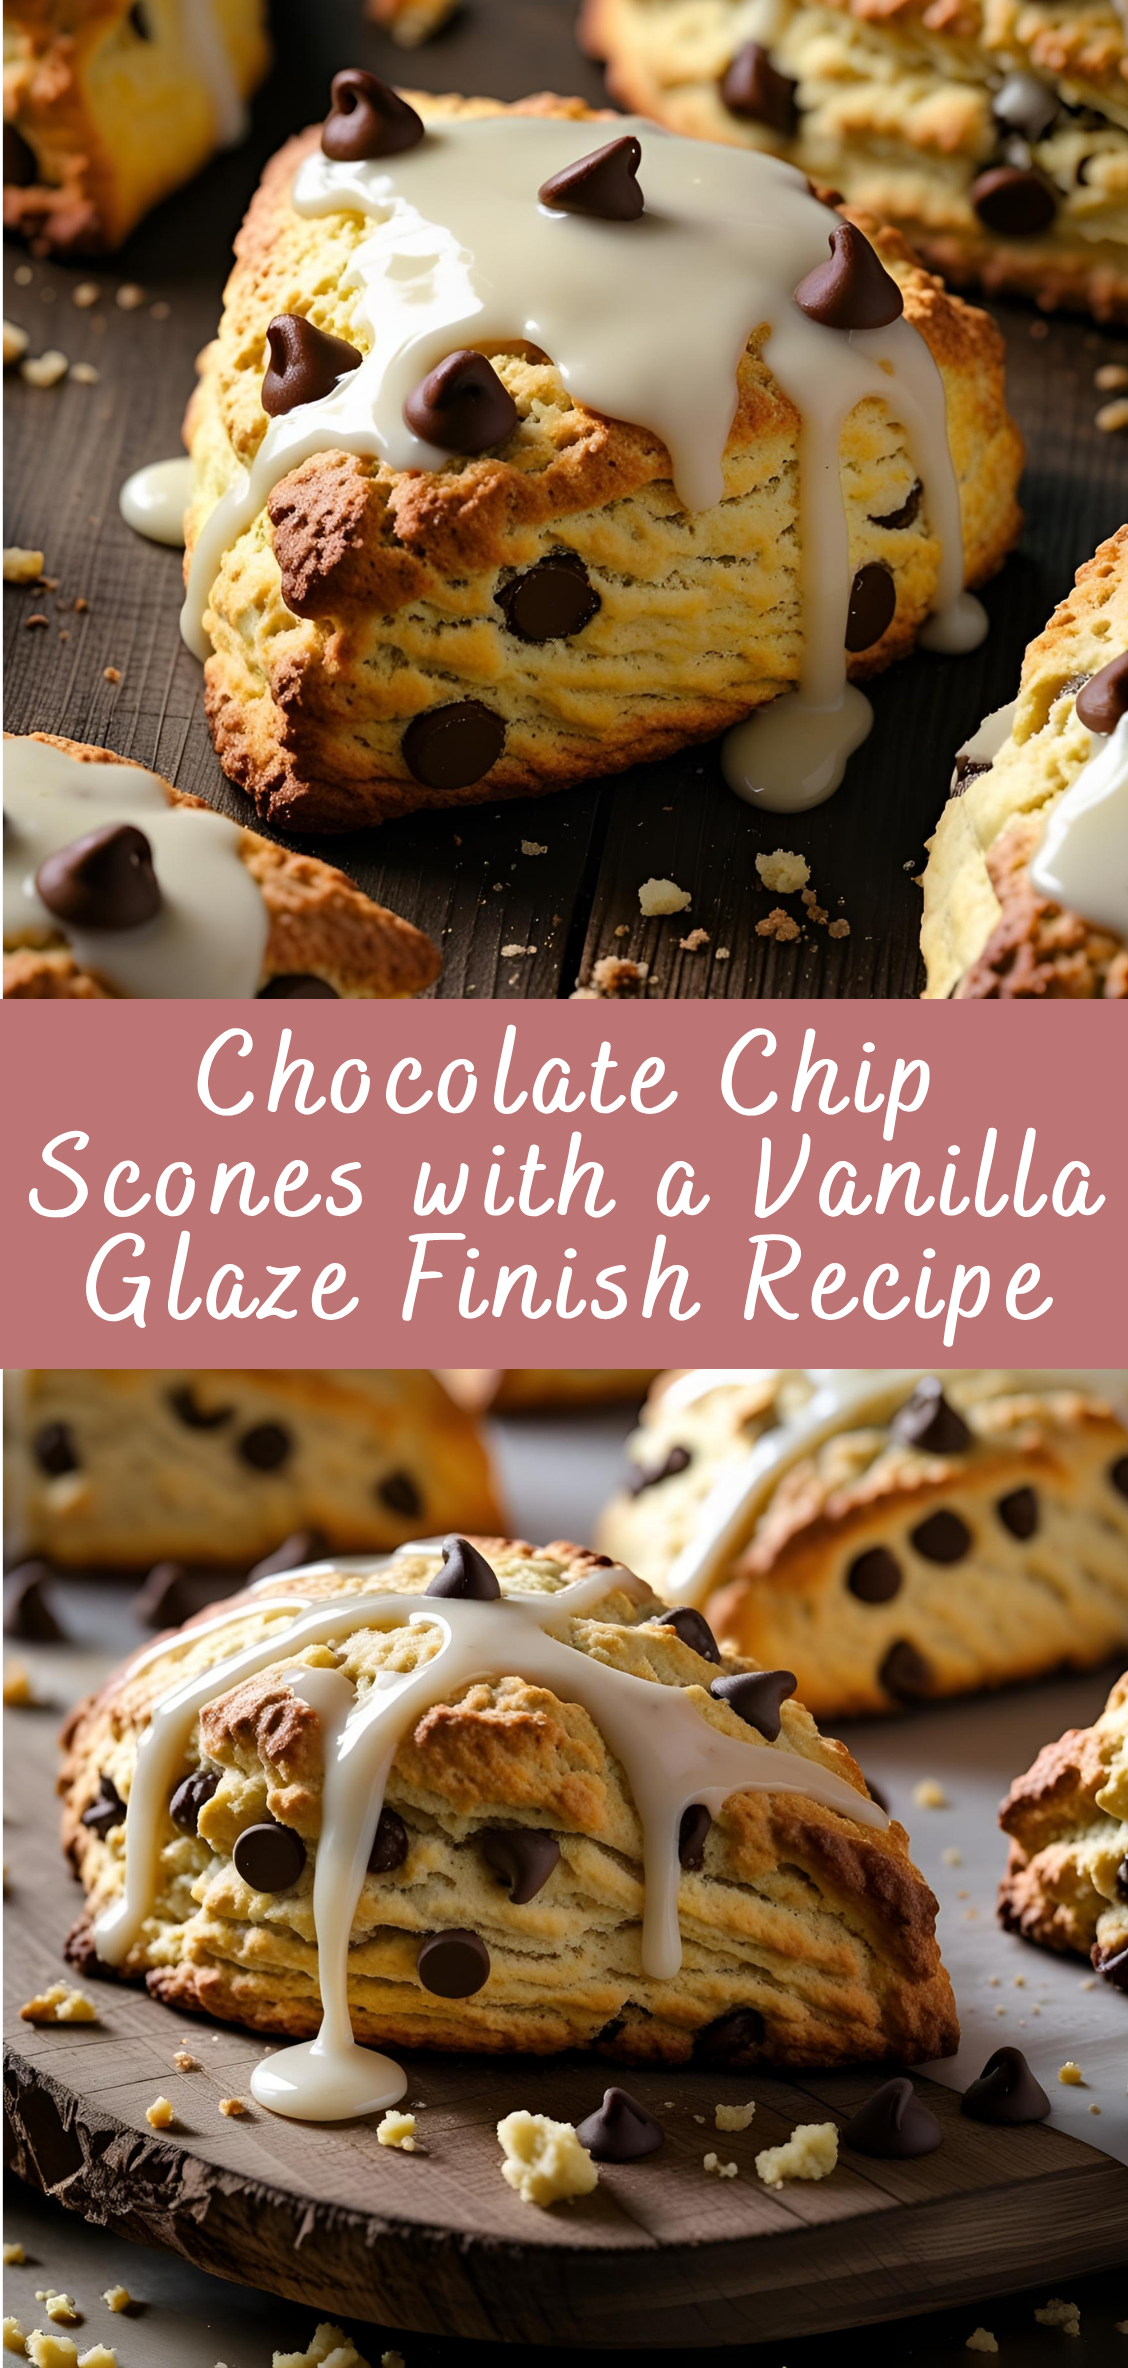
These scones offer the best of both worlds: the rich, nostalgic flavor of semi-sweet chocolate chips and the soft, flaky texture of a well-made scone, all elevated by a delicate drizzle of sweet, aromatic vanilla glaze. It’s a treat that feels both familiar and refined—a comforting nod to classic chocolate chip cookies, yet elevated in form and texture to suit brunch tables, afternoon tea settings, and holiday mornings alike.
What makes scones particularly special is their versatility. They sit at the intersection of bread and pastry, making them a welcome addition to breakfast spreads, midday snacks, or dessert plates. Depending on how they are prepared, scones can range from dense and cakey to light and layered. In this recipe, we strike a balance between structure and softness—creating scones that are crisp and golden on the outside, but tender and moist within.
The addition of chocolate chips adds a layer of decadence without overpowering the simple beauty of the scone itself. Paired with a silky vanilla glaze that sets to a gentle shine, the result is a pastry that satisfies both visually and flavorfully. The glaze not only enhances sweetness but also complements the deep richness of the chocolate, tying each bite together with a subtle hint of aromatic vanilla.
In this comprehensive guide, we’ll walk through every step of the process—from choosing the right type of flour and butter, to shaping and cutting your scones for optimal rise, to achieving the perfect consistency and flavor in your glaze. We’ll explore common mistakes to avoid, tips for keeping your scones tender and flaky, and optional variations to suit different tastes and dietary needs. Whether you’re a first-time baker or a seasoned scone enthusiast, this recipe will empower you to bake with confidence and creativity.
Chocolate Chip Scones with Vanilla Glaze are more than just a baked good—they’re an experience. Whether enjoyed warm from the oven with a cup of tea or served at a celebratory brunch, they’re sure to delight anyone lucky enough to share the table with them.
Step-by-Step Instructions: Chocolate Chip Scones with a Vanilla Glaze Finish
Step 1: Gather and Prepare Your Ingredients
Before starting, it’s essential to have all ingredients prepped and at the right temperature. Scone dough comes together quickly, and working with cold ingredients is key to achieving a tender, flaky texture.
Dry Ingredients
-
2 ¾ cups (345g) all-purpose flour
-
⅓ cup (65g) granulated sugar
-
1 tablespoon baking powder
-
½ teaspoon baking soda
-
½ teaspoon salt
Cold Fats
-
½ cup (1 stick / 113g) unsalted butter, cold and cut into cubes
Liquid Ingredients
-
¾ cup (180ml) cold heavy cream or buttermilk
-
1 large egg
-
2 teaspoons pure vanilla extract
Add-Ins
-
1 cup (170g) semi-sweet chocolate chips (mini or regular)
For the Vanilla Glaze
-
1 cup (120g) powdered sugar, sifted
-
2–3 tablespoons milk or cream
-
1 teaspoon pure vanilla extract
-
Optional: A tiny pinch of salt to balance sweetness
Pro Tip: Place butter in the freezer for 10 minutes before using. Cold butter helps create steam during baking, which gives scones their flaky texture.
Step 2: Prepare the Dough
-
Whisk Dry Ingredients
In a large mixing bowl, whisk together the flour, sugar, baking powder, baking soda, and salt until evenly combined. This creates a uniform dry base for the dough. -
Cut in the Butter
Add the cold, cubed butter to the flour mixture. Use a pastry cutter, two forks, or your fingers to cut the butter into the flour until the mixture resembles coarse crumbs. There should be small, pea-sized chunks of butter visible throughout.Don’t overwork the butter. The key is to maintain small solid pieces that will melt in the oven, creating flaky pockets in the scones.
-
Add Chocolate Chips
Stir in the chocolate chips evenly so they’re well distributed throughout the dry mixture.
Step 3: Mix the Wet Ingredients
-
In a separate small bowl or measuring cup, whisk together the egg, heavy cream (or buttermilk), and vanilla extract until smooth.
Step 4: Combine Wet and Dry Ingredients
-
Make a well in the center of the dry mixture and pour in the wet ingredients.
-
Using a wooden spoon or rubber spatula, mix gently until a shaggy dough begins to form. It should be slightly sticky but not overly wet.
Avoid overmixing. The dough should just come together. Overmixing develops gluten, which can lead to tough scones.
Step 5: Shape and Cut the Dough
-
Lightly flour a clean work surface.
-
Turn the dough out onto the floured surface and gently knead it 2–3 times to bring it fully together. Pat the dough into a round disc about 1 inch thick and 7–8 inches in diameter.
-
Cut into Wedges
Using a sharp knife or bench scraper, cut the disc into 8 even wedges (like slicing a pie).Alternate Shaping Options:
-
For smaller scones: divide dough in half and shape two smaller discs; cut each into 6 wedges for 12 mini scones.
-
For round scones: use a biscuit cutter to cut rounds, pressing straight down (don’t twist).
-
Step 6: Chill the Scones
Transfer the shaped scones to a parchment-lined baking sheet. Place the sheet in the refrigerator for 20–30 minutes.
Why chill? Cold dough prevents spreading and allows the butter to firm up before baking. This ensures a higher rise and better texture.
Step 7: Preheat and Prepare to Bake
-
Preheat your oven to 400°F (200°C).
-
Just before baking, brush the tops of the scones with a bit of cream or milk. This helps with browning.
Optional: Sprinkle lightly with coarse sugar for a crunchy finish.
Step 8: Bake the Scones
-
Bake on the middle rack for 18–22 minutes, or until:
-
The tops are golden brown
-
The sides look set
-
A toothpick inserted in the center comes out clean
-
-
Remove from oven and allow to cool for 5–10 minutes on the baking sheet, then transfer to a wire rack.
Step 9: Make the Vanilla Glaze
While the scones cool slightly, prepare your glaze.
-
In a small bowl, whisk together:
-
1 cup sifted powdered sugar
-
2 tablespoons milk or cream
-
1 teaspoon vanilla extract
-
Optional: A pinch of salt to enhance flavor
-
-
Add more milk, ½ teaspoon at a time, until the glaze reaches a pourable but thick consistency. It should coat a spoon but drip slowly.
Step 10: Glaze the Scones
-
Once scones are mostly cool (not hot), drizzle the glaze over the tops using a spoon or piping bag.
-
Let glaze set for about 10–15 minutes before serving.
Pro Tip: For a neater finish, place a sheet of parchment paper under the wire rack to catch excess glaze drips.
Step 11: Serve and Enjoy
These scones are best served slightly warm or at room temperature. Enjoy with:
-
A cup of strong coffee or English breakfast tea
-
Fresh fruit or jam
-
Lightly whipped cream for an extra indulgence
Texture Note: The exterior will be lightly crisp, while the inside remains soft, rich, and chocolate-studded. The glaze adds a creamy-sweet finish that balances beautifully with the deep flavor of the chocolate chips.
Chocolate Chip Scones with a Vanilla Glaze Finish Recipe
Few baked goods strike the perfect balance between comfort and sophistication quite like a scone. With its tender crumb, buttery layers, and lightly sweet flavor, the scone has earned a place as a timeless staple in bakeries, tearooms, and home kitchens around the world. Among the many variations of this beloved treat, Chocolate Chip Scones with a Vanilla Glaze Finish stand out as a delightful fusion of indulgence and elegance.
Ingredients
- For the Scones:
- 2 cups (250g) all-purpose flour
- 1/3 cup (65g) granulated sugar
- 1 tablespoon baking powder
- 1/2 teaspoon salt
- 1/2 cup (113g) cold unsalted butter, cut into cubes
- 2/3 cup (120ml) heavy cream (plus more for brushing)
- 1 large egg
- 1.5 teaspoons vanilla extract
- 1 cup (175g) chocolate chips (semi-sweet or milk chocolate)
- Optional Add-ins:
- 1/2 teaspoon cinnamon (for subtle warmth)
- Zest of 1 orange (for a citrusy twist)
- For the Vanilla Glaze:
- 1 cup (120g) powdered sugar
- 2–3 tablespoons milk or cream
- 1 teaspoon vanilla extract
- Pinch of salt (optional)
Instructions
- Preheat Oven:
Preheat to 400°F (200°C). Line a baking sheet with parchment paper. - Mix Dry Ingredients:
In a large bowl, whisk together flour, sugar, baking powder, and salt. - Cut in the Butter:
Add cold butter cubes. Use a pastry cutter or fingertips to cut the butter into the flour until the mixture resembles coarse crumbs. - Add Wet Ingredients:
In a small bowl, whisk together cream, egg, and vanilla extract. Pour into the flour mixture. Add chocolate chips and gently mix until a rough dough forms—do not overmix. - Shape the Dough:
Turn the dough onto a floured surface and gently knead just until it comes together. Pat into a 6–7 inch round disc, about 1 inch thick. - Cut and Chill:
Cut into 8 wedges and place them on the prepared baking sheet. Optional: Chill in the fridge for 15–20 minutes for flakier scones. - Bake:
Brush tops with a bit of cream and bake for 18–22 minutes or until golden brown. Cool on a wire rack. - Make the Glaze:
Whisk powdered sugar, milk, and vanilla until smooth. Adjust thickness by adding more sugar or milk as needed. - Drizzle and Serve:
Once scones are mostly cool, drizzle with vanilla glaze. Let set before serving.
Notes
- Make-Ahead Tip: Scone dough can be frozen raw. Cut into wedges and freeze. Bake straight from frozen at 400°F for 22–25 minutes.
- Storage: Store in an airtight container at room temp for 1–2 days, or refrigerate for up to 5 days.
- Reheat Tip: Warm briefly in the oven or microwave to refresh texture before serving.

