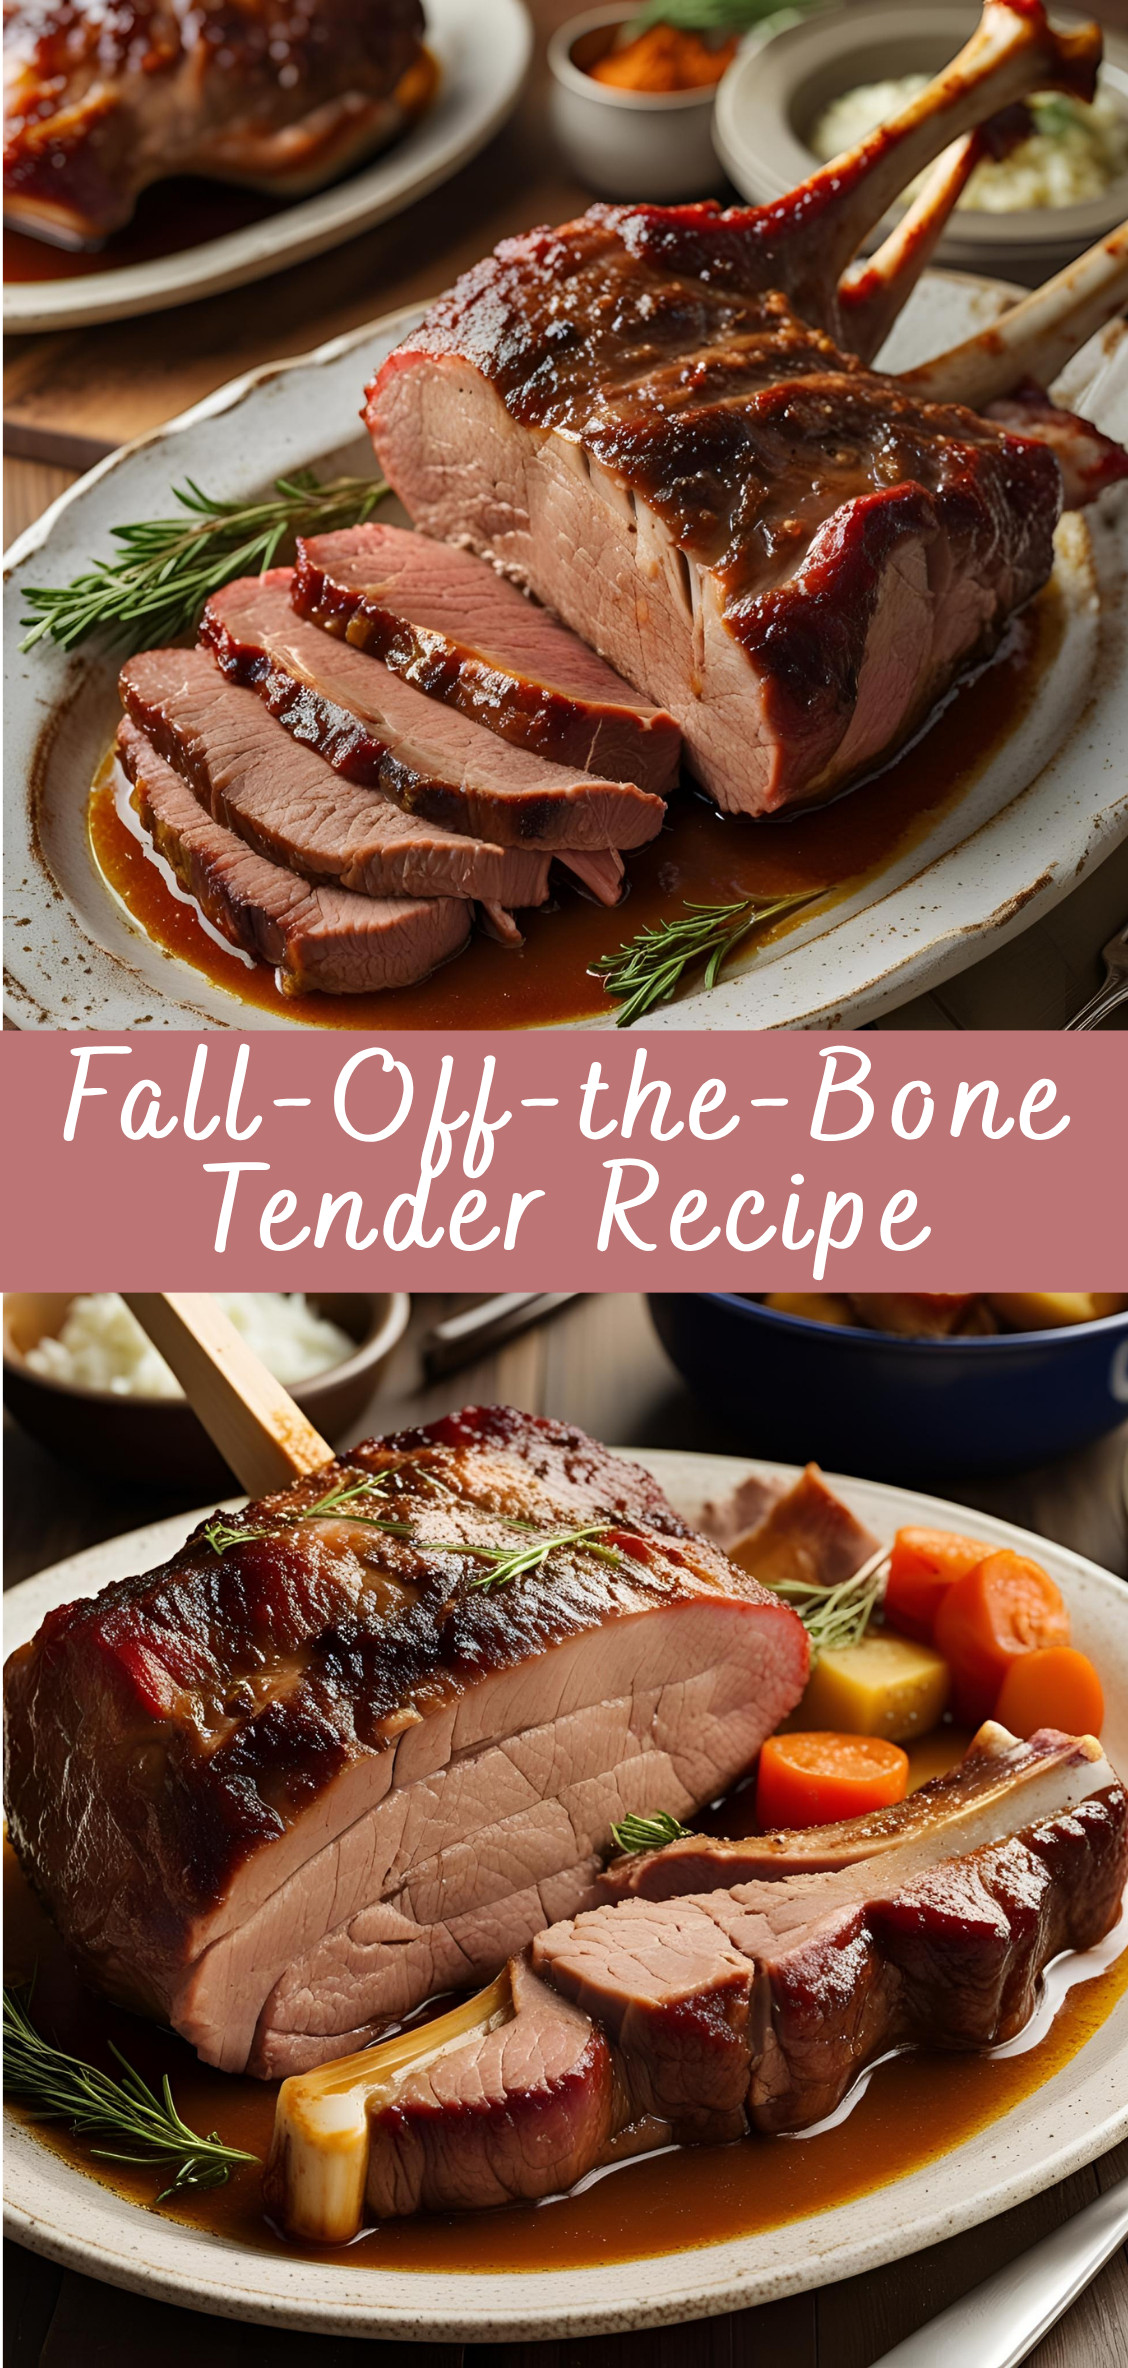
Fall-Off-the-Bone Tender Recipe
There’s something universally satisfying about taking a fork—or even just your fingers—to a cut of meat and watching it yield effortlessly, fibers parting gently like silk. It’s the kind of culinary experience that doesn’t need words: just a pause, a sigh of delight, and the unmistakable look of someone savoring pure comfort. Achieving fall-off-the-bone tenderness is more than a matter of time or heat; it’s a craft, a balance of patience, technique, and respect for ingredients.
Across cultures and cuisines, this level of tenderness has been revered. From American Southern-style barbecue ribs slow-smoked over hickory, to French coq au vin gently braised in red wine, to Asian soy-braised short ribs cooked low and slow until gelatinous and rich—what ties these dishes together is the transformation of tough cuts into luxurious bites. This transformation doesn’t happen by accident. It’s the result of deliberate choices in seasoning, temperature, timing, and method.
In this comprehensive guide, we’re going to explore everything it takes to consistently produce meats so tender they practically fall apart. We’ll break down the science behind muscle fibers and connective tissue, the essential tools and ingredients you’ll want in your kitchen, and step-by-step walkthroughs of dishes designed to melt in your mouth. From stovetop to oven, smoker to slow cooker, we’ll cover multiple paths to achieving that signature succulence.
Whether you’re cooking for a holiday gathering, a backyard feast, or a quiet Sunday dinner, mastering the techniques in this guide will elevate your dishes and deepen your understanding of what makes food truly satisfying. Because tender meat isn’t just about texture—it’s about care, tradition, and the kind of flavor that lingers long after the last bite.
Overview
Beef short ribs are one of the most flavorful and rewarding cuts for low-and-slow cooking. When braised properly, the meat becomes rich, tender, and deeply infused with the flavor of the braising liquid. This dish is perfect for cold-weather meals or any time you want a hearty, elegant main course.
Ingredients
For the Meat:
-
4–5 beef short ribs (bone-in, English cut, ~2.5–3 lbs total)
-
1 ½ tsp kosher salt
-
1 tsp freshly ground black pepper
-
2 tbsp all-purpose flour (optional, for dusting)
For Searing and Braise:
-
2 tbsp olive oil or neutral oil with high smoke point
-
1 large yellow onion, chopped
-
2 medium carrots, peeled and chopped
-
2 celery stalks, chopped
-
5 garlic cloves, smashed
-
2 tbsp tomato paste
-
1 ½ cups dry red wine (Cabernet Sauvignon, Merlot, or Pinot Noir)
-
2 cups beef stock or broth (low-sodium)
-
2 sprigs fresh rosemary
-
3 sprigs fresh thyme
-
2 dried bay leaves
-
Optional: 1 tsp Worcestershire sauce
Equipment
-
5–6 quart Dutch oven or heavy oven-safe pot with lid
-
Tongs
-
Wooden spoon
-
Fine mesh strainer (for sauce, optional)
Step-by-Step Instructions
Step 1: Preheat and Prepare the Meat
-
Preheat your oven to 300°F (150°C). This low temperature will ensure slow, even braising.
-
Pat the short ribs dry with paper towels. Removing surface moisture helps develop a better sear.
-
Season generously with kosher salt and freshly cracked pepper on all sides.
-
Optional: Lightly dust the ribs with flour. This helps with browning and thickens the braising liquid slightly during cooking.
Step 2: Sear the Short Ribs
-
Place the Dutch oven over medium-high heat. Add 2 tablespoons of oil.
-
When the oil is shimmering (but not smoking), add the short ribs in a single layer. Avoid crowding the pan—sear in batches if needed.
-
Brown all sides (3–4 minutes per side) until a deep brown crust forms. Do not rush this step—it’s crucial for developing flavor.
-
Transfer the seared ribs to a plate. Leave the fat in the pot.
Step 3: Build the Flavor Base
-
Reduce the heat to medium. Add chopped onions, carrots, and celery to the pot.
-
Sauté for 5–7 minutes, scraping up any browned bits from the bottom. Stir occasionally until the vegetables are softened and slightly caramelized.
-
Add the smashed garlic cloves and cook for another 1–2 minutes, until fragrant.
-
Stir in the tomato paste and cook for 2 minutes, allowing it to darken and caramelize slightly. This step adds depth and body to the final sauce.
Step 4: Deglaze and Build the Braising Liquid
-
Pour in the red wine. Use a wooden spoon to scrape up all browned bits stuck to the bottom of the pot—this is pure flavor.
-
Let the wine simmer for 8–10 minutes, reducing by about half. This concentrates its flavor and cooks off the alcohol.
-
Add the beef stock, herbs (rosemary, thyme, bay leaves), and Worcestershire sauce (if using). Stir gently to combine.
Step 5: Return the Meat and Braise
-
Return the short ribs (and any juices) to the pot, arranging them so they’re mostly submerged in the liquid. It’s okay if the tops are slightly exposed.
-
Bring the liquid to a gentle simmer on the stovetop.
-
Cover tightly with a lid and transfer the Dutch oven to the preheated oven.
-
Braise for 2 ½ to 3 hours, checking occasionally after 2 hours. The meat should be completely tender and pull away from the bone with minimal resistance.
Step 6: Finish the Sauce (Optional but Recommended)
-
Carefully remove the pot from the oven. Transfer the ribs to a plate and tent loosely with foil.
-
Strain the braising liquid through a fine mesh sieve into a saucepan, discarding solids (vegetables, herbs). You should be left with a rich, flavorful broth.
-
Simmer the liquid over medium heat for 10–15 minutes to reduce it into a thicker sauce. Skim off excess fat from the surface if needed.
-
Optional: Add 1 tsp cornstarch mixed with 1 tbsp cold water to thicken the sauce slightly.
-
Taste and adjust seasoning with salt and pepper as needed.
Serving Suggestions
Serve the short ribs hot, generously spooned with the reduced sauce. Ideal accompaniments include:
-
Creamy mashed potatoes
-
Buttered polenta
-
Roasted garlic cauliflower purée
-
Crusty artisan bread (for soaking up sauce)
Garnish with freshly chopped parsley for brightness if desired.
Tips for Success
-
Do not rush the sear: This is the foundation of flavor.
-
Make ahead: Braised short ribs taste even better the next day. Let them cool in the braising liquid, refrigerate overnight, and reheat gently.
-
Degrease if needed: Refrigerating overnight makes it easy to remove hardened fat from the top.
Fall-Off-the-Bone Tender Recipe
There’s something universally satisfying about taking a fork—or even just your fingers—to a cut of meat and watching it yield effortlessly, fibers parting gently like silk. It’s the kind of culinary experience that doesn’t need words: just a pause, a sigh of delight, and the unmistakable look of someone savoring pure comfort. Achieving fall-off-the-bone tenderness is more than a matter of time or heat; it’s a craft, a balance of patience, technique, and respect for ingredients.
Ingredients
- 3–4 lbs bone-in beef short ribs
- 1 tablespoon salt
- 1 teaspoon black pepper
- 2 tablespoons olive oil
- 1 large onion, sliced
- 4 cloves garlic, minced
- 2 tablespoons tomato paste
- 2 cups beef broth
- 1 cup red wine (or sub with more broth)
- 2 sprigs fresh thyme
- 2 sprigs fresh rosemary
- 2 bay leaves
Instructions
1. Preheat & Season:
- Preheat oven to 325°F (160°C).
- Pat short ribs dry. Season generously with salt and pepper.
2. Sear the Ribs:
- In a large Dutch oven or oven-safe pot, heat olive oil over medium-high heat.
- Sear ribs on all sides until browned (about 2–3 minutes per side). Remove and set aside.
3. Build the Braise:
- In the same pot, add onions and cook 3–4 minutes.
- Stir in garlic and tomato paste; cook 1 minute.
- Pour in red wine; scrape up any browned bits.
- Add beef broth, thyme, rosemary, and bay leaves.
- Return ribs to the pot, meat side down. Liquid should come halfway up the meat.
4. Braise Low and Slow:
- Cover tightly and transfer to oven.
- Bake for 2.5 to 3 hours, or until ribs are fork-tender and falling off the bone.
5. (Optional) Reduce Sauce:
- Remove ribs and skim excess fat from the top.
- Simmer remaining liquid on the stove until slightly thickened for a rich gravy.
Notes
- No Dutch oven? You can use a roasting pan tightly covered with foil.
- Make it ahead: Tastes even better the next day. Reheat slowly and spoon off any hardened fat.
- Side dish ideas: Serve with mashed potatoes, creamy polenta, or roasted vegetables.

