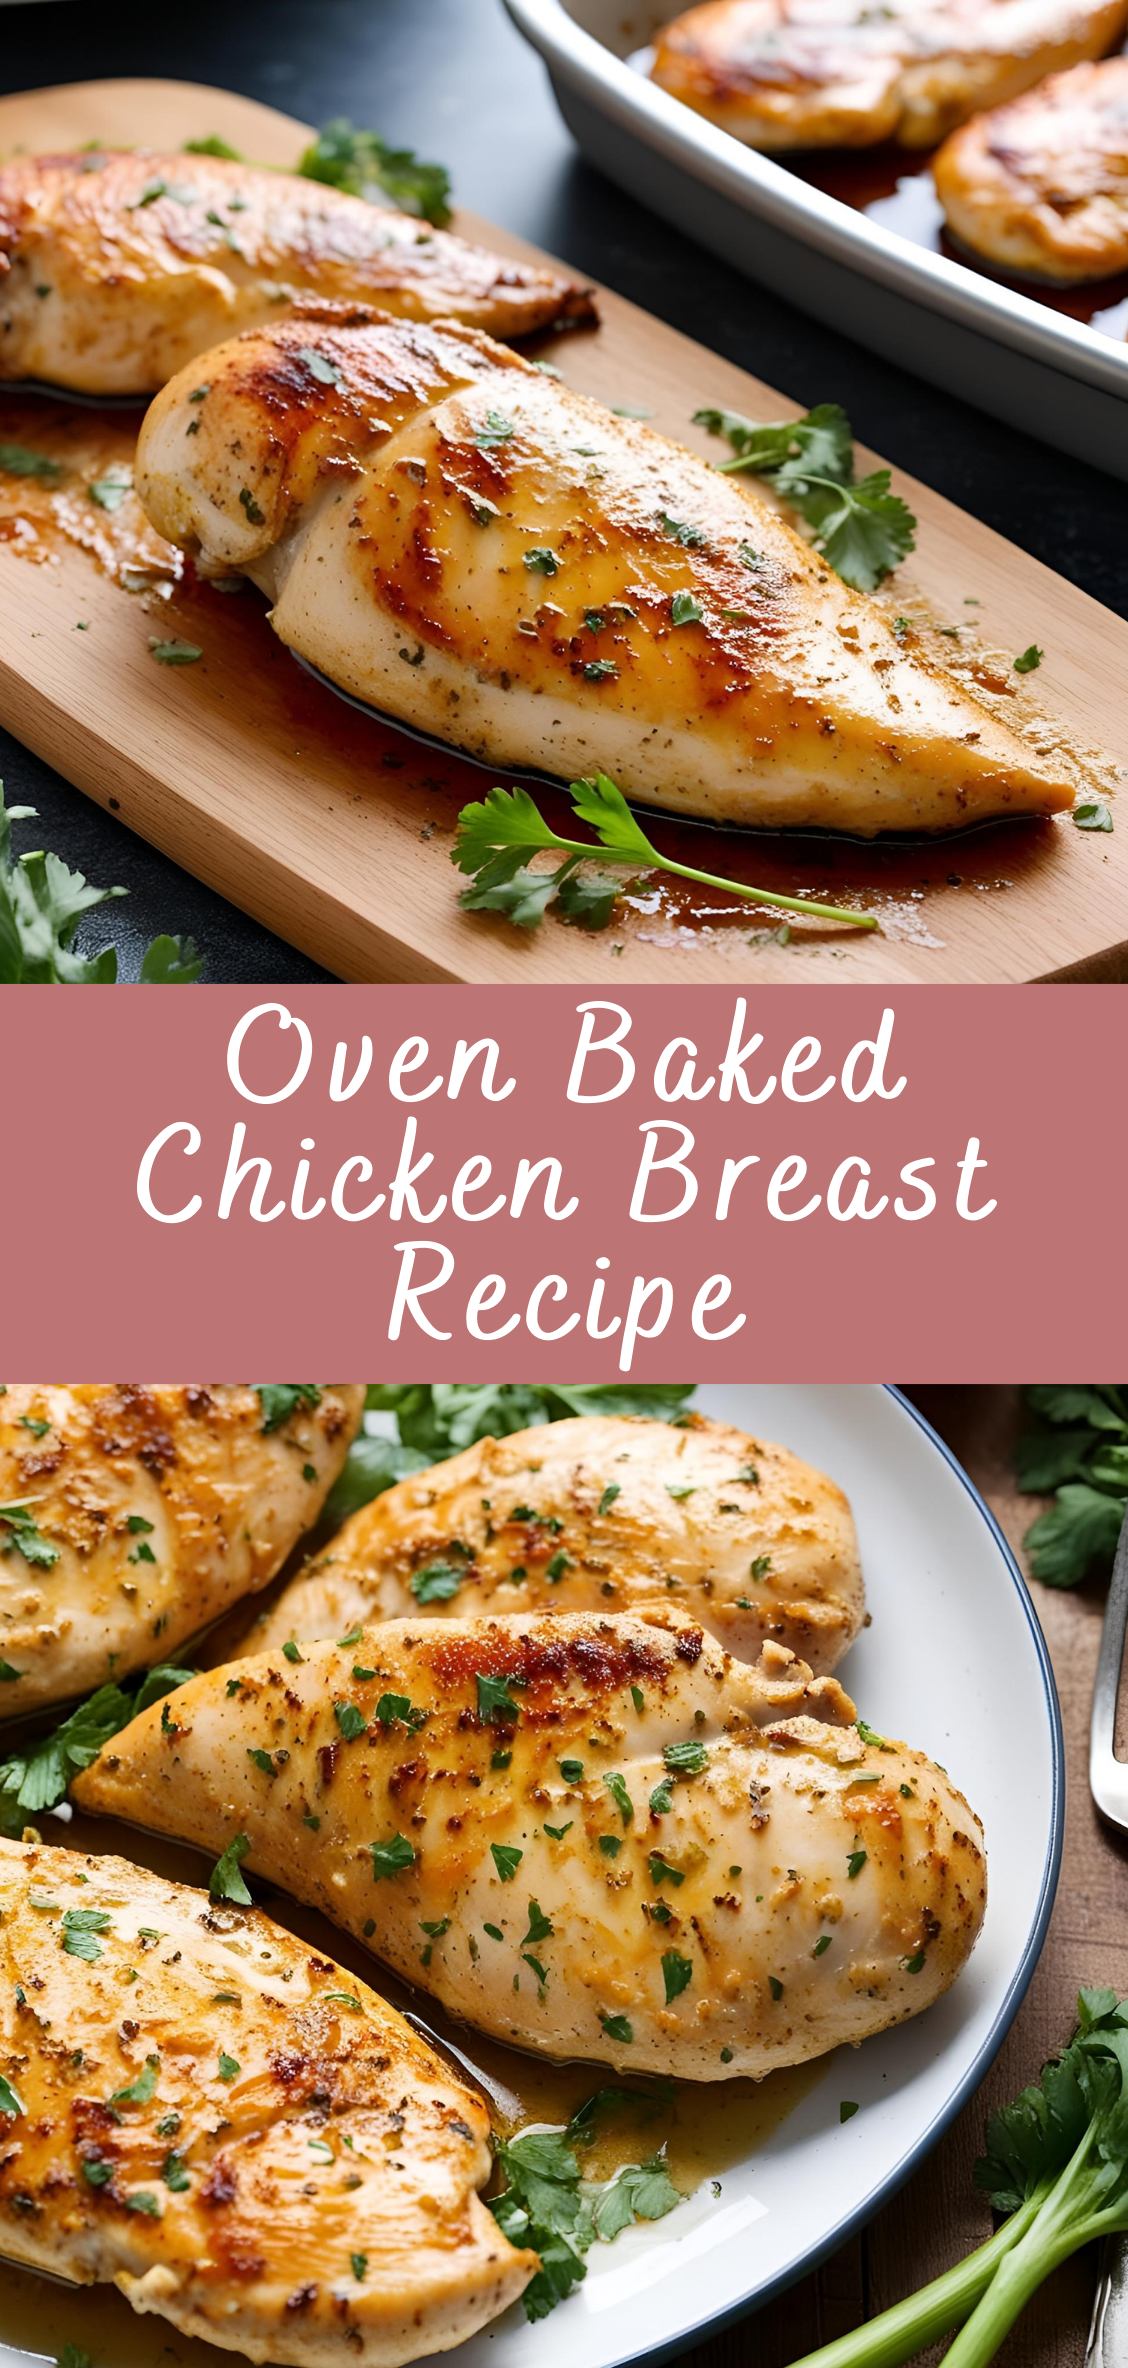
Oven Baked Chicken Breast Recipe
Chicken breast is a staple ingredient in countless kitchens around the world. Renowned for its lean protein content, versatility, and mild flavor, it serves as a canvas for a wide array of culinary expressions. Yet despite its popularity, chicken breast often suffers from a reputation for dryness and blandness, especially when baked. This perception is not without reason—without proper preparation, technique, and seasoning, this lean cut can easily turn tough and uninspiring. However, with the right method, oven baked chicken breast can be transformed into a tender, juicy, and flavorful centerpiece for meals of all kinds.
In this comprehensive guide, we will delve deep into the art and science of baking chicken breast in the oven. Whether you are a home cook looking to improve your weeknight dinners, a meal prepper seeking high-protein options, or a beginner in the kitchen hoping to master a fundamental skill, this recipe and its accompanying insights will provide you with everything you need to succeed.
We’ll begin by exploring the characteristics of chicken breast—what makes it unique compared to other cuts, and why it requires a thoughtful approach to cooking. From there, we will examine ingredient selection, including how to choose the best quality chicken, seasoning blends that enhance natural flavor, and marinades that add both taste and moisture. The step-by-step recipe will walk you through the entire process, from preparation to resting, with explanations for each step to ensure clarity and confidence.
But this guide goes beyond just the recipe. We will discuss common mistakes and how to avoid them, tips for achieving the perfect texture, variations that accommodate different dietary needs or flavor preferences, and pairing suggestions for complete meals. Nutritional information will be provided for those tracking macros or calories, and we’ll also touch on storage, reheating, and how to use leftovers creatively.
Oven baking is often one of the healthiest and most convenient cooking methods, and mastering it with chicken breast opens the door to countless meal possibilities—from salads and sandwiches to grain bowls and full entrees. By the end of this guide, you’ll not only have a go-to recipe for baked chicken breast, but also a thorough understanding of the techniques and principles behind it, empowering you to adapt and innovate in your own kitchen.
Choosing the Right Chicken Breast
Before any seasoning or baking takes place, the quality of your chicken breast is the most important foundation for a successful dish. The characteristics of the chicken you choose will affect not only the flavor and texture, but also the nutritional value and overall satisfaction of your meal. In this section, we will break down what to look for when buying chicken breast, how to distinguish between different types available in the market, and why ethical and sustainable sourcing matters.
1. Fresh vs. Frozen
Fresh Chicken Breast
Fresh chicken breast is sold refrigerated and typically has a shorter shelf life than frozen varieties. It can be a great option if you’re planning to cook it within a couple of days. Look for chicken that is firm to the touch, has a slight sheen, and does not emit any unpleasant odor. The color should be pinkish, not gray or dull.
Frozen Chicken Breast
Frozen chicken breast offers convenience and a longer shelf life. When purchasing frozen options, check the packaging date and ensure that the chicken is sealed properly with no signs of freezer burn. If you’re not cooking it immediately, frozen chicken is ideal for keeping on hand for future meals.
Tip: If using frozen chicken breast, allow it to thaw completely in the refrigerator for 24 hours before baking. Never thaw chicken at room temperature, as this can promote bacterial growth.
2. Bone-In vs. Boneless
While this recipe focuses on boneless, skinless chicken breast, it’s worth understanding the difference:
-
Boneless, skinless chicken breast is lean, cooks quickly, and is easy to slice for recipes like salads, grain bowls, and sandwiches.
-
Bone-in, skin-on chicken breast tends to be more flavorful and less prone to drying out due to the protective layer of fat from the skin and the insulating effect of the bone. However, it takes longer to cook and is better suited for roasting rather than baking at a moderate temperature.
For simplicity, versatility, and consistent results, boneless, skinless chicken breast is the recommended choice for oven baking in this guide.
3. Organic, Free-Range, and Conventional
Organic Chicken
Labeled as “USDA Organic,” this chicken comes from birds raised without synthetic fertilizers, antibiotics, or growth hormones. They are fed organic, vegetarian diets and are typically raised under more humane conditions. The flavor is often richer, and while more expensive, it aligns with health-conscious and environmentally-aware consumer values.
Free-Range Chicken
This term indicates that chickens have had access to the outdoors, though the quality and duration of that access can vary. While not necessarily organic, free-range chicken is often seen as a more ethical option than conventionally-raised poultry.
Conventional Chicken
This is the most widely available and typically most affordable option. These chickens are raised in large-scale farming operations, often with the use of antibiotics and growth-enhancing feed. While safe and regulated, they may lack the flavor and ethical assurances of organic or free-range poultry.
4. Thickness and Uniformity
One of the main challenges with chicken breast is uneven thickness, which causes parts of the meat to dry out while others are still cooking. Thicker parts may remain undercooked while thinner edges overcook.
Solution: For best results, use a meat mallet or rolling pin to gently pound the chicken breast to a uniform thickness—about ½ to ¾ inch. This ensures even cooking and better texture.
Step-by-Step Instructions for Oven Baked Chicken Breast
This section outlines the precise steps needed to achieve juicy, flavorful oven baked chicken breast every time. Attention to detail at each phase—from preparation to resting—will make the difference between dry, bland chicken and a moist, satisfying result. These steps are designed for beginner cooks yet refined enough to satisfy experienced home chefs.
Step 1: Preheat the Oven
Temperature: 400°F (204°C)
Preheating ensures even cooking from the moment the chicken enters the oven. A properly preheated oven reduces the risk of undercooking and promotes slight caramelization on the exterior for extra flavor.
Step 2: Prepare the Chicken Breast
Trim any visible fat or connective tissue using a sharp knife.
Pound the chicken breasts to an even thickness (about ½ to ¾ inch) using a meat mallet or rolling pin. Place the chicken between two pieces of plastic wrap or inside a resealable plastic bag to prevent splattering.
Why this matters: Uniform thickness allows for even cooking and prevents the thinner end from drying out before the thicker portion is done.
Step 3: Season the Chicken
Place the chicken breasts in a large bowl or on a plate.
Drizzle with olive oil (1–2 tablespoons per pound of chicken) and rub to coat both sides.
Sprinkle on your seasoning blend, making sure to cover the surface evenly.
A simple seasoning mix could include:
-
1 tsp salt
-
½ tsp black pepper
-
½ tsp garlic powder
-
½ tsp paprika
-
½ tsp onion powder
-
Optional: ½ tsp dried thyme or Italian seasoning
Massage the seasoning into the chicken for even coverage. If time allows, let the seasoned chicken rest at room temperature for 15–20 minutes. This helps the meat cook more evenly.
Step 4: Arrange on Baking Sheet
Line a baking sheet or dish with parchment paper or lightly grease the surface to prevent sticking.
Place the chicken breasts with a little space between them. Avoid crowding the pan, as this can trap steam and hinder browning.
Step 5: Bake in the Oven
Place the baking sheet on the middle rack of the preheated oven.
Bake for 18–22 minutes, depending on the size and thickness of the chicken breasts.
Start checking around the 18-minute mark.
Use a meat thermometer to check internal temperature—you’re aiming for 165°F (74°C) at the thickest part.
Tips:
-
If you don’t have a thermometer, cut into the thickest part of the breast—there should be no pink, and juices should run clear.
-
If the chicken isn’t quite done, continue baking in 2–3 minute intervals, checking carefully to avoid overcooking.
Step 6: Rest the Chicken
Once fully cooked, remove the chicken from the oven and loosely tent with foil.
Let it rest for 5 to 10 minutes before slicing or serving.
Why rest?
This step is crucial. It allows the juices to redistribute throughout the meat, ensuring each bite is moist rather than dry.
Step 7: Slice and Serve
Slice the chicken against the grain for maximum tenderness.
Serve as-is or use in salads, wraps, pasta, grain bowls, sandwiches, or alongside vegetables and starches.
Oven Baked Chicken Breast Recipe
Chicken breast is a staple ingredient in countless kitchens around the world. Renowned for its lean protein content, versatility, and mild flavor, it serves as a canvas for a wide array of culinary expressions. Yet despite its popularity, chicken breast often suffers from a reputation for dryness and blandness, especially when baked. This perception is not without reason—without proper preparation, technique, and seasoning, this lean cut can easily turn tough and uninspiring. However, with the right method, oven baked chicken breast can be transformed into a tender, juicy, and flavorful centerpiece for meals of all kinds.
Ingredients
- 4 boneless, skinless chicken breasts (about 6–8 oz each)
- 2 tablespoons olive oil
- 1 teaspoon salt
- ½ teaspoon black pepper
- 1 teaspoon garlic powder
- 1 teaspoon onion powder
- 1 teaspoon paprika (optional, for color and flavor)
- ½ teaspoon dried thyme or Italian seasoning (optional)
- Lemon wedges and fresh parsley (optional, for garnish)
Instructions
- Preheat Oven:
Preheat your oven to 425°F (220°C). Line a baking sheet with parchment paper or lightly grease it. - Prepare Chicken:
Pat the chicken breasts dry with paper towels. Place them between two pieces of plastic wrap and pound to even thickness (about ¾ inch) using a meat mallet or rolling pin. - Season Chicken:
Rub each breast with olive oil. In a small bowl, mix the salt, pepper, garlic powder, onion powder, paprika, and thyme (if using). Sprinkle the seasoning mixture evenly over both sides of the chicken. - Bake:
Place the chicken breasts on the prepared baking sheet. Bake for 20–25 minutes, or until the internal temperature reaches 165°F (74°C) using a meat thermometer. - Rest:
Remove from oven and let rest for 5 minutes before slicing. This helps the juices redistribute and keeps the chicken moist. - Serve:
Slice and serve with your favorite side dishes. Garnish with lemon wedges and fresh parsley if desired.
Notes
- Even Thickness: Pounding the chicken ensures even cooking and prevents dryness.
- Don't Overbake: Use a thermometer to avoid overcooking—165°F is the safe temperature for chicken.
- Flavor Variations: Add a splash of lemon juice, Dijon mustard, or your favorite spice rub for variety.

