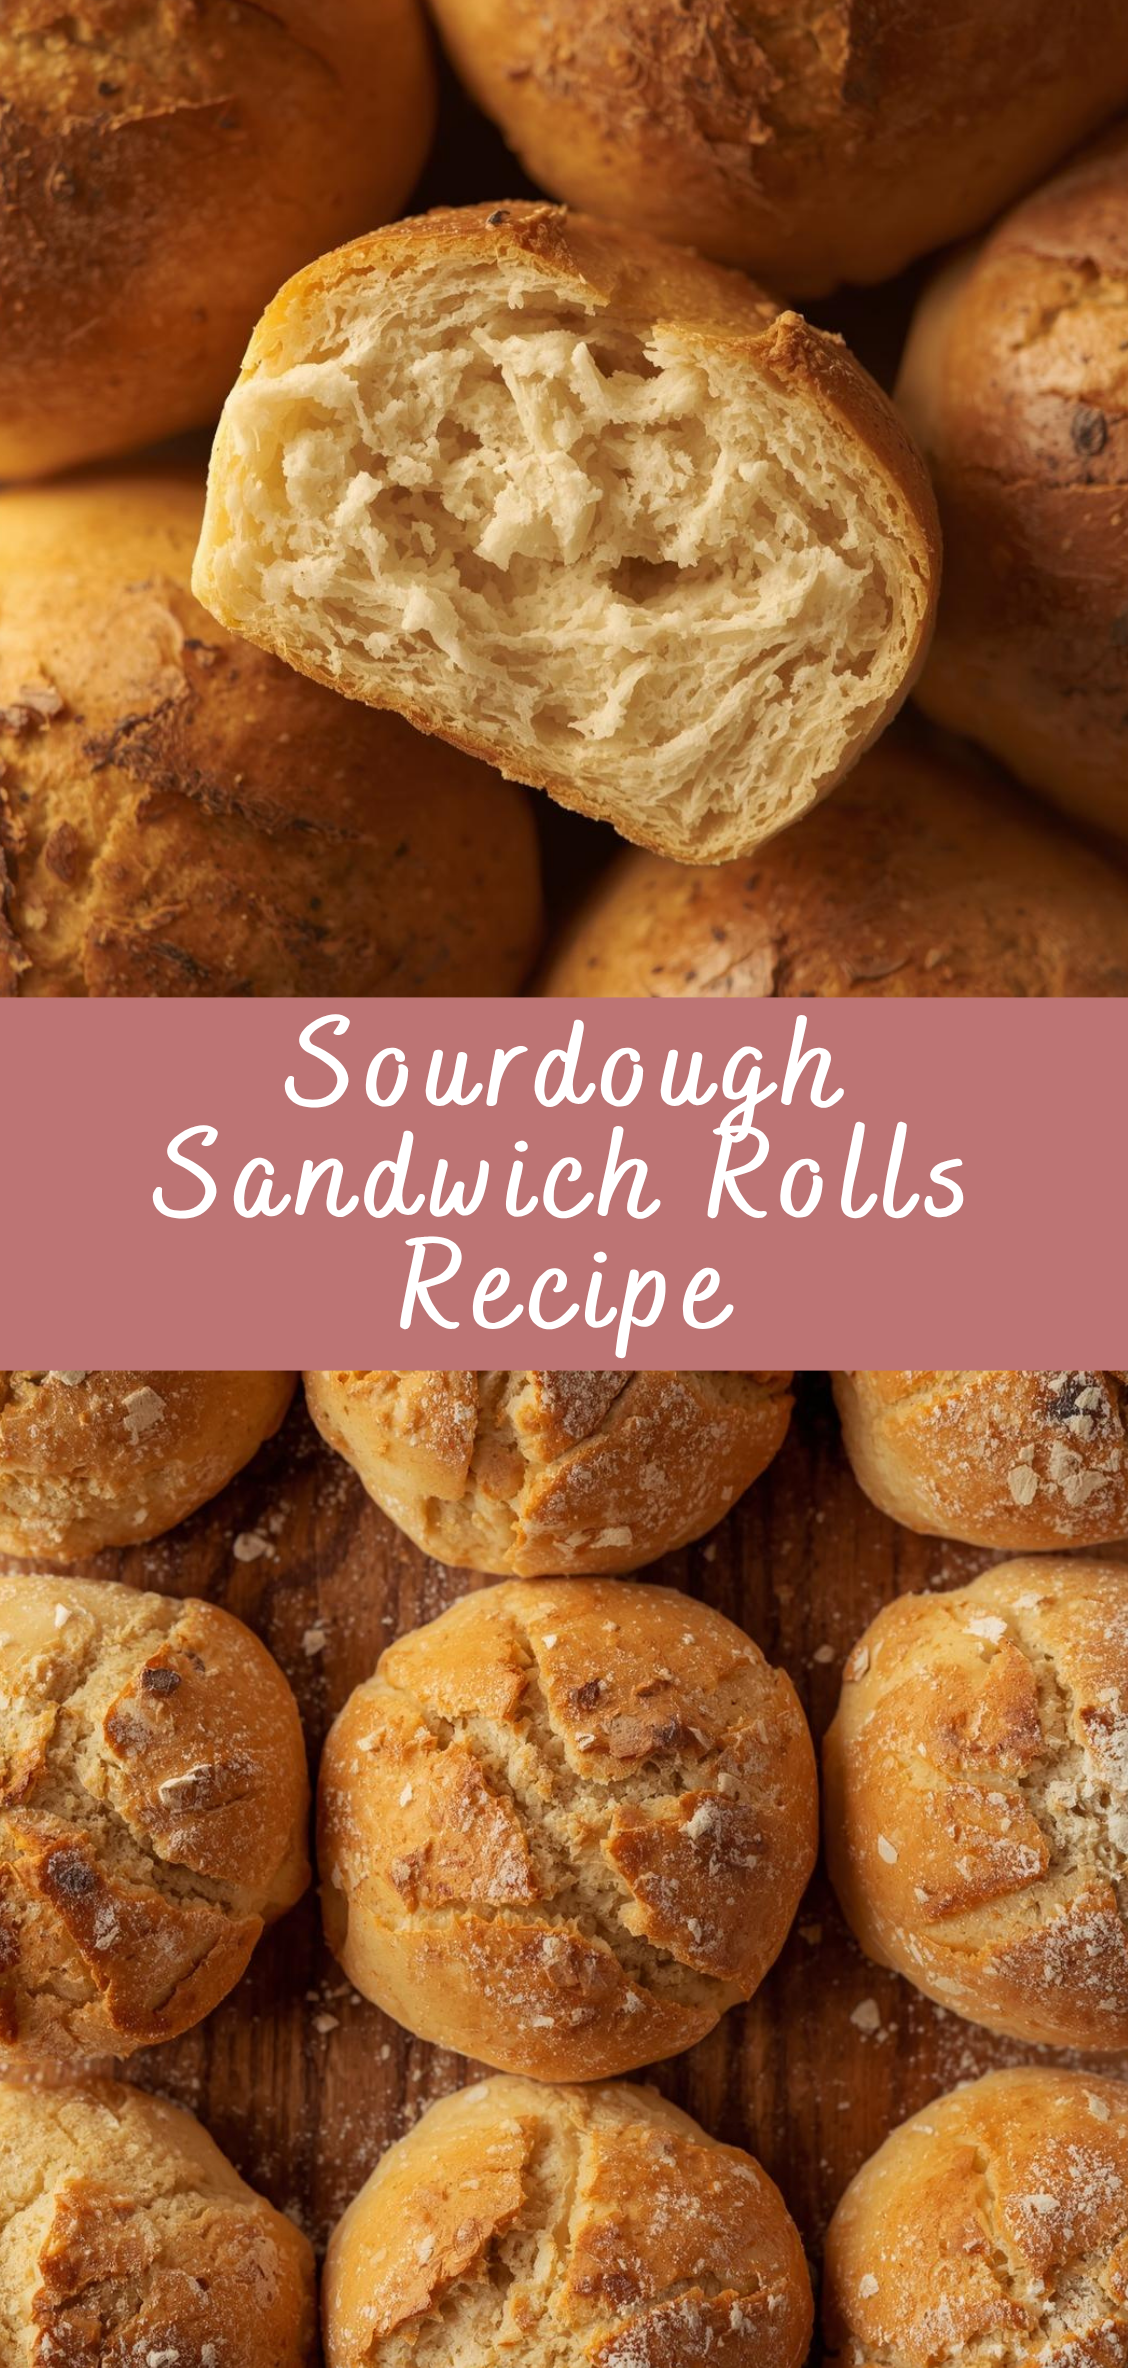
Sourdough Sandwich Rolls Recipe: The Ultimate Guide to Soft, Chewy, Artisan Buns
In a world of fast food and mass-produced bread, there’s something profoundly satisfying about baking your own sourdough sandwich rolls. These rolls combine the rustic appeal of traditional sourdough with the structure and softness needed for a proper sandwich. With their crackly golden crusts, open yet tender crumb, and the distinctive tang that only natural fermentation provides, sourdough sandwich rolls are a beautiful expression of time, care, and craftsmanship in the kitchen.
Sourdough baking has seen a massive resurgence in recent years—and for good reason. It’s more than a method; it’s a relationship with flour, water, wild yeast, and time. Making sourdough sandwich rolls brings together the heart of artisan bread baking and the practicality of everyday cooking. Whether you’re stacking roast beef and provolone, grilled vegetables and hummus, or a classic turkey and Swiss, these rolls provide the ideal foundation: sturdy yet soft, flavorful yet versatile.
Unlike traditional white sandwich buns, sourdough rolls offer a deeper flavor profile, improved digestibility, and a naturally longer shelf life. Thanks to the extended fermentation process, they’re not only more nutritious but also easier on the stomach. And when made well, they rival any bakery loaf in both texture and appearance.
But perfecting sourdough sandwich rolls isn’t just about following a recipe—it’s about understanding your dough, mastering fermentation timing, and tailoring the process to your kitchen environment. This comprehensive guide is designed to walk you through every stage, from feeding your starter to shaping and baking the rolls. Whether you’re a sourdough novice or a seasoned baker looking to refine your technique, you’ll find the tips, tools, and troubleshooting advice you need to succeed.
Whether you’re making these rolls for a weekend lunch, meal prep, or a show-stopping dinner party, this recipe will become a staple in your bread-baking repertoire. The process is slow, yes—but the rewards are substantial. Soft, chewy, golden-crusted rolls that taste better than anything from a store, made with just a few basic ingredients and your own two hands.
So, roll up your sleeves, flour your countertop, and get ready to transform your sourdough starter into the most satisfying sandwich rolls you’ve ever tasted.
Step-by-Step Instructions for Sourdough Sandwich Rolls
Overview: What to Expect from the Process
Making sourdough sandwich rolls from scratch is a multi-day process, primarily due to the slow fermentation that gives sourdough its signature flavor and texture. Here’s a high-level look at the stages:
-
Feed your starter (Day 0 or early Day 1)
-
Mix the dough (Day 1)
-
Bulk ferment and fold (Day 1)
-
Cold proof in fridge (overnight)
-
Shape and final rise (Day 2)
-
Bake (Day 2)
Patience is key. But don’t worry—most of the time required is inactive, and the flavor payoff is well worth the wait.
Equipment You’ll Need
-
Digital kitchen scale (strongly recommended for accuracy)
-
Mixing bowl
-
Bench scraper or dough knife
-
Dutch oven or baking steel (optional but ideal)
-
Parchment paper
-
Clean kitchen towel or plastic wrap
-
Baking sheet or tray
-
Lame or sharp knife for scoring
-
Spray bottle with water (optional)
-
Stand mixer with dough hook (optional, but hand-kneading works fine)
Step 1: Feed Your Starter (Day 0 or Morning of Day 1)
Before you can start making the dough, make sure your sourdough starter is active and bubbly. Feed it 6–12 hours before mixing, depending on your kitchen temperature.
Instructions:
-
Discard all but 25g of your existing starter.
-
Feed with 50g water and 50g flour (adjust if you’re maintaining different hydration).
-
Let it sit at room temperature until it doubles and shows bubbles throughout—this usually takes 4–8 hours.
-
Your starter is ready when it passes the “float test” (a small scoop floats in water).
Step 2: Mix the Dough (Autolyse + Final Mix)
Autolyse (Rest the Flour and Water)
Autolyse helps develop gluten and improve dough extensibility without kneading.
Instructions:
-
In a large mixing bowl, combine:
-
500g bread flour
-
340g water (lukewarm)
-
-
Mix just until no dry flour remains. Cover and let rest for 30–45 minutes.
Final Mix (Add Starter, Salt, and Fat)
After the autolyse, incorporate the rest of your ingredients.
Instructions:
-
Add 100g active sourdough starter and mix thoroughly into the dough by hand (or use a stand mixer on low).
-
Add 10g salt and 30g olive oil (and optional 10g honey/sugar).
-
Knead the dough for 5–8 minutes until smooth and slightly tacky, or mix on medium speed for 4–5 minutes.
-
The dough should feel elastic but still slightly sticky.
Cover the bowl with a damp towel or plastic wrap. This marks the beginning of the bulk fermentation.
Step 3: Bulk Fermentation and Stretch & Folds (4–6 hours)
Bulk fermentation allows the dough to rise slowly and develop flavor and structure. Stretching and folding replaces kneading in sourdough baking by strengthening the gluten network.
Instructions:
-
Let the dough rest at room temperature (70–75°F / 21–24°C).
-
Over the next 3–4 hours, perform 3–4 sets of stretch and folds, spaced 30–45 minutes apart:
-
Wet your hands.
-
Grab one side of the dough, stretch it upward, and fold it over.
-
Rotate the bowl and repeat on all four sides.
-
After each set, re-cover the dough and let it rest.
-
-
After the final fold, cover and let rest until the dough is puffy, has risen about 50%, and jiggles slightly when the bowl is shaken.
Pro Tip: Don’t over-proof during bulk fermentation. Too much rise here can lead to flat rolls later.
Step 4: Cold Proof (Overnight)
Cold fermentation (retardation) enhances flavor and makes shaping easier.
Instructions:
-
After bulk fermentation, gently shape the dough into a rough ball.
-
Cover the bowl tightly and refrigerate for 12–18 hours.
-
The next day, proceed to shaping directly from the fridge.
Step 5: Divide and Shape the Rolls
This is where your sandwich rolls take form. Cold dough is easier to handle and less sticky.
Instructions:
-
Turn the cold dough out onto a lightly floured surface.
-
Using a bench scraper, divide into:
-
8 equal portions (~95–100g each) for large rolls
-
10–12 portions (~75–80g each) for smaller rolls
-
-
Shape each piece into a tight round:
-
Gently flatten.
-
Pull edges toward the center and pinch closed.
-
Flip over and roll with your palm to smooth the surface.
-
-
Place rolls on a parchment-lined baking sheet, spaced at least 2 inches apart.
Step 6: Final Proof (1.5–2 hours)
Your rolls need one final rise before baking.
Instructions:
-
Cover the shaped rolls lightly with a damp towel or plastic wrap.
-
Let them rise at room temperature for 90–120 minutes or until noticeably puffy and slightly springy to the touch.
Optional: For extra softness, lightly mist the tops with water and cover with greased plastic wrap.
Step 7: Score and Bake
A light score helps control expansion and adds a beautiful artisanal touch.
Preheat:
-
Preheat your oven to 425°F (220°C) with a baking steel, stone, or inverted baking sheet inside for even heat.
Scoring:
-
Use a lame or very sharp knife to make a shallow slash across the top of each roll.
Baking Instructions:
-
Place the baking tray directly onto the preheated surface.
-
Optionally mist the oven with water (or place a tray of hot water inside) to create steam.
-
Bake for 18–22 minutes, or until golden brown and the rolls sound hollow when tapped.
-
For a softer crust, brush the tops with melted butter immediately after baking.
-
Transfer to a wire rack to cool.
Internal temperature should be ~200°F (93°C) when done.
Sourdough Sandwich Rolls Recipe
In a world of fast food and mass-produced bread, there’s something profoundly satisfying about baking your own sourdough sandwich rolls. These rolls combine the rustic appeal of traditional sourdough with the structure and softness needed for a proper sandwich. With their crackly golden crusts, open yet tender crumb, and the distinctive tang that only natural fermentation provides, sourdough sandwich rolls are a beautiful expression of time, care, and craftsmanship in the kitchen.
Ingredients
- 500g (about 4 cups) bread flour
- 100g (½ cup) active sourdough starter (100% hydration)
- 325g (1⅓ cups + 1 tbsp) water, lukewarm
- 10g (2 tsp) salt
- 15g (1 tbsp) olive oil
- 10g (2 tsp) sugar or honey (optional, for softness and browning)
Instructions
1. Mix the Dough:
In a large bowl, mix:
- 100g active sourdough starter
- 325g water
- 10g sugar or honey
- 500g bread flour
Mix until a shaggy dough forms. Let rest (autolyse) for 30 minutes.
2. Add Salt + Oil:
Sprinkle in 10g salt and add 15g olive oil. Knead or stretch and fold until incorporated (5–10 minutes). Dough should be slightly tacky but smooth.
3. Bulk Fermentation:
- Cover the bowl and let the dough rise at room temperature (70–75°F / 21–24°C) for 4–5 hours, doing 3–4 sets of stretch and folds every 30–45 minutes in the first 2 hours.
- Dough should rise by about 50% and feel airy and elastic.
Alternative: After 1–2 hours at room temp, refrigerate the dough overnight for improved flavor and easier shaping.
4. Shape the Rolls:
- Turn dough out onto a lightly floured surface.
- Divide into 8 equal pieces (~100g each).
- Shape each into a tight ball, then flatten slightly into a roll shape.
- Place on a parchment-lined baking sheet with space between each.
5. Final Proof:
- Cover with a damp towel or plastic wrap.
- Let rise at room temp for 1–2 hours, until puffy and risen by ~50%.
6. Bake:
- Preheat oven to 425°F (220°C). Optional: Place a pan of hot water on the bottom rack for steam.
- Just before baking, optionally score the tops or brush with an egg wash for shine.
- Bake for 20–25 minutes, until golden brown and hollow-sounding when tapped.
Notes
- Soft Rolls: Add 30g (2 tbsp) milk or butter to the dough for a softer interior.
- Topping Options: Before baking, brush with egg wash and sprinkle with sesame seeds, poppy seeds, or everything bagel seasoning.

