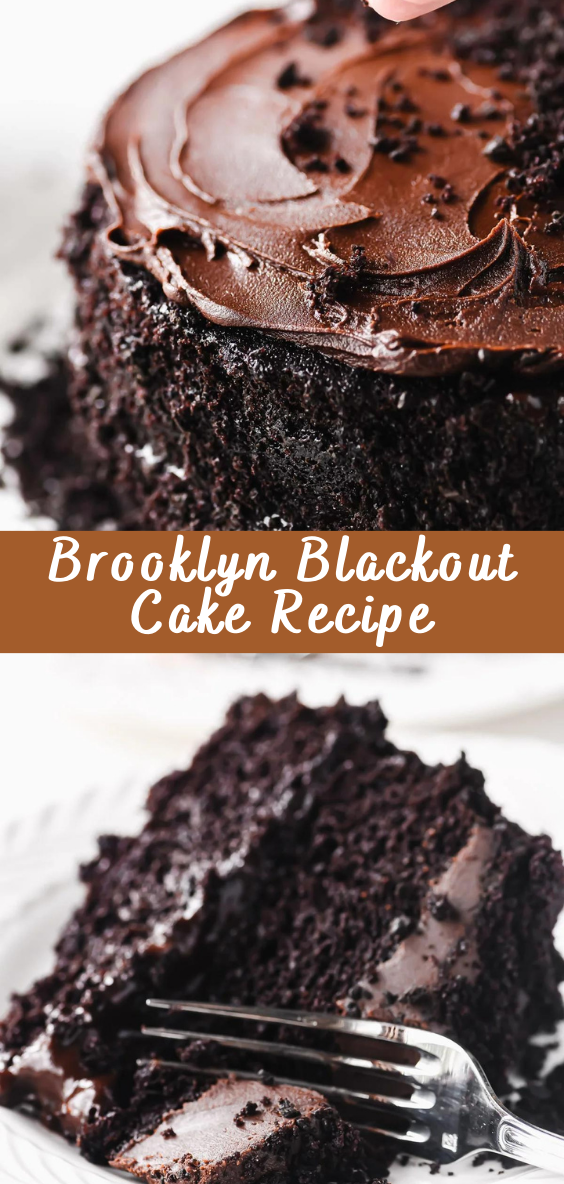
Brooklyn Blackout Cake
Introduction
Brooklyn Blackout Cake, a decadent chocolate dessert, holds a rich history and a delightful flavor profile. Originating in New York City, this cake has become a favorite among chocolate lovers worldwide. In this article, we’ll explore the origins of Brooklyn Blackout Cake, the ingredients required, step-by-step preparation instructions, serving suggestions, and more.
History of Brooklyn Blackout Cake
Brooklyn Blackout Cake traces its roots back to the blackout drills held during World War II. The cake’s name pays homage to these drills and the blackout precautions taken during the war. Originally crafted by a bakery in Brooklyn, this cake gained popularity due to its moist texture, intense chocolate flavor, and unique presentation.
Ingredients for Brooklyn Blackout Cake
To recreate this iconic dessert at home, you’ll need the following ingredients:
- Flour
- Sugar
- Cocoa Powder
- Baking Powder
- Baking Soda
- Salt
- Eggs
- Milk
- Vegetable Oil
- Vanilla Extract
- Boiling Water
- Butter
- Dark Chocolate
- Cornstarch
- Powdered Sugar
- Heavy Cream
Preparation Steps
Making the Cake Batter
- Preheat the oven and prepare cake pans.
- Combine dry ingredients in a bowl.
- Mix wet ingredients in a separate bowl.
- Gradually add dry ingredients to wet ingredients.
- Stir in boiling water to thin the batter.
- Pour batter into prepared cake pans.
Baking the Cake Layers
- Bake cake layers in preheated oven until a toothpick comes out clean.
- Allow the cakes to cool completely before removing from pans.
Preparing the Filling
- Melt butter and dark chocolate together.
- Whisk in cornstarch and powdered sugar.
- Gradually add heavy cream until smooth and creamy.
Assembling the Cake
- Place one cake layer on a serving plate.
- Spread a layer of filling over the cake.
- Repeat with remaining cake layers and filling.
- Frost the top and sides of the cake with remaining filling.
- Decorate with chocolate shavings or sprinkles, if desired.
Tips for Success
- Use high-quality cocoa powder and chocolate for the best flavor.
- Allow the cakes to cool completely before assembling to prevent them from crumbling.
- Chill the assembled cake for at least an hour before serving for easier slicing.
Variations of Brooklyn Blackout Cake
While the traditional recipe calls for a chocolate filling, you can experiment with different flavors such as raspberry, caramel, or peanut butter. You can also incorporate nuts or fresh fruit for added texture and flavor.
Serving and Presentation
Serve slices of Brooklyn Blackout Cake with a dollop of whipped cream or a scoop of vanilla ice cream for a delightful dessert experience. Garnish with fresh berries or a dusting of cocoa powder for an elegant presentation.
Storing Brooklyn Blackout Cake
To keep Brooklyn Blackout Cake fresh, store it in an airtight container in the refrigerator for up to five days. Allow the cake to come to room temperature before serving for the best taste and texture.
Conclusion
Brooklyn Blackout Cake is a timeless dessert that continues to captivate chocolate enthusiasts with its rich history and indulgent flavor. Whether enjoyed on its own or served at special occasions, this cake is sure to delight your taste buds and leave a lasting impression.
FAQs
- Can I use a different type of chocolate for the filling?
- Yes, feel free to experiment with different varieties of chocolate to customize the flavor to your liking.
- Can I make Brooklyn Blackout Cake ahead of time?
- Yes, you can bake the cake layers and prepare the filling in advance. Assemble the cake just before serving for the best results.
- Can I freeze Brooklyn Blackout Cake?
- Yes, you can freeze the assembled cake for up to three months. Thaw in the refrigerator overnight before serving.
- Can I substitute any ingredients in the recipe?
- While some substitutions may alter the flavor or texture slightly, you can generally substitute ingredients like milk or oil with alternatives such as almond milk or coconut oil.
- How can I make the cake layers more moist?
- To ensure moist cake layers, avoid overbaking and be sure to add the boiling water as directed in the recipe.
Source: theviewfromgreatisland.com
Brooklyn Blackout Cake Recipe
Brooklyn Blackout Cake, a decadent chocolate dessert, holds a rich history and a delightful flavor profile. Originating in New York City, this cake has become a favorite among chocolate lovers worldwide. In this article, we'll explore the origins of Brooklyn Blackout Cake, the ingredients required, step-by-step preparation instructions, serving suggestions, and more.
DRY INGREDIENTS:
- 1 3/4 cup all purpose flour
- 2 cups white sugar
- 3/4 cup unsweetened Dutch-process cocoa powder
- 2 tsp baking soda
- 1 tsp baking powder
- 1 tsp salt
WET INGREDIENTS:
- 1 cup buttermilk (half and half or whole milk)
- 1/2 cup vegetable oil
- 2 large eggs
- 1 tsp vanilla extract
- 1 cup hot brewed coffee
PUDDING FILLING:
- 2 tablespoons unsweetened Dutch-process cocoa powder
- 1 cups boiling water or hot brewed coffee
- 6 Tbsp sugar
- 1 ounce bittersweet chocolate (chopped)
- 1/4 tsp salt
- 2 Tbsp cornstarch
- 2 Tbsp cold water
- 1 tsp vanilla
- 1 Tbsp butter
FROSTING:
- 3/4 cup unsalted butter (that’s 1 1/2 sticks)
- 12 ounces semisweet chocolate (chopped finely)
- 1/2 cup hot water
- 1 tablespoon corn syrup
- 1 tablespoon vanilla
FOR THE CAKE
- Preheat oven to 350F. Butter two 8-inch round cake pans and line the bottoms with parchment paper discs.
- Whisk all the dry ingredients together well in a large bowl.
- In a separate bowl, whisk together all the wet ingredients EXCEPT the coffee.
- Slowly add the wet ingredients to the dry ingredients, mixing as you go. Once incorporated, add the hot coffee, and mix everything until there are no pockets of dry flour left. The batter will be thin.
- Fill 2 cupcake papers, and set the pan aside. This will be used to make the crumbs.
- Then divide the remaining batter between two 8 inch cake pans. and bake for 35 minutes until risen and a toothpick inserted into the center of the cake comes out without wet batter clinging to it. When the cake layers come out slide the cupcakes in and bake for 15 minutes, or until the top springs back and a toothpick comes out clean.
- Allow the cake layers to partially cool in the pans, then turn out onto a cooling rack to completely cool before frosting. The cakes (and cupcakes) can be made a day or two ahead and kept in the refrigerator before filling and frosting.
- PUDDING FILLING
- While the cake is in the oven make the pudding. Whisk together the boiling water and cocoa powder in a medium saucepan over medium heat. Stir in the sugar, chocolate, and salt. Mix the cornstarch with enough water to make a thin paste and whisk that right into the saucepan. Bring the mixture to a boil, stirring constantly. Boil for one minute.
- Remove the pan from the heat and then whisk in the vanilla and the butter. Turn the pudding into a bowl and chill.
- FROSTING
- Melt the butter and chocolate in the microwave, start with one minute, then stir, and add 15 second bursts, stirring in between, until everything is smooth and melted. You can also do this in a saucepan, but I start with the butter and then add the chocolate.
- Whisk in the hot water all at once, and then the corn syrup and vanilla and stir until it is smooth. Put the bowl in the refrigerator to chill for 20-30 minutes to firm up to a spreadable consistency.
- CAKE ASSEMBLY
- Make crumbs with the 2 cupcakes. i do this in my food processor. Pulse until you get fine even crumbs. Set aside.
- Make sure you peel off the parchment paper from the bottoms of your cake layers. Put one layer, flattest side facing up, on a plate.
- Top with a layer of pudding, you will not need all of it. Place the second cake layer, flat side up, on top of the pudding.
- Lightly spread more pudding along the sides of the cake and press crumbs onto the sides with your hands. This will be a bit messy.
- Generously frost the top of the cake with the frosting. Add more crumbs to the top, either all over, or just around the edges.
- Chill the cake until ready to serve. The cake should be kept in the refrigerator and will last 3-4 days.

