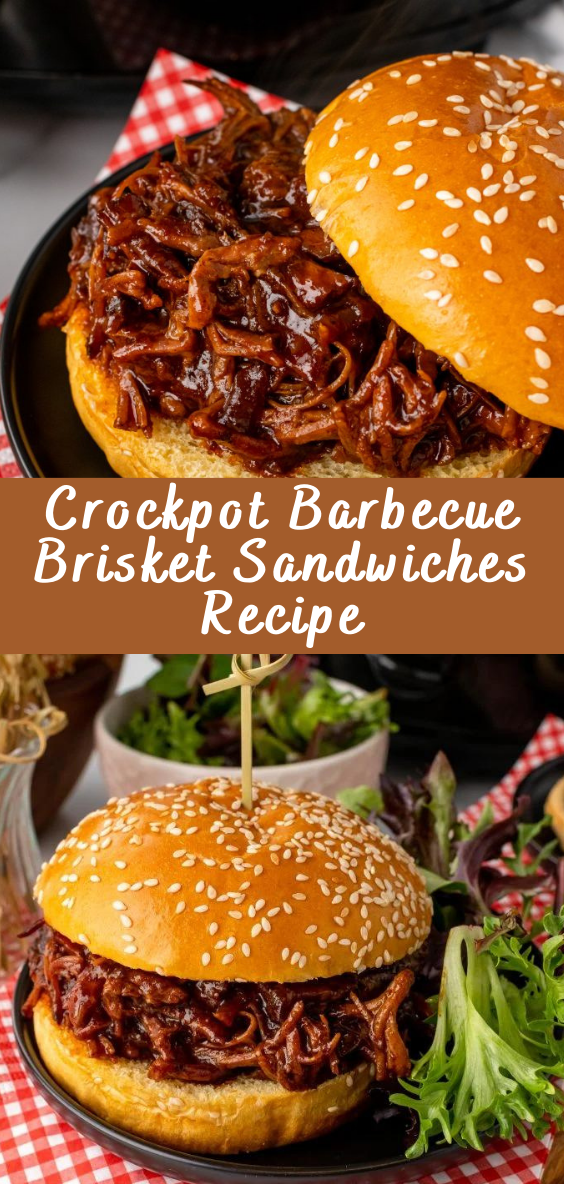
Crockpot Barbecue Brisket Sandwiches Recipe
Introduction
Slow-cooked to perfection, Crockpot Barbecue Brisket Sandwiches are the ultimate comfort food. This recipe combines tender, flavorful brisket with a smoky barbecue sauce, creating a sandwich that’s sure to satisfy your taste buds. Whether you’re planning a family dinner or a game day feast, these sandwiches are a crowd-pleaser. Let’s get started!

Ingredients You’ll Need
Gather these ingredients to make your Crockpot Barbecue Brisket Sandwiches:
For the Brisket:
- 3-4 pounds of beef brisket
- 1 tablespoon of olive oil
- 1 onion, thinly sliced
- 4 cloves of garlic, minced
- 1 cup of beef broth
- 1 teaspoon of smoked paprika
- 1 teaspoon of garlic powder
- 1 teaspoon of onion powder
- Salt and black pepper to taste
For the Barbecue Sauce:
- 1 cup of ketchup
- 1/2 cup of brown sugar
- 1/4 cup of apple cider vinegar
- 2 tablespoons of Worcestershire sauce
- 1 tablespoon of Dijon mustard
- 1 teaspoon of chili powder
- 1/2 teaspoon of smoked paprika
- Salt and black pepper to taste
For Serving:
- Hamburger buns
- Coleslaw (optional)
- Sliced pickles (optional)
Instructions
Follow these simple steps to create your Crockpot Barbecue Brisket Sandwiches:
Step 1: Sear the Brisket
- Heat the olive oil in a large skillet over medium-high heat.
- Season the brisket with salt, black pepper, smoked paprika, garlic powder, and onion powder.
- Sear the brisket on both sides until it’s nicely browned. This step adds extra flavor to the meat.
Step 2: Prepare the Crockpot
- Place the sliced onions and minced garlic in the bottom of your crockpot.
- Put the seared brisket on top of the onions.
Step 3: Create the Barbecue Sauce
- In a mixing bowl, combine the ketchup, brown sugar, apple cider vinegar, Worcestershire sauce, Dijon mustard, chili powder, smoked paprika, salt, and black pepper. Mix well to create the barbecue sauce.
Step 4: Pour Sauce Over Brisket
- Pour the prepared barbecue sauce over the seared brisket in the crockpot.
- Add the beef broth to the crockpot for extra moisture.
Step 5: Slow Cook
- Cover the crockpot and cook on low for 8-10 hours or until the brisket is tender and can be easily shredded with a fork. The longer you cook it, the more tender and flavorful it will be.
Step 6: Shred the Brisket
- Once the brisket is done cooking, carefully remove it from the crockpot and place it on a cutting board.
- Use two forks to shred the brisket into bite-sized pieces.
Step 7: Serve
- Toast the hamburger buns in the oven or on a skillet until they’re lightly browned.
- Place a generous portion of shredded brisket on the bottom half of each bun.
- Top with coleslaw and sliced pickles if desired.
- Place the top half of the bun on top, and your Crockpot Barbecue Brisket Sandwiches are ready to serve!
Conclusion
Enjoy the incredible flavors and tender texture of these Crockpot Barbecue Brisket Sandwiches. Whether you’re hosting a barbecue, a picnic, or just craving some comfort food, these sandwiches will hit the spot. Serve them with your favorite sides and watch them disappear at your next gathering.
Source: 4sonrus.com
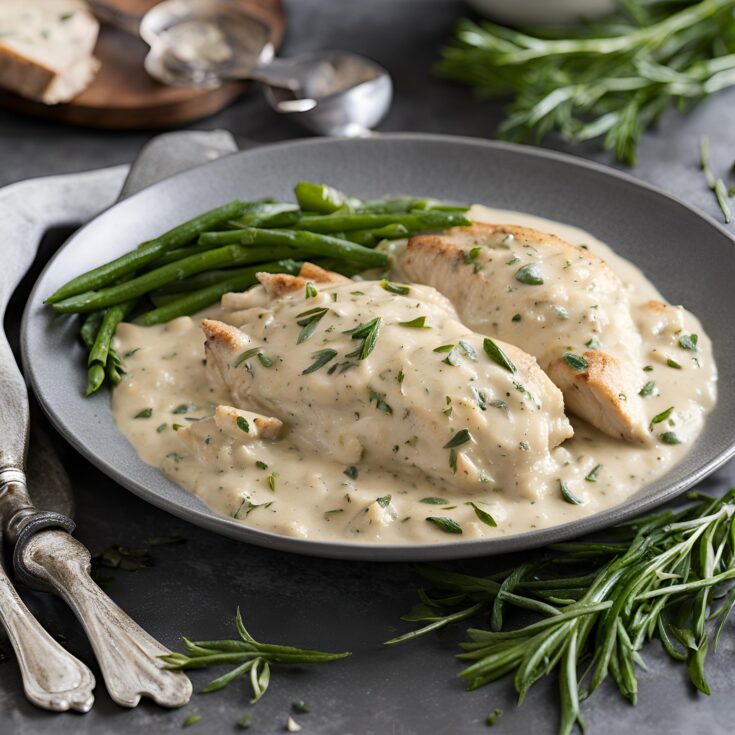
Creamy French Chicken Tarragon (Poulet à l’Estragon)

Poulet à l’Estragon, or creamy French chicken tarragon, is a classic French dish that epitomizes the elegance and simplicity of French cuisine. This dish features tender chicken cooked in a creamy, aromatic sauce infused with fresh tarragon. The herbaceous flavor of tarragon combined with the rich cream creates a sophisticated and comforting meal perfect for any occasion.
Ingredients
- 1 whole chicken, cut into 6 pieces
- 2 tsp salt
- 1 tsp freshly ground black pepper
- 2 tbsp (28g) butter (unsalted)
- 1 medium onion (or 2 shallots), peeled and sliced
- 2 garlic cloves, peeled and diced
- 1 cup (250ml) chicken stock
- ½ cup (125ml) dry white wine
- 2 tbsp fresh tarragon, chopped (+ extra for garnish)
- ½ cup (120g) heavy cream
- More salt, pepper to taste
Instructions
Make sure you read the cooking notes before you start.
Step 1 – One hour prior to cooking, rinse the chicken under cold water and pat-dry thoroughly with paper towel. Season each piece with salt and pepper on both sides. Set aside, at room temperature.
Pre-heat your oven to 375°F (190°C) with a rack in the middle.
Step 2 – Heat up a large oven-safe frying pan (or skillet) over medium heat with the butter. When the butter is sizzling, place the chicken pieces in, skin-side down. Cook for about 10 minutes, without touching, until the chicken skin is golden brown and the chicken is ¾ done; just firm. Flip the chicken pieces and cook for 10 more minutes. Transfer the chicken to a plate and cover with foil. Keep the pan hot and do not rinse it (keep the chicken drippings in).
Step 3 - Add the onion and garlic to the pan. Cook for about 10 minutes, stirring occasionally, until the onion is lightly caramelized. Nestle the chicken pieces back into the pan, on top of the onion. Sprinkle with the chopped tarragon. Pour the chicken stock and white wine into the pan. Bring to a simmer and transfer the pan into the oven for 30 minutes (covered).
Step 4 – Take the pan out of the oven, back onto the stove top at medium heat. Transfer the chicken to a plate and cover with foil again. Stir the cream into the pan. Bring to a simmer and keep stirring until the sauce thickens (this could take 7-8 minutes). Place the chicken thighs back into the pan and cook for 5 more minutes.
For serving, sprinkle chicken pieces with fresh tarragon leaves.