Hot Chocolate Cookies Recipe
Here’s a comprehensive Hot Chocolate Cookies recipe, filled with helpful tips, variations, and background information. I’ll break it down in a detailed manner, and you can explore everything from ingredients to troubleshooting!
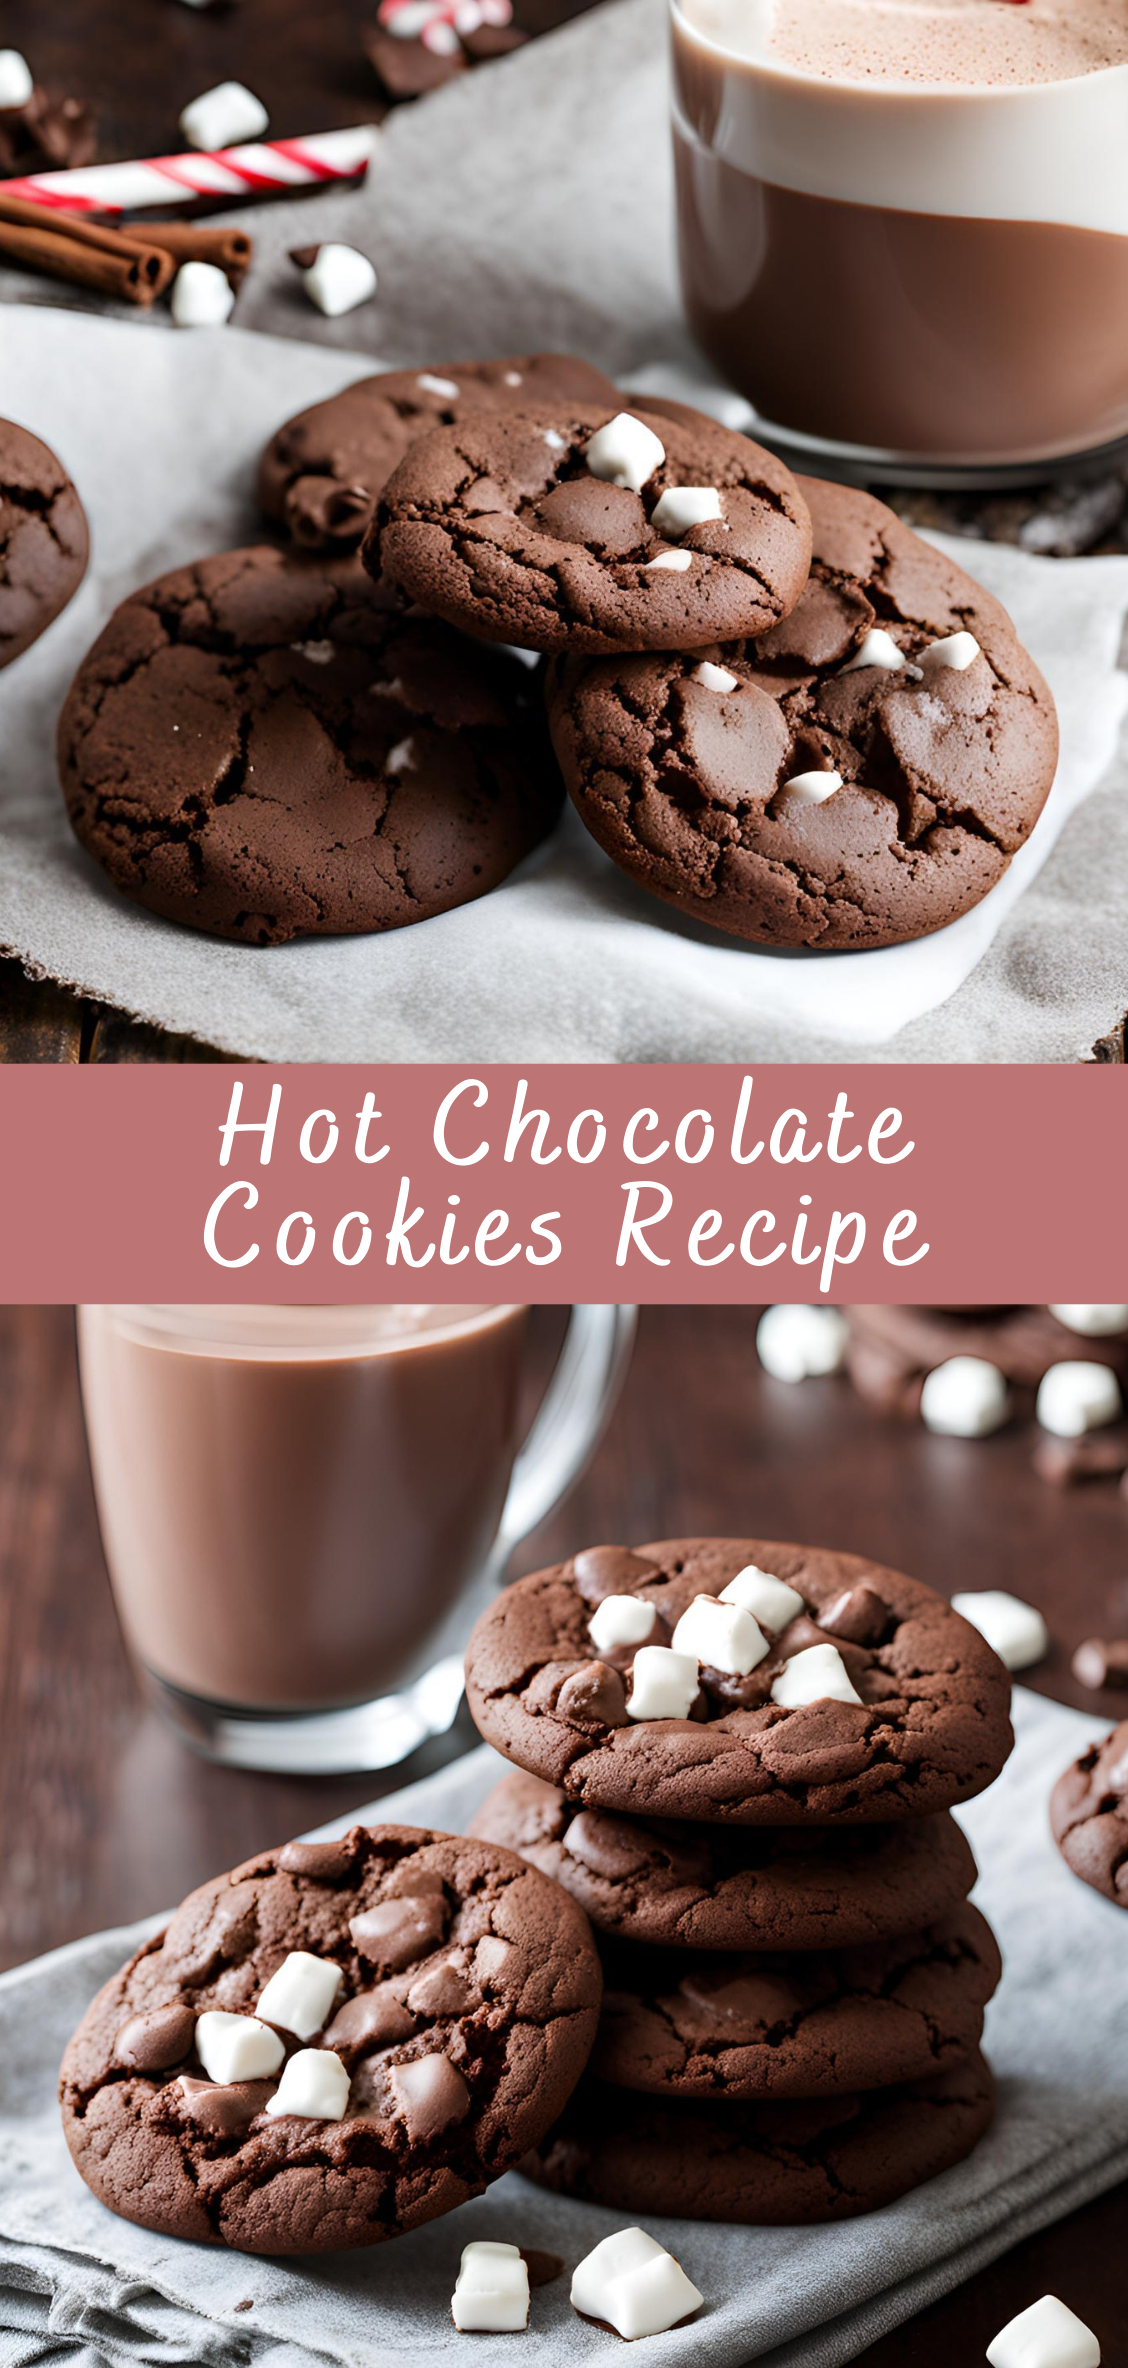
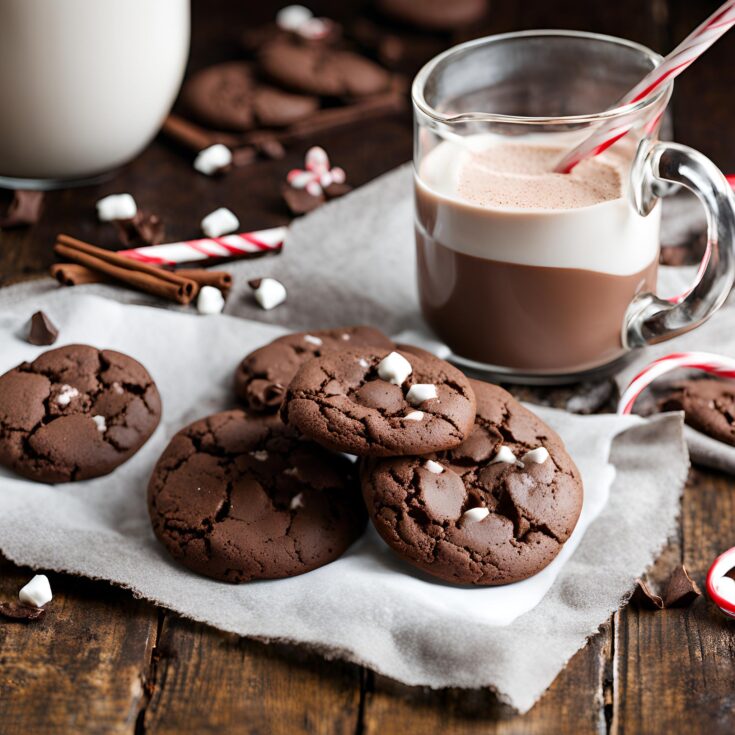
Hot Chocolate Cookies are a cozy treat, perfect for the winter months or whenever you’re craving something indulgent. These cookies are inspired by the rich, comforting flavors of a hot chocolate drink, but they bring that same warm, chocolatey experience into a chewy, gooey cookie form. With melted chocolate, cocoa powder, and mini marshmallows, every bite brings the taste of your favorite cold-weather beverage, but in the form of a cookie.
Here’s the ultimate Hot Chocolate Cookie recipe to try out, and we’ll dive into the background, variations, tips, and more as we go along.
Instructions
Step 1: Preheat the Oven
Preheat your oven to 350°F (175°C). Line two baking sheets with parchment paper or silicone baking mats to prevent the cookies from sticking.
Step 2: Mix the Dry Ingredients
In a medium bowl, whisk together the flour, cocoa powder, baking soda, and salt. Set this aside. The cocoa powder and baking soda help give the cookies a deep chocolate flavor and the perfect chewy texture.
Step 3: Cream the Butter and Sugars
In a large bowl, beat the softened butter with the granulated sugar and brown sugar using an electric mixer or stand mixer. Beat on medium speed for about 2-3 minutes until the mixture is light and fluffy. This process helps to aerate the dough and will result in soft cookies.
Step 4: Add the Wet Ingredients
Add the eggs, one at a time, beating well after each addition. Add the vanilla extract and continue mixing until everything is well incorporated.
Step 5: Combine the Dry and Wet Mixtures
Gradually add the dry ingredients (the flour-cocoa powder mixture) to the wet ingredients. Mix on low speed to avoid a flour explosion. Once fully combined, stop mixing to avoid overworking the dough.
Step 6: Add the Chocolate Chips and Hot Cocoa Mix
Now, stir in the hot cocoa mix (this is where the real hot chocolate flavor comes from!) along with the chocolate chips—both semi-sweet and milk chocolate chips. If you want a stronger chocolate flavor, feel free to increase the amount of dark chocolate chips.
Step 7: Chill the Dough
Chill the dough in the refrigerator for 30 minutes to 1 hour. Chilling the dough helps prevent the cookies from spreading too much while baking, resulting in thicker, chewier cookies.
Step 8: Scoop the Dough
Use a cookie scoop or tablespoon to drop dough onto the prepared baking sheets. Space each dough ball about 2 inches apart to give the cookies room to spread as they bake.
Step 9: Bake the Cookies
Bake the cookies for 8-10 minutes. Keep an eye on them, as ovens vary. The cookies should look set around the edges but still slightly soft in the center. They will continue to set as they cool.
Step 10: Add the Marshmallows
About 1 minute before the cookies are done baking, remove the baking sheet from the oven and sprinkle the mini marshmallows on top of each cookie. Return the cookies to the oven and bake for another 1-2 minutes until the marshmallows are puffed and golden.
Step 11: Cool the Cookies
Allow the cookies to cool on the baking sheet for a few minutes before transferring them to a wire rack to cool completely. This helps them set properly without falling apart.
Step 12: Optional Garnish
Once cooled, you can sprinkle the cookies with a pinch of sea salt for an extra layer of flavor and contrast to the sweetness. If desired, dust the cookies with some powdered sugar for an extra festive touch.
Variations of Hot Chocolate Cookies
- Double Chocolate Hot Chocolate Cookies: For an ultra-chocolatey experience, replace part of the all-purpose flour with more cocoa powder (about 1/2 cup more) and use double the chocolate chips.
- Peppermint Hot Chocolate Cookies: Add crushed peppermint candies or peppermint extract to the dough for a minty twist that pairs beautifully with the chocolate. This is perfect for the holiday season!
- Nutty Hot Chocolate Cookies: Mix in some chopped walnuts, pecans, or almonds for a crunchy contrast to the soft, chewy texture of the cookies. You can also add a handful of chopped toffee bits for added sweetness.
- Hot Chocolate with White Chocolate Chips: Swap the semi-sweet chocolate chips for white chocolate chips to balance the rich cocoa with the sweetness of white chocolate. This creates a more delicate, milky flavor while still maintaining the hot chocolate theme.
- Vegan Hot Chocolate Cookies: To make these cookies vegan, swap the butter for a plant-based butter substitute and use a flax egg or chia egg in place of the eggs. Ensure that your chocolate chips are dairy-free, and substitute the hot cocoa mix for a vegan version.
- Gluten-Free Hot Chocolate Cookies: For a gluten-free version, substitute the all-purpose flour with a 1:1 gluten-free flour blend. Make sure to check that the hot cocoa mix and chocolate chips are gluten-free as well.
Tips for Perfect Hot Chocolate Cookies
- Don’t Overmix the Dough: Overmixing the cookie dough can lead to dense, tough cookies. Once you add the dry ingredients to the wet ingredients, mix only until just combined to keep the texture light and chewy.
- Chill the Dough: Chilling the dough is essential for achieving the right cookie shape. It also prevents the cookies from spreading too much in the oven. Don’t skip this step if you want a thick and chewy cookie.
- Use High-Quality Cocoa: The quality of cocoa can make a big difference in the flavor of your cookies. If possible, use a high-quality cocoa powder (preferably Dutch-process) for a deeper, richer chocolate flavor.
- Check Your Oven Temperature: Ovens can vary in temperature, so it’s important to check the cookies towards the end of the baking time. You want the cookies to be set around the edges but still soft in the center. They’ll firm up as they cool.
- Don’t Skip the Marshmallows: The mini marshmallows are a key component of these Hot Chocolate Cookies. They not only add a delicious gooey texture but also mimic the marshmallows found in a classic cup of hot chocolate.
- Let Them Cool Properly: Let your cookies cool on the baking sheet for a few minutes before transferring them to a wire rack. This helps them set properly and prevents them from falling apart when you move them.
Creative Ways to Serve Hot Chocolate Cookies
While Hot Chocolate Cookies are wonderful on their own, there are several fun and creative ways to serve them to make them even more special for gatherings, holidays, or just a cozy treat for yourself. Here are some ideas:
1. Hot Chocolate Cookie Sandwiches
Take your Hot Chocolate Cookies to the next level by turning them into cookie sandwiches. Spread a layer of whipped cream, marshmallow fluff, or even frosting between two cookies. For an extra indulgent treat, dip the edges of the cookies in melted chocolate or hot fudge and sprinkle with crushed peppermint, mini marshmallows, or colorful sprinkles. These sandwich cookies make for a fun and festive dessert to serve at parties or for a treat after a chilly day outside.
2. Ice Cream Cookie Sundae
Why not combine Hot Chocolate Cookies with ice cream for the ultimate indulgence? Warm up the cookies and pair them with a scoop of your favorite ice cream (vanilla, chocolate, or peppermint ice cream works especially well with the hot chocolate flavor). Add a drizzle of chocolate sauce, whipped cream, and a cherry on top for a decadent sundae. This would be a great dessert for a winter birthday party or any special occasion.
3. Cookie Hot Chocolate
Imagine enjoying a steaming mug of hot chocolate with a twist. Instead of the typical chocolate shavings or marshmallows on top, place a Hot Chocolate Cookie directly in the mug! Pour your hot chocolate into a large mug and rest a warm Hot Chocolate Cookie on the rim. The warmth of the drink will soften the cookie, creating an extra chocolatey treat as you sip. This is perfect for a cozy winter evening with family or friends.
4. Serve with Milk or a Hot Beverage
While the cookies themselves have a rich, chocolatey flavor, they can be paired with a variety of drinks to enhance the experience:
- Hot Chocolate: For the ultimate double-chocolate experience, serve the cookies alongside a warm cup of hot chocolate topped with whipped cream, marshmallows, and maybe even a sprinkle of cinnamon or cocoa powder.
- Coffee or Espresso: The bitterness of coffee pairs beautifully with the sweetness of the cookies, especially if you’re a fan of chocolate and coffee combos. You could even make a Mocha Latte to complement the flavors.
- Spiced Tea: For a lighter option, try pairing the cookies with a hot cup of spiced tea or chai. The warm, aromatic spices will blend beautifully with the chocolate in the cookies, creating a perfect afternoon treat.
5. Add a Personal Touch with Custom Decorations
These cookies are perfect for customizing, especially for events or holidays. You can decorate the cookies by adding unique toppings or even icing them. Here are a few ideas for custom decorations:
- Holiday Themes: For Christmas, add red and green sprinkles or dust with edible glitter to create festive vibes. You could also pipe festive icing in the shape of snowflakes or holiday greetings.
- Personalized Cookie Toppers: Consider adding chocolate initials or shapes (hearts, stars, etc.) using melted chocolate or colorful candy melts to personalize the cookies. This is great for parties or gift-giving.
- S’mores Version: Add a piece of graham cracker inside the cookie dough or sprinkle crushed graham crackers on top of the marshmallows for a fun s’mores-inspired twist.
Hot Chocolate Cookies for Gifting
If you’re looking for a gift idea for the holiday season, Hot Chocolate Cookies make an excellent choice. Here are a few tips for gifting:
1. Cookie Gift Jars
Create beautiful cookie gift jars by layering the dry ingredients for the Hot Chocolate Cookies in a mason jar. Include a festive label with instructions on how to add the wet ingredients (like butter, eggs, and vanilla). This is a fun and easy DIY gift that makes a personal touch for family or friends. Add a ribbon and a tag for extra charm.
2. Cookie Decorating Kits
If you’re gifting to someone who loves to bake, create a cookie decorating kit. Package the baked cookies in a cute box with small containers of colored icing, sprinkles, mini marshmallows, and other decorations. This way, the recipient can decorate their own cookies for a fun and interactive gift experience.
3. Hot Chocolate Cookie Tin
Another option is to pack several of the cookies into a decorative cookie tin. These are perfect for sending by mail or delivering in person during the holiday season. You can even include a hot chocolate mix in the package to complete the gift and make it feel extra cozy.
Troubleshooting Hot Chocolate Cookies
Like all baked goods, cookies can sometimes have a mind of their own. Here are some common issues you might face while baking Hot Chocolate Cookies, along with tips for troubleshooting:
Problem: Cookies are Too Thin
Solution: If your cookies are spreading too much and turning out thin, try chilling the dough for a longer period (up to 1 hour or more). Additionally, check the consistency of the dough—if it’s too wet, add a little extra flour, a tablespoon at a time, until the dough firms up slightly. Avoid over-mixing the dough, as this can affect the texture and cause cookies to spread too much.
Problem: Cookies Are Too Dry or Crumbly
Solution: Overbaking is a common reason for dry, crumbly cookies. Be sure to bake them just until the edges are set and the center is slightly soft. If they are still too dry, it could be because there isn’t enough fat in the dough. Make sure you’re using the correct amount of butter, and always check that your butter is softened to room temperature, not melted.
Problem: Marshmallows Are Burning
Solution: Marshmallows can burn quickly, especially if they’re exposed to heat for too long. To avoid this, add them to the cookies only for the final 1-2 minutes of baking. This ensures that they puff up and turn golden without getting too brown or charred. You can also use mini marshmallows, as they tend to toast more evenly than larger ones.
Problem: Cookies Are Sticking to the Pan
Solution: If your cookies are sticking to the baking sheet, make sure you’re using parchment paper or a silicone baking mat. If you don’t have either, lightly grease the baking sheet with butter or non-stick spray. If the cookies still stick, it could be because they’re too soft—chilling the dough helps them firm up and reduces stickiness.
How to Make Hot Chocolate Cookies Ahead of Time
Hot Chocolate Cookies are perfect for preparing in advance. Here are a few methods to make them ahead of time:
Make-Ahead Dough
You can make the dough up to 3 days in advance. After mixing, form the dough into balls and refrigerate them in an airtight container. When you’re ready to bake, just preheat the oven and bake the chilled dough as you normally would.
Freezing Cookie Dough
For an even longer shelf life, you can freeze the cookie dough. After scooping the dough into balls, freeze them on a baking sheet until firm. Then transfer the dough balls to a freezer-safe bag or container. When you’re ready to bake, bake the frozen dough for about 2 extra minutes.
Freezing Baked Cookies
Once the cookies are baked and fully cooled, you can freeze them for up to 3 months. Place the cookies in a single layer on a baking sheet to freeze them, and then transfer them to a freezer-safe container or bag. To serve, simply let the cookies thaw at room temperature or warm them slightly in the microwave for that fresh-baked taste.
Conclusion
Hot Chocolate Cookies are a comforting, decadent treat that captures the warmth and sweetness of a mug of hot cocoa in a bite-sized dessert. Whether you make them for yourself, share them with friends and family, or gift them as part of a holiday tradition, these cookies are sure to be a hit. Their chocolatey goodness, gooey marshmallow topping, and chewy texture will make them an instant favorite for anyone who loves chocolate and all things cozy.
With their versatility in flavor, toppings, and ways to serve, Hot Chocolate Cookies are more than just a seasonal treat—they’re a way to indulge in the warmth of the season, no matter the occasion. So, gather your ingredients, preheat your oven, and enjoy a batch of these irresistible cookies!
Final Thoughts
Hot Chocolate Cookies are the perfect wintertime treat to enjoy with a warm beverage by the fire. Their gooey, chocolatey interior, marshmallow topping, and chewy texture make them a delightful indulgence. These cookies are not only easy to make but also highly customizable, allowing you to play with different ingredients to suit your taste.
Whether you’re baking them for a holiday party, a cozy family treat, or just to enjoy on a snowy afternoon, these cookies will surely become a favorite in your baking repertoire.
Hot Chocolate Cookies Recipe
Here's a comprehensive Hot Chocolate Cookies recipe, filled with helpful tips, variations, and background information. I'll break it down in a detailed manner, and you can explore everything from ingredients to troubleshooting!
Ingredients
- For the Cookies:
- 2 cups all-purpose flour
- 1/2 cup unsweetened cocoa powder (preferably Dutch-process for a rich flavor)
- 1 teaspoon baking soda
- 1/2 teaspoon salt
- 1 cup unsalted butter, softened
- 1 cup granulated sugar
- 1/2 cup packed brown sugar (light or dark)
- 2 large eggs
- 1 teaspoon vanilla extract
- 1/2 cup semisweet or bittersweet chocolate chips
- 1/2 cup milk chocolate chips (optional for a milder chocolate flavor)
- 1/4 cup hot cocoa mix (for extra hot chocolate flavor and sweetness)
- For the Marshmallow Topping:
- 1/2 cup mini marshmallows (more if you like extra marshmallows)
- Optional Garnishes:
- A pinch of sea salt (to balance out the sweetness)
- Powdered sugar (for a dusting after baking)
Instructions
Step 1: Preheat the Oven
Preheat your oven to 350°F (175°C). Line two baking sheets with parchment paper or silicone baking mats to prevent the cookies from sticking.
Step 2: Mix the Dry Ingredients
In a medium bowl, whisk together the flour, cocoa powder, baking soda, and salt. Set this aside. The cocoa powder and baking soda help give the cookies a deep chocolate flavor and the perfect chewy texture.
Step 3: Cream the Butter and Sugars
In a large bowl, beat the softened butter with the granulated sugar and brown sugar using an electric mixer or stand mixer. Beat on medium speed for about 2-3 minutes until the mixture is light and fluffy. This process helps to aerate the dough and will result in soft cookies.
Step 4: Add the Wet Ingredients
Add the eggs, one at a time, beating well after each addition. Add the vanilla extract and continue mixing until everything is well incorporated.
Step 5: Combine the Dry and Wet Mixtures
Gradually add the dry ingredients (the flour-cocoa powder mixture) to the wet ingredients. Mix on low speed to avoid a flour explosion. Once fully combined, stop mixing to avoid overworking the dough.
Step 6: Add the Chocolate Chips and Hot Cocoa Mix
Now, stir in the hot cocoa mix (this is where the real hot chocolate flavor comes from!) along with the chocolate chips—both semi-sweet and milk chocolate chips. If you want a stronger chocolate flavor, feel free to increase the amount of dark chocolate chips.
Step 7: Chill the Dough
Chill the dough in the refrigerator for 30 minutes to 1 hour. Chilling the dough helps prevent the cookies from spreading too much while baking, resulting in thicker, chewier cookies.
Step 8: Scoop the Dough
Use a cookie scoop or tablespoon to drop dough onto the prepared baking sheets. Space each dough ball about 2 inches apart to give the cookies room to spread as they bake.
Step 9: Bake the Cookies
Bake the cookies for 8-10 minutes. Keep an eye on them, as ovens vary. The cookies should look set around the edges but still slightly soft in the center. They will continue to set as they cool.
Step 10: Add the Marshmallows
About 1 minute before the cookies are done baking, remove the baking sheet from the oven and sprinkle the mini marshmallows on top of each cookie. Return the cookies to the oven and bake for another 1-2 minutes until the marshmallows are puffed and golden.
Step 11: Cool the Cookies
Allow the cookies to cool on the baking sheet for a few minutes before transferring them to a wire rack to cool completely. This helps them set properly without falling apart.

